Wood, with its natural beauty and warmth, is a popular choice for furniture, flooring, and cabinetry. However, its porous nature makes it susceptible to absorbing oils, leading to unsightly stains. Whether it's a fresh spill of olive oil in the kitchen or years of accumulated hand oils on a cherished piece of furniture, dealing with oil stains on wood can be frustrating. Fortunately, with the right techniques and readily available materials, you can effectively remove these stains and restore your wood's original luster.
This comprehensive guide will walk you through various methods for tackling oil stains on wood, from addressing recent spills to removing stubborn, old stains. We'll cover everything from gentle cleaning solutions to stronger solvents, ensuring you have the knowledge and tools to handle any oil stain situation. Remember that patience and gentle techniques are key to avoiding damage to the wood's finish.
Before you begin, it's crucial to identify the type of finish on your wood. A simple test is to apply a drop of water to an inconspicuous area. If the water beads up, the wood likely has a protective finish like varnish or polyurethane. If the water absorbs quickly, the wood is unfinished or has a penetrating oil finish. This distinction will influence the cleaning methods you choose. Let's dive in and learn how to banish those oil stains for good!
Step 1: Addressing Fresh Oil Spills
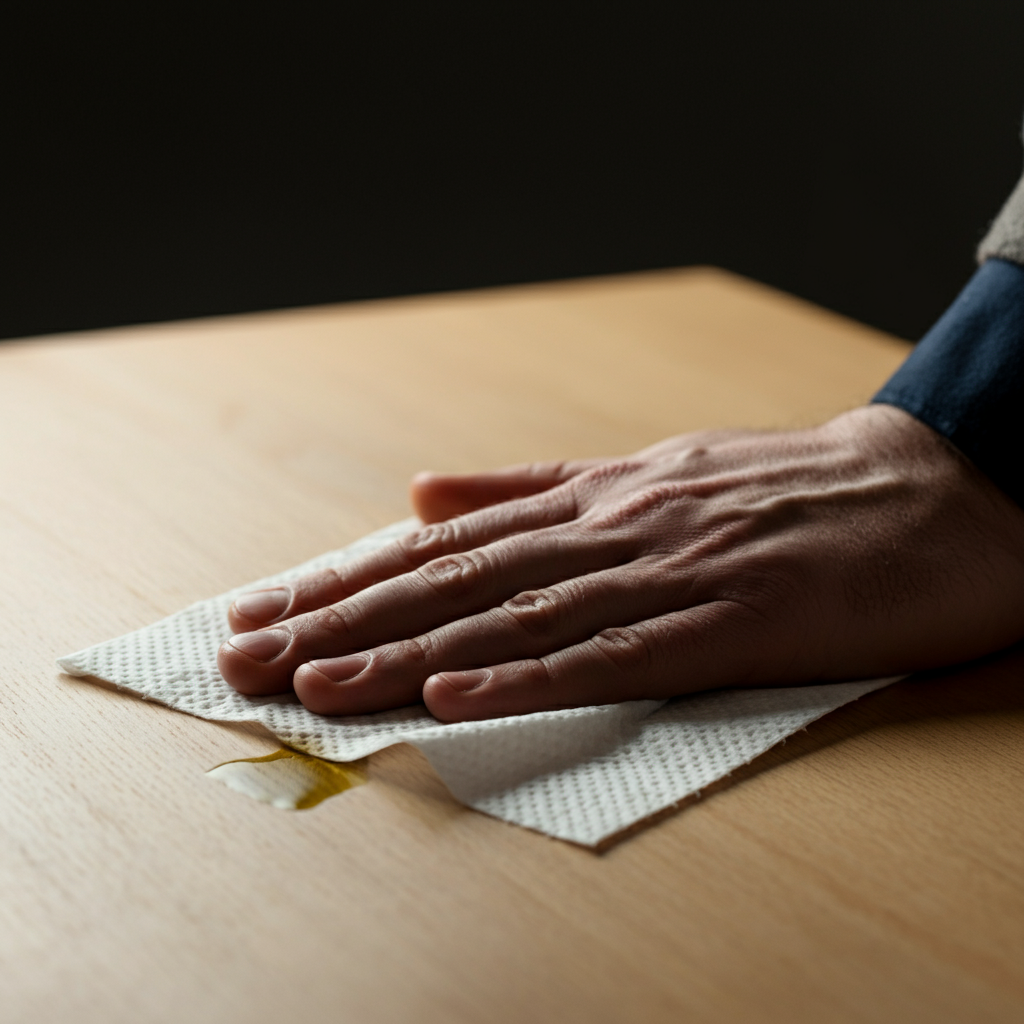
Blot the Spill Immediately
The first and most crucial step in removing fresh oil from wood is to act quickly. The longer the oil sits, the deeper it penetrates the wood fibers, making it exponentially harder to remove. Grab absorbent materials like paper towels, clean cloths, or even newspaper and gently blot the spill. Avoid rubbing, as this will only spread the oil and worsen the stain. Apply firm, consistent pressure to allow the absorbent material to soak up as much oil as possible. Continue blotting until the material comes away relatively clean.
Step 2: Cleaning with Mild Detergent
Prepare a Gentle Cleaning Solution
Once you've blotted up the excess oil, prepare a mild cleaning solution using warm water and a few drops of dish soap. Choose a pH-neutral dish soap to avoid damaging the wood finish. In a bowl, combine about two cups of warm water with a teaspoon of dish soap. Gently swirl the mixture to create suds. Avoid creating excessive foam, as it can be difficult to rinse away completely.

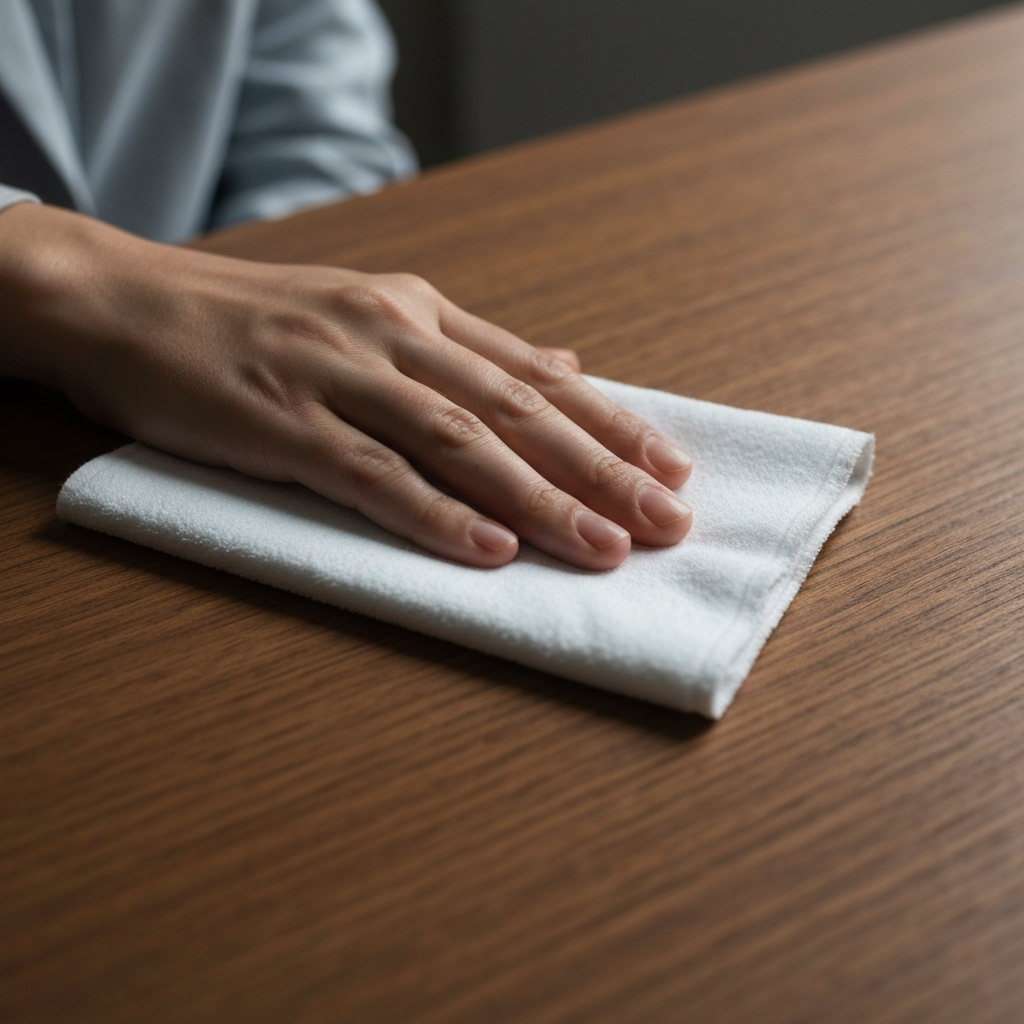
Step 3: Gently Clean the Affected Area
Apply and Scrub with Care
Dip a soft cloth into the soapy water, wringing out any excess. Gently rub the affected area in a circular motion, working the cleaning solution into the wood grain. Avoid applying excessive pressure, which can scratch the surface. For stubborn stains, you can use a soft-bristled brush, such as an old toothbrush, to gently scrub the area. Always test the brush on an inconspicuous area first to ensure it doesn't damage the finish. Remember that the key is gentle and consistent cleaning.
Step 4: Rinse and Dry Thoroughly
Remove Soap Residue and Prevent Water Damage
After cleaning, it's crucial to rinse away any soap residue. Use a clean, damp cloth to wipe the area, removing all traces of the cleaning solution. Avoid oversaturating the wood with water. Once you've rinsed the area, dry it thoroughly with a clean, dry cloth. Pay attention to the wood grain and ensure you're removing all moisture from the grooves and crevices. Allowing the wood to air dry completely can further prevent water damage.
Step 5: Evaluating and Repeating if Necessary
Assess the Stain and Reapply if Required
Once the wood is completely dry, assess the stain. If it has faded significantly but is still visible, repeat steps 2 through 4. Sometimes, multiple applications are necessary to fully remove the oil. If the stain persists after several attempts, it may be time to move on to a stronger cleaning method. Patience is essential; avoid resorting to harsh chemicals prematurely. A subtle stain might require some time for the method to completely work.

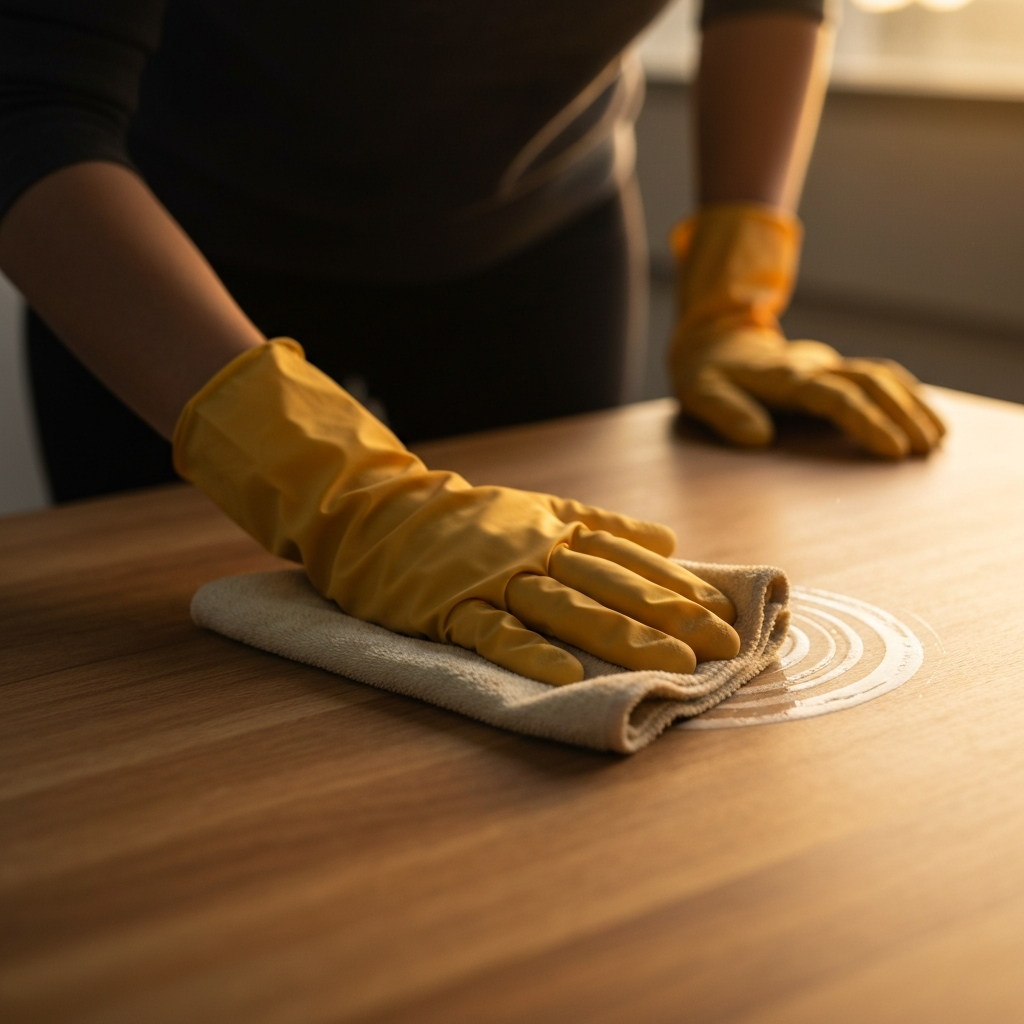
Step 6: Addressing Old or Stubborn Stains with Mineral Spirits
Applying Mineral Spirits Safely
For old or stubborn oil stains, mineral spirits can be an effective solution. However, it's crucial to use them with caution, as they are strong solvents. Always work in a well-ventilated area and wear rubber gloves to protect your skin. Dampen a clean cloth with mineral spirits and gently rub the affected area in a circular motion. Avoid saturating the wood, as this can damage the finish and even warp the wood. Start with a small amount and gradually increase if needed.

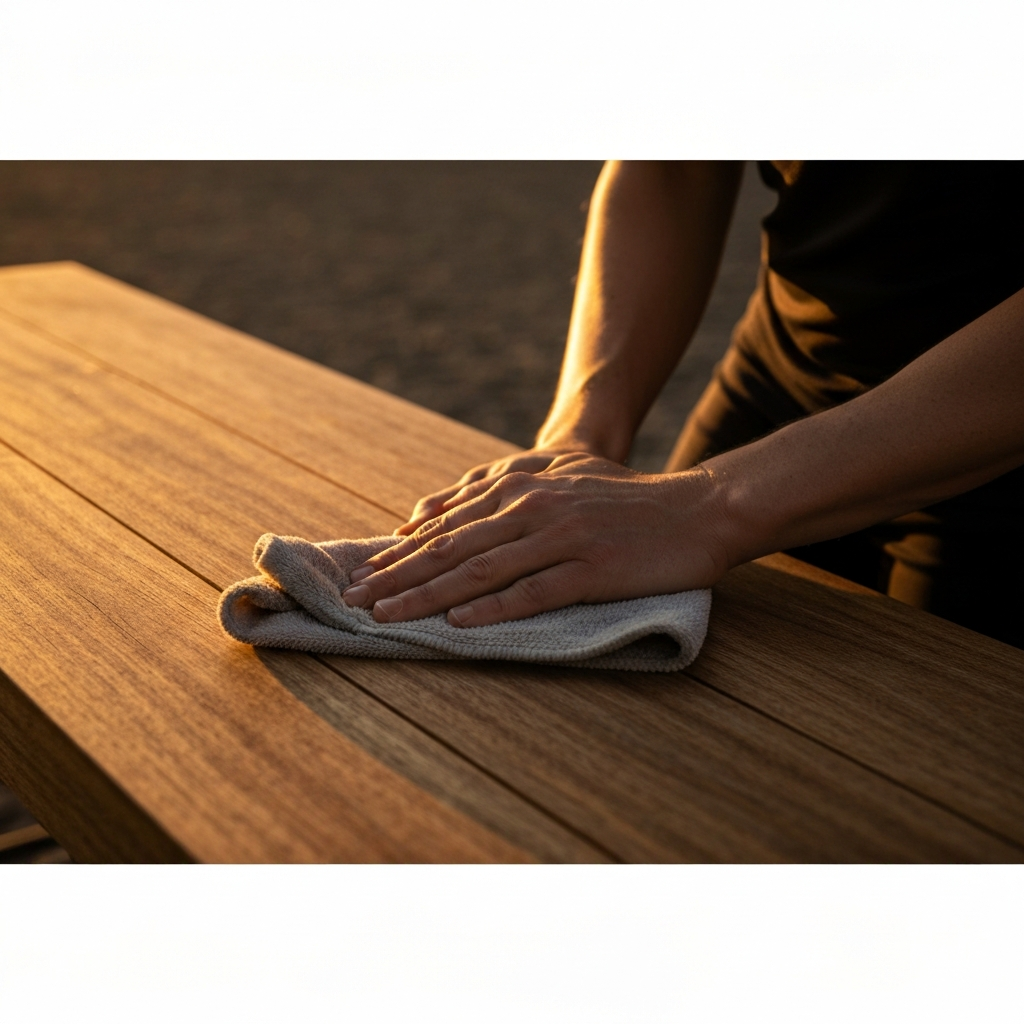
Step 7: Cleaning and Polishing After Mineral Spirits
Removing Residue and Restoring Luster
After applying mineral spirits, it's essential to remove any residue. Use a clean cloth dampened with a mild detergent solution to wipe the area. Follow this with a clean, damp cloth to rinse away the soap residue. Dry the wood thoroughly with a clean, dry cloth. Once the wood is completely dry, apply a wood polish to restore its luster. Choose a wood polish that is appropriate for the type of finish on your wood. Apply the polish sparingly and rub it in a circular motion until it's fully absorbed.
Tools or Materials Required
- Paper towels or clean cloths
- Mild dish soap
- Warm water
- Soft-bristled brush (optional)
- Mineral spirits (for stubborn stains)
- Rubber gloves
- Wood polish
- Clean, dry cloths
Safety Considerations
- Always work in a well-ventilated area when using mineral spirits or other solvents.
- Wear rubber gloves to protect your skin from irritation.
- Avoid oversaturating the wood with water or solvents.
- Test any cleaning solution or solvent on an inconspicuous area first.
Common Mistakes to Avoid
- Rubbing the spill instead of blotting.
- Using abrasive cleaners or brushes.
- Oversaturating the wood with water or solvents.
- Forgetting to test cleaning solutions on an inconspicuous area.
- Neglecting to dry the wood thoroughly.
Pro Tips
- For particularly stubborn stains, try using a paste of baking soda and water. Apply the paste to the stain, let it sit for 30 minutes, and then wipe it away with a damp cloth.
- For oily residue from hands, try using a small amount of turpentine on a cloth, rubbing gently, and then wiping with a damp cloth.
- Cornstarch can be used on indoor wood furniture. Spread it over the stain and allow it to soak up the oil overnight, then vacuum.
Conclusion
Removing oil from wood requires patience, the right techniques, and appropriate materials. By following the steps outlined in this guide, you can effectively tackle oil stains, whether they're fresh spills or old, stubborn marks. Remember to always test cleaning solutions on an inconspicuous area first and to work in a well-ventilated space when using solvents. With a little care and attention, you can restore your wood's natural beauty and keep it looking its best for years to come.