Mother's Day is the perfect time to show your mom how much you care. A handmade bracelet is a thoughtful and personalized gift that she'll cherish. This guide will walk you through creating a simple yet beautiful bracelet that you can customize to perfectly suit her style. Get ready to unleash your creativity and make something truly special!
This project is designed to be adaptable for all skill levels, from beginners to experienced crafters. We'll cover everything from selecting the right materials to adding a personalized touch that will make your bracelet a unique and meaningful keepsake. Remember, the most important ingredient is love!
Let's get started on creating a memorable Mother's Day gift!
-
Step 1: Gather Your Supplies
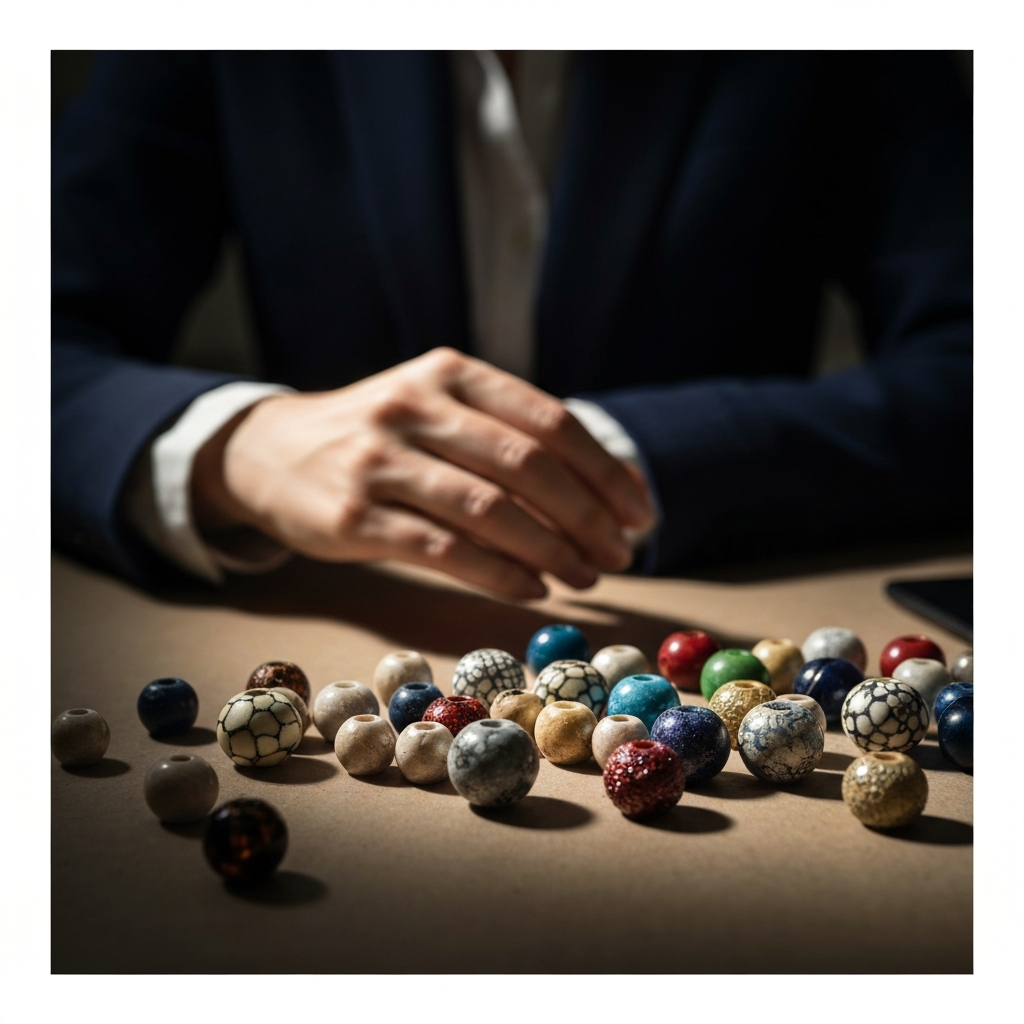
Before you begin, it's essential to have all your materials ready. This will make the process smoother and more enjoyable. Consider the colors and materials your mom loves. A good starting point is to think about her favorite jewelry and mimic the style. This ensures she’ll love wearing it!
Tools or Materials Required: String (her favorite color), scissors, a piece of paper, a pen or marker, and optional beads or charms.

-
Step 2: Measure and Cut the String
The first step is to measure the string. Carefully measure your mom's wrist (if possible without her knowing!) and add a few extra inches (approximately 6 inches). The extra string will allow you to tie the bracelet comfortably and adjust the fit. Err on the side of too much rather than too little; you can always trim excess string later. Then, using sharp scissors, carefully cut the string to the desired length.
Common Mistakes to Avoid: Cutting the string too short. Double-check your measurements before cutting.

-
Step 3: Create the Heart Pendant
Now, take your piece of paper and fold it in half. Draw half a heart shape along the folded edge. Make sure the heart is large enough to write a short message on it later. The size of the heart should be proportional to the size of the bracelet. Cut out the heart, and you'll have a symmetrical heart shape.
Once you have your heart, carefully punch or cut a small hole near the top point of the heart. The hole should be large enough to thread the string through but not so large that it tears the paper easily.

-
Step 4: Thread and Secure the Heart
Carefully thread one end of the string through the hole in the paper heart. Pull the string through until the heart is positioned roughly in the center of the string. Once the heart is in place, tie a knot close to the heart to secure it. A secure knot will prevent the heart from sliding around on the string. A simple overhand knot will usually suffice, but you can use a stronger knot like a square knot if you prefer.
Pro Tip: For added security, you can add a small dab of glue to the knot to prevent it from unraveling. Let the glue dry completely before moving on.

-
Step 5: Add Beads (Optional)
If you want to add some extra flair to your bracelet, now is the time to add beads! Choose beads that complement your mom's style and the color of the string. Thread the beads onto the string on either side of the heart. Consider using a variety of bead sizes and shapes for a more dynamic look. Remember to leave enough string at the ends to tie the bracelet.
Safety Considerations: If making this bracelet with young children, supervise them closely when using beads to avoid choking hazards.
-
Step 6: Write Your Message
Using a pen or marker, write a heartfelt message on the heart. This is your chance to express your love and appreciation for your mom. Keep the message concise and meaningful. Consider writing something like "I Love You," "Best Mom Ever," or simply her name. You can also add a small drawing or doodle to personalize it further.

-
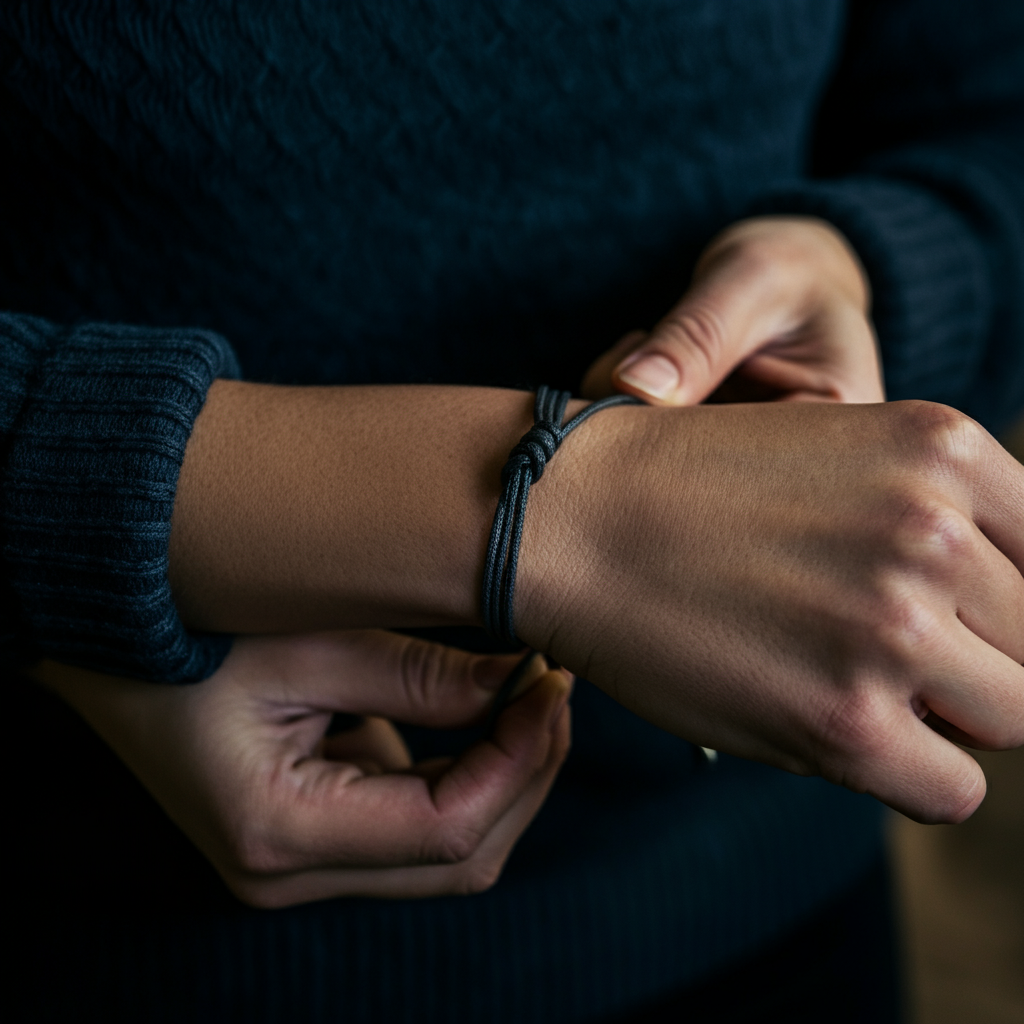
Step 7: Tie the Bracelet
Now, it's time to tie the bracelet around your mom's wrist. Make sure it's not too tight or too loose. Tie a secure knot to fasten the bracelet. You can use a simple square knot for extra security. Once the bracelet is tied, trim any excess string, leaving a small tail. Ensure the knot is comfortable against the skin to avoid irritation.
Pro Tip: If you're unsure about the fit, tie a temporary knot first and have your mom try it on before tightening it permanently.
FAQ Section
- Q: What if I don't know my mom's wrist size?
- A: You can try to estimate by comparing her wrist to your own, or discreetly measure one of her existing bracelets. As an alternative, you could make it adjustable.
- Q: What kind of string should I use?
- A: Embroidery floss, hemp cord, or thin ribbon all work well. Choose a material that is durable and comfortable to wear.
- Q: Can I use different materials for the heart pendant?
- A: Absolutely! Consider using felt, cardboard, or even a small piece of fabric for a more durable pendant.
Common Mistakes to Avoid: Tying the bracelet too tight, using cheap string that breaks easily, or making the heart pendant too small to write a message on.
Safety Considerations: Always supervise young children when using scissors, beads, or glue. Ensure the bracelet is not too tight to avoid restricting circulation.
Congratulations! You've created a beautiful and personalized Mother's Day bracelet. This heartfelt gift is sure to bring a smile to your mom's face and show her how much you care. Remember, the most important thing is the thought and effort you put into making it. Enjoy giving this special gift!