Braided bracelets are a classic and versatile accessory, perfect for adding a personal touch to any outfit. While simple braided bracelets are easy enough, you can elevate the design by incorporating an "add-on" technique. This allows you to introduce new colors and textures gradually throughout the braid, creating a unique and eye-catching piece.
This guide will walk you through the process of creating an add-on braided bracelet using embroidery floss. It's a fun and relatively simple project suitable for beginners, yet offers enough creative freedom to customize the bracelet to your own style. The add-on method opens up possibilities for intricate color patterns and varying strand thicknesses, making each bracelet a truly one-of-a-kind creation.
Get ready to unleash your creativity and craft a beautiful add-on braided bracelet! We'll break down the steps into manageable sections, offering tips and tricks along the way to ensure a smooth and enjoyable crafting experience.
Tools or Materials Required
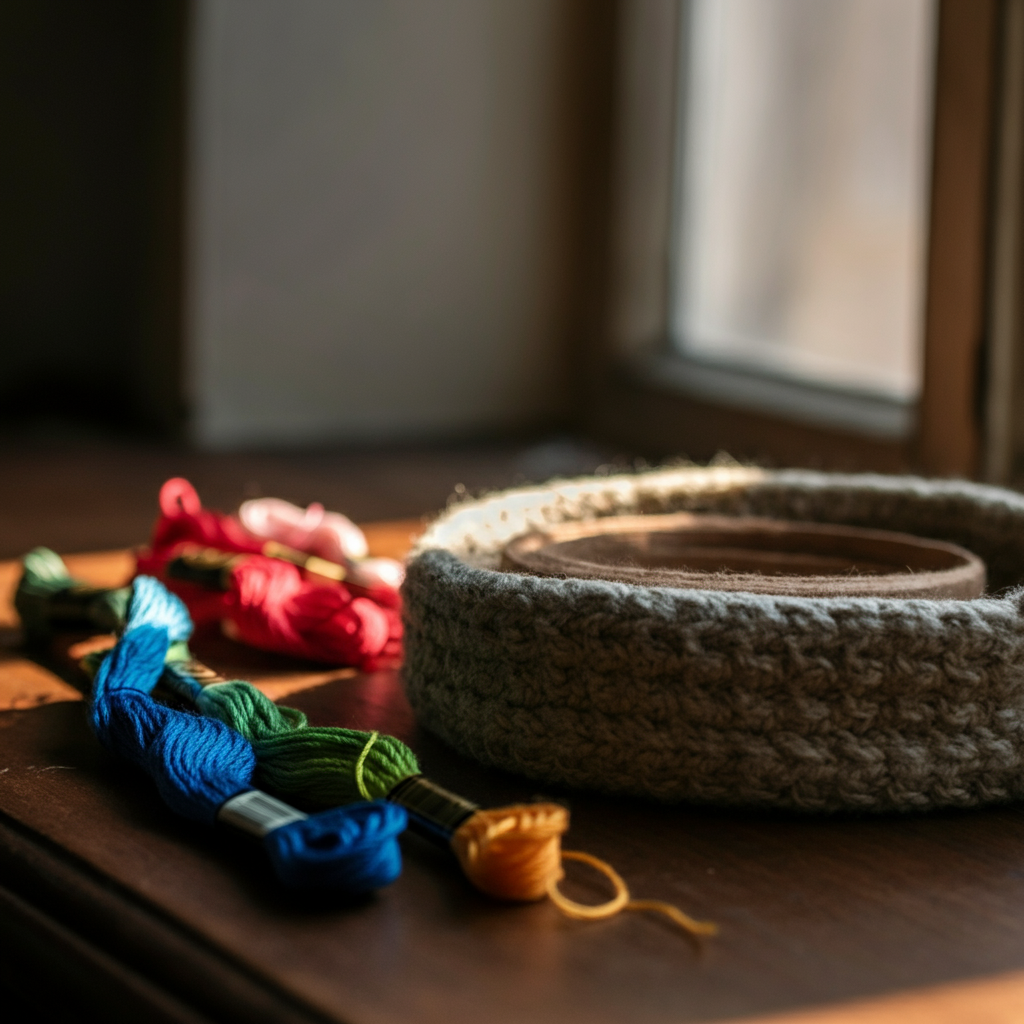
- Embroidery floss in five different colors
- Scissors
- Tape or a clipboard
- A flat surface to work on
-
Step 1: Preparing the Strands
Begin by cutting five strands of embroidery floss, each in a different color. The length of each strand should be approximately three times the desired length of your finished bracelet. This extra length is necessary to account for the braiding process and the knots at the ends. Ensure all strands are the same length for a uniform look, unless you intentionally want a staggered effect. For example, if you want a 6-inch bracelet, cut each strand to around 18 inches.

-
Step 2: Creating the Starting Loop
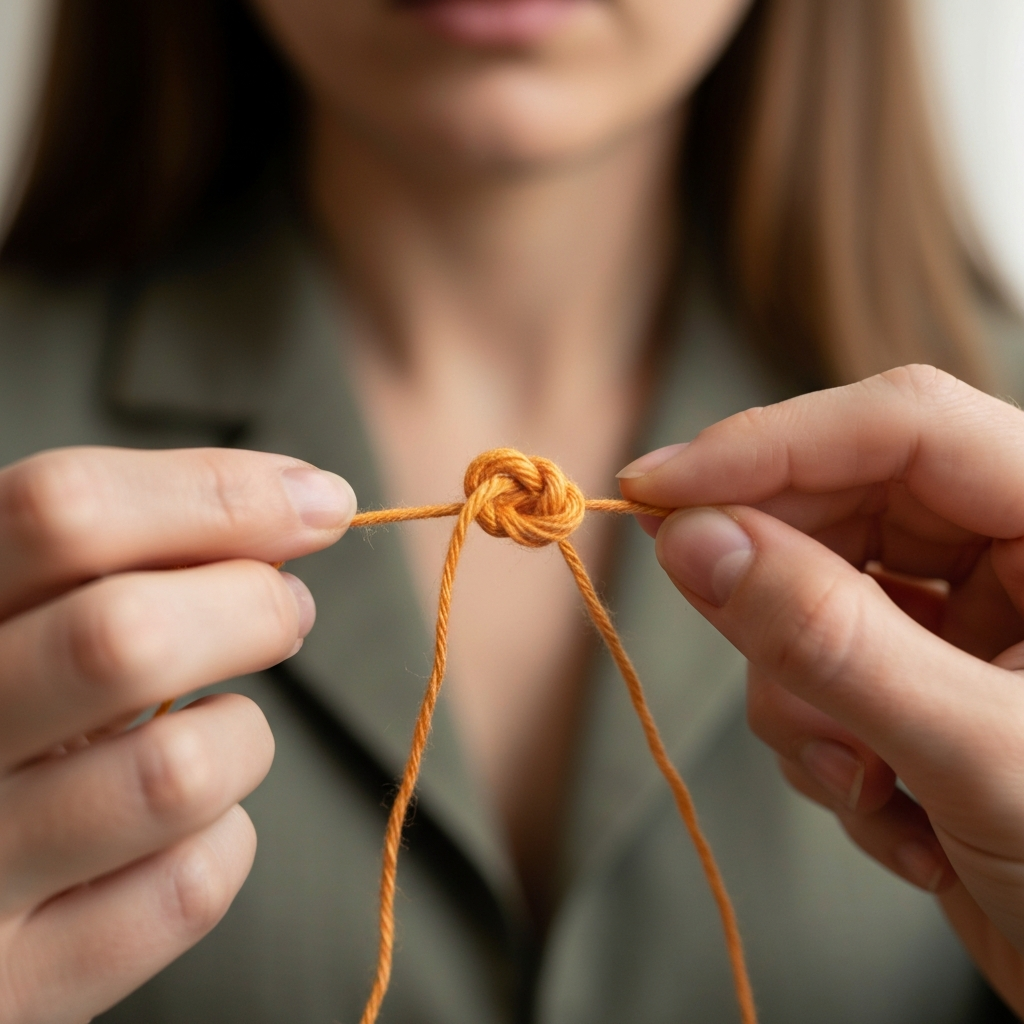
Gather all five strands together and align one end. Fold the strands in half, bringing the aligned ends together to form a loop at one end. Tie a simple overhand knot close to the folded end to secure the loop. Make sure the knot is tight, but not so tight that it distorts the loop. This loop will serve as the clasp for your bracelet. Secure the loop to a flat surface using tape or clip it to a clipboard to hold it in place while you braid.
-
Step 3: Separating the Initial Braiding Strands
Separate the five strands of floss into two groups. Take the three leftmost strands in one hand, and set the remaining two strands aside. These two strands will be added later as you braid. The order of the colors in the initial three strands will be the primary colors in the beginning of your braid. Consider the color arrangement at this stage for the overall aesthetic.
-
Step 4: Beginning the Braid
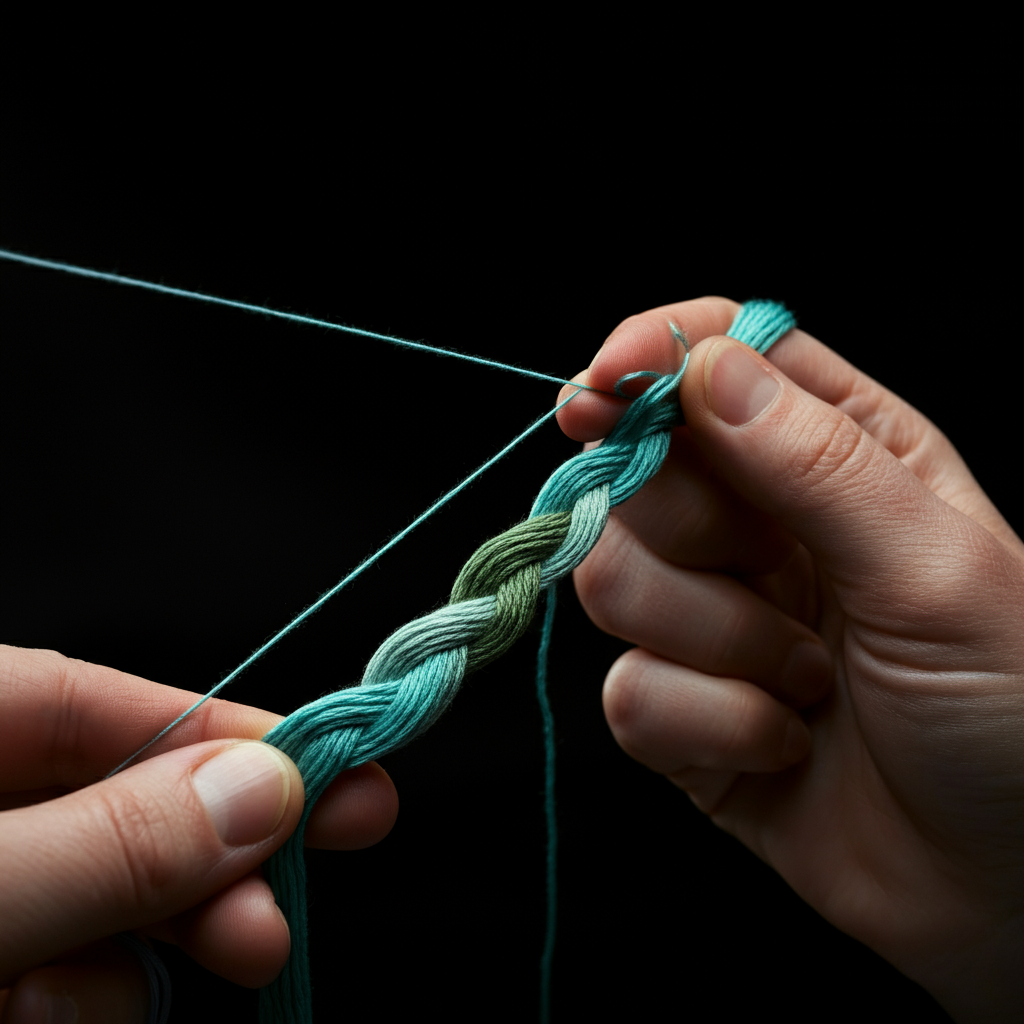
Begin braiding the three strands you've separated. Use a standard three-strand braiding technique: bring the right strand over the middle strand, then bring the left strand over the new middle strand, and repeat. Braid for approximately 1/4 of the desired bracelet length. Keep the braid relatively tight and consistent for a neat and professional appearance. A looser braid may result in a less structured bracelet.
-
Step 5: Adding the First Strand
After braiding for about 1/4 of the length, take one of the strands you set aside and add it to the rightmost strand of the braid. Essentially, you'll now be braiding with four strands temporarily. Make sure to incorporate the new strand smoothly into the braid; avoid simply tying it on. Gently incorporate this new strand into the normal braiding pattern.
-
Step 6: Continuing the Braid
Continue braiding with what are now four strands until you reach approximately the halfway point of the desired bracelet length. Remember, we are adding one strand at a time, not simultaneously. Maintain a consistent tension as you braid to ensure a uniform pattern. Pay attention to how the added color blends with the existing braid; this is where the "add-on" effect becomes visible.
-
Step 7: Adding the Final Strand
Once you've reached roughly the halfway point, add the last remaining strand to the braid. Similar to the previous addition, incorporate it smoothly into the rightmost strand of the braid. You're now braiding with all five strands until the end. Be mindful of any tangles that may form as you braid with more strands. Detangle gently and continue the braid.
-
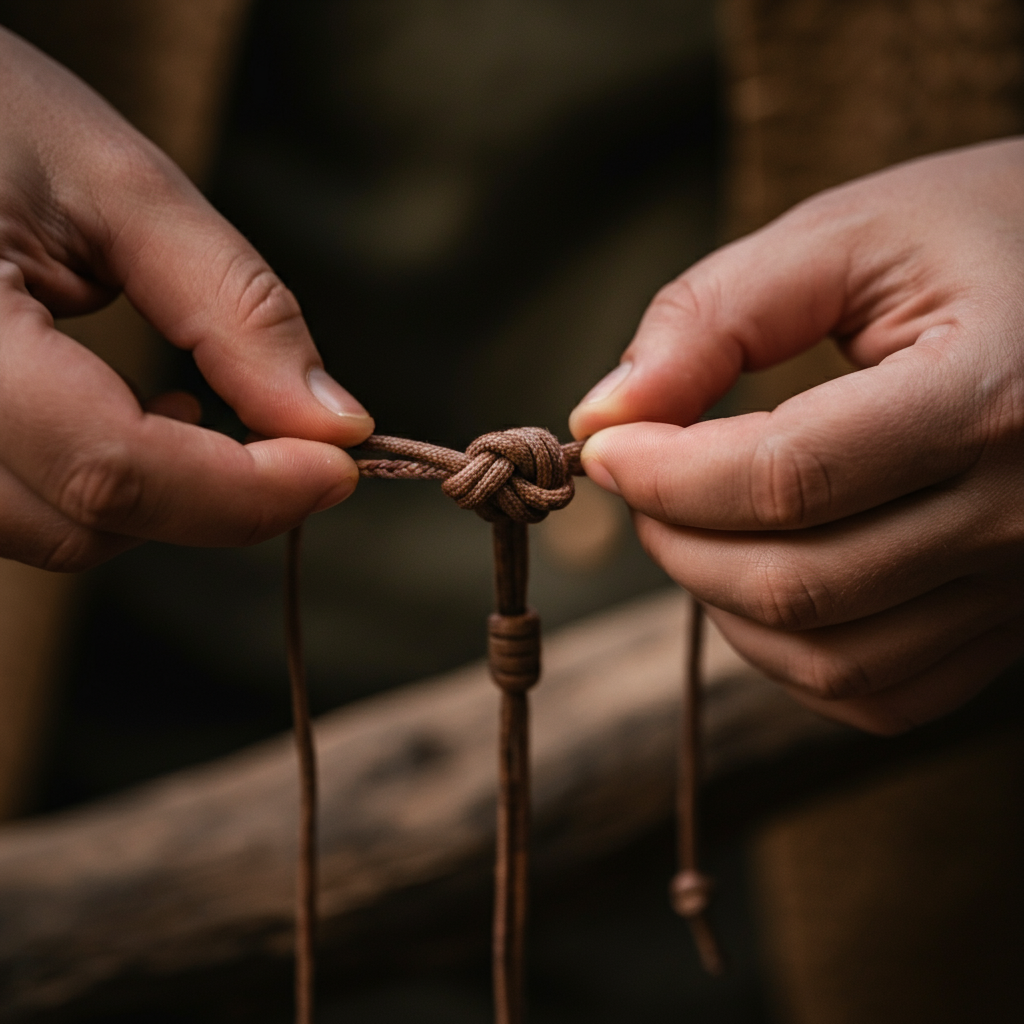
Step 8: Finishing the Braid
Continue braiding with all five strands until you reach your desired length, leaving enough unbraided floss at the end to tie a knot. Once you are satisfied, tie a secure overhand knot at the end of the braid to prevent it from unraveling. Ensure the knot is tight and close to the end of the braid.
-
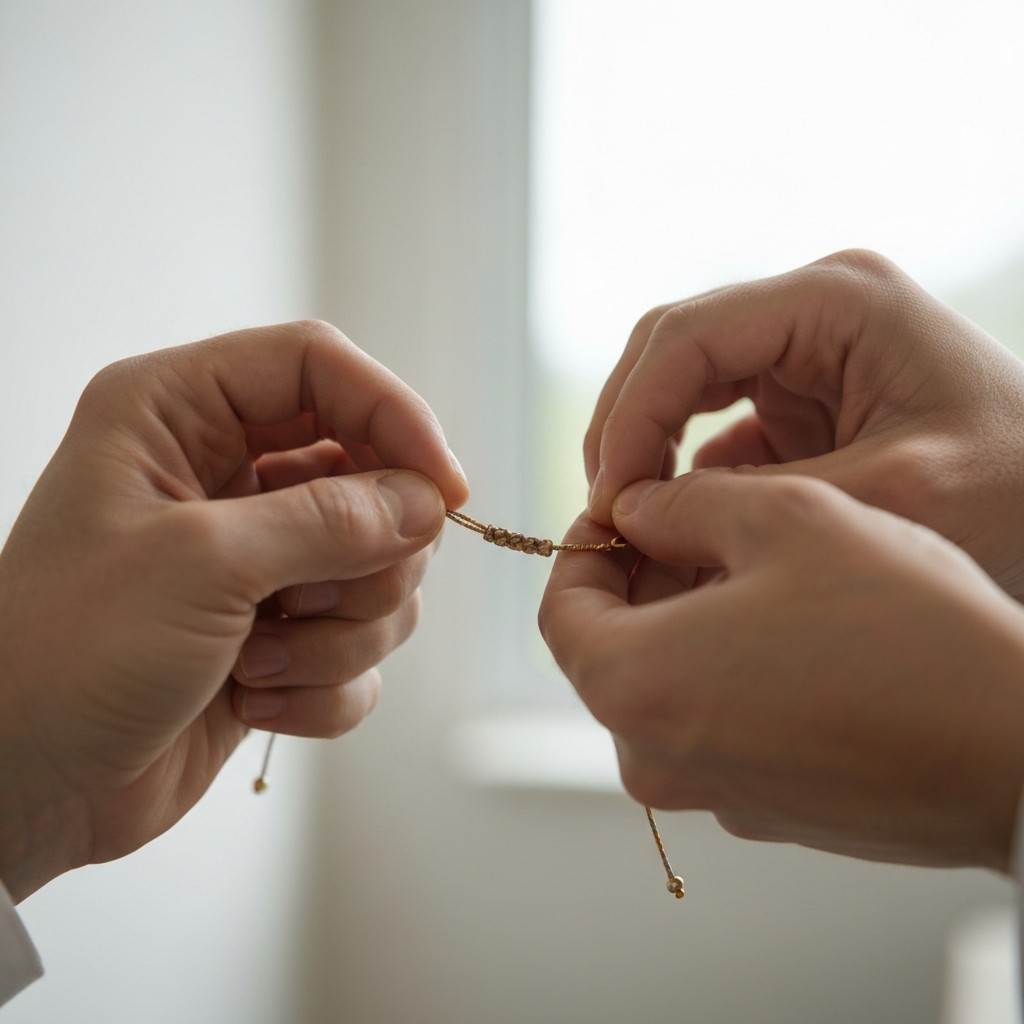
Step 9: Securing the Bracelet
To finish the bracelet, bring the knotted end together with the loop at the beginning. Thread the knotted end through the loop and tie a secure knot to close the bracelet. Consider using a square knot for extra security, which is less likely to come undone than a simple overhand knot. Trim any excess floss, leaving a small tail.
Common Mistakes to Avoid
- Cutting the floss strands too short, resulting in a bracelet that's too small.
- Braiding too loosely, leading to a flimsy and uneven bracelet.
- Tying knots that are too tight, distorting the shape of the braid.
- Forgetting to secure the braid with knots, causing it to unravel.
- Adding the new strands of floss too abruptly, resulting in a messy transition.
Pro Tips
- Use a variety of colors and textures of embroidery floss to create unique and personalized bracelets.
- Experiment with different braiding techniques, such as fishtail or four-strand braids.
- Add beads or charms to your bracelet for extra embellishment.
- Consider using a bracelet-making jig to help hold the strands in place while you braid.
FAQ Section
- How do I prevent the strands from tangling?
- Keep the strands organized and separate them frequently as you braid. Working on a smooth, flat surface can also help.
- What if I run out of floss mid-braid?
- Tie a new piece of floss to the existing strand, making sure the knot is secure and hidden within the braid. Trim any excess floss.
- Can I use different types of thread or yarn?
- Yes, you can experiment with different materials, but keep in mind that the texture and thickness of the thread will affect the final look of the bracelet.
Safety Considerations
- Be careful when using scissors to cut the floss.
- Avoid pulling the floss too tightly, as this can cause discomfort or injury.
Conclusion
Creating an add-on braided bracelet is a fun and rewarding craft project. By following these steps and tips, you can create a beautiful and unique accessory that reflects your personal style. The add-on technique offers exciting possibilities for color and texture variations, allowing you to design a bracelet that is truly one-of-a-kind. Happy braiding!