Squishies, those delightfully squeezable toys that slowly return to their original shape, are incredibly popular. But instead of buying one, why not create your own unique squishy using simple materials you probably already have at home? This guide will walk you through the process of making a paper squishy, a fun and creative project suitable for crafters of all ages. Get ready to unleash your inner artist and create a personalized squishy that's as fun to make as it is to squish!
Paper squishies offer a fantastic alternative to traditional foam squishies. They're customizable, affordable, and a great way to recycle materials. The possibilities are endless – you can design your squishy to look like your favorite food, animal, or even a character from a book or movie. The key to a successful paper squishy lies in careful construction and proper sealing. This will ensure that your squishy is durable and long-lasting.
In this guide, we'll break down the process into easy-to-follow steps, providing tips and tricks along the way. So gather your supplies, put on your creative hat, and let's get started on your paper squishy adventure!
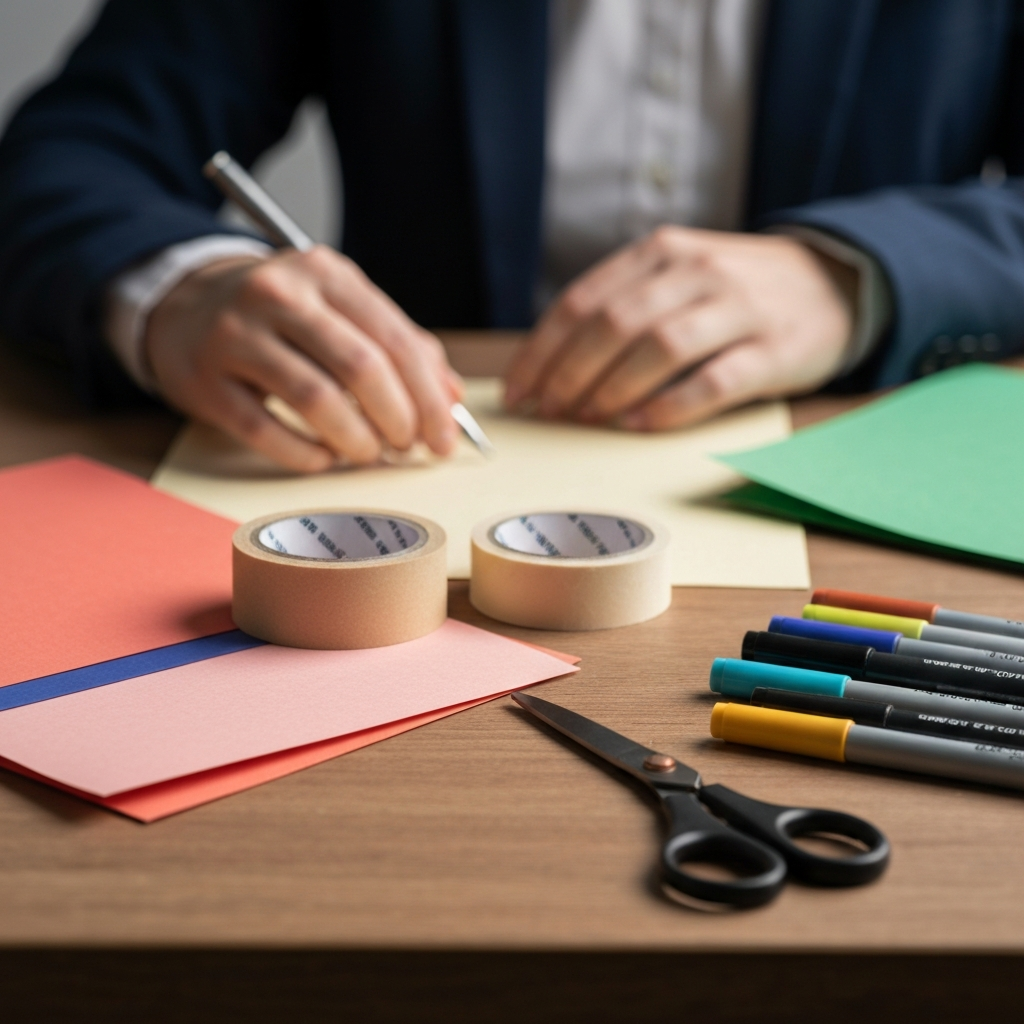
Step 1: Gather Your Materials
Before you begin, it's essential to have all your materials readily available. This will streamline the crafting process and prevent frustrating interruptions. You'll need: paper (printer paper works best), scissors, clear tape, markers or colored pencils, a pencil, an eraser, a fine-tipped pen (optional, for outlining), and stuffing material such as cotton balls, shredded paper, plastic bags, or fiberfill. Using high-quality tape will significantly improve the squishy's durability. Consider a thicker packing tape for added strength.
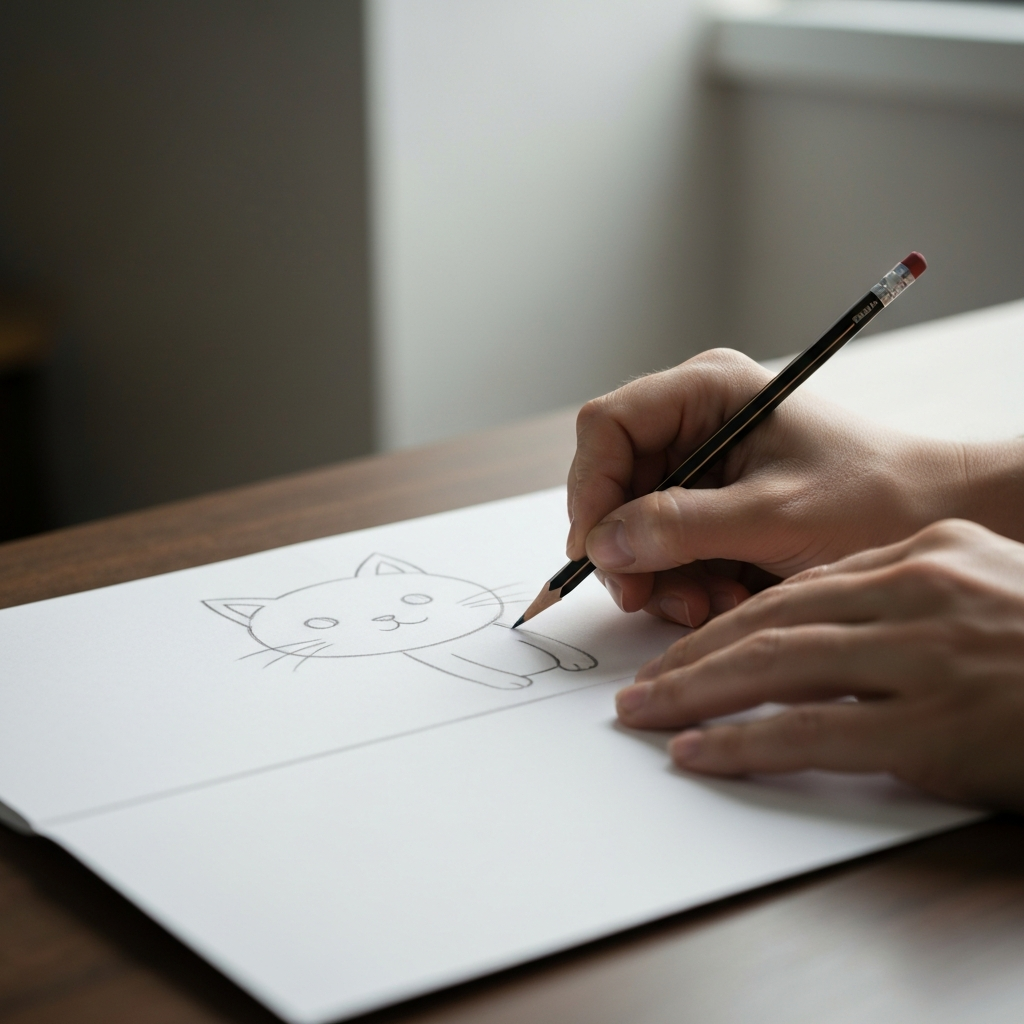
Step 2: Design Your Squishy
Now comes the fun part: designing your squishy! Fold your paper in half. Using your pencil, lightly sketch your desired shape onto one side of the folded paper. This ensures that your design will be symmetrical. Don't be afraid to experiment with different shapes and sizes. Keep in mind the complexity of your design; intricate details might be challenging to cut and tape effectively. Consider drawing a simple shape to start, like a heart, star, or a cartoon character.
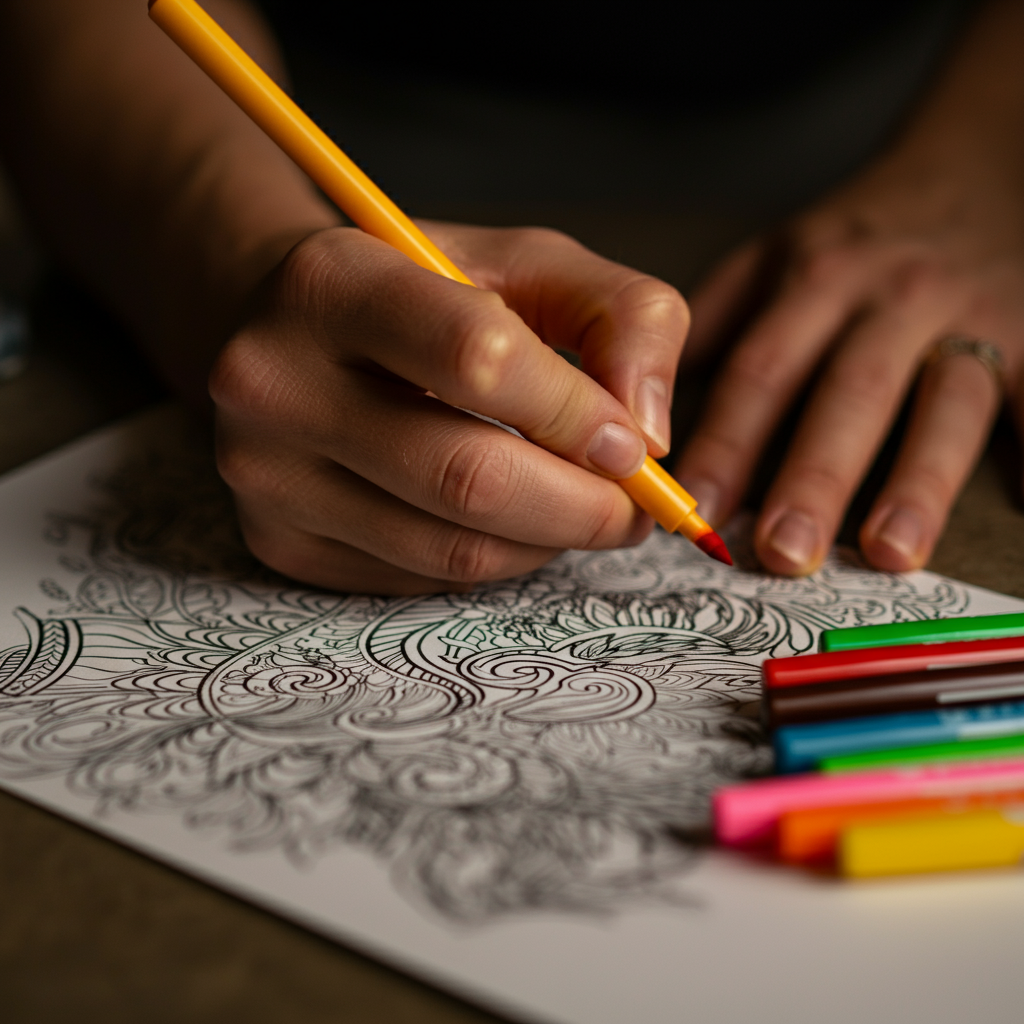
Step 3: Outline and Color
Once you're happy with your pencil sketch, trace over it with a fine-tipped pen or marker. This will create a clean and defined outline for your squishy. After the ink has dried completely, carefully erase the pencil lines. Now it's time to add color! Use markers or colored pencils to bring your squishy to life. Consider using blending techniques to create smooth gradients and add depth to your design. Experiment with different color combinations and patterns to make your squishy truly unique.
Step 4: Cut and Assemble
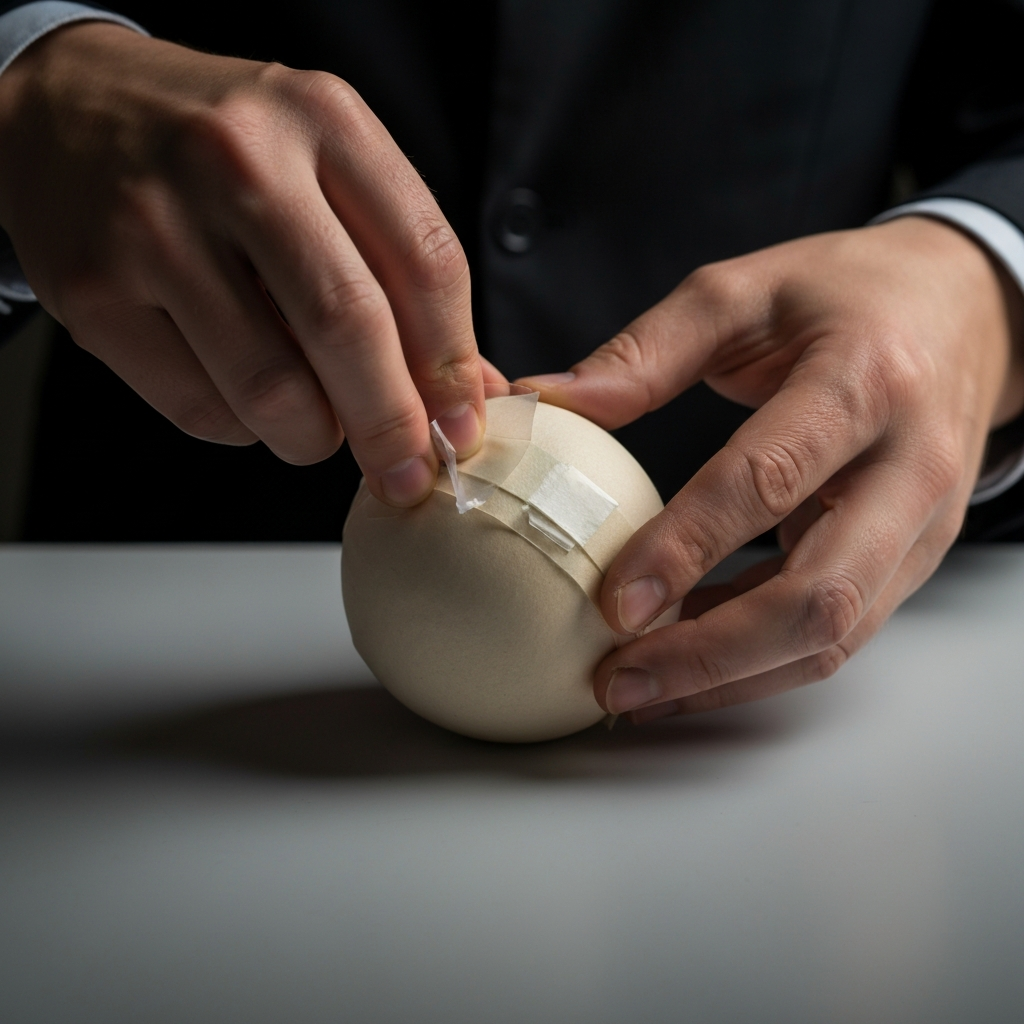
Carefully cut out your design along the outlined edges, keeping the paper folded. This will give you two identical pieces. Now for the trickiest part: taping the edges together. Start by taping along the folded edge to connect the front and back of your squishy. Then, working slowly and carefully, tape the remaining edges together, leaving a small opening for stuffing. Use small strips of tape to avoid wrinkles and bubbles, which can compromise the squishy's smoothness. Overlap the tape slightly to create a strong and airtight seal.
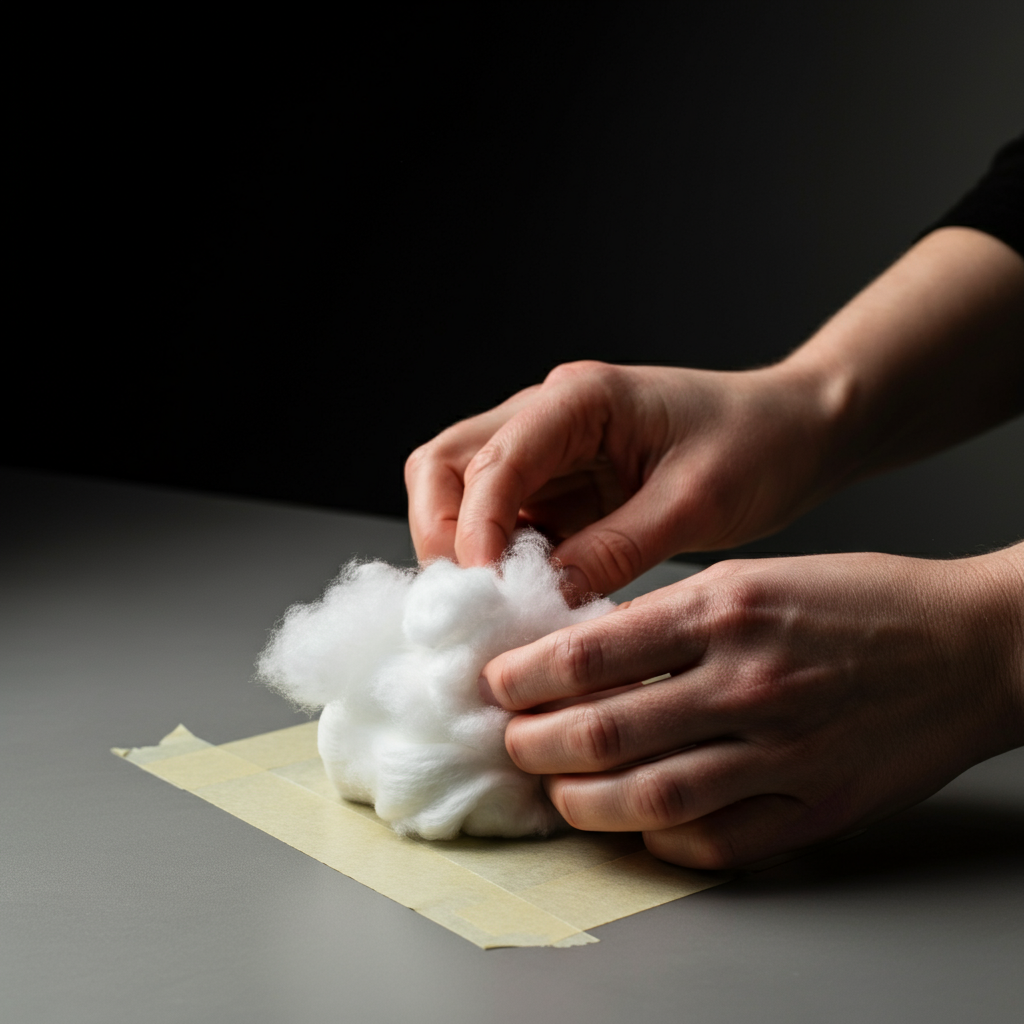
Step 5: Stuff and Seal
Now, carefully stuff your squishy with your chosen filling material. Don't overstuff it, as this can cause the paper to tear. Aim for a balance between firmness and squishiness. Once you're satisfied with the amount of stuffing, seal up the remaining opening with tape. For a slower-rising effect, try placing your stuffing inside a plastic bag with tiny holes poked in it. This will restrict the airflow and create a more satisfying squish.
Common Mistakes to Avoid
- Using thin or low-quality tape: This can lead to tears and a less durable squishy. Invest in good-quality tape for a longer-lasting creation.
- Overstuffing: Too much stuffing can cause the paper to rip or the seams to burst.
- Leaving gaps in the taping: Air leaks will prevent your squishy from being properly squishy. Ensure all edges are securely sealed.
- Using wet or messy fillings: This can damage the paper and create a soggy squishy. Stick to dry and clean stuffing materials.
Pro Tips
- For added durability, cover the entire squishy with tape after it's assembled.
- Experiment with different stuffing materials to achieve different squishiness levels.
- Add glitter or other embellishments to personalize your squishy.
- Consider using cardstock instead of printer paper for a sturdier base.
FAQ Section
- Can I use glue instead of tape?
- While glue can be used, it's not as effective as tape for creating a strong and airtight seal. Tape is generally the preferred method for paper squishies.
- What's the best type of stuffing to use?
- The best stuffing depends on your desired level of squishiness and the materials you have available. Cotton balls, fiberfill, and shredded paper are all good options.
- How do I prevent my squishy from tearing?
- Use high-quality tape, avoid overstuffing, and handle your squishy gently.
Safety Considerations
Always supervise children when using scissors or sharp objects. Be mindful of small parts that could pose a choking hazard to young children. Ensure that all materials used are non-toxic.
Tools or Materials Required
- Paper
- Scissors
- Clear Tape
- Markers/Colored Pencils
- Pencil
- Eraser
- Fine-Tipped Pen (Optional)
- Stuffing Material (Cotton Balls, Shredded Paper, Fiberfill, Plastic Bags)
Conclusion
Creating a paper squishy is a fun, creative, and affordable project that can be enjoyed by people of all ages. By following these simple steps and incorporating the tips and tricks provided, you can create a unique and satisfying squishy that's sure to bring a smile to your face. Remember, the key to a successful paper squishy is careful construction, proper sealing, and a touch of creativity. So go ahead, gather your materials, and let your imagination run wild! Happy squishing!