Tired of the darkness? A nightlight offers comfort and a gentle glow, making bedtime routines easier and navigating your room at night safer. While store-bought nightlights are readily available, creating your own adds a personal touch and can be a fun and engaging project. This guide will walk you through crafting a unique cardboard castle nightlight, using readily available materials and simple techniques. Get ready to transform ordinary items into a magical source of light!
This project is perfect for crafting enthusiasts of all ages, with adult supervision recommended for younger participants. We'll explore the basic construction, decorative elements, and safety precautions to ensure a rewarding and illuminating experience. Embrace your creativity and let's begin!
Ready to chase away the shadows with a DIY masterpiece? Let's dive into the step-by-step instructions.
Step 1: Gather Your Materials
Prepare Cardboard Squares
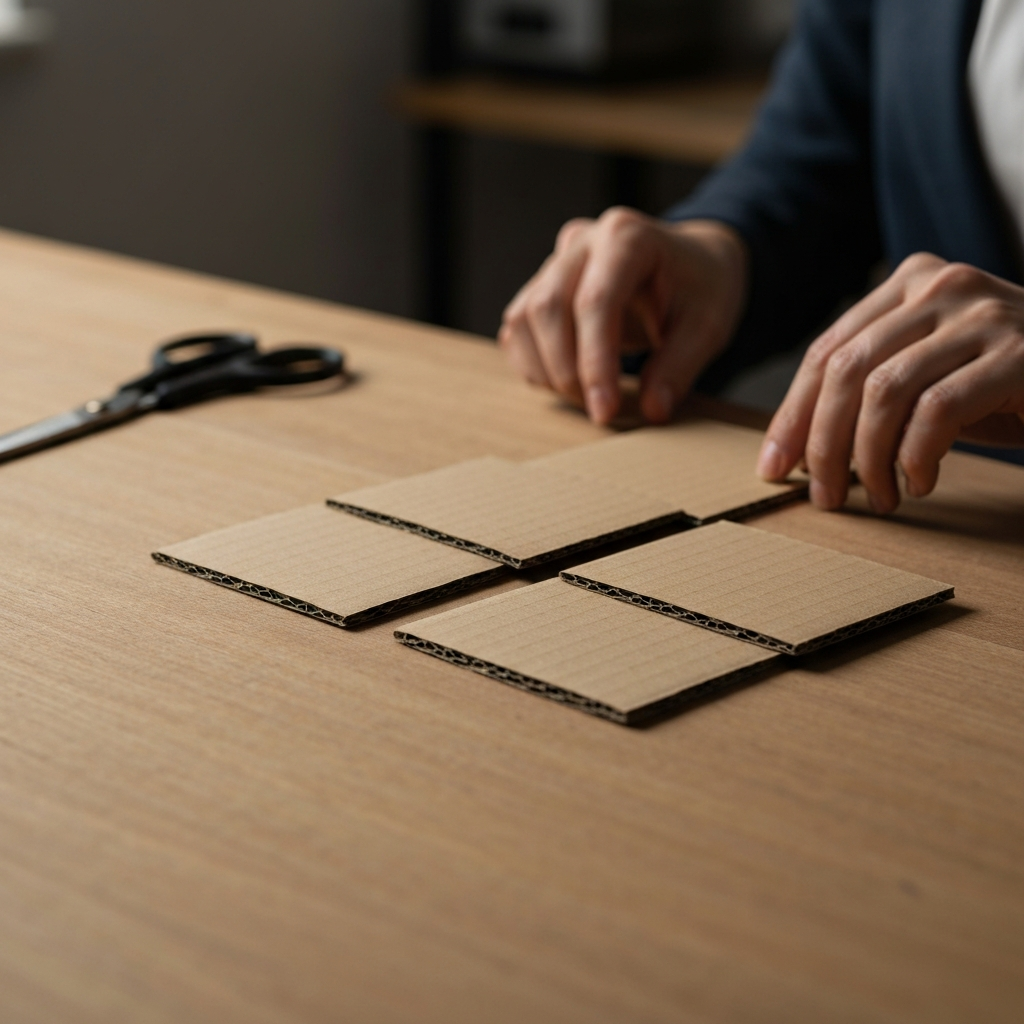
Begin by cutting four square pieces of cardboard. Aim for dimensions of approximately 6 centimeters (2.4 inches) for each side. These squares will serve as the base of your castle's turrets. If you desire a larger nightlight, simply increase the dimensions of the squares accordingly, but remember to adjust other components to match the scale. Ensure the cardboard is clean and free from any excessive bends or creases for a sturdier construction.
Step 2: Prepare the Turret Cylinders
Acquire and Modify Kitchen Rolls
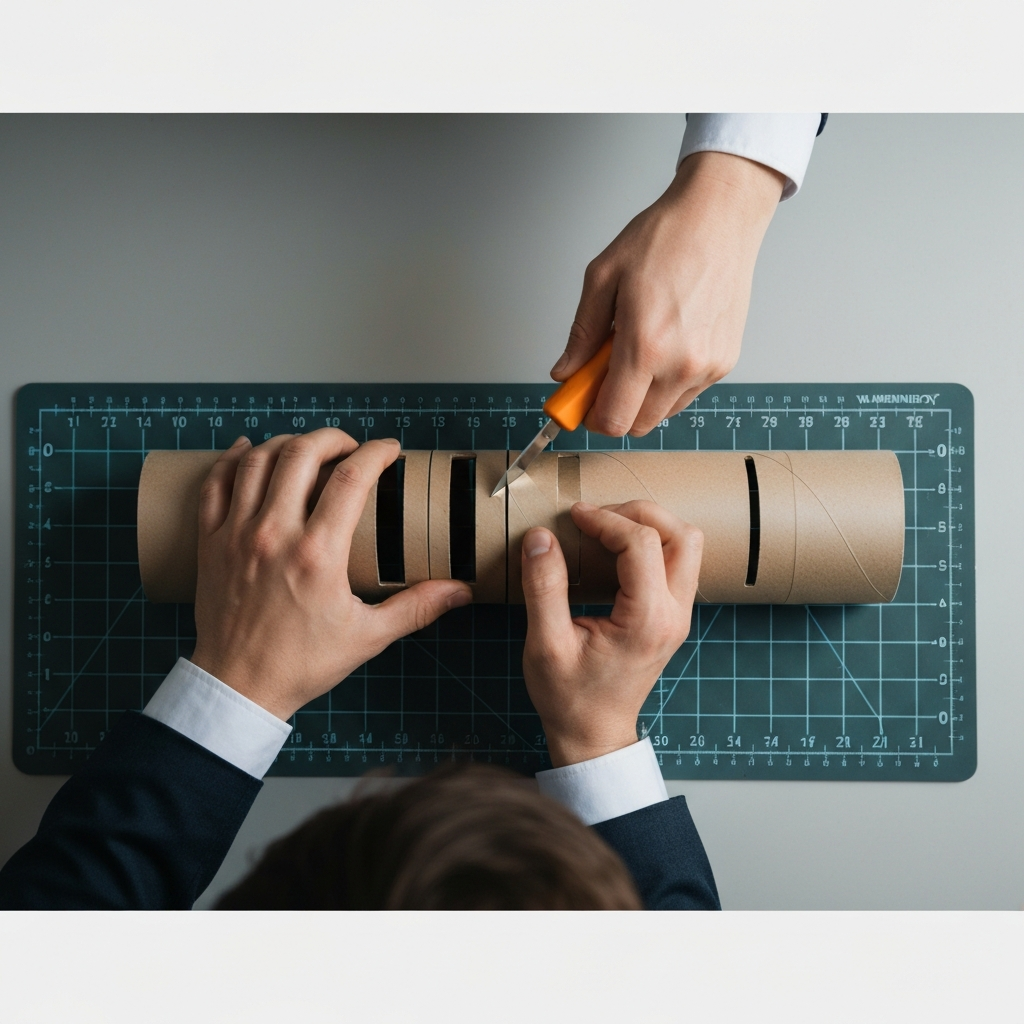
Next, obtain four empty kitchen rolls (or similar hollow cylindrical objects). The rolls should be approximately twice the height of your cardboard squares. This proportion will provide a visually appealing turret height for your castle. Now, on two opposite sides of each roll, carefully create slots. These slots should be wide enough to accommodate the thickness of your cardboard squares. Crucially, leave a small gap (around 0.2 centimeters or 0.1 inches) from the bottom edge of the roll when making these slots. This space ensures the cardboard sits flush with the base later on.
Step 3: Assemble the Castle Structure
Construct the Turret Framework
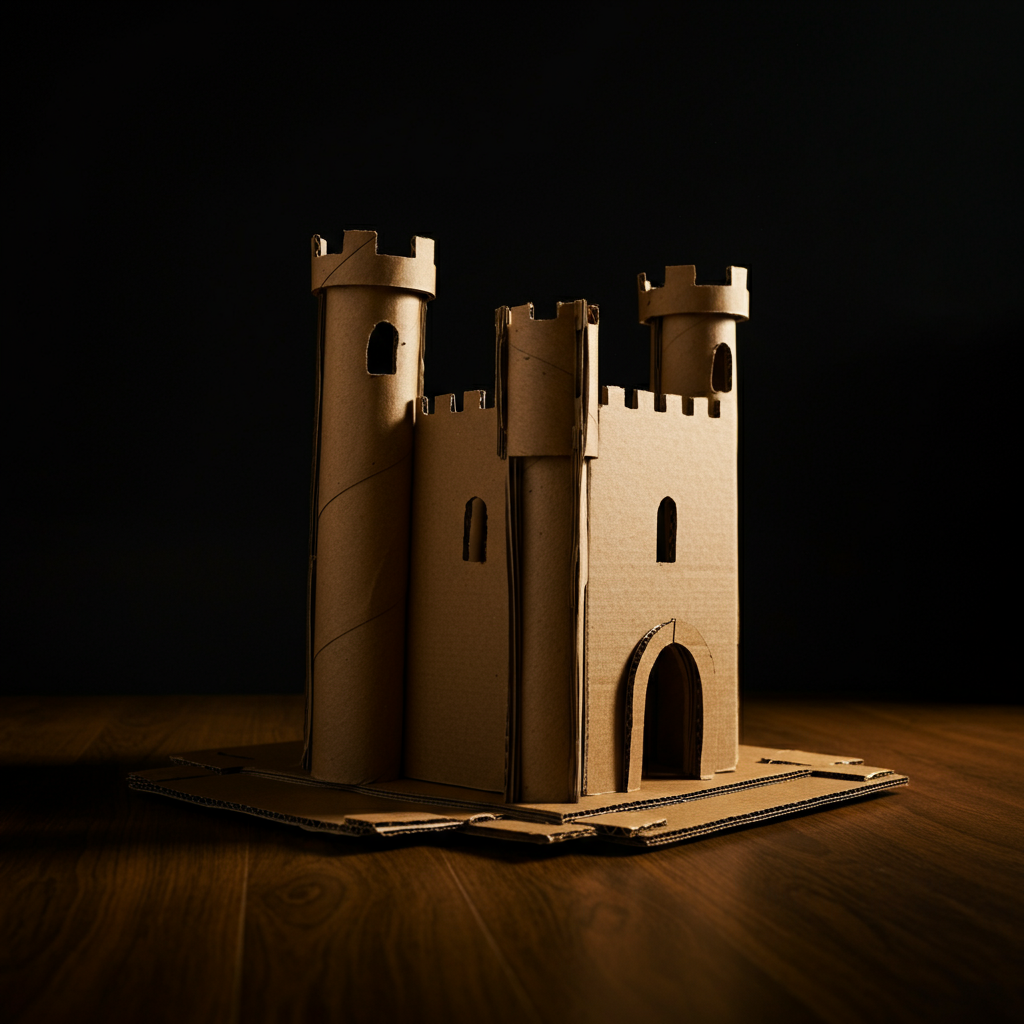
Carefully insert the cardboard squares into the slots of the kitchen rolls. Arrange the rolls in a square formation, with the cardboard pieces connecting them. This creates the basic framework of your castle, with the kitchen rolls acting as the turrets. Make sure each cardboard piece is securely fitted into the slots to maintain the structural integrity of the castle. Double-check that the square is even and that no rolls are significantly out of alignment.
Step 4: Create the Turret Roofs
Shape and Attach Cone Roofs
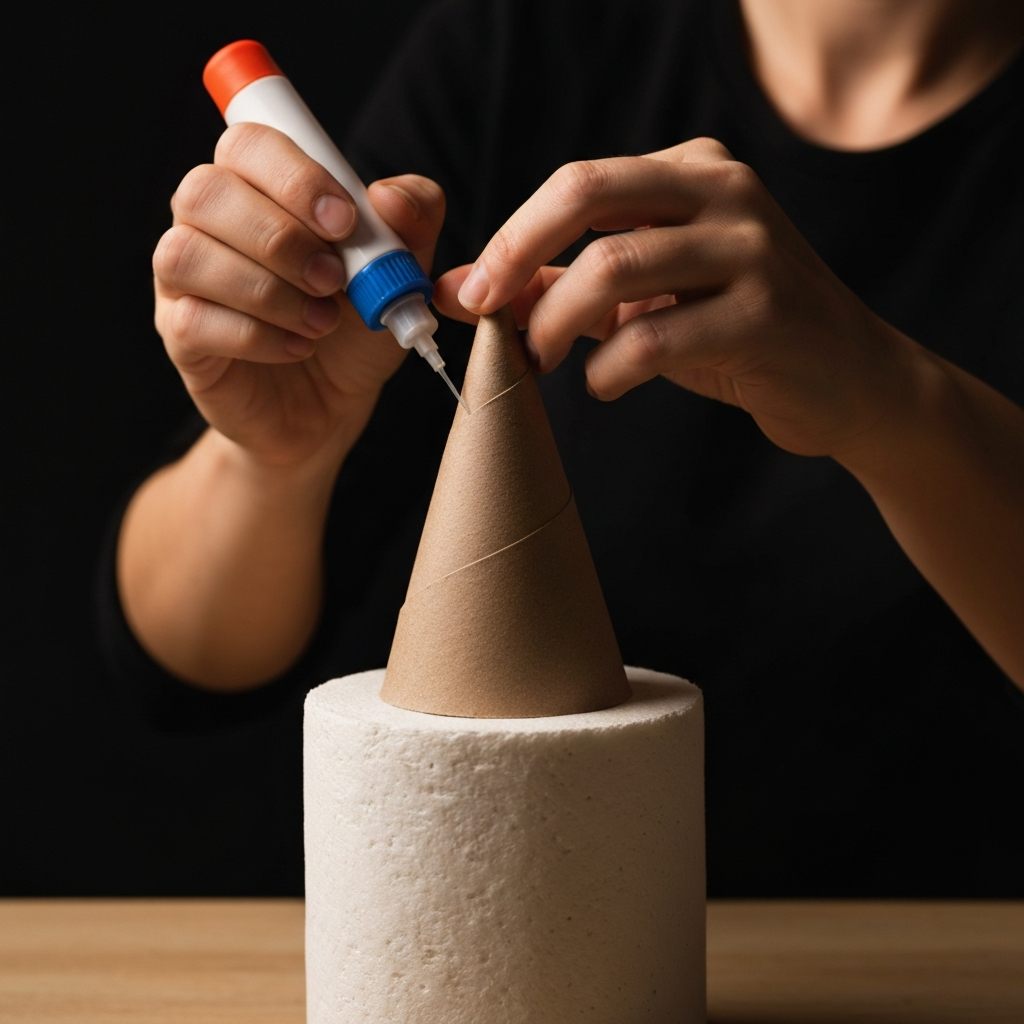
To create the roofs for your turrets, cut out four small semicircles of cardboard. Fold each semicircle to form a cone shape. Secure the edges of the cone with glue or tape to maintain the shape. Once the cones are formed, carefully attach them to the top of each kitchen roll using PVA glue. Ensure the cones are centered on the turrets for a balanced and aesthetically pleasing look. Allow the glue to dry completely before proceeding to the next step.
Step 5: Design the Castle Details
Draw and Cut Out Windows and Doors
Now, it's time to add details to your castle walls. Using a pen or marker, draw an arched door on one side of the castle and windows on the other three walls. Get creative with your designs, but avoid drawing bars or lines that cut directly through the center of the windows or doors as this will make the cutting process more challenging. Once you are satisfied with your drawings, carefully punch a small hole in one side of each window and door using scissors or a craft knife. Then, insert the scissors into the hole and carefully cut out the shapes.

Step 6: Add Color and Translucency
Apply Colored Paper to Openings
Take pieces of colored translucent paper (gateway paper or similar) and cut them slightly larger than the windows and door openings. Paste these bits of paper behind the openings, covering the holes you cut out in the previous step. This will create a colorful and translucent effect when the nightlight is illuminated. Use PVA glue to attach the paper securely. Ensure the entire opening is covered to prevent any harsh light from escaping.
Step 7: Create a Light Diffuser (Optional)
Construct and Attach a Top Layer
To further diffuse the light and create a softer glow, you can create a top layer for your castle. Cut a large piece of translucent paper slightly larger than the entire castle structure. Cut circular openings on the edges of the paper, matching the circumference of the turrets. Place this paper over the top of the castle, covering the open area. Fold any extra strip of paper around the outside of the castle and secure it with glue. This layer will help distribute the light evenly and create a more pleasing ambiance.
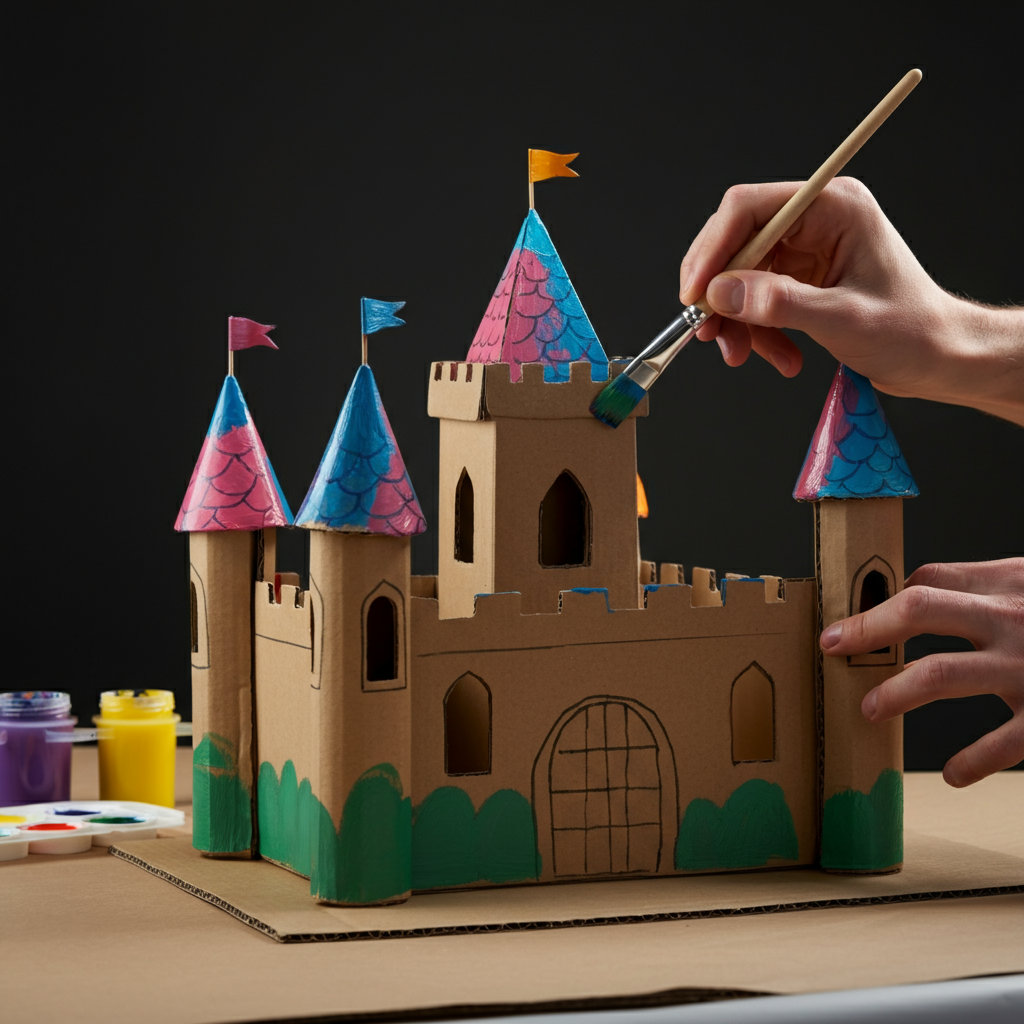
Step 8: Personalize with Color
Paint and Decorate the Castle
Now comes the fun part! Colour up your castle with any colors you desire. Bright and cheery colours work particularly well for a nightlight. Use paints, markers, or coloured pencils to add your personal touch. You can also add decorative designs using gold or silver pens or markers for extra flair. Let your imagination run wild and create a truly unique and personalized nightlight.
Step 9: Adding Optional Rock Details
Prepare and Attach Newspaper Rocks
To enhance the castle's aesthetic and ground it in a more realistic landscape, consider adding rocks around the base. Tear off large pieces of newspaper and crumple them into irregular shapes. These will serve as your rocks. Cover the crumbled pieces of paper entirely with PVA glue and set them aside to dry completely. Once the glue has dried, the newspaper rocks will be firm and ready to be attached to the base of your castle.
Step 10: Construct the Base
Create a Stable Foundation
Take a piece of box cardboard that is larger than the entire castle structure. This will serve as the base for your nightlight. Make a circular hole in the center of the cardboard, sized to accommodate your chosen light source (e.g., a small LED torch). The hole should be snug enough to hold the torch securely but not so tight that it damages it.
Step 11: Assemble the Final Structure
Glue the Castle to the Base
Apply a generous amount of PVA glue to the bottom edges of the castle and carefully glue it to the base, ensuring it is centered around the hole you created for the light source. If you created newspaper rocks in Step 9, glue them around the base of the castle as well, arranging them to create a natural-looking landscape. Allow the glue to dry completely before proceeding.
Step 12: Conceal the Light Source (Optional)
Add a Covering for the Torch
If you want to conceal the light source (torch) sticking out of the bottom, take another kitchen roll that is longer than the torch. Cover the torch with the roll and glue the top of the roll to the base. This will create a neat and tidy appearance. Cut out a section of the roll covering the torch switch to allow easy access for turning the nightlight on and off.
Step 13: Ensure Stability
Add an Additional Base Layer
To provide extra stability to your nightlight, take another piece of cardboard that is larger than the base. Glue the bottom of the kitchen roll (covering the torch) to this card. This will create a wider base and prevent the nightlight from tipping over easily.
Tools or Materials Required
- Cardboard box card
- Kitchen rolls
- Paints
- Scissors
- Pen
- Gold/Silver pens/markers
- Gateway paper, or any other coloured translucent paper
- Newspaper - optional
- PVA Glue
- Small LED Torch or Battery-Powered Light
- Cutting Mat
- Craft Knife (Adult supervision required)
Safety Considerations
- Adult supervision is recommended, especially when using scissors or craft knives.
- Be careful when handling PVA glue. Avoid getting it in your eyes.
- Use a battery-powered LED light source to avoid any fire hazards. Never use candles or other open flames inside the cardboard structure.
Common Mistakes to Avoid
- Using too much glue, which can cause the cardboard to warp.
- Cutting the windows and doors too large, which can weaken the structure.
- Not allowing the glue to dry completely before proceeding to the next step.
- Using a light source that is too hot, which can create a fire hazard.
Pro Tips
- Experiment with different colors and designs to create a truly unique nightlight.
- Use recycled materials whenever possible to reduce waste.
- Add glitter or other embellishments to make your nightlight sparkle.
- Consider adding small battery-operated fairy lights inside the castle for a magical effect.
FAQ Section
Q: What kind of light source should I use?
A: A small LED torch or battery-powered light is the safest and most practical option. Avoid using candles or other open flames.
Q: How can I make the light brighter?
A: Use a brighter LED or add more windows to the castle. You can also use thinner translucent paper.
Q: Can I use different types of glue?
A: PVA glue is recommended because it dries clear and is relatively non-toxic. However, other craft glues can also be used.
Conclusion
Creating your own cardboard castle nightlight is a rewarding and enjoyable project. By following these steps, you can transform simple materials into a charming and functional source of light. Remember to prioritize safety, unleash your creativity, and enjoy the soft, comforting glow of your homemade masterpiece!