In today's world, expressing your individuality is key, and your tech accessories are no exception. While pre-made iPod cases offer a basic level of protection, they often lack personality. This guide will walk you through a simple and affordable method to create a unique and eye-catching case for your iPod, transforming it into a true reflection of your style. This approach primarily focuses on aesthetic customization rather than robust protection, so be mindful of the increased risk of scratches or minor impacts.
This project leverages readily available materials and doesn't require specialized skills. Whether you're a seasoned crafter or a complete beginner, you'll find this process straightforward and enjoyable. Get ready to unleash your creativity and give your iPod a personalized makeover! Remember, this method is best suited for adding visual flair, not heavy-duty protection. Consider this as a decorative skin rather than a shock-absorbing case.
Let's get started on making your iPod stand out from the crowd with this easy and fun DIY project. The end result will be a beautiful, unique iPod that you can be proud to show off to your friends.
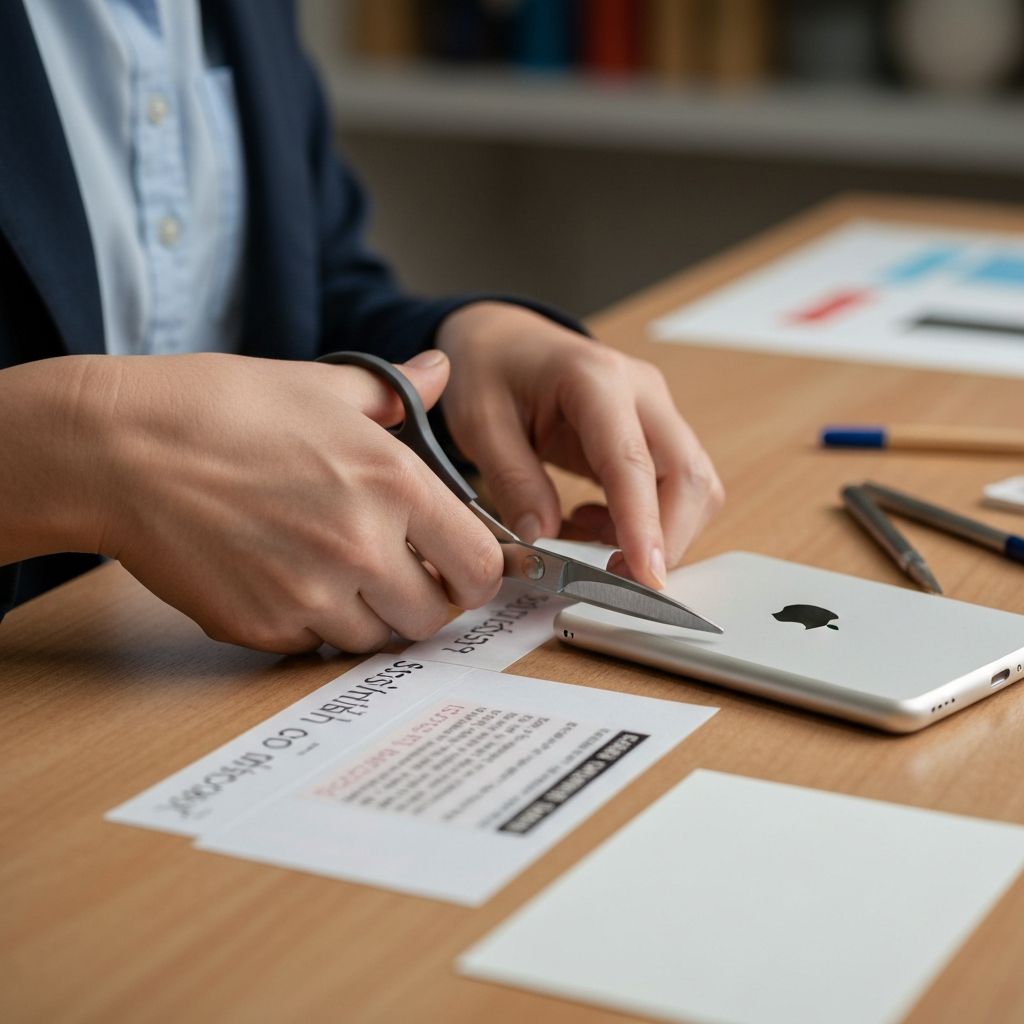
Step 1: Preparing the Adhesive Template
Begin by tracing the outline of your iPod onto the back of a colored sticky-back label. Ensure you capture the shape as accurately as possible, paying close attention to the corners and edges. Using sharp scissors or a craft knife, carefully cut out the traced shape. Precision is important here to ensure a snug and seamless fit on your iPod. A slightly oversized cut is preferable to one that's too small; you can always trim it down later.
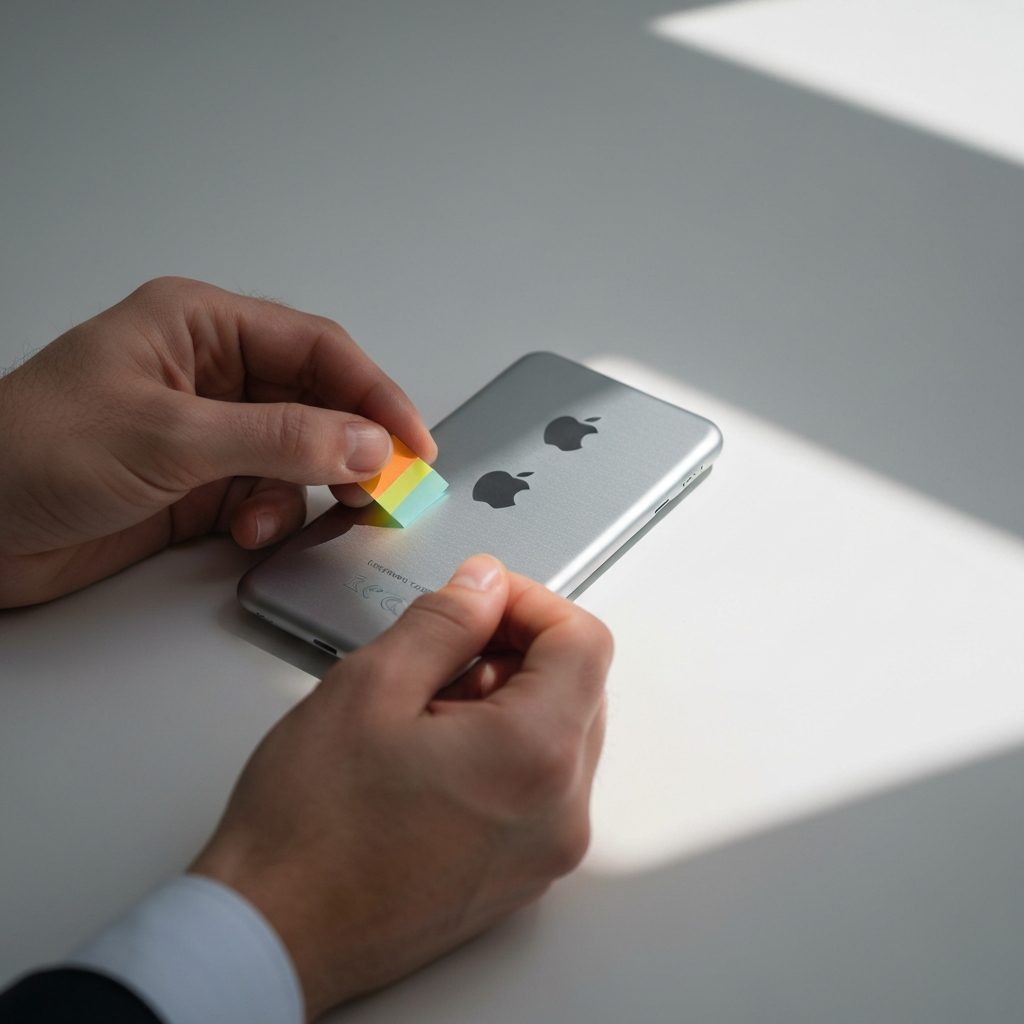
Step 2: Applying the Label to Your iPod
Carefully peel the backing off the sticky-back label, revealing the adhesive side. Align the label with the back of your iPod and gently press it into place. Smooth out any air bubbles or wrinkles to ensure a smooth and even application. Work from the center outwards to avoid trapping air. Take your time during this step, as a poorly applied label will detract from the overall appearance. If you encounter stubborn air bubbles, use a pin to gently prick them and smooth them out.
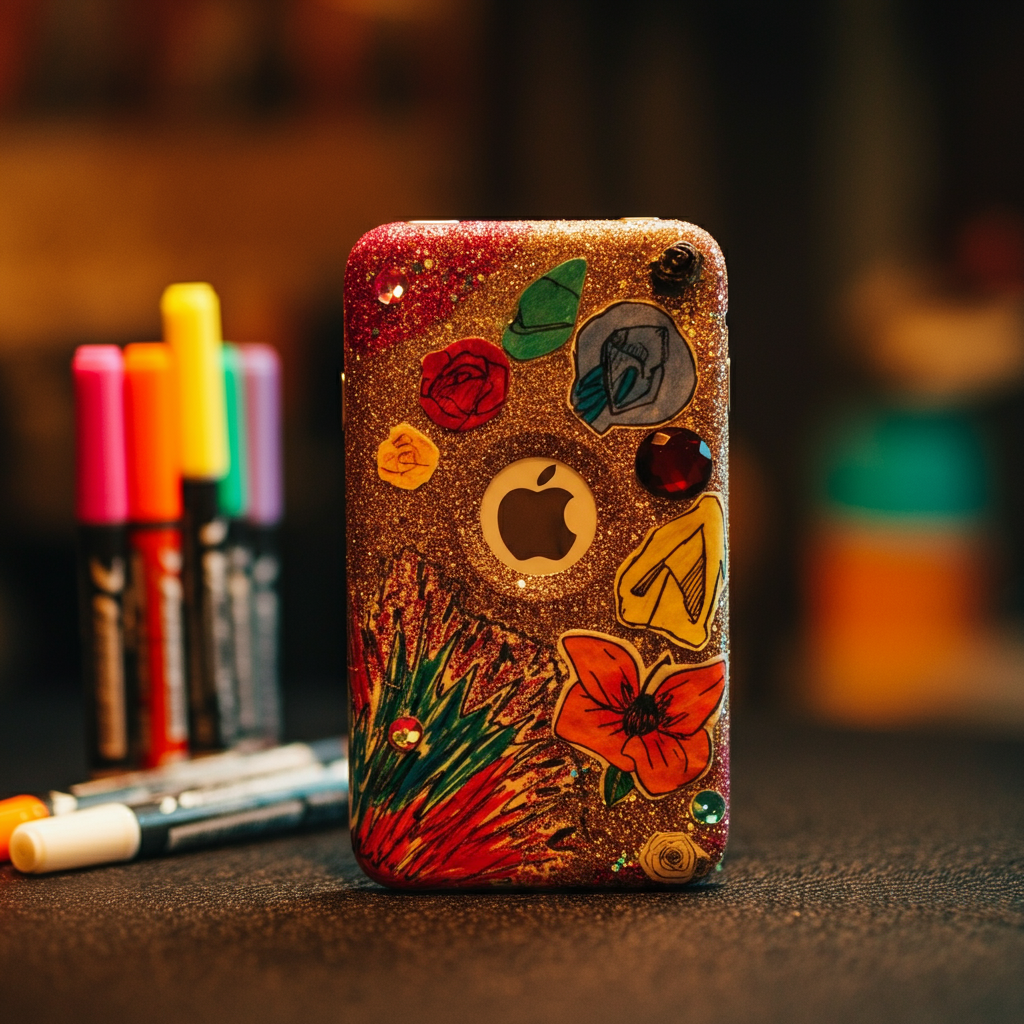
Step 3: Unleashing Your Creativity with Decoration
Now for the fun part: decorating your iPod case! Use permanent markers, stick-on rhinestones, stickers, or any other embellishments you desire to personalize your design. Consider creating patterns, drawing characters, or adding your initials. The possibilities are endless! Be mindful of the placement of your decorations, ensuring they don't obstruct the screen or any essential buttons or ports.
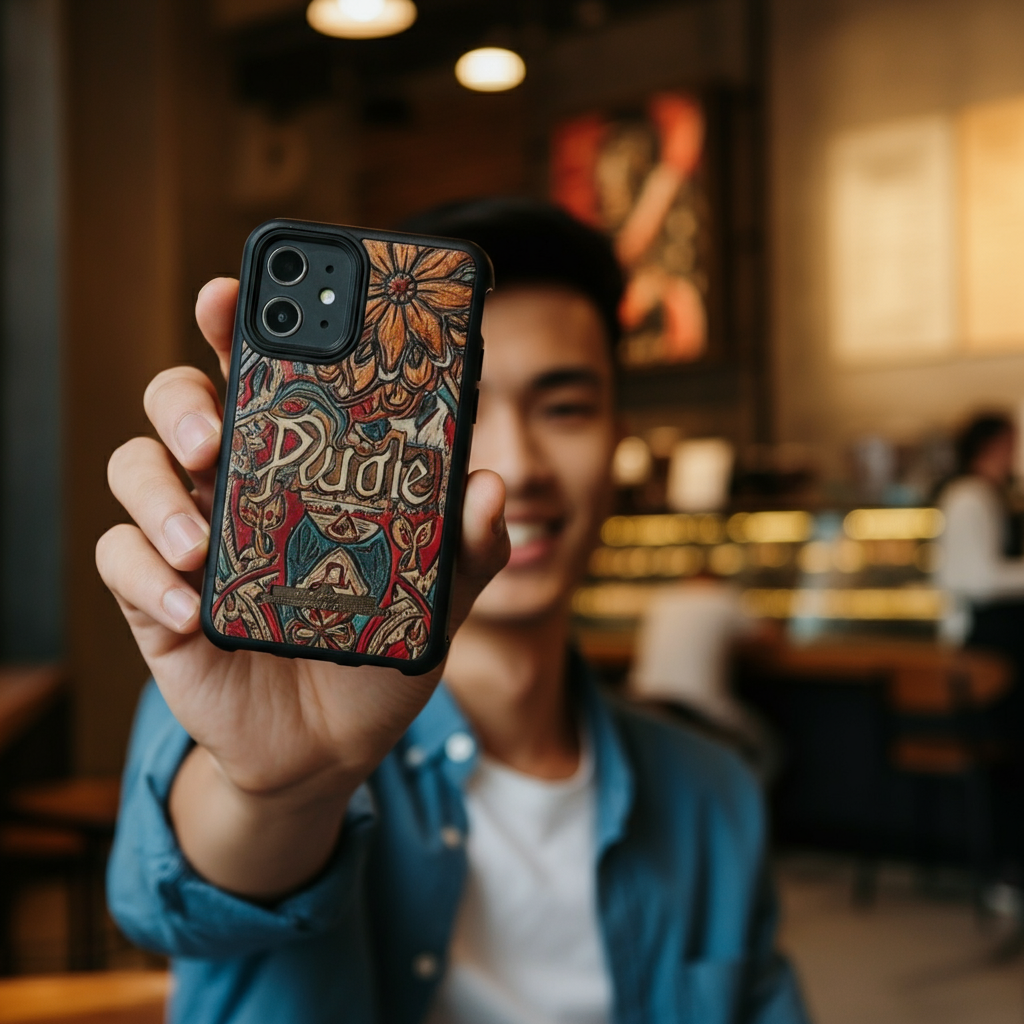
Step 4: Final Touches and Display
Once you're satisfied with your design, take a step back and admire your creation. Ensure all embellishments are securely attached. Gently clean the screen of any smudges or fingerprints. Now you can proudly display your unique and personalized iPod case to your friends! Remember, this case offers minimal protection, so handle your iPod with care. Regularly check the adhesive to ensure the label remains securely attached.
Tools or Materials Required
- A colored sticky-back label (or plain label and colored markers)
- Permanent markers (various colors)
- Stick-on rhinestones, stickers, or other embellishments (optional)
- Scissors or a craft knife
- A clean, lint-free cloth
Common Mistakes to Avoid
- Cutting the label too small, resulting in incomplete coverage.
- Applying the label unevenly, creating air bubbles or wrinkles.
- Obstructing the screen or ports with decorations.
- Using non-permanent markers that can smudge or fade.
- Over-decorating, resulting in a cluttered and unattractive design.
Safety Considerations
- Use caution when using scissors or a craft knife to avoid cuts.
- Ensure all embellishments are securely attached to prevent choking hazards, especially if children are present.
- Avoid using harsh chemicals or abrasive cleaners on the decorated case, as they may damage the design.
FAQ Section
Q: How long will the adhesive last?
A: The longevity of the adhesive depends on the quality of the sticky-back label and the conditions of use. Regularly check the label and replace it if it starts to peel.
Q: Can I use this method on other devices?
A: Yes, this method can be adapted for use on other small electronic devices, such as mobile phones or MP3 players. Simply adjust the size of the label to fit the device.
Q: Will this case protect my iPod from damage?
A: This case offers minimal protection from impacts or scratches. It is primarily for decorative purposes. Consider investing in a more robust case if you require significant protection.
Q: Can I remove the label without damaging my iPod?
A: Yes, you should be able to remove the label without damaging your iPod. Gently peel it off, and use a soft cloth to remove any remaining adhesive residue. Avoid using harsh solvents or abrasive cleaners, as they may damage the iPod's surface.
In conclusion, creating a personalized case for your iPod using sticky-back labels and embellishments is a fun and affordable way to express your individuality. While this method prioritizes aesthetics over robust protection, it allows you to transform your iPod into a unique and eye-catching accessory. By following these steps and considering the safety precautions, you can create a personalized case that reflects your style and personality. Remember to handle your iPod with care, as this type of case offers minimal protection against damage.