Laser engraving has revolutionized personalization and customization, offering a precise and efficient way to add intricate designs to a wide variety of materials. From intricate jewelry to personalized home decor, the possibilities are virtually endless. This guide will provide you with practical ideas and expert tips to spark your creativity and help you create stunning laser-engraved projects.
Whether you're a hobbyist looking to explore the potential of your laser engraver or a small business owner seeking profitable product ideas, understanding the nuances of laser engraving is essential. Choosing the right materials, optimizing your laser settings, and developing unique designs are all key factors in achieving professional-quality results. Mastering these skills will not only enhance your craft but also open doors to countless creative and commercial opportunities.
This comprehensive guide will walk you through a range of laser engraving ideas, from simple beginner projects to more advanced techniques. We'll explore various materials suitable for laser engraving, provide practical advice on design considerations, and offer valuable tips to ensure your projects are both beautiful and durable. Get ready to unlock the full potential of your laser engraver and bring your creative visions to life.
Step-by-Step Guide to Laser Engraving Projects
-
Step 1: Selecting the Right Material
The foundation of any successful laser engraving project lies in choosing the appropriate material. Different materials react differently to laser engraving, so it's crucial to understand their properties. Wood, for instance, is a popular choice due to its versatility and ease of engraving. However, the type of wood (e.g., hardwood vs. softwood) will affect the final result. Acrylic, leather, glass, and even some metals can also be laser engraved, each offering unique aesthetic possibilities. Consider the intended use of the final product when selecting your material – durability, appearance, and safety are all important factors.
-
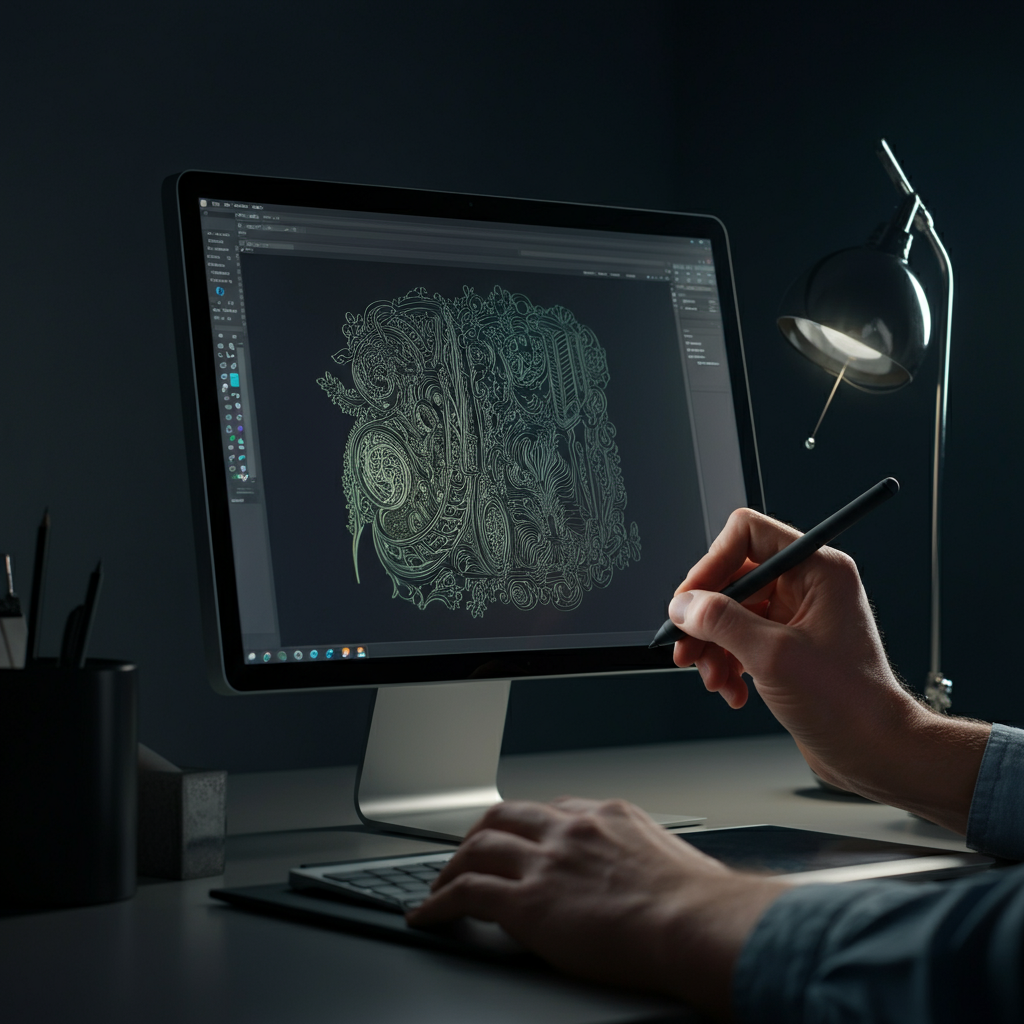
Step 2: Designing Your Engraving
A well-designed engraving is essential for achieving a professional look. Start with a clear concept and translate it into a digital design using vector graphics software like Adobe Illustrator or Inkscape. Pay close attention to line thickness, spacing, and the overall balance of the design. Consider the material you're engraving on and adjust the design accordingly – intricate details may not be visible on certain materials. Remember to convert all text to outlines to avoid font compatibility issues during the engraving process. Test your design on a scrap piece of the material to ensure it meets your expectations before committing to the final piece.
-
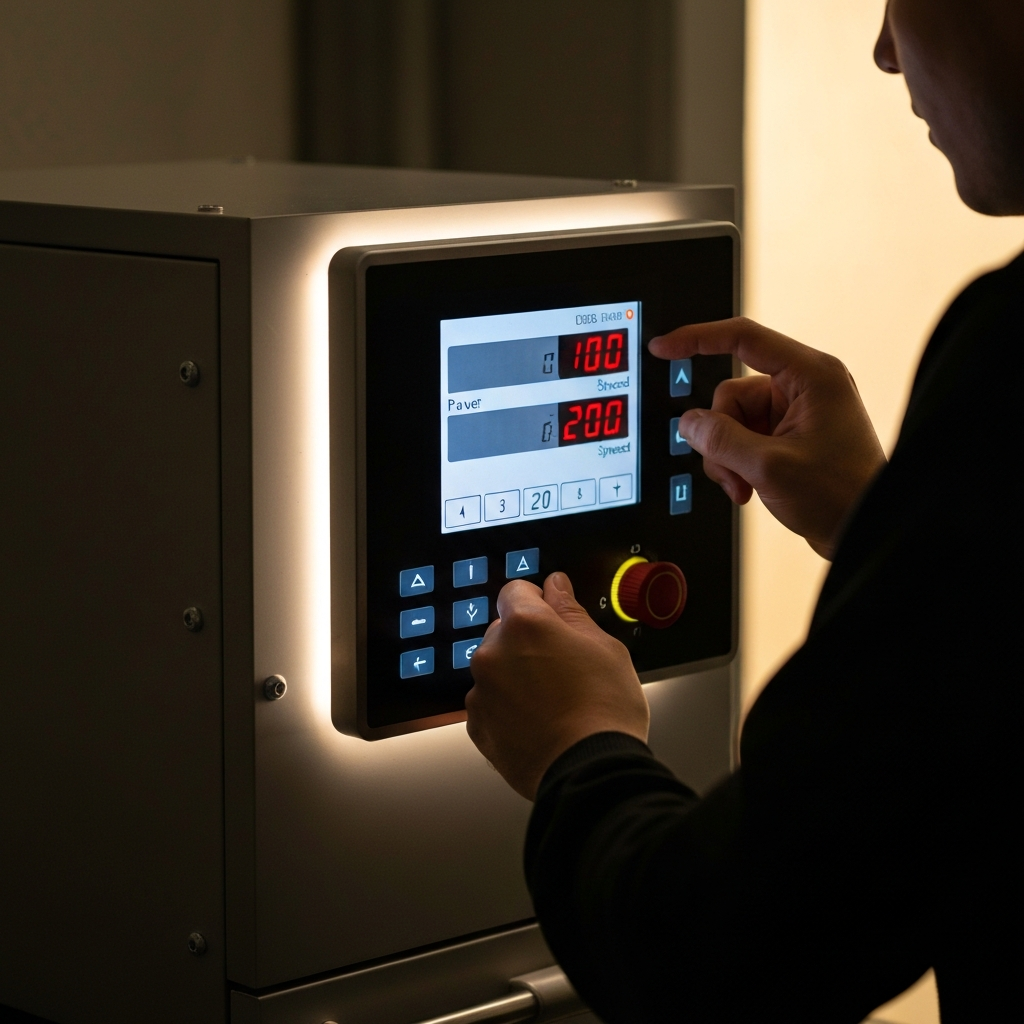
Step 3: Optimizing Laser Engraver Settings
Laser engraving settings, such as power, speed, and resolution, play a crucial role in the final outcome. The ideal settings will vary depending on the material, the desired depth of engraving, and the detail of the design. Start with the manufacturer's recommended settings for your material and make small adjustments based on test runs. Too much power can result in burning or charring, while too little power may not create a visible engraving. Experiment with different settings to find the sweet spot that produces the desired effect without damaging the material. Remember to always wear appropriate safety glasses during the engraving process.
-
Step 4: Preparing the Material
Proper preparation of the material is key to achieving a clean and consistent engraving. For wood, sanding the surface smooth can help remove imperfections and create a more even engraving. For materials like acrylic, removing the protective film or masking tape before engraving can prevent melting or burning around the edges. Ensure the material is clean and free of any dust or debris, as these can interfere with the laser beam. Secure the material firmly in the laser engraver to prevent movement during the engraving process, which can result in blurred or uneven results.
-
Step 5: Performing the Engraving
With your material prepared and your laser settings optimized, it's time to start the engraving process. Carefully position the laser head over the material, ensuring it's properly focused. Monitor the engraving process closely, making adjustments to the settings as needed. If you notice any issues, such as excessive burning or uneven engraving, pause the process and troubleshoot the problem before continuing. Once the engraving is complete, allow the material to cool before handling it, as it may be hot to the touch.
-
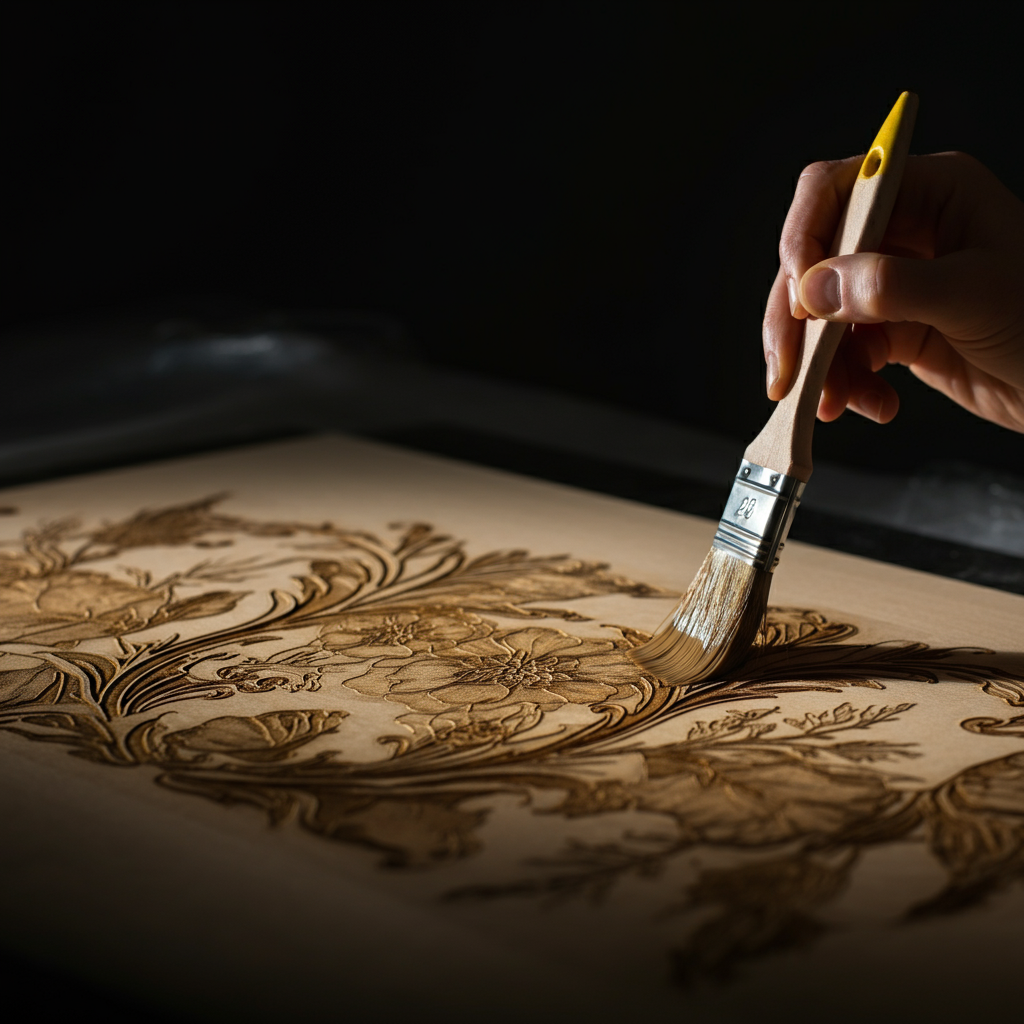
Step 6: Post-Processing and Finishing
After engraving, most projects benefit from some form of post-processing. This may involve removing any remaining residue, cleaning the engraved area, or applying a protective finish. For wood, sanding the edges and applying a sealant or varnish can enhance the durability and appearance. For acrylic, polishing the edges can create a smooth, professional finish. Consider adding decorative elements, such as paint or stain, to further enhance the design. The final step is to inspect the finished product carefully, ensuring it meets your quality standards.
Tools or Materials Required
- Laser Engraver
- Material to Engrave (wood, acrylic, leather, etc.)
- Vector Graphics Software (Adobe Illustrator, Inkscape)
- Safety Glasses
- Sandpaper (various grits)
- Sealant or Varnish (for wood)
- Cleaning Supplies (cloths, brushes)
- Masking Tape (optional)
Common Mistakes to Avoid
- Using Incorrect Laser Settings
- Failing to Prepare the Material Properly
- Not Wearing Safety Glasses
- Ignoring Material Safety Data
- Rushing the Engraving Process
Safety Considerations
Laser engravers use high-powered lasers that can be dangerous if not used properly. Always wear appropriate safety glasses to protect your eyes from the laser beam. Ensure the laser engraver is properly ventilated to remove harmful fumes. Keep a fire extinguisher nearby in case of a fire. Never leave the laser engraver unattended while it is in operation. Read and understand the laser engraver's manual before using it.
Pro Tips
- Use a test grid to determine the optimal laser settings for each material.
- Experiment with different engraving techniques, such as raster and vector engraving.
- Consider using a rotary attachment to engrave cylindrical objects.
- Join online laser engraving communities to learn from other enthusiasts.
- Invest in quality materials to ensure the best possible results.
FAQ Section
- What is the best type of laser engraver for beginners?
- Diode laser engravers are generally recommended for beginners due to their affordability and ease of use.
- Can I laser engrave metal?
- Yes, but you will need a more powerful laser engraver, such as a fiber laser or a CO2 laser with a metal marking spray.
- How can I prevent burning or charring during engraving?
- Reduce the laser power, increase the engraving speed, or use masking tape to protect the material.
- What software is recommended for creating laser engraving designs?
- Adobe Illustrator, Inkscape, and CorelDRAW are popular choices for creating vector graphics suitable for laser engraving.
Conclusion
Laser engraving offers a world of creative possibilities, from personalizing gifts to creating intricate works of art. By understanding the principles of material selection, design, laser settings, and safety, you can unlock the full potential of your laser engraver. Experiment with different materials and techniques, and don't be afraid to push the boundaries of your creativity. With practice and dedication, you'll be creating stunning laser-engraved projects in no time.