Felt pads are a homeowner's best friend when it comes to protecting hardwood, laminate, and tile floors from scratches and scuffs caused by moving furniture. However, these handy little protectors can sometimes have a frustrating habit of slipping, sliding, or falling off entirely. This not only renders them useless but can also leave sticky residue behind. The key to success lies in proper preparation, using the right materials, and employing a few clever techniques to ensure a secure and lasting bond.
This guide provides a comprehensive, step-by-step approach to keeping felt pads firmly in place, saving you time, money, and the aggravation of constantly replacing them. We'll cover everything from surface preparation to adhesive enhancement, ensuring your furniture glides smoothly and silently while safeguarding your floors.
Get ready to say goodbye to wobbly chairs and scratched floors! Let's get started.
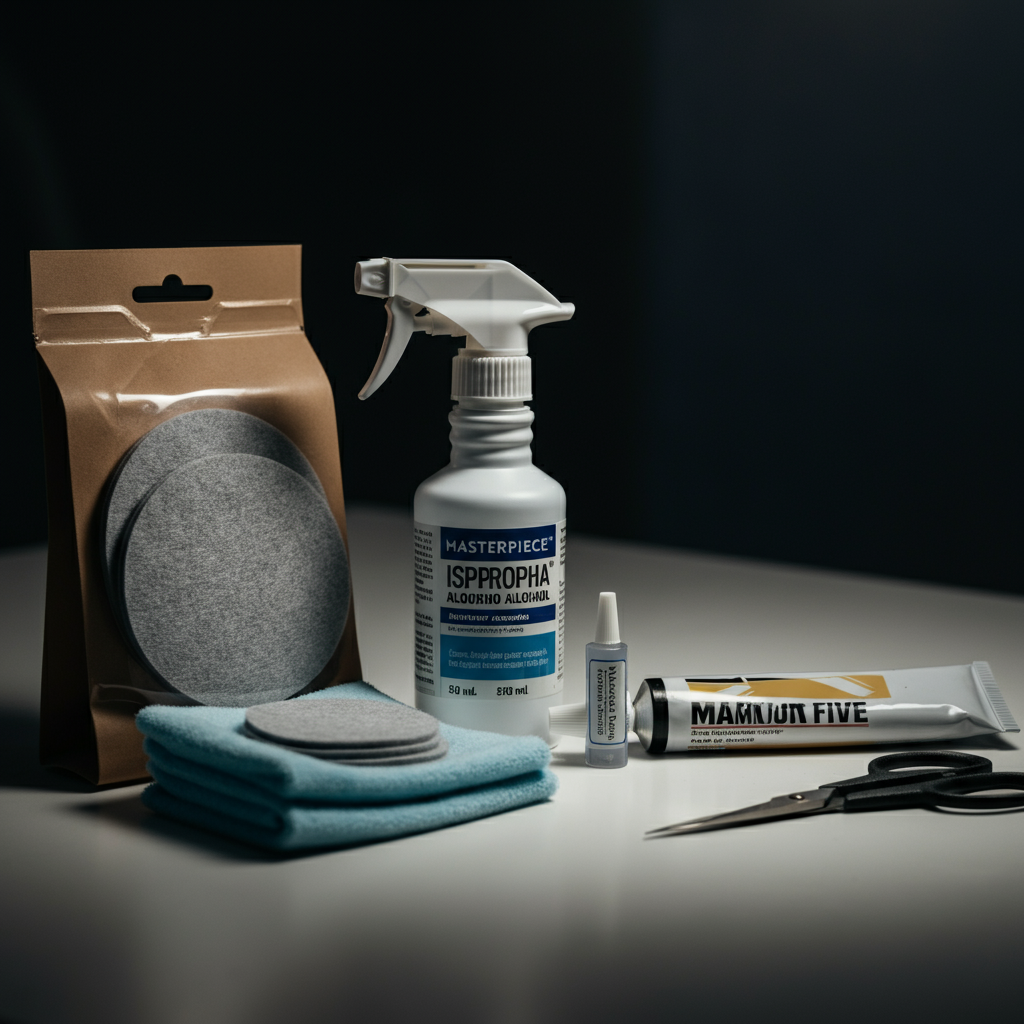
Step 1: Gather Your Supplies
Before you even think about touching your furniture, it's essential to have all the necessary tools and materials within easy reach. This will streamline the process and prevent interruptions that could compromise the quality of the application. Being prepared is half the battle when it comes to a successful DIY project.
- Felt Pads: Choose high-quality felt pads that are appropriate for the size and shape of your furniture legs. Consider heavy-duty options for larger, heavier items.
- Cleaning Solution: Isopropyl alcohol (rubbing alcohol) is ideal for removing grease and grime.
- Clean Cloth or Sponge: Use a lint-free cloth or sponge to apply the cleaning solution and dry the surface.
- Strong Adhesive (Optional): Consider a dedicated furniture adhesive or a high-quality construction adhesive for enhanced bonding. Hot glue can also work but may not be as durable long-term.
- Sandpaper (Optional): If the furniture leg has a glossy finish, a light sanding can improve adhesion. Use a fine-grit sandpaper.
- Scissors or Utility Knife: To trim felt pads if needed.
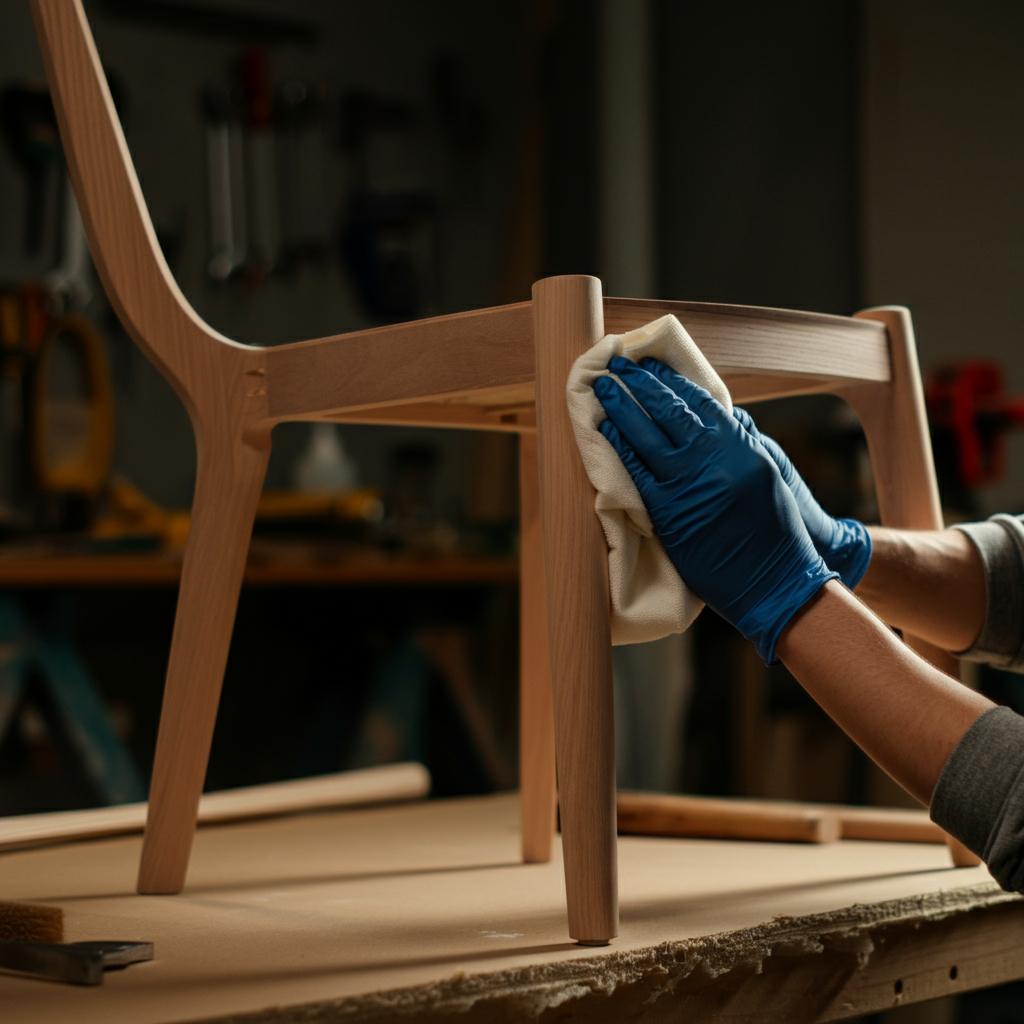
Step 2: Clean the Furniture Legs
This is arguably the most crucial step. Even the strongest adhesive will struggle to adhere to a dirty or greasy surface. Thoroughly clean the bottom of each furniture leg with isopropyl alcohol. This removes any lingering dirt, oils, or old adhesive residue that could interfere with the new felt pad's grip. Apply a small amount of alcohol to your cloth and vigorously scrub the surface until it feels clean to the touch. Allow the alcohol to evaporate completely before proceeding to the next step. Don't skip this step! Even seemingly clean furniture legs can harbor unseen contaminants.
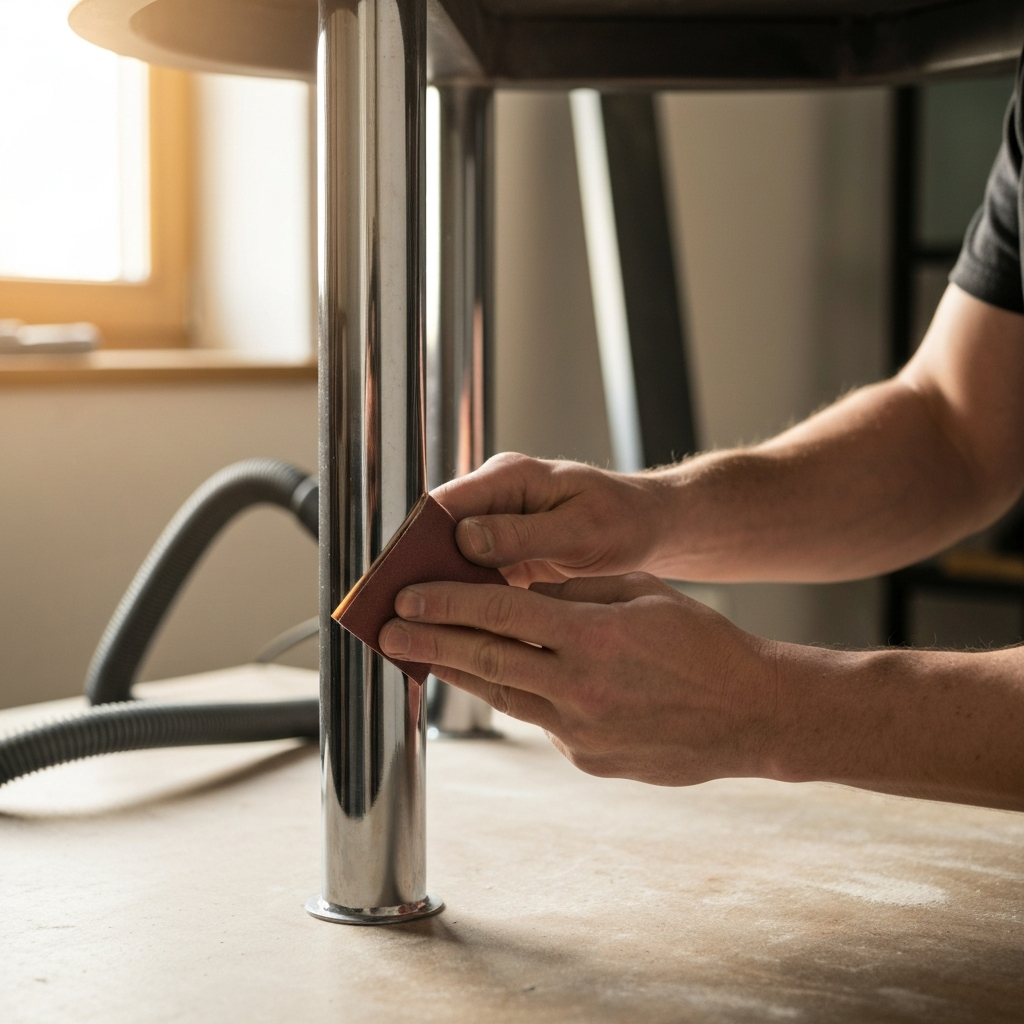
Step 3: (Optional) Sand the Surface
If your furniture legs have a particularly smooth or glossy finish, lightly sanding the surface can significantly improve the adhesion of the felt pads. The goal here is not to remove the finish entirely but to create a slightly rougher surface for the adhesive to grip onto. Use a fine-grit sandpaper (220 grit or higher) and gently sand in a circular motion. Be sure to wipe away any sanding dust with a clean cloth before proceeding. This step is especially beneficial for metal or plastic furniture legs.
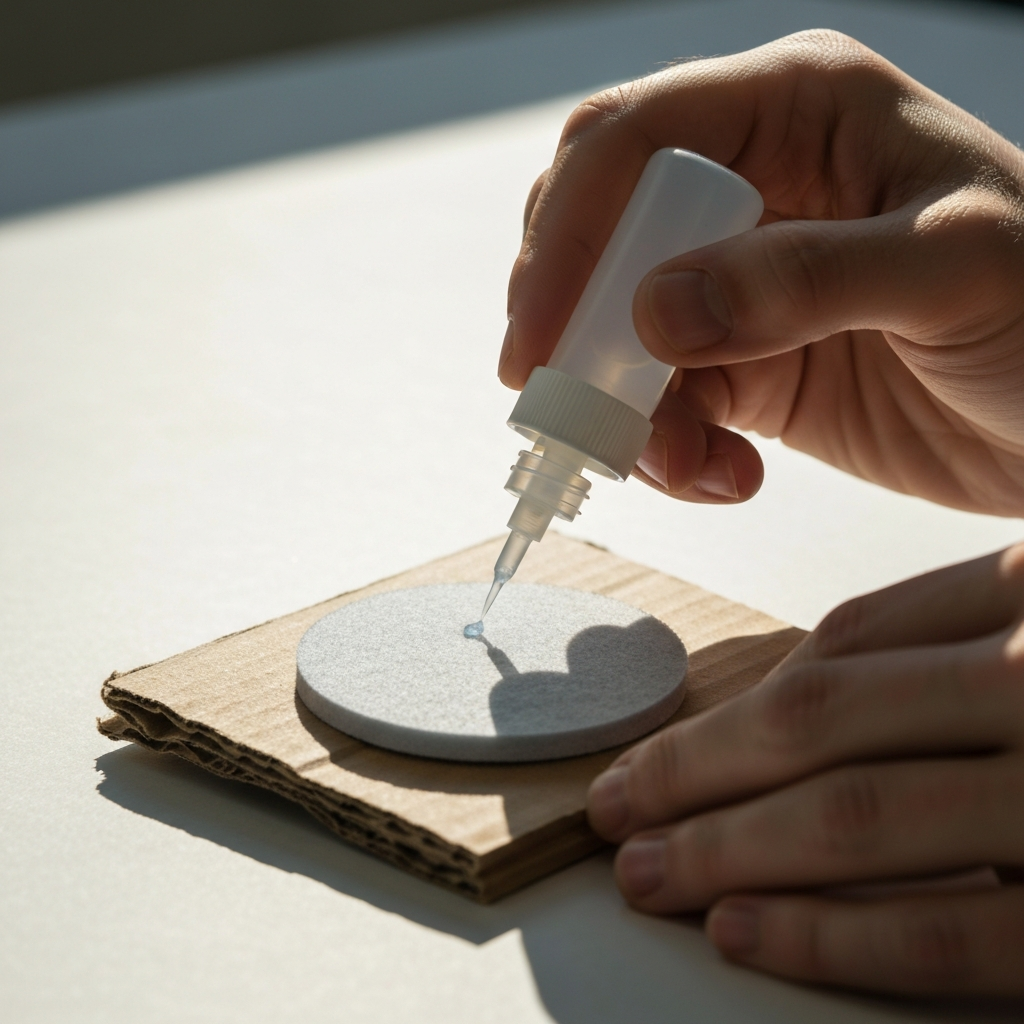
Step 4: Apply Adhesive (If Needed)
While many felt pads come with a self-adhesive backing, adding a dab of extra adhesive can dramatically increase their longevity, especially for furniture that gets frequent use. Apply a small amount of furniture adhesive or construction adhesive to the back of the felt pad, being careful not to use too much. You want a thin, even layer that will create a strong bond without oozing out from under the pad. If using hot glue, work quickly as it cools rapidly. For large furniture pieces, consider using a two-part epoxy for maximum strength.
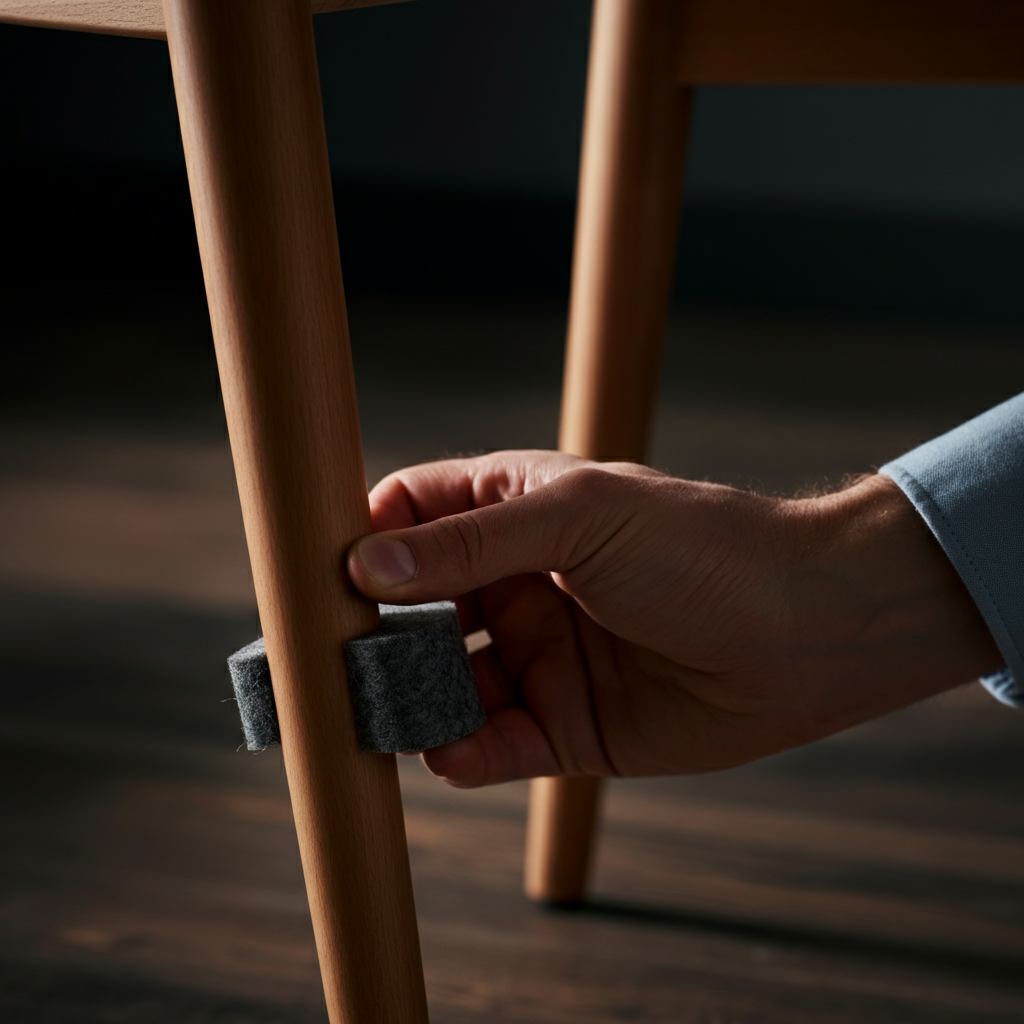
Step 5: Attach the Felt Pad
Carefully align the felt pad with the bottom of the furniture leg. Press firmly and evenly for at least 30 seconds to ensure a strong initial bond. The longer you can hold the pad in place, the better the adhesion will be. For added security, you can place a heavy object on top of the furniture leg while the adhesive cures (if using). Allow the adhesive to dry completely according to the manufacturer's instructions before moving the furniture. Avoid sliding or dragging the furniture during the curing process.
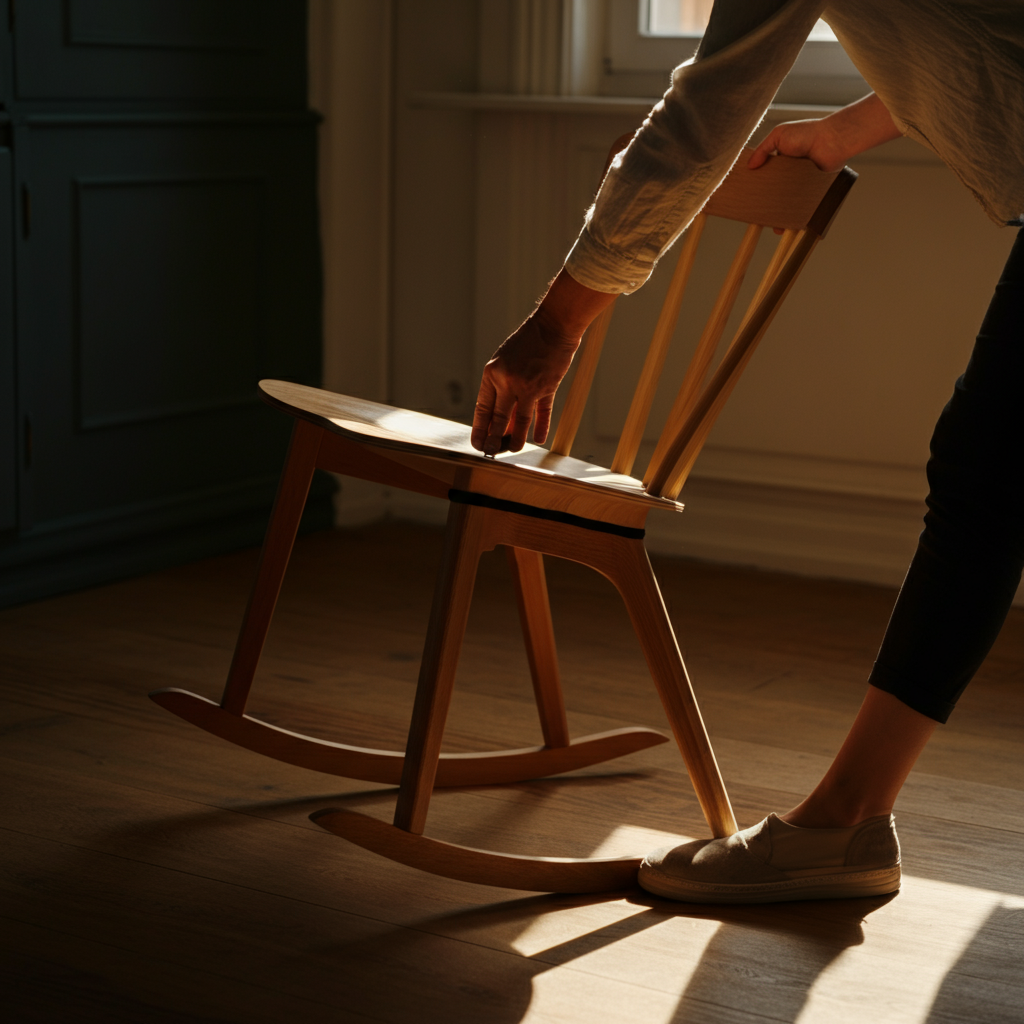
Step 6: Test and Inspect
Once the adhesive has fully cured, carefully test the stability of the felt pads. Gently rock the furniture back and forth to see if any pads are loose or shifting. If you notice any movement, re-apply adhesive and allow to dry again. Regularly inspect the felt pads for wear and tear. Replace them as needed to prevent damage to your floors. Worn or damaged pads can actually cause more harm than good.
Common Mistakes to Avoid
- Skipping the cleaning step: This is the most common mistake and the biggest reason why felt pads fail.
- Using too much adhesive: Excess adhesive can squeeze out and create a sticky mess.
- Not allowing enough drying time: Rushing the drying process can weaken the bond.
- Using the wrong type of felt pad: Choose pads that are appropriate for the size and weight of your furniture.
- Ignoring wear and tear: Replace worn-out pads promptly.
Pro Tips
- For extra heavy furniture, consider using felt pads with a screw-in attachment for maximum security.
- If you're concerned about the appearance of the felt pads, you can find them in various colors to match your furniture.
- Clean your floors regularly to prevent dirt and debris from accumulating under the felt pads.
FAQ Section
Q: How long do felt pads typically last?
A: The lifespan of felt pads depends on the frequency of use and the type of furniture. Generally, they last anywhere from a few months to a year.
Q: Can I reuse felt pads?
A: It's not recommended to reuse felt pads, as the adhesive will likely be compromised.
Q: What's the best way to remove old felt pads?
A: Use a putty knife or scraper to gently pry off the old pad. Use isopropyl alcohol to remove any remaining adhesive residue.
Conclusion
Keeping felt pads securely attached to your furniture is a simple yet effective way to protect your floors and maintain the beauty of your home. By following these steps and avoiding common mistakes, you can ensure that your felt pads stay in place and provide long-lasting protection. Remember to prioritize surface preparation, use the right adhesive, and regularly inspect the pads for wear and tear. With a little care and attention, you can enjoy the peace of mind that comes with knowing your floors are safe from scratches and scuffs.