In today's hyper-connected world, we rely on our electronics more than ever. From smartphones and laptops to smart home devices and entertainment systems, these gadgets are essential for work, communication, and leisure. But what happens when they stop working? Don't panic! Many common tech problems can be resolved with a few simple troubleshooting steps. This guide will equip you with the knowledge and confidence to tackle everyday electronic issues like a pro.
We understand that the inner workings of your devices can seem like a mystery. Terms like "firmware," "drivers," and "network protocols" can be intimidating. However, by breaking down the troubleshooting process into manageable steps and understanding a few basic concepts, you can empower yourself to diagnose and fix many common problems. This guide will help you save time, money, and the frustration of relying solely on expensive repair services.
This guide focuses on practical, hands-on solutions that you can apply to a wide range of devices. We'll cover topics like identifying common issues, performing basic hardware checks, updating software, and resetting devices. We'll also provide tips for preventing future problems and extending the lifespan of your electronics.
Step 1: Identify the Problem
Observe and Document
The first step in any troubleshooting process is to accurately identify the problem. Resist the urge to immediately start pressing buttons or fiddling with settings. Instead, take a moment to carefully observe what's happening (or not happening) with your device. Is the screen frozen? Is there no power? Is the audio distorted? Note down the specific symptoms, including any error messages that appear. The more information you gather, the easier it will be to diagnose the issue.

Step 2: Check the Obvious
Power, Connections, and Physical Damage
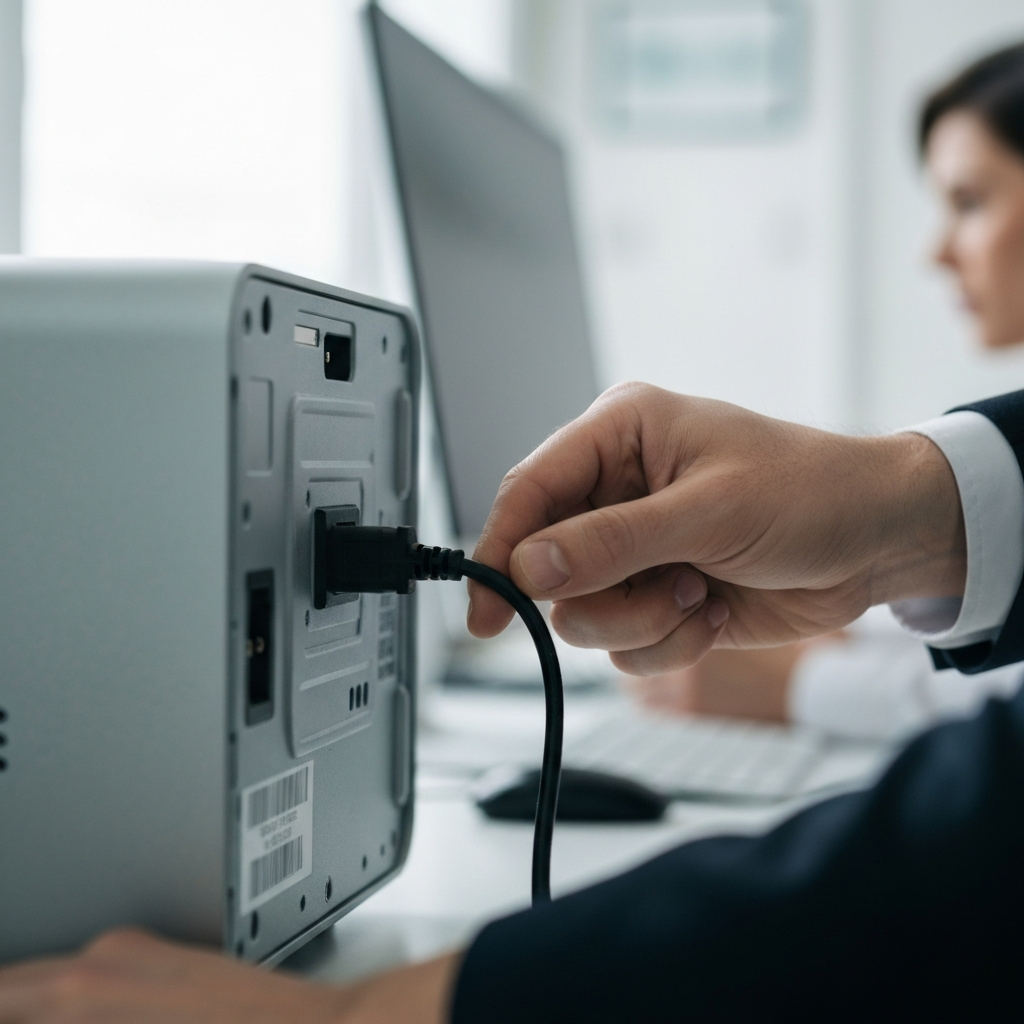
Before diving into more complex solutions, always start with the simplest and most obvious checks. Is the device plugged in securely? Is the power outlet working? Are all the cables connected properly? Inspect the cables for any signs of damage, such as frayed wires or bent connectors. If you’re dealing with a battery-powered device, ensure that the battery is charged or try replacing it with a known good one. Look for any physical damage to the device itself, such as cracks, dents, or loose parts.
Step 3: Restart the Device
The Universal Fix
The "turn it off and on again" approach might seem like a cliché, but it's often surprisingly effective. Restarting a device clears its memory, closes any running programs, and resets its operating system. This can resolve a wide range of temporary glitches and software conflicts. Make sure you perform a proper restart through the operating system, not just by cutting off the power, as this can cause data loss. On devices without a screen, look for a dedicated reset button.

Step 4: Update Software and Drivers
Keeping Things Current
Outdated software and drivers can cause compatibility issues, performance problems, and even security vulnerabilities. Make sure your operating system, applications, and device drivers are all up to date. Most devices have built-in update mechanisms, but you can also manually check for updates on the manufacturer's website. This is especially critical for graphics cards, network adapters, and other hardware components.
Step 5: Run Diagnostics
Utilize Built-in Tools
Many devices have built-in diagnostic tools that can help you identify hardware and software problems. For example, Windows has a memory diagnostic tool, and many laptops have hardware test utilities accessible at startup. Consult your device's manual or the manufacturer's website for instructions on how to access and run these diagnostics. The results can provide valuable clues about the root cause of the issue.

Step 6: Search Online for Solutions
Leverage the Power of the Internet
Chances are, someone else has encountered the same problem you're facing. Use search engines like Google or DuckDuckGo to search for solutions. Be as specific as possible in your search query, including the make and model of your device and the exact error message you're seeing. Look for reputable sources, such as manufacturer websites, tech forums, and online support communities.

Step 7: Reset to Factory Settings (Use with Caution!)
The Last Resort
If all else fails, you can try resetting your device to its factory settings. This will erase all your data and settings, so be sure to back up anything important before proceeding. The process for resetting a device varies depending on the make and model, so consult your device's manual or the manufacturer's website for instructions. This should be seen as a last resort, only used when other troubleshooting steps haven't worked.
Safety Considerations
Always unplug the device before performing a factory reset to prevent any potential electrical hazards.

Step 8: Seek Professional Help
When to Call the Experts
If you've tried all the troubleshooting steps and you're still unable to resolve the problem, it's time to seek professional help. A qualified technician can diagnose and repair complex hardware or software issues that are beyond your expertise. Be sure to choose a reputable repair shop with experienced technicians. Before handing over your device, clearly explain the problem you're experiencing and any troubleshooting steps you've already taken.

Common Mistakes to Avoid
- Ignoring error messages: Error messages often provide valuable clues about the cause of the problem.
- Trying random solutions: This can waste time and potentially make the problem worse.
- Not backing up your data: Before performing any major troubleshooting steps, always back up your data to prevent data loss.
- Forcing things: Don't force connections or try to disassemble a device if you're not comfortable doing so.
FAQ Section
- Q: My computer is running slowly. What should I do?
- A: Try closing unnecessary programs, running a virus scan, defragmenting your hard drive (if it's not an SSD), and upgrading your RAM.
- Q: My Wi-Fi is not working. What should I do?
- A: Check your router and modem to ensure they are powered on and connected to the internet. Restart your router and modem. Make sure your device is connected to the correct Wi-Fi network.
- Q: My printer is not printing. What should I do?
- A: Check the printer's power and connection. Make sure the printer has paper and ink. Restart your computer and printer. Ensure that the correct printer is selected in your printing settings.
Conclusion
Troubleshooting your own electronics can be a rewarding and empowering experience. By following the steps outlined in this guide, you can confidently diagnose and fix many common tech problems. Remember to stay calm, be patient, and always prioritize safety. With a little knowledge and persistence, you can demystify your tech and keep your devices running smoothly.