In today's digital world, technology is integral to our daily lives. From smartphones and laptops to smart home devices, we rely on these gadgets to stay connected, productive, and entertained. However, technology isn't always reliable. Sooner or later, you'll encounter a problem that needs troubleshooting. The good news is that you don't need to be a tech expert to fix most common issues.
This guide will walk you through a systematic approach to troubleshooting your tech problems. We'll cover essential techniques, from basic checks to more advanced troubleshooting methods. Our goal is to empower you with the knowledge and skills to confidently diagnose and resolve tech issues independently. By following these steps, you can save time, money, and frustration, and become your own tech support hero.
Remember, patience and a methodical approach are key. Don't be afraid to experiment, but always proceed with caution. Let's dive in!
Step 1: Define the Problem
Before you start randomly clicking buttons or reinstalling software, take a moment to clearly define the problem. What exactly isn't working? Be specific. Instead of saying "My computer is slow," try "My computer takes a long time to boot up and applications are slow to respond." The more specific you are, the easier it will be to identify the root cause. Consider when the problem started, what you were doing when it occurred, and any recent changes you made to your system (software updates, new hardware installations, etc.). Documenting these details can provide valuable clues.

Step 2: Check the Obvious
This might seem overly simplistic, but it's surprising how often tech problems are caused by simple, overlooked issues. Is the device plugged in and turned on? Is the Wi-Fi router connected to the internet? Are the cables securely connected? Double-check all power sources, connections, and physical switches. For wireless devices, ensure Bluetooth is enabled and the device is within range. Many problems are resolved by simply plugging something in or flipping a switch that was accidentally turned off. This step alone can save you a lot of time and effort.

Step 3: Restart the Device
The classic "turn it off and on again" advice is often effective for a reason. Restarting a device clears temporary files, closes running applications, and resets the system's state. This can resolve many software glitches, memory leaks, and other minor issues. When restarting, ensure you perform a proper shutdown rather than simply cutting off the power. This allows the operating system to close processes gracefully and prevent data corruption. If the device is unresponsive, a hard reset (holding down the power button) may be necessary, but use this as a last resort.

Step 4: Consult the Documentation
Every piece of technology comes with documentation, whether it's a physical manual, an online help center, or a FAQ page on the manufacturer's website. These resources often contain troubleshooting tips and solutions to common problems. Search for your specific device model and the problem you're experiencing. You might find a step-by-step guide or a known issue with a workaround. Don't underestimate the value of reading the manual; it can save you a lot of time and frustration.

Step 5: Search Online for Solutions
If the documentation doesn't help, the internet is your next best resource. Search engines like Google or DuckDuckGo can provide a wealth of information, including forum discussions, blog posts, and video tutorials. When searching, be specific with your keywords. Include the device model, the problem you're experiencing, and any error messages you're seeing. Be cautious of untrusted sources and follow advice from reputable websites or forums. Look for solutions that have been verified by other users or recommended by experts.

Step 6: Check for Software Updates
Outdated software can often lead to compatibility issues, bugs, and security vulnerabilities. Ensure that your operating system, drivers, and applications are up to date. Software updates often include bug fixes and performance improvements that can resolve existing problems. Check for updates regularly and install them promptly. Many operating systems have automatic update features, which can simplify this process. However, before updating, always back up your important data in case something goes wrong during the update process.

Step 7: Identify Conflicting Software
Sometimes, software conflicts can cause unexpected behavior. For example, two antivirus programs running simultaneously might interfere with each other and cause system instability. Try disabling recently installed software or programs that you suspect might be causing the problem. You can also use the operating system's safe mode to start the computer with a minimal set of drivers and services, which can help isolate the issue. If the problem disappears in safe mode, it's likely caused by a software conflict.

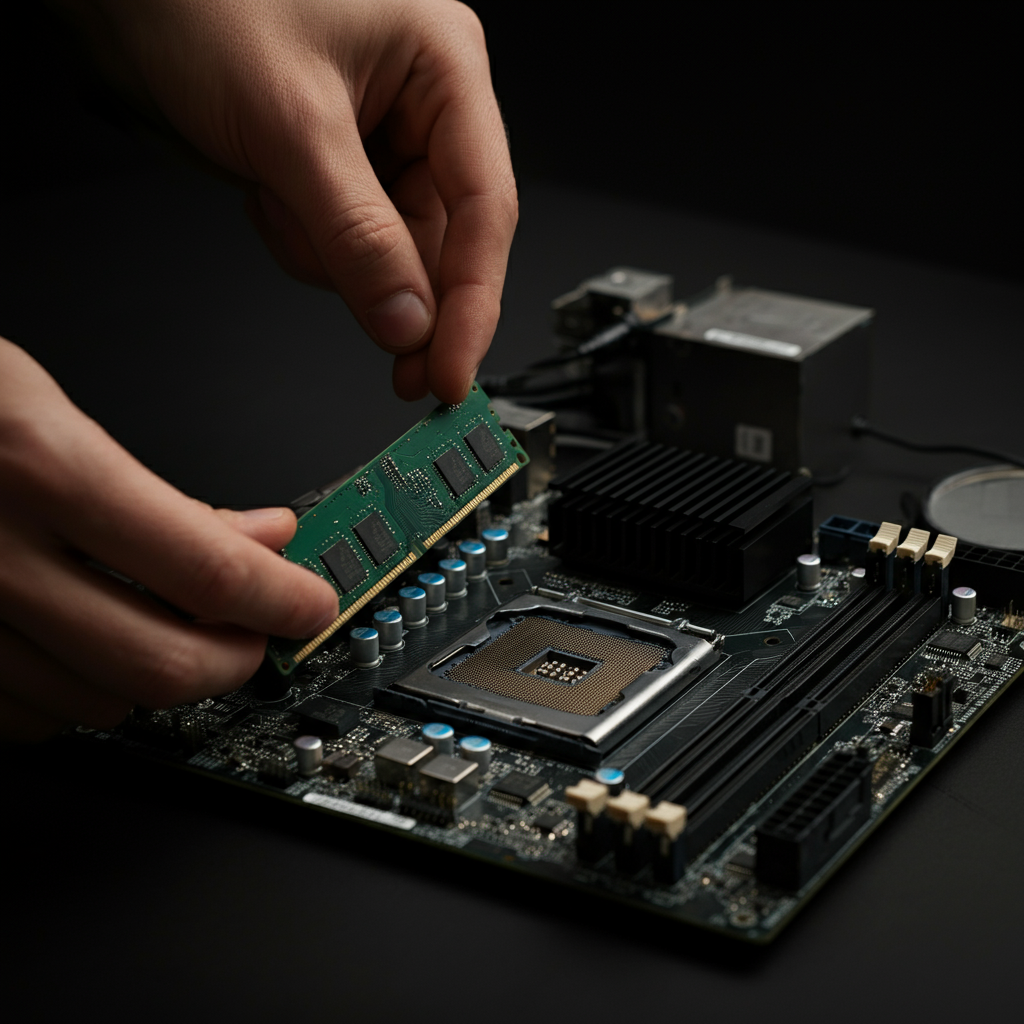
Step 8: Test Hardware Components
If you suspect a hardware problem, you can try testing individual components to identify the culprit. For example, if your computer isn't starting, you can try removing and reinserting the RAM modules. For more complex hardware issues, you may need to use diagnostic tools or consult a professional technician. Before attempting any hardware repairs, ensure that you have the necessary tools and knowledge and always disconnect the power supply to prevent electric shock.
Step 9: System Restore (If Applicable)
If you've made recent changes to your system that you suspect are causing the problem, you can try using the system restore feature to revert to a previous state. System restore creates snapshots of your system files and settings at specific points in time, allowing you to undo changes that have caused problems. This is a useful tool for recovering from software installations or driver updates that have gone wrong. However, keep in mind that system restore may not restore personal files, so it's still important to have a backup of your important data.
Step 10: Seek Professional Help
If you've exhausted all other troubleshooting steps and are still unable to resolve the problem, it's time to seek professional help. Contact a qualified technician or the manufacturer's support team. Be prepared to provide detailed information about the problem, the steps you've already taken, and any error messages you've encountered. A professional technician has the expertise and tools to diagnose and repair more complex issues.
Tools or Materials Required
- Screwdrivers (various sizes)
- Antistatic wrist strap
- Compressed air
- Diagnostic software (optional)
- USB drive for backups
Common Mistakes to Avoid
- Not backing up data before making changes.
- Downloading software from untrusted sources.
- Ignoring error messages.
- Making changes without understanding the consequences.
Safety Considerations
- Always disconnect power before working on hardware.
- Use an antistatic wrist strap to prevent electrostatic discharge.
- Be careful when handling sharp objects.
- Do not attempt repairs beyond your skill level.
Pro Tips
- Keep a record of your troubleshooting steps.
- Take screenshots of error messages.
- Use a password manager to securely store your passwords.
- Regularly back up your data.
FAQ Section
Q: My computer is running slow. What should I do?
A: Start by checking for unnecessary programs running in the background. Run a virus scan and defragment your hard drive. Consider upgrading your RAM or switching to a solid-state drive.
Q: My Wi-Fi is not working. What should I do?
A: Check your router's power and connection to the internet. Restart your router and modem. Ensure your Wi-Fi adapter is enabled and connected to the correct network. Update your router's firmware.
Q: My printer is not printing. What should I do?
A: Check the printer's power and connection to the computer. Ensure the printer is not offline or paused. Check the paper tray and ink levels. Update the printer driver.
Conclusion
Troubleshooting tech problems can be a challenging but rewarding experience. By following a systematic approach, checking the obvious, and utilizing available resources, you can often resolve issues independently. Remember to define the problem clearly, consult documentation, search online, and consider software updates. Don't be afraid to experiment, but always proceed with caution and prioritize safety. With patience and persistence, you can become a troubleshooting hero and keep your technology running smoothly.