Technology, while incredibly useful, can also be incredibly frustrating when things go wrong. From computers crashing to printers refusing to print, we've all been there. But instead of immediately calling for expensive professional help, you can learn to troubleshoot many common tech problems yourself. This guide will equip you with the skills and knowledge to diagnose and fix your tech issues like a seasoned pro.
By following a systematic approach and understanding the basic principles of troubleshooting, you can save time, money, and a whole lot of stress. We'll cover everything from gathering information about the problem to implementing solutions and testing their effectiveness. So, let's dive in and unlock your inner tech guru!
Remember, patience is key. Not every problem has an easy or obvious solution. But with a methodical approach, you'll be surprised at how much you can accomplish.
Step 1: Define the Problem
Clearly State the Issue
Before you can even begin to fix a problem, you need to understand exactly what's going wrong. Write down a clear and concise description of the problem. What is happening (or not happening) that shouldn't be? What are the symptoms? The more specific you are, the easier it will be to pinpoint the cause. For example, instead of saying "My computer is slow," try "My computer takes 5 minutes to boot up, and web pages load very slowly."

Step 2: Gather Information
Research and Documentation
Once you've defined the problem, start gathering information. Check error messages – write them down exactly as they appear, as even slight variations can point to different issues. Consult the device's manual or online documentation. Search the internet for solutions using keywords related to your problem description and error messages. There are countless forums, help articles, and video tutorials available online that may offer specific solutions to your issue. Also, remember if you recently changed something about your device or system, as that may be the root cause.

Step 3: Rule Out the Obvious
Check the Basics
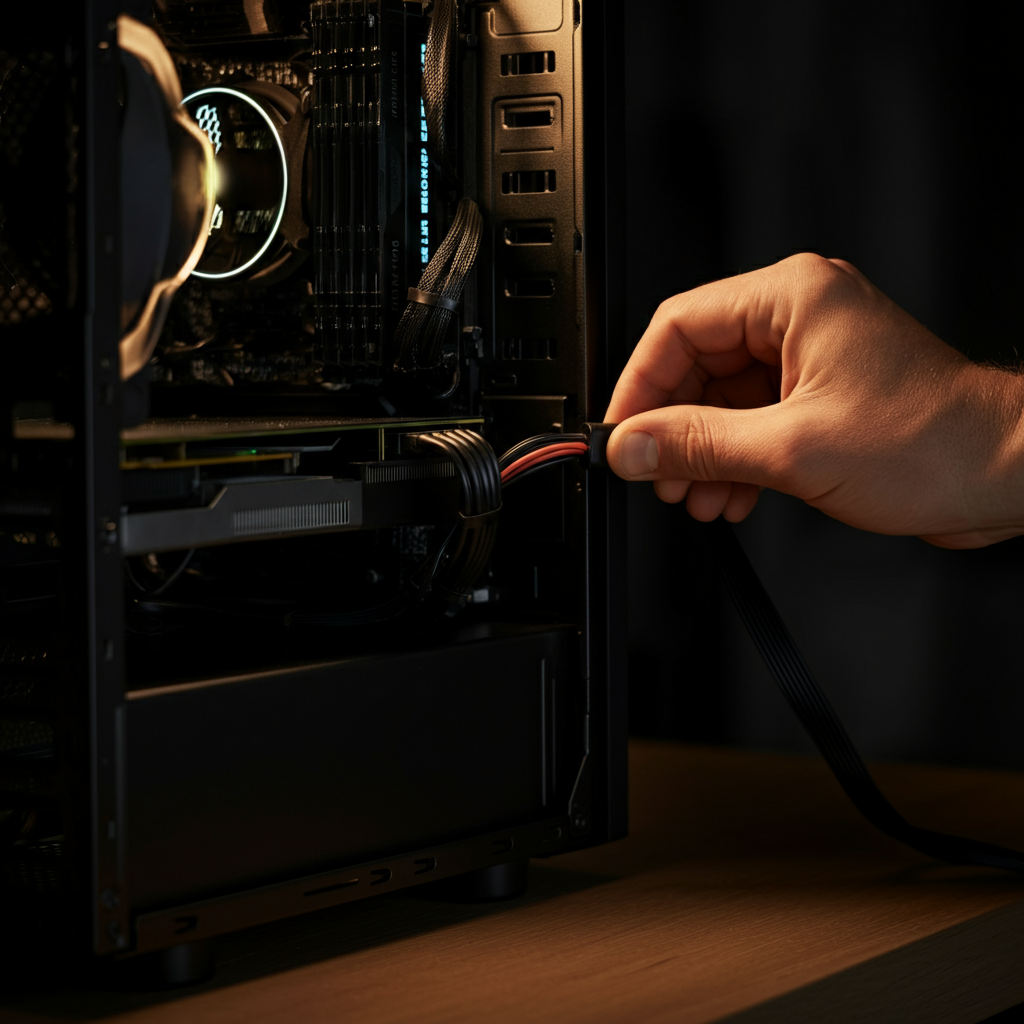
Often, the solution is something simple that's easily overlooked. Before diving into complex troubleshooting steps, check the basics. Is the device plugged in and turned on? Are all the cables securely connected? Is the Wi-Fi connection working? Is the volume turned up? It might seem silly, but these simple checks can save you a lot of time and effort. For example, a printer might not be printing simply because it's out of paper or ink.
Step 4: Restart the Device
The Universal Fix
"Have you tried turning it off and on again?" It's a cliché, but it often works. Restarting your computer, phone, or other device can resolve many software glitches and temporary errors. A simple restart clears the device's memory and starts processes fresh. Ensure you properly shut down the device through the operating system, rather than simply cutting the power. This helps prevent data corruption.

Step 5: Isolate the Problem
Narrowing Down the Cause
If restarting doesn't work, try to isolate the problem. If you're having trouble with a specific program, does the problem occur with other programs as well? If you're having network issues, does the problem affect all devices or just one? If a peripheral device isn't working, try connecting it to a different port or computer. By isolating the problem, you can narrow down the potential causes and focus your troubleshooting efforts. Consider if the issue is hardware or software related.

Step 6: Update Drivers and Software
Keeping Things Current
Outdated drivers and software can often cause compatibility issues and other problems. Make sure you have the latest drivers for your hardware, especially graphics cards, sound cards, and network adapters. Also, ensure your operating system and applications are up-to-date. Most operating systems have a built-in update feature that you can use to check for and install updates. Regular updates often include bug fixes and security patches that can resolve known issues.

Step 7: System Restore (Windows) or Time Machine (macOS)
Turning Back Time
If the problem started recently and you can't pinpoint the cause, try using System Restore (Windows) or Time Machine (macOS) to revert your system to a previous state. These tools create snapshots of your system's configuration at various points in time, allowing you to restore your computer to a working state before the problem occurred. This is a powerful tool, but be aware that it may undo recent changes you've made. Before doing this, back up any new files you want to keep.

Step 8: Seek External Help
When to Call in the Pros
If you've exhausted all your DIY troubleshooting options and the problem persists, it might be time to seek professional help. This is especially true if the problem involves hardware issues or complex software configurations that are beyond your expertise. Don't be afraid to admit when you're out of your depth. A qualified technician can diagnose and fix the problem quickly and efficiently, saving you time and frustration. When seeking help, clearly describe the steps you've already taken to troubleshoot the problem.

Tools or Materials Required
- Screwdrivers (various sizes)
- Anti-static wrist strap
- Compressed air
- Flash drive
- Internet access
Safety Considerations
When working with electronics, always take safety precautions. Unplug the device before opening it or working on internal components. Use an anti-static wrist strap to prevent electrostatic discharge, which can damage sensitive electronic components. Avoid working in damp or wet environments. If you're not comfortable working with electricity, seek professional help.
Pro Tips
- Keep a troubleshooting log. This will help you track the problems you've encountered and the solutions you've tried.
- Back up your data regularly. This will protect you from data loss in case of a hardware failure or software problem.
- Learn basic command-line skills. This can be helpful for diagnosing and fixing certain types of problems.
FAQ Section
- Q: My computer is running slow. What should I do?
- A: Try closing unnecessary programs, running a virus scan, defragging your hard drive (if it's not an SSD), and upgrading your RAM.
- Q: My printer won't print. What should I do?
- A: Check the power and connections, make sure the printer has paper and ink, and check the printer queue for errors.
- Q: My internet connection is down. What should I do?
- A: Restart your modem and router, check the cables, and contact your internet service provider.
Conclusion
Troubleshooting tech problems can be a daunting task, but with a systematic approach and a little knowledge, you can often resolve many issues yourself. Remember to define the problem clearly, gather information, rule out the obvious, and isolate the cause. Don't be afraid to experiment and try different solutions. And if all else fails, don't hesitate to seek professional help. With practice, you'll become a tech troubleshooting pro in no time!