A bricked smartphone is essentially a device that is no longer functional, rendering it as useful as a brick. This unfortunate situation can arise from a multitude of factors, including interrupted software updates, corrupted firmware, or even malicious software. While the prospect of a bricked phone can be daunting, it's not always a lost cause. With the right tools, knowledge, and a little bit of patience, you might be able to bring your beloved device back from the brink.
This comprehensive guide will walk you through various methods to revive a bricked smartphone, ranging from simple troubleshooting steps to more advanced techniques involving flashing firmware. We'll cover common scenarios, potential pitfalls, and essential safety considerations to ensure a successful recovery process. Remember, attempting these procedures carries inherent risks, and it's crucial to proceed with caution and follow instructions meticulously.
Before diving in, it's important to understand the different types of "bricking." A "soft brick" usually means the phone is stuck in a boot loop or fails to load the operating system correctly, often recoverable through user-accessible means. A "hard brick," on the other hand, is a more severe condition where the phone doesn't even power on or respond to button presses, requiring more specialized techniques.
Step 1: Identify the Type of Brick
Before attempting any recovery methods, accurately diagnose the state of your phone. Does it power on at all? Does it get stuck on the manufacturer's logo? Can you access recovery mode or fastboot mode? The answers to these questions will determine the appropriate course of action. If your phone powers on but gets stuck in a boot loop (continuously restarting), you likely have a soft brick. If it's completely unresponsive, it may be a hard brick, though it could also be a completely drained battery.

Step 2: Attempt a Hard Reset
A hard reset, also known as a factory reset, can often resolve soft brick issues by wiping the device's data and restoring it to its original factory settings. The procedure varies depending on the phone's manufacturer and model, but it typically involves pressing and holding a combination of buttons (usually power, volume up, and/or volume down) while the phone is off. Consult your phone's manual or search online for the specific key combination for your device. Be aware that performing a hard reset will erase all data on your phone, so only proceed if you've exhausted other options or have a recent backup.

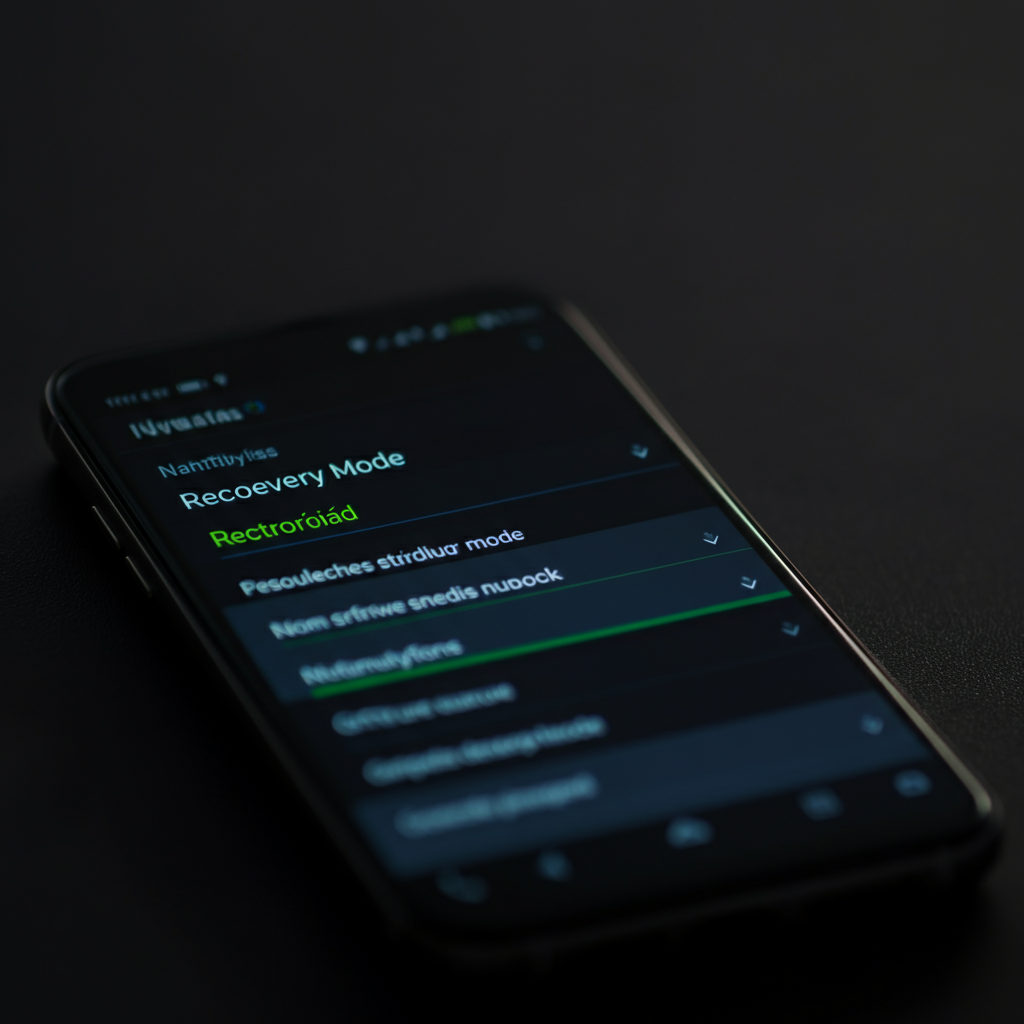
Step 3: Enter Recovery Mode and Wipe Cache Partition
If a hard reset doesn't work, try entering recovery mode and wiping the cache partition. The cache partition stores temporary data used by the operating system and apps. Clearing it can sometimes resolve issues caused by corrupted cached data. To enter recovery mode, use the same key combination as for a hard reset, but release the buttons when you see the recovery mode menu (often featuring options like "Reboot system now," "Apply update from ADB," and "Wipe data/factory reset"). Use the volume buttons to navigate and the power button to select "Wipe cache partition."
Step 4: Flash Firmware using a Computer (for Advanced Users)
If the previous steps fail, you might need to flash the phone's firmware. This is a more advanced procedure that involves downloading the official firmware for your device from the manufacturer's website or a reputable source and using a computer program (such as Odin for Samsung devices or SP Flash Tool for MediaTek devices) to install it. Flashing firmware incorrectly can permanently damage your phone, so proceed with extreme caution and only if you're comfortable with technical procedures. Ensure you download the correct firmware version for your phone model to avoid compatibility issues. The process typically involves connecting your phone to your computer in download mode (usually achieved by pressing a specific key combination while connecting the USB cable) and following the instructions provided by the flashing tool.

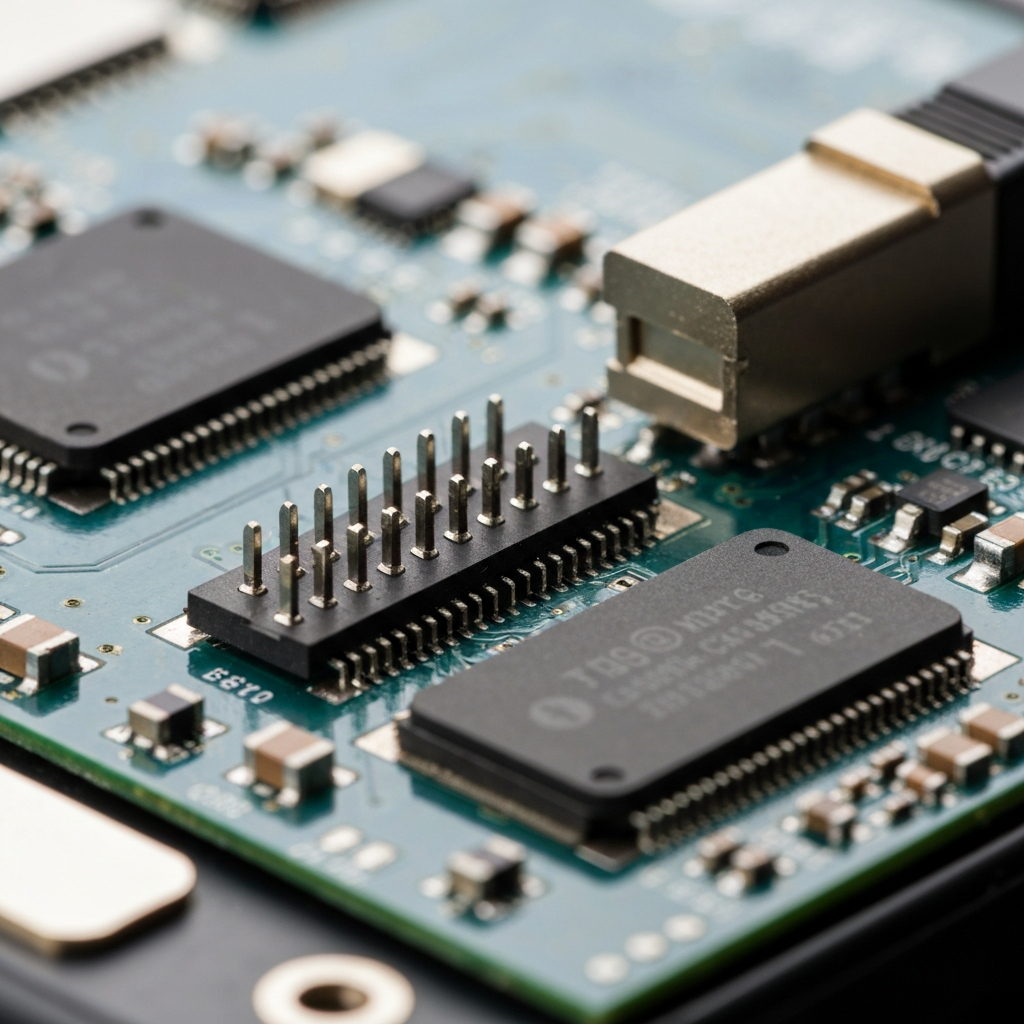
Step 5: Use a JTAG Interface (Hard Bricked Phones - Expert Level)
For severely hard-bricked phones that don't respond to any other methods, a JTAG (Joint Test Action Group) interface might be the only option. This is a highly technical procedure that involves directly accessing the phone's internal memory chip using specialized hardware and software. JTAG recovery requires advanced knowledge of electronics and soldering skills, and it's best left to professional repair technicians. Attempting JTAG recovery without the necessary expertise can easily cause irreversible damage to your phone. This is generally the last resort when all other attempts have failed.
Tools or Materials Required
- Computer (Windows recommended for most flashing tools)
- USB cable (compatible with your phone)
- Official firmware for your phone model
- Flashing tool (e.g., Odin, SP Flash Tool)
- Drivers for your phone (usually available from the manufacturer's website)
- Anti-static wrist strap (recommended for advanced procedures)
- Small screwdrivers (for disassembling the phone, if necessary for JTAG)
Common Mistakes to Avoid
- Downloading the wrong firmware version. Always double-check the model number and firmware version before flashing.
- Using an incompatible flashing tool.
- Interrupting the flashing process. Ensure your computer and phone have a stable power supply during flashing.
- Incorrectly installing drivers.
- Attempting JTAG recovery without proper expertise.
Safety Considerations
- Work in a well-lit and static-free environment.
- Use an anti-static wrist strap to prevent electrostatic discharge (ESD) from damaging sensitive electronic components.
- Disconnect the phone from the power outlet before disassembling it.
- Be careful when handling small components inside the phone.
- Back up your data regularly to avoid losing it in case of a bricking incident.
Pro Tips
- Before attempting any flashing procedures, search online forums and communities for specific instructions and tips related to your phone model.
- If you're unsure about any step, seek help from experienced users or professional repair technicians.
- Take detailed notes and screenshots throughout the recovery process to track your progress and identify potential issues.
- If the phone is under warranty, consider contacting the manufacturer for assistance before attempting any DIY repairs.
FAQ Section
- Q: How do I find the correct firmware for my phone?
- A: The best place to find firmware is usually on the manufacturer's official website or through reputable third-party firmware repositories. Make sure the firmware version matches your phone's model number and carrier.
- Q: What is the difference between a custom ROM and official firmware?
- A: Official firmware is provided by the phone manufacturer and is designed to work specifically with your device. Custom ROMs are modified versions of Android created by third-party developers. While custom ROMs can offer additional features and customization options, they may also be less stable than official firmware.
- Q: Can I brick my phone by rooting it?
- A: Yes, rooting your phone can increase the risk of bricking it if the process is not followed correctly or if you install incompatible software.
- Q: My phone is still under warranty. Should I try to fix it myself?
- A: If your phone is still under warranty, it's generally best to contact the manufacturer or authorized repair center for assistance. Attempting DIY repairs may void the warranty.