Cracked leather shoes are a common problem, especially for those who value well-worn comfort. While you can't magically erase cracks—leather fibers, once broken, stay broken—you *can* significantly improve their appearance and prevent further damage. This guide provides a step-by-step approach to rehydrating, filling, and restoring your cherished leather footwear. Remember, patience and proper technique are key to achieving a professional-looking result.
Before you resign your favorite pair to the back of the closet, take heart! By diligently following these instructions, using the right products, and understanding the nuances of leather care, you can breathe new life into your cracked shoes and enjoy them for years to come.
This isn't just about aesthetics; it's about preservation. Cracks weaken the leather, making it more susceptible to water damage and further tearing. Treating them promptly will prolong the lifespan of your shoes and maintain their value.
Step 1: Cleaning and Preparation
Remove Surface Dirt and Grime
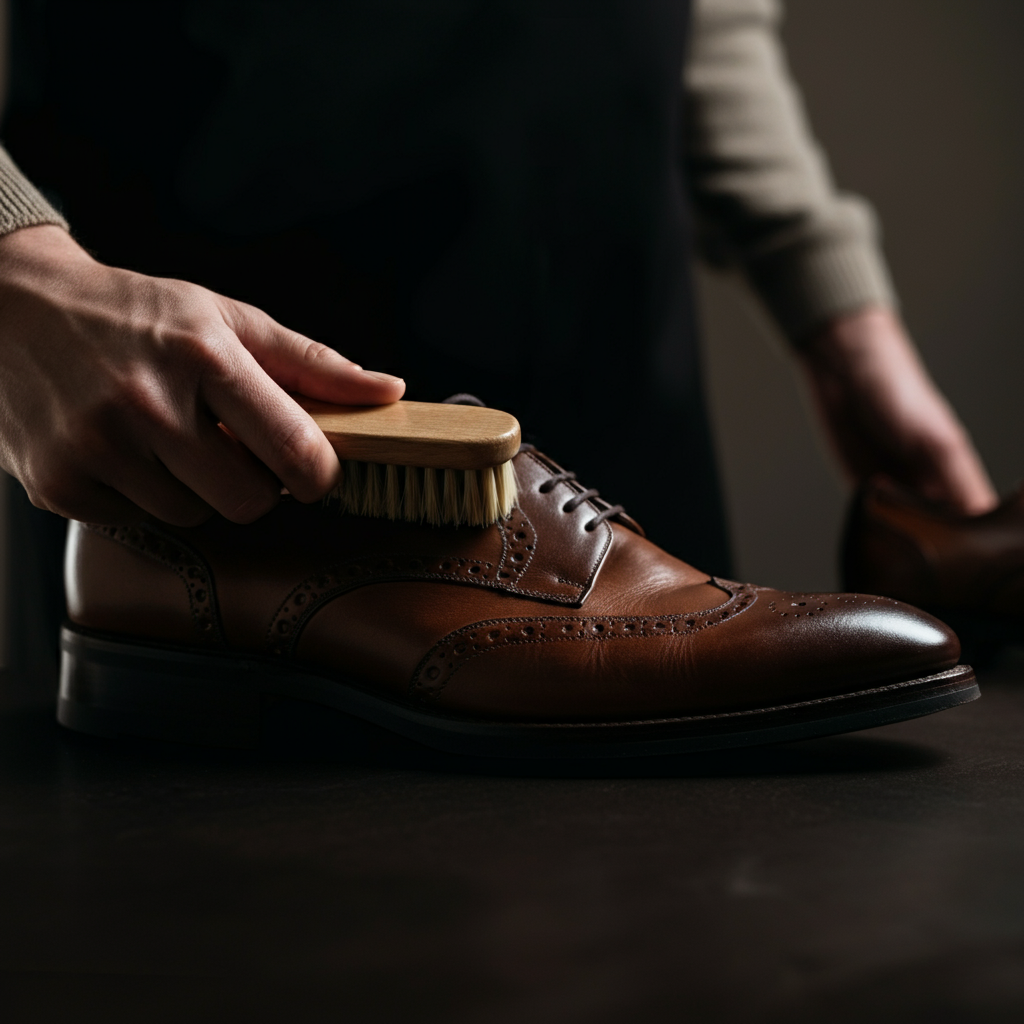
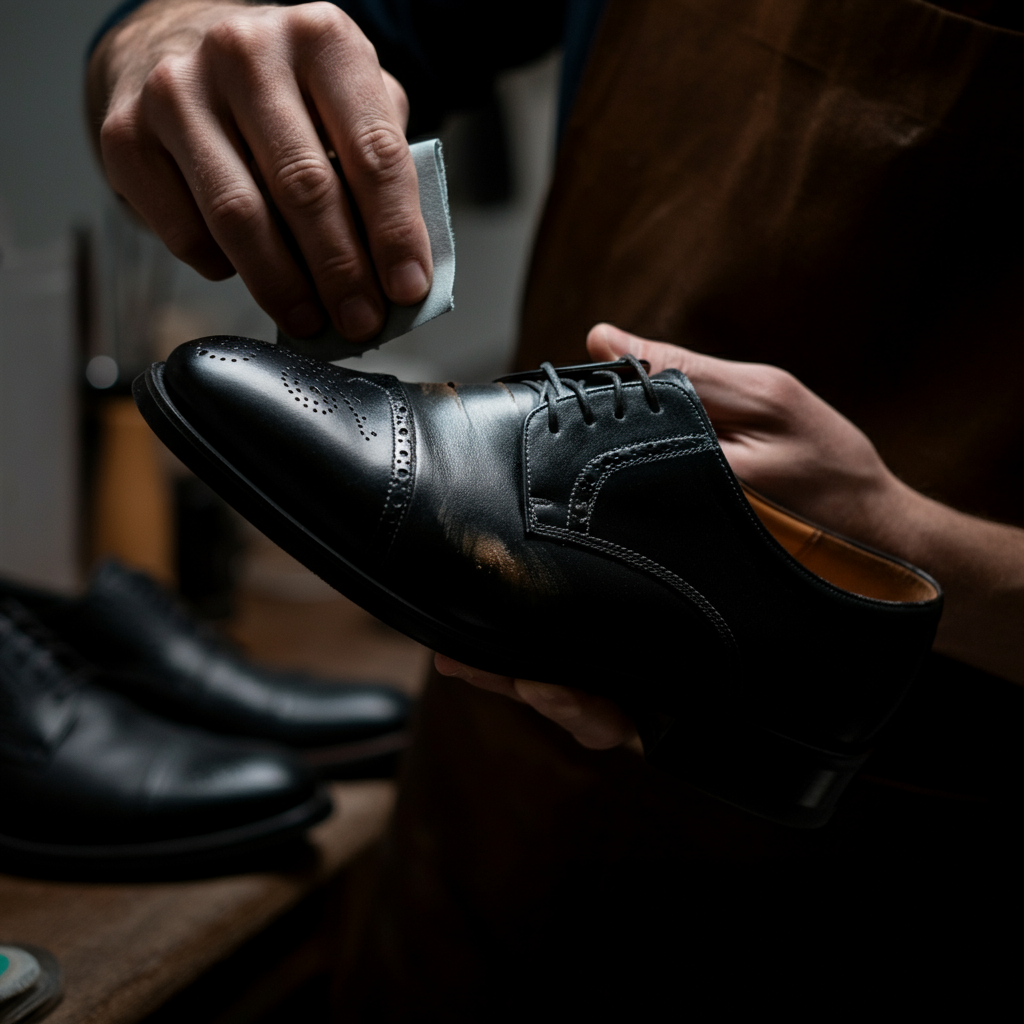
Begin by thoroughly cleaning your shoes. Use a soft-bristled brush (an old toothbrush works wonders for crevices) or a damp cloth to remove any loose dirt, dust, or debris. Pay close attention to the areas around the cracks, as dirt can accumulate and hinder the effectiveness of subsequent treatments. For stubborn grime, gently dampen the cloth with warm water, but avoid soaking the leather.
Step 2: Deep Cleaning with Saddle Soap
Apply Leather Cleaner or Saddle Soap
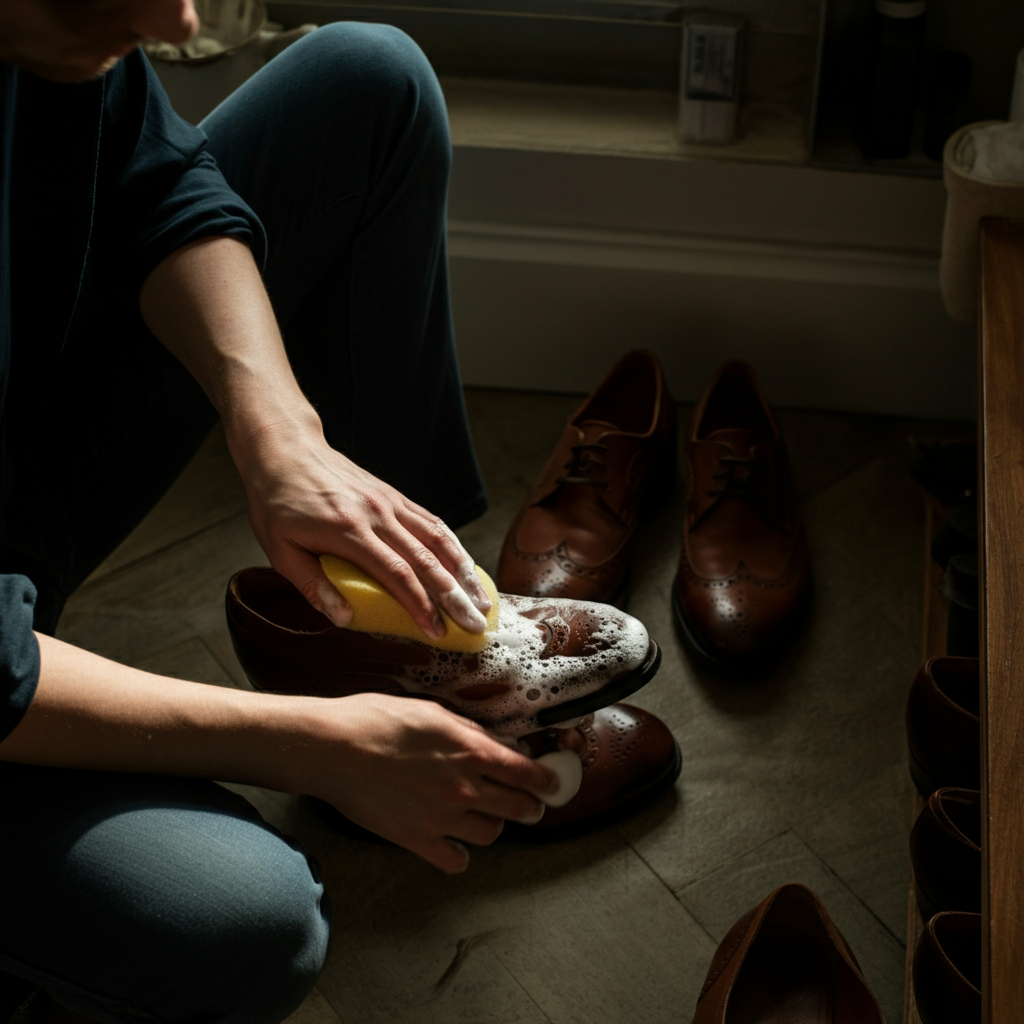
Next, use a dedicated leather cleaner or saddle soap. Apply a small amount to a damp cloth or sponge and gently scrub the entire surface of the shoe in a circular motion. Saddle soap helps to remove embedded dirt and oils, preparing the leather for rehydration. Avoid using harsh detergents or solvents, as these can further dry out and damage the leather. Wipe away any excess soap with a clean, damp cloth.
Step 3: Rehydrating the Leather
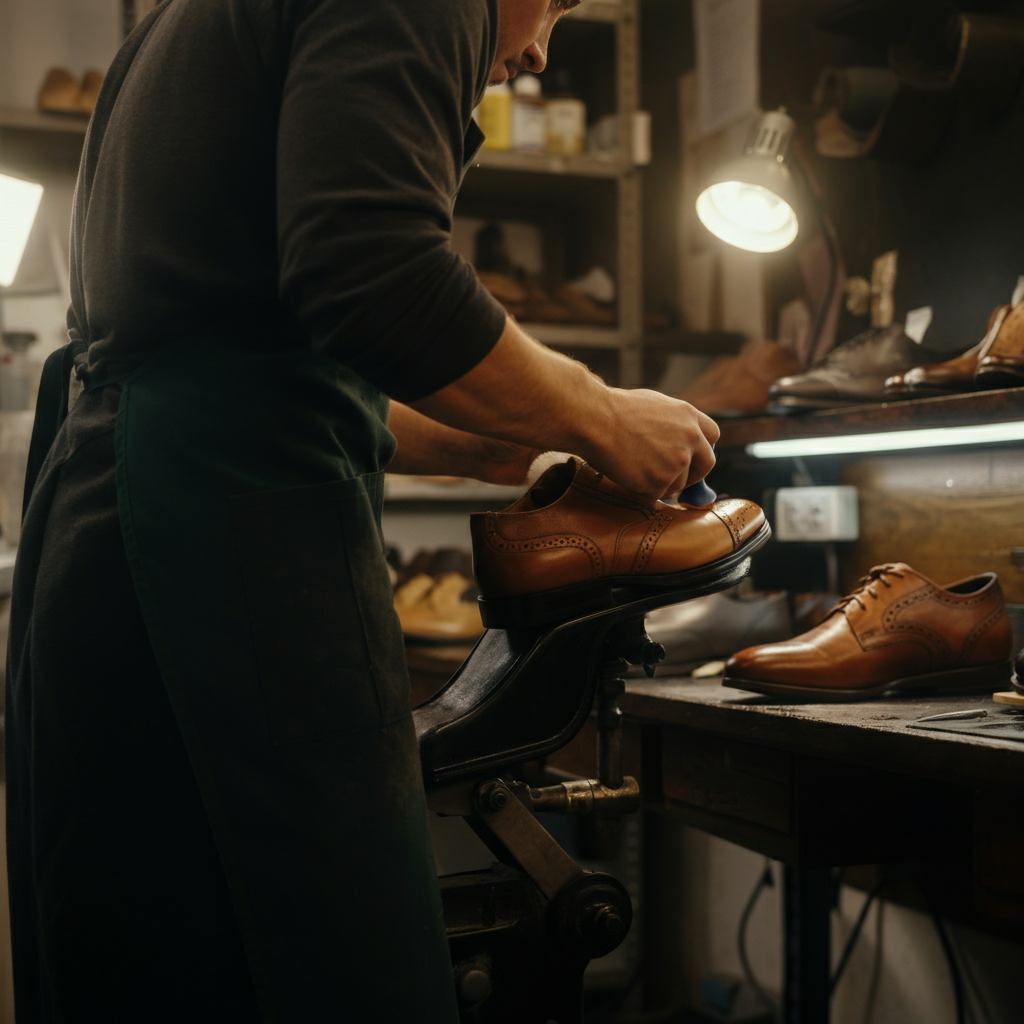
Apply Mink Oil or Leather Conditioner
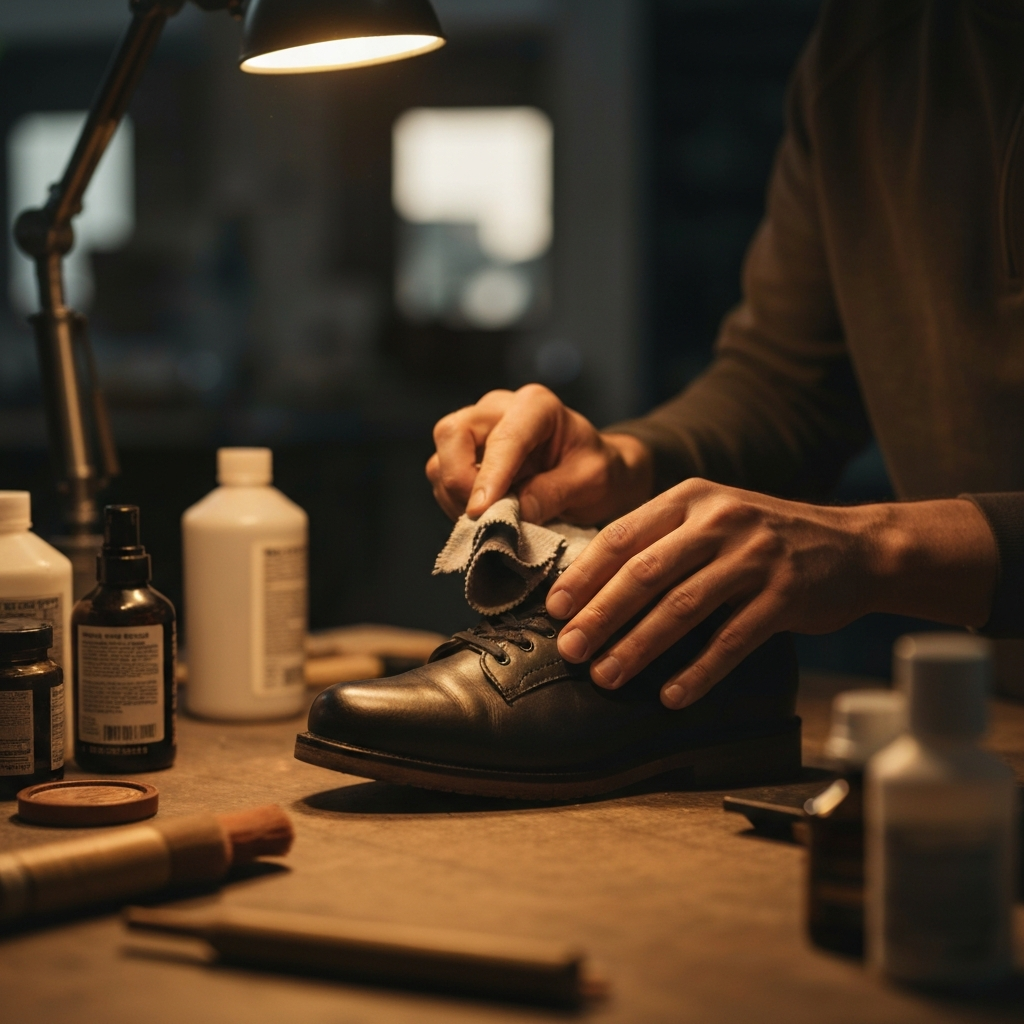
Once the shoes are clean and dry, it's time to rehydrate the leather. Apply a generous amount of mink oil or a high-quality leather conditioner to the entire surface of the shoe, focusing on the cracked areas. Mink oil and leather conditioners penetrate the leather fibers, restoring their moisture and flexibility. Gently massage the oil or conditioner into the leather, allowing it to absorb fully. Let the shoes sit for several hours, or preferably overnight, to allow the leather to fully rehydrate.
Step 4: Filling the Cracks
Apply Leather Filler
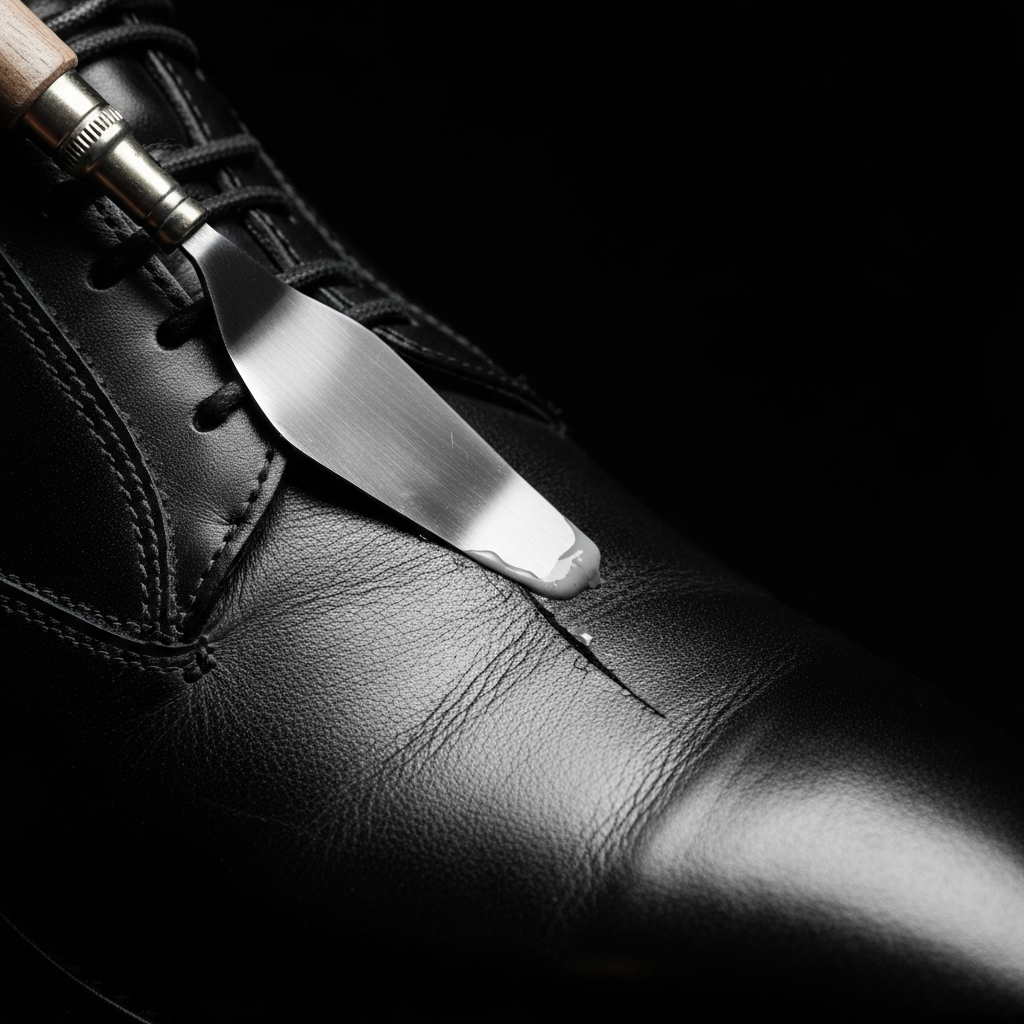
After the leather is rehydrated, use a leather filler to fill in the cracks. Apply a small amount of filler to the cracked areas using a palette knife or a small applicator. Work the filler into the cracks, ensuring that they are completely filled. Smooth out the surface of the filler with the palette knife or applicator, blending it seamlessly with the surrounding leather. Allow the filler to dry completely, following the manufacturer's instructions. This may take several hours or even overnight.
Step 5: Sanding and Smoothing
Sand the Filled Areas
Once the filler is completely dry, use fine-grit sandpaper (220-grit or higher) to gently sand the filled areas. The goal is to smooth out any imperfections and blend the filler seamlessly with the surrounding leather. Use light, even pressure, and avoid sanding too aggressively, as this can damage the leather. Wipe away any sanding dust with a clean cloth.
Step 6: Recoloring (Optional)
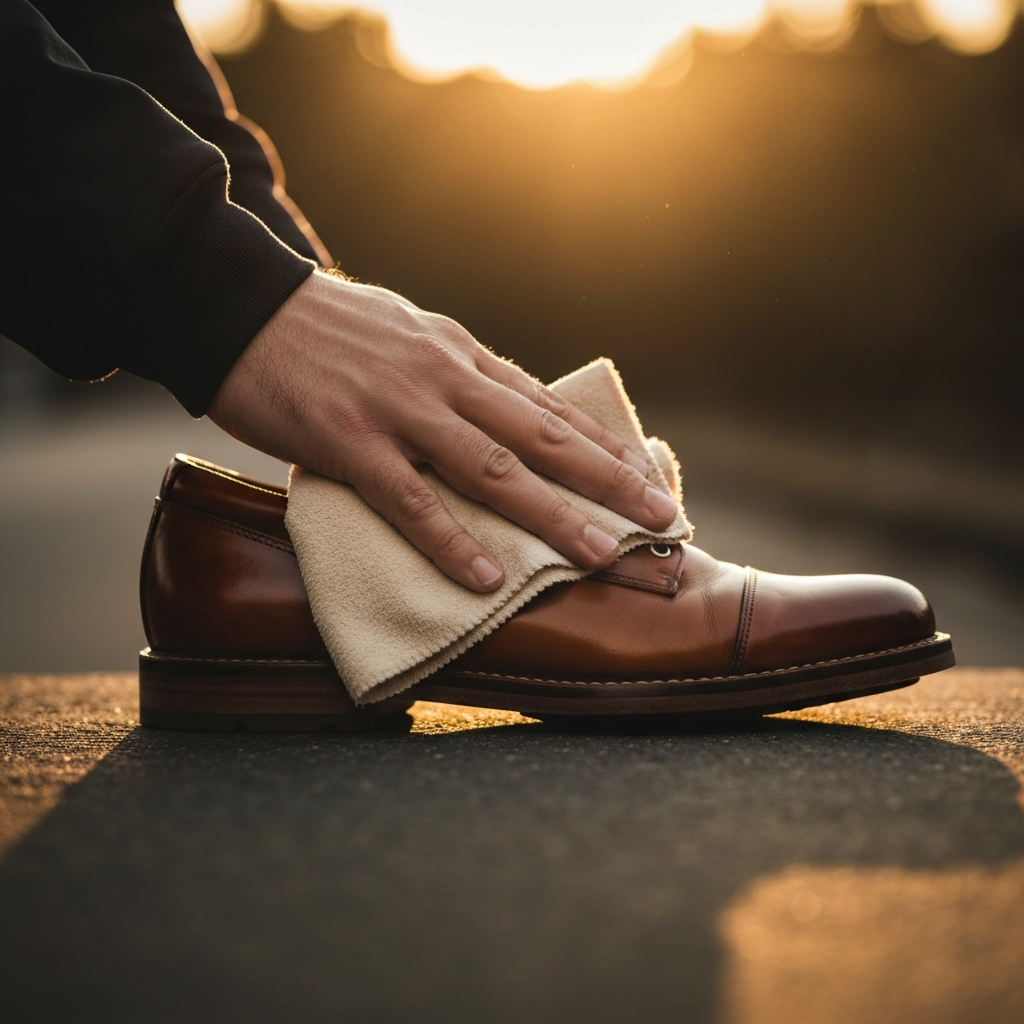
Apply Shoe Cream or Polish
If the filler has altered the color of the leather, or if you simply want to enhance the appearance of your shoes, apply a shoe cream or polish that matches the original color. Apply a small amount of cream or polish to a cloth or applicator and gently rub it into the entire surface of the shoe. Buff the shoes with a clean cloth to a shine. Choose a high-quality shoe cream or polish that is specifically designed for leather.
Step 7: Final Conditioning and Protection
Apply Leather Conditioner (Again)
For a final step, apply another coat of leather conditioner to protect the repaired areas and maintain the overall health of the leather. This will help to keep the leather supple and prevent future cracking. Buff the shoes with a clean cloth to a soft shine. Regular conditioning is essential for maintaining the longevity and appearance of your leather shoes.
Tools or Materials Required
- Soft-bristled brush or cloth
- Leather cleaner or saddle soap
- Mink oil or leather conditioner
- Leather filler
- Palette knife or applicator
- Fine-grit sandpaper (220-grit or higher)
- Shoe cream or polish (optional)
Common Mistakes to Avoid
- Using harsh detergents or solvents on the leather.
- Over-saturating the leather with water.
- Applying too much filler at once.
- Sanding too aggressively.
- Skipping the conditioning step.
Pro Tips
- Test any cleaning or conditioning products on a small, inconspicuous area of the shoe before applying them to the entire surface.
- Use shoe trees to help maintain the shape of your shoes and prevent further cracking.
- Store your shoes in a cool, dry place, away from direct sunlight and heat.
- Consider consulting a professional cobbler for severely damaged shoes.
FAQ Section
- Can I completely remove cracks from leather shoes?
- No, you cannot completely remove cracks from leather shoes. However, the steps outlined in this guide will significantly improve their appearance and prevent further damage.
- How often should I condition my leather shoes?
- You should condition your leather shoes every few months, or more frequently if they are exposed to harsh conditions.
- What type of leather filler should I use?
- Choose a leather filler that is specifically designed for repairing cracks in leather shoes. Follow the manufacturer's instructions carefully.
Conclusion
Fixing cracked leather shoes requires patience and attention to detail, but the results are well worth the effort. By following these steps, you can restore the appearance of your favorite shoes and prolong their lifespan. Remember to prioritize proper cleaning, rehydration, and conditioning to keep your leather footwear looking its best for years to come. With a little care and the right products, you can keep your leather shoes looking their best for years to come.