A properly sealed kitchen sink is essential for preventing water damage, mold growth, and costly repairs. Caulk acts as a barrier, keeping water from seeping between the sink and countertop. However, caulk deteriorates over time, losing its flexibility and forming cracks. This guide provides a comprehensive, step-by-step process to effectively caulk your kitchen sink, ensuring a watertight seal and extending the life of your kitchen.
Whether you're a seasoned DIY enthusiast or a first-time homeowner, this guide will equip you with the knowledge and techniques to achieve professional-quality results. We'll cover everything from selecting the right type of caulk to applying the perfect bead. Prepare to transform your kitchen sink area into a clean, dry, and aesthetically pleasing space.
Let's dive in and learn how to caulk your kitchen sink like a true professional.
Step 1: Gather Your Tools and Materials
Before you begin, gather all the necessary tools and materials to streamline the process and avoid unnecessary interruptions. Having everything within reach will make the job smoother and more efficient. Consider investing in high-quality tools for better results and durability. Make sure your workspace is well-lit and ventilated.

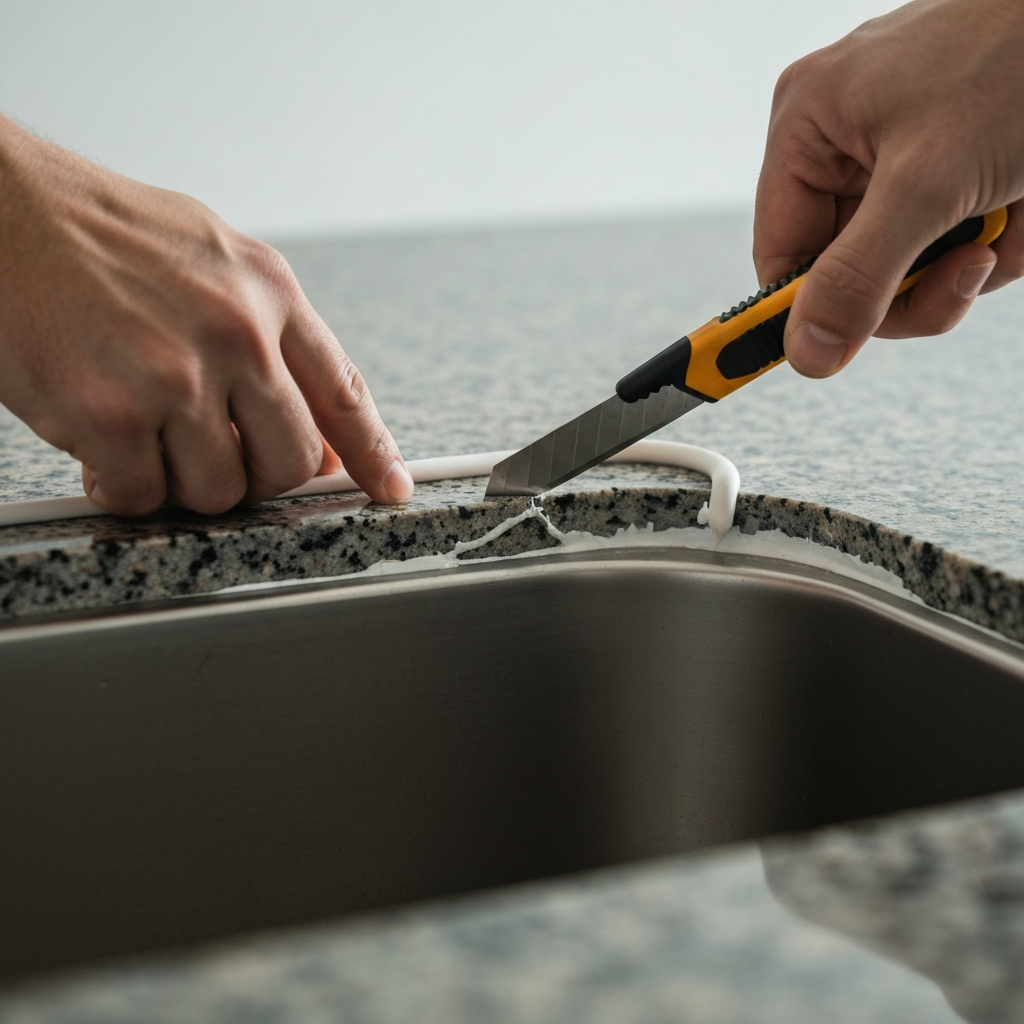
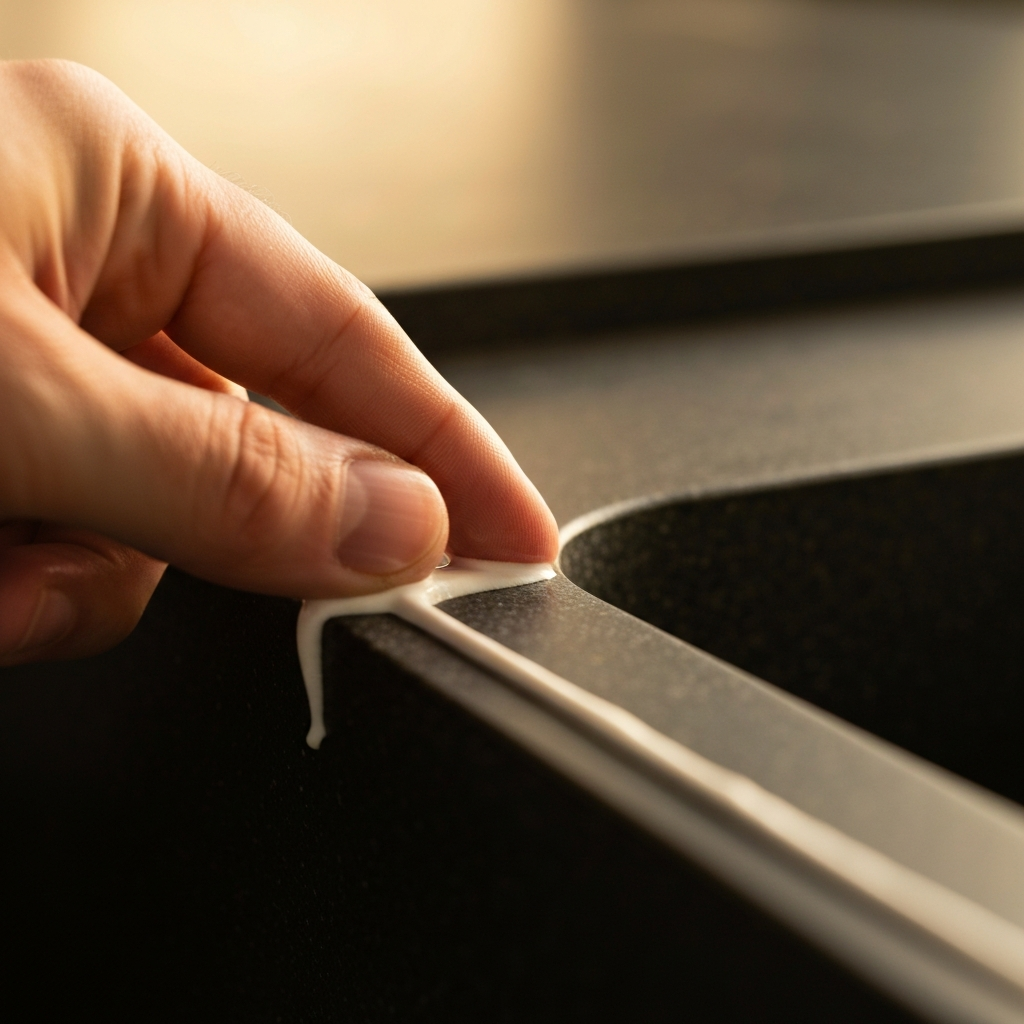
Step 2: Remove the Old Caulk
Removing the old caulk is a crucial step for ensuring a proper seal with the new caulk. Old, cracked, or moldy caulk will prevent the new caulk from adhering properly and compromise its effectiveness. Take your time and be thorough in this process to avoid future leaks. A multi-tool with a scraper attachment can also be helpful for stubborn caulk residue.
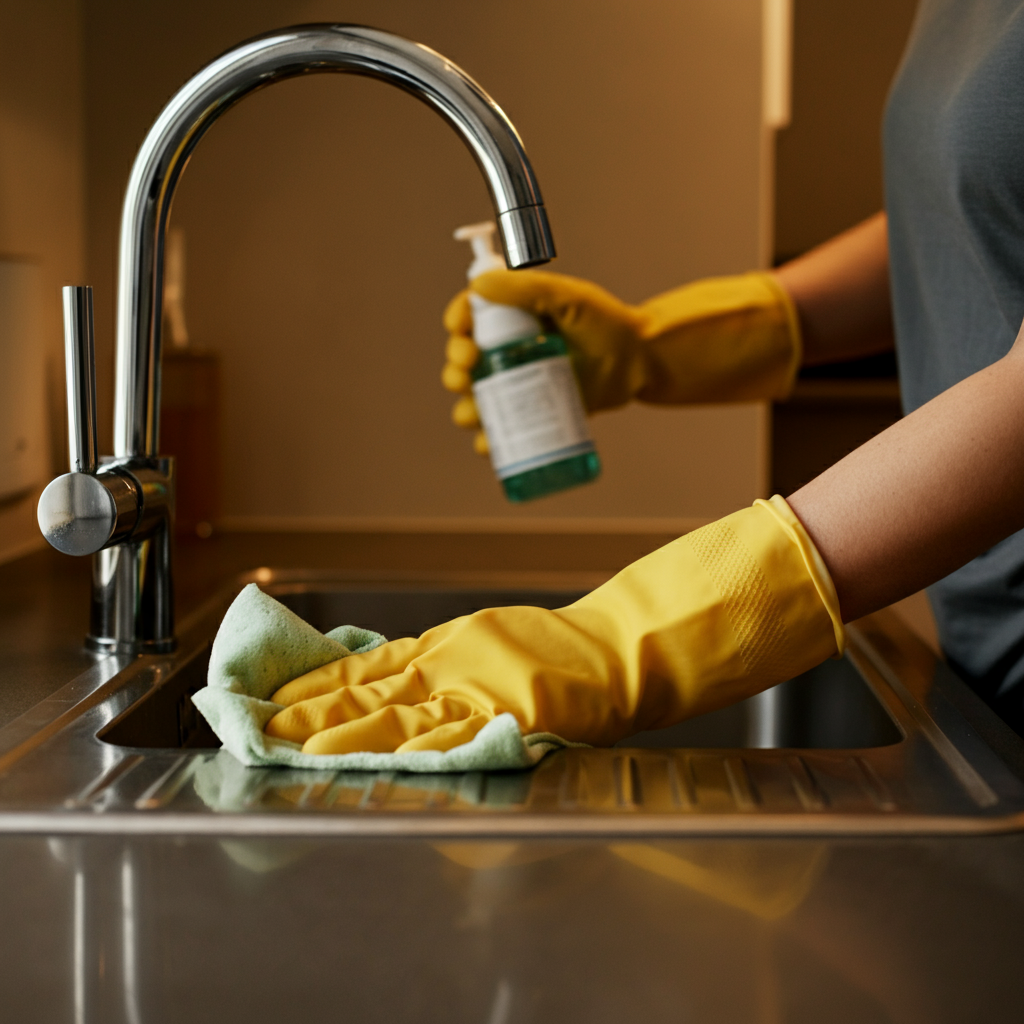
Step 3: Thoroughly Clean the Area
Once the old caulk is removed, it's essential to thoroughly clean the area to remove any remaining residue, dirt, or grime. Even microscopic particles can interfere with the adhesion of the new caulk. Use a degreasing cleaner to remove any oily residue, followed by rubbing alcohol for a final, pristine surface. Let it dry completely.
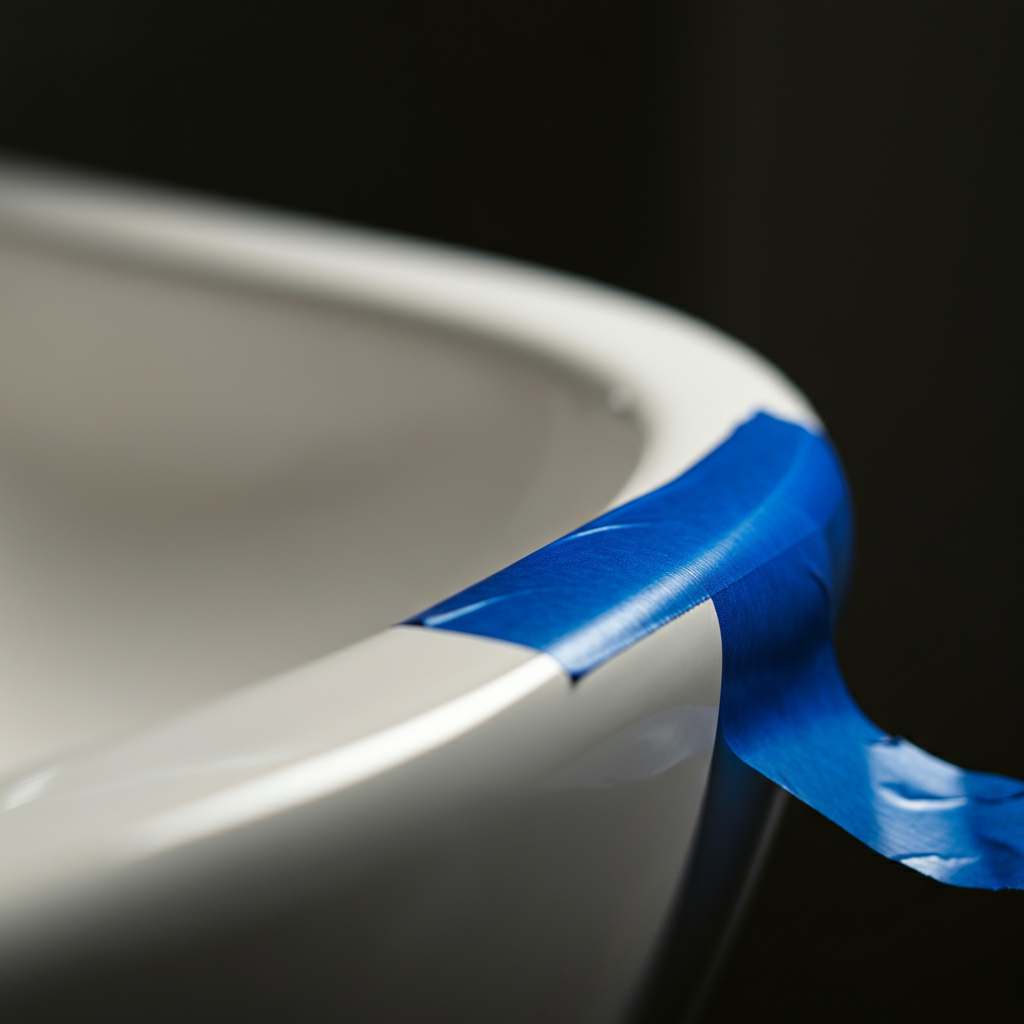
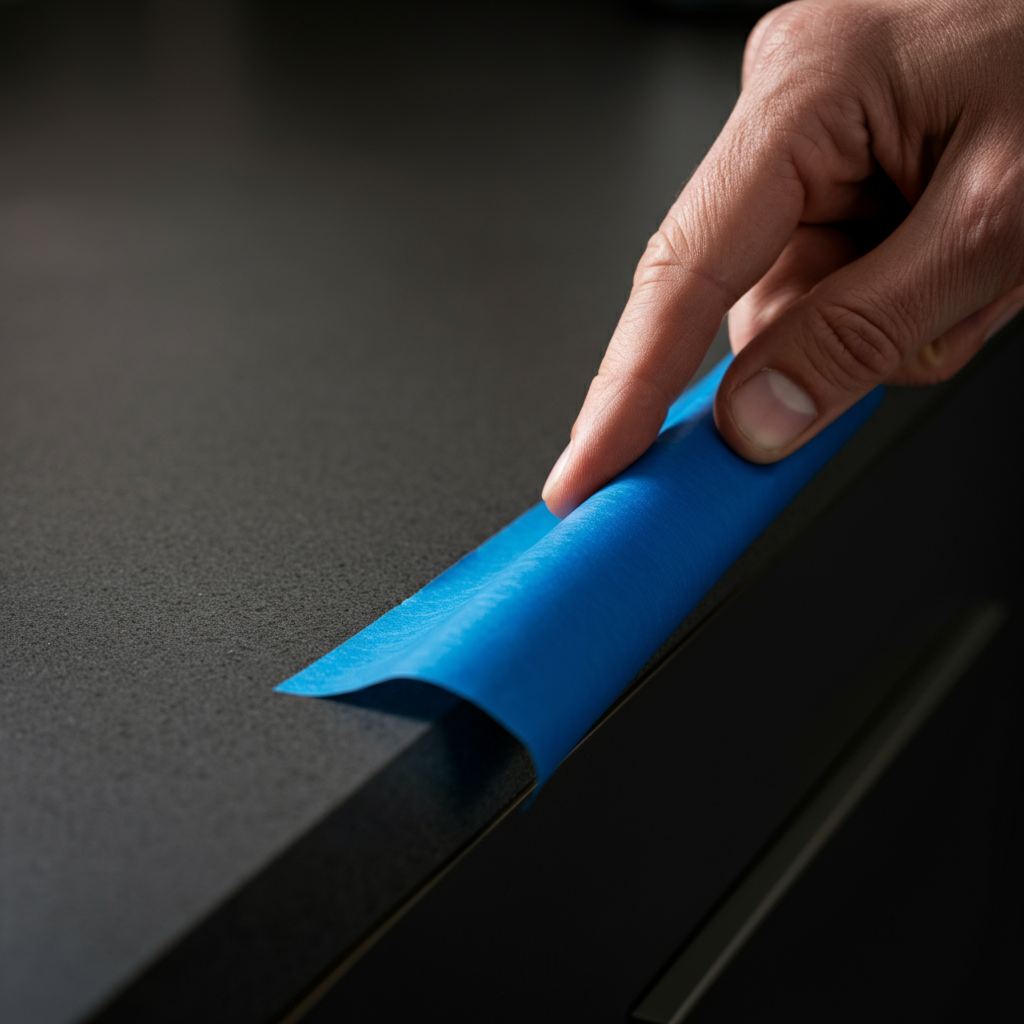
Step 4: Apply Painter's Tape
Applying painter's tape along the edges of the sink and countertop creates a clean, professional caulk line. The tape acts as a guide, preventing caulk from spreading onto unwanted areas and making cleanup much easier. Ensure the tape is applied evenly and consistently, leaving a small gap for the caulk bead. Use a high-quality painter's tape for clean removal without leaving residue.
Step 5: Prepare the Caulk Tube
Properly preparing the caulk tube is essential for a smooth and consistent application. Cut the tip of the caulk tube at a 45-degree angle, making the opening slightly smaller than the desired bead size. Puncture the inner seal using the tool provided with the caulk gun. Starting with a smaller opening is always better, as you can enlarge it if needed.
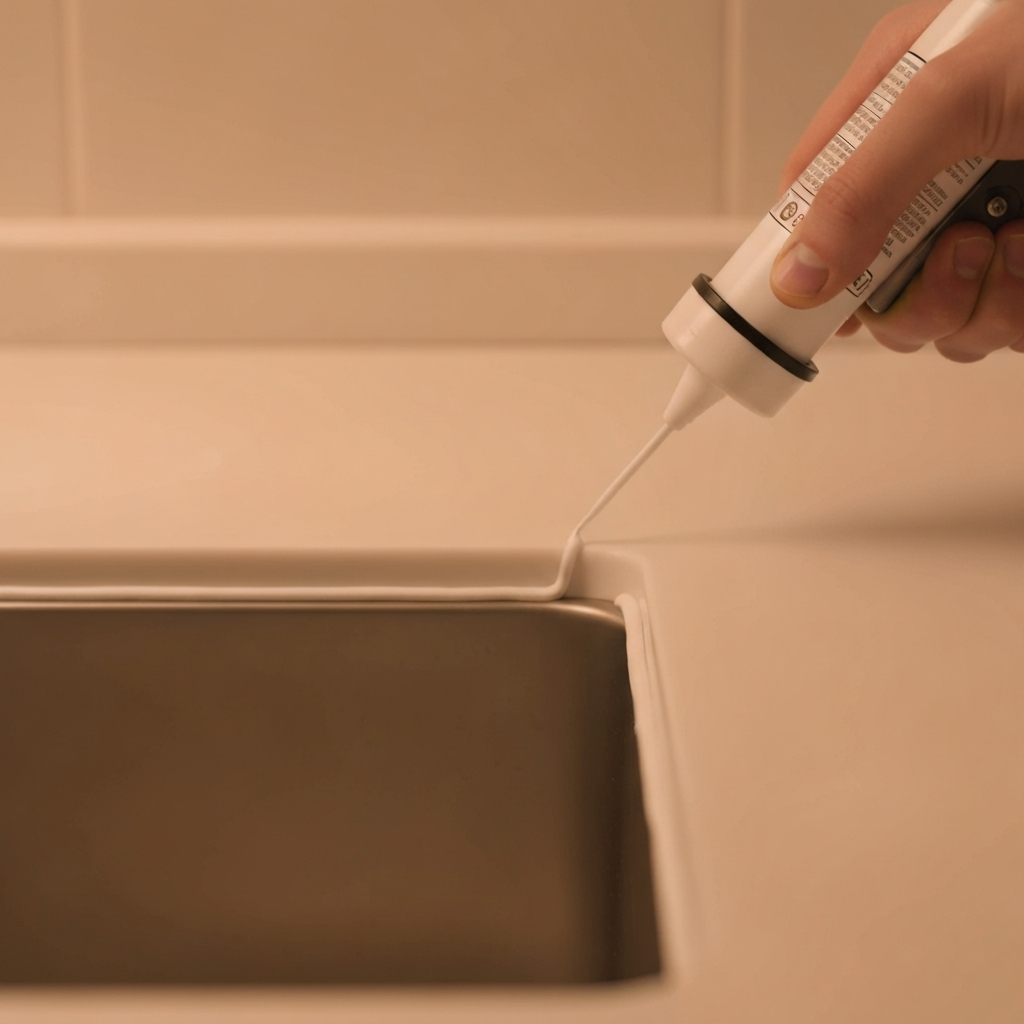
Step 6: Apply the Caulk
Applying the caulk requires a steady hand and consistent pressure. Hold the caulk gun at a 45-degree angle and move it smoothly along the seam, applying a continuous bead of caulk. Avoid starting and stopping mid-seam, as this can create unevenness. If you need to pause, overlap the starting point slightly to ensure a seamless seal. Don't apply too much at once.
Step 7: Smooth the Caulk Bead
Smoothing the caulk bead creates a professional finish and ensures a watertight seal. Dip your finger in water mixed with a drop of dish soap, and gently run it along the caulk bead, pressing firmly to create a smooth, concave surface. Re-wet your finger frequently to prevent the caulk from sticking. Alternatively, use a caulk smoothing tool for a consistent and even finish.
Step 8: Remove the Tape
Carefully remove the painter's tape while the caulk is still wet. Pull the tape away at a 45-degree angle to avoid pulling the caulk away from the seam. Removing the tape while the caulk is wet ensures a clean, crisp edge. If any caulk remains on the surface, wipe it away with a damp cloth.
Step 9: Allow the Caulk to Cure
Allow the caulk to cure completely before using the sink. The curing time typically ranges from 24 to 48 hours, depending on the type of caulk and the ambient temperature and humidity. Check the manufacturer's instructions for the recommended curing time. Avoid exposing the caulk to water or moisture during the curing process.
Tools or Materials Required
- Caulk gun
- Caulk (Kitchen & Bath Silicone Caulk)
- Utility knife or caulk removal tool
- Painter's tape
- Rubbing alcohol
- Paper towels or clean cloths
- Caulk smoothing tool (optional)
- Dish soap
- Water
Common Mistakes to Avoid
- Using the wrong type of caulk (always use kitchen and bath caulk).
- Applying caulk to a dirty or wet surface.
- Applying too much caulk at once.
- Not smoothing the caulk bead properly.
- Using expired caulk. Check the expiration date on the tube before use.
Safety Considerations
- Wear safety glasses to protect your eyes from caulk splatters.
- Work in a well-ventilated area to avoid inhaling caulk fumes.
- Use a sharp utility knife with caution to avoid cuts.
Pro Tips
- Store caulk tubes in a cool, dry place to extend their shelf life.
- For large gaps, use backer rod to fill the space before applying caulk.
- Practice applying caulk on a piece of cardboard before working on the sink.
FAQ Section
- How often should I recaulk my kitchen sink?
- Typically, every 2-3 years, or sooner if you notice cracks or mold.
- What type of caulk should I use?
- Use a kitchen and bath caulk specifically designed for wet environments. Silicone caulk is a good option.
- Can I paint over caulk?
- Yes, but use a paintable caulk like acrylic latex caulk. Silicone caulk is not paintable.
Conclusion
Caulking your kitchen sink is a straightforward DIY project that can save you money and prevent costly water damage. By following these steps and tips, you can achieve a professional-quality seal that will protect your kitchen for years to come. Remember to take your time, be thorough, and prioritize safety. With a little practice, you'll be caulking like a pro in no time!