While Windows and Linux are excellent operating systems, they don't always play nicely together, especially when it comes to file systems. Windows natively supports file systems like NTFS and FAT32/exFAT, but it cannot directly read the EXT4, EXT3, and EXT2 file systems commonly used on Linux drives. This can be frustrating if you need to access files from a Linux-formatted USB drive on your Windows machine.
Fortunately, there are several ways to overcome this limitation. You can use third-party software specifically designed to read Linux file systems, leverage the Windows Subsystem for Linux (WSL), or even boot your computer into a live Linux environment from a separate USB drive. Each method has its own advantages and disadvantages in terms of ease of use, setup time, and technical complexity.
This guide will walk you through several proven methods to access your Linux USB drive in Windows, allowing you to read and copy files seamlessly. We'll cover the easiest options for beginners and more advanced techniques for experienced users, providing step-by-step instructions and troubleshooting tips along the way.
Step 1: Using DiskInternals Linux Reader
1. Install DiskInternals Linux Reader
DiskInternals Linux Reader is a free, user-friendly application that allows Windows to read Linux file systems like EXT2, EXT3, and EXT4. It functions much like Windows File Explorer, providing a familiar interface for browsing files and folders. To get started, download the application from the official DiskInternals website. Be sure to select the free version. The installation process is straightforward; simply run the downloaded installer, accept the license agreement, and follow the on-screen prompts. The entire process should take less than 5 minutes. Note that while the software is free to read the drive, writing to the Linux drive typically requires a paid upgrade.
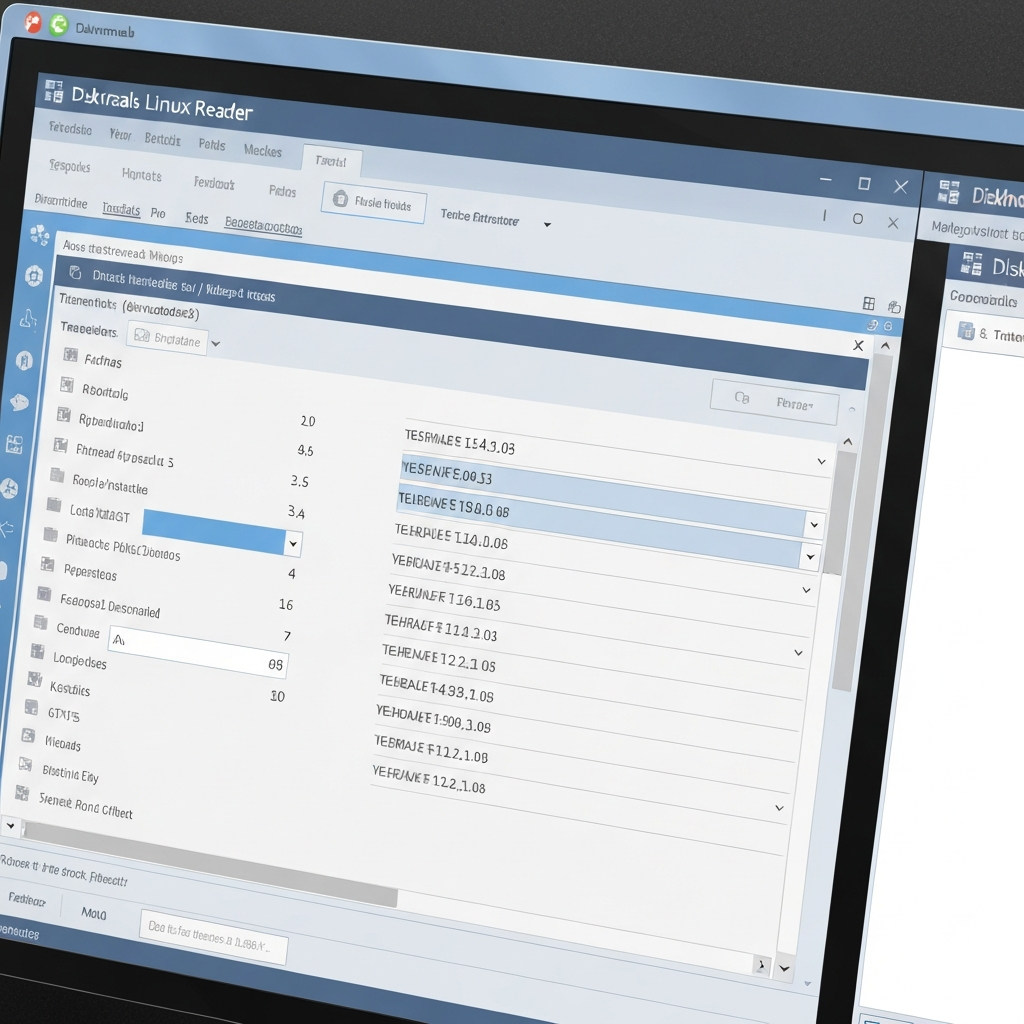
2. Connect the USB Drive and Access Its Contents
Once Linux Reader is installed, connect your Linux-formatted USB drive to your computer. The drive should appear as a device within the Linux Reader application, similar to how it would appear in File Explorer. Double-clicking the drive icon in Linux Reader will display its contents, allowing you to browse the file system. If the drive doesn't appear, try refreshing the application or re-inserting the USB drive. Make sure the USB drive is properly recognized by Windows in Device Manager before troubleshooting within Linux Reader. Occasionally, certain USB controllers may have compatibility issues; trying a different USB port might resolve the problem.
3. Copy Files from the USB Drive to Your Computer
While it might seem intuitive to drag and drop files from the USB drive to your Windows desktop, DiskInternals Linux Reader requires you to use its built-in export wizard to copy files. To do this, right-click on the file or folder you want to copy and select "Save." In the subsequent dialog box, choose "Save Files" and click "Next." You'll then be prompted to select a location on your Windows PC to save the files. Specify the desired destination folder and click "Next" and "Finish" to initiate the copying process. This method ensures that the file permissions and attributes are correctly handled during the transfer. Be patient with larger files, as the transfer speed might be slower than native Windows file transfers.
Step 2: Using Windows Subsystem for Linux (WSL)
1. Enable Windows Subsystem for Linux (WSL)
Windows Subsystem for Linux (WSL) allows you to run a Linux environment directly within Windows, providing access to Linux tools and utilities. The installation process has been simplified in recent versions of Windows 10 and 11. Open PowerShell as an administrator and run the command wsl --install. This command will install the default Ubuntu distribution. The installation might take 10-20 minutes, depending on your internet speed and system resources. Ensure you have virtualization enabled in your BIOS settings for WSL to function correctly. If you encounter errors during installation, consult the official Microsoft WSL documentation for troubleshooting steps.
2. Install USBIPD-WIN
USBIPD-WIN is a project that bridges USB device access from Windows to WSL. Open PowerShell as an administrator and run the command winget install --interactive --exact dorssel.usbipd-win. Follow the prompts to complete the installation. This step is essential for allowing WSL to recognize and interact with your USB drive. Make sure you have the latest version of 'winget' by updating the App Installer in the Microsoft Store, if required. Without USBIPD-WIN, WSL will not be able to "see" your USB devices connected to the Windows host.
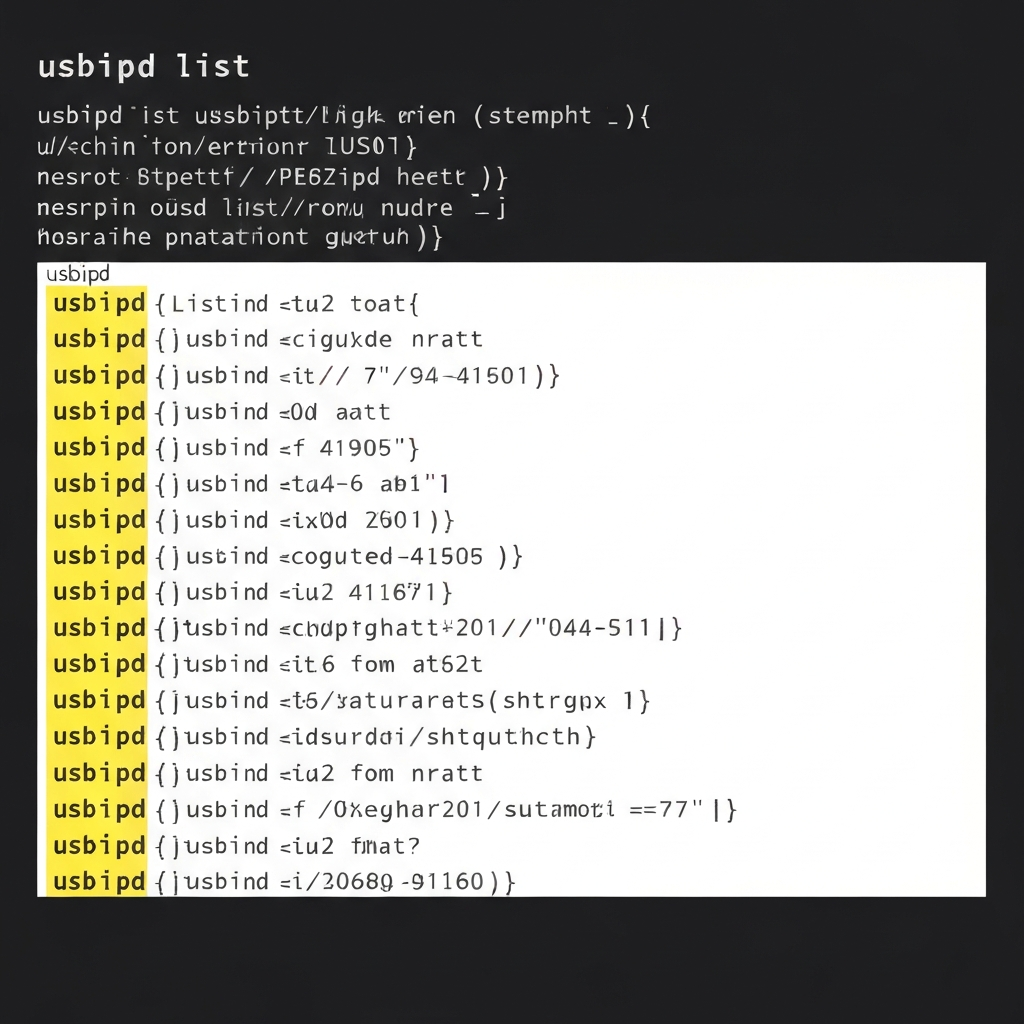
3. Identify the USB Drive's Bus ID
With the USB drive connected to your computer, run the command usbipd list in PowerShell. This command will display a list of connected USB devices along with their corresponding bus IDs. Locate your USB drive in the list and note its bus ID, which will be in the format "X-Y" (e.g., 2-5). This bus ID is crucial for connecting the USB drive to WSL. If your drive isn't listed, ensure it's properly connected and recognized by Windows. You might need to install drivers for the USB device if it's not being recognized correctly.
4. Attach the USB Drive to WSL
Now, attach the USB drive to WSL using the command usbipd attach --wsl --busid X-Y, replacing "X-Y" with the actual bus ID you identified in the previous step (e.g., usbipd attach --wsl --busid 2-5). This command makes the USB drive accessible from within the WSL environment. You might encounter an error if another process is already using the USB drive in Windows. Close any programs that might be accessing the drive and try again. In some cases, you might need to use the --force flag (usbipd bind --force --busid X-Y) to detach the device from Windows forcefully before attaching it to WSL. Rebooting your PC might also be necessary.
5. Mount the USB Drive in WSL
Open your WSL terminal (e.g., Ubuntu). Create a mount point using the command sudo mkdir /mnt/usb. Then, identify the device name of the USB drive using lsblk. It will likely appear as something like `/dev/sdb1`. Mount the USB drive to the mount point using the command sudo mount /dev/sdb1 /mnt/usb. If the drive uses a different file system (e.g., EXT2), specify the file system type using the -t option (e.g., sudo mount -t ext2 /dev/sdb1 /mnt/usb). You should now be able to access the files on the USB drive by navigating to the `/mnt/usb` directory in your WSL terminal. If you receive a "mount: unknown filesystem type" error, double-check the file system type of the USB drive and ensure you're using the correct `-t` option with the mount command.
6. Access Files from Windows
The mounted USB drive can be accessed from Windows via the WSL network share. In Windows File Explorer, type \\wsl$\Ubuntu\mnt\usb in the address bar and press Enter. This will open a File Explorer window displaying the contents of the USB drive. You can now copy files between the USB drive and your Windows file system. Note that file transfer speeds might be slower than native Windows file transfers due to the overhead of WSL and the network share. Also, remember that you're interacting with the drive through the Linux file system; certain file attributes and permissions might behave differently than in Windows.
7. Detach the USB Drive from WSL
When you're finished accessing the USB drive, detach it from WSL using the command usbipd detach --busid X-Y in PowerShell, replacing "X-Y" with the bus ID of your USB drive. This releases the USB drive from WSL and allows it to be used by Windows again. Remember to unmount the drive within WSL using sudo umount /mnt/usb before detaching it from USBIPD. Failing to detach and unmount the drive properly could lead to data corruption.
Step 3: Using a Live Linux USB Drive
1. Download an Ubuntu ISO Image
A "Live" Linux distribution allows you to run a complete Linux operating system from a USB drive without installing it on your hard drive. Download the latest Ubuntu Desktop ISO image from the official Ubuntu website. This ISO image will be used to create a bootable USB drive. Ensure that you download the Desktop version, as the Server version lacks a graphical user interface. Keep the download location in mind as you'll need to point to it in the next step.
2. Download and Install Rufus
Rufus is a free and open-source tool for creating bootable USB drives. Download and install Rufus from its official website. Be sure to download the portable version if you prefer not to install the application. Rufus is crucial for writing the Ubuntu ISO image to the USB drive in a bootable format. Pay attention to any warnings or prompts during the installation process.
3. Create a Bootable USB Drive with Rufus
Open Rufus and select your USB drive from the "Device" dropdown menu. Choose the Ubuntu ISO image you downloaded in Step 1 by clicking the "Select" button under "Boot selection." Leave the other settings at their defaults (e.g., Partition scheme: MBR, Target system: BIOS or UEFI). Click the "Start" button to begin writing the ISO image to the USB drive. A warning message will appear indicating that all data on the USB drive will be erased; confirm that you have backed up any important data before proceeding. The process typically takes 5-15 minutes, depending on the speed of your USB drive. When the process completes, you will have a bootable Ubuntu USB drive.
4. Boot from the USB Drive
Restart your computer and enter the BIOS/UEFI settings. The method for entering BIOS/UEFI varies depending on your computer manufacturer (usually by pressing Del, F2, F12, or Esc key during startup). Configure your BIOS/UEFI settings to boot from the USB drive. Save the changes and exit the BIOS/UEFI settings. Your computer should now boot from the Ubuntu USB drive. Consult your motherboard's manual for specific instructions on changing the boot order. If your computer doesn't boot from the USB drive, double-check the boot order in your BIOS/UEFI settings and ensure that the USB drive is properly recognized.
5. Access the Linux USB Drive
Once Ubuntu has booted from the USB drive, insert the Linux-formatted USB drive you want to access. Ubuntu should automatically detect and mount the drive. Open the "Files" application (the file manager in Ubuntu). Your Linux USB drive should appear in the left sidebar under "Devices." Click on the drive to access its contents. You can now browse, copy, and manage the files on the Linux USB drive. Ensure that the drive is properly mounted; if it's not showing up, try manually mounting it using the terminal with the `mount` command.
6. Copy Files to Another USB Drive
To copy files from the Linux USB drive to another USB drive (formatted for Windows), simply connect the second USB drive to your computer. Ubuntu should also automatically detect and mount this drive. You can then drag and drop files between the two USB drives using the "Files" application. Be mindful of the file system limitations of the Windows-formatted USB drive (e.g., maximum file size for FAT32). Alternatively, you can copy the files to a cloud storage service (like Google Drive or Dropbox) and then download them to your Windows machine.
Tools or Materials Required
- A computer running Windows 10 or 11.
- A Linux-formatted USB drive that you want to read.
- (For DiskInternals Linux Reader): DiskInternals Linux Reader software (free download).
- (For WSL): An internet connection for installing WSL and USBIPD-WIN.
- (For Live Linux USB): A blank USB drive (at least 4GB) and Rufus software (free download).
Common Mistakes to Avoid
- Forgetting to enable virtualization in BIOS/UEFI when using WSL.
- Using the wrong bus ID when attaching the USB drive to WSL.
- Failing to unmount the USB drive properly before detaching it from WSL.
- Selecting the wrong drive in Rufus, potentially erasing data from a critical USB.
- Not ensuring the downloaded Ubuntu ISO image is not corrupt before creating a Live USB.
Safety Considerations
- Always back up important data before attempting any file system modifications.
- Be careful when using commands like
usbipd bind --force, as they can potentially lead to data loss if used incorrectly. - Ensure you download software from reputable sources to avoid malware.
Pro Tips
- For frequent access to Linux drives, consider setting up WSL for a more integrated experience.
- If you're using a Live Linux USB, explore different Linux distributions to find one that suits your needs.
- Consider using a cloud storage service to transfer files between Linux and Windows seamlessly.
FAQ Section
- Q: Is it safe to write to a Linux-formatted drive from Windows?
- A: While some tools claim to offer write access, it's generally not recommended due to potential file system corruption. Reading the drive is usually safe. Writing should be done with caution, and after backing up your drive.
- Q: I'm getting an error when trying to mount the USB drive in WSL. What should I do?
- A: Double-check the device name using
lsblk, ensure that the mount point exists, and verify that you're using the correct file system type with the-toption. Also, ensure that the USB drive is not already mounted. - Q: My USB drive is not being recognized by Windows. What can I do?
- A: Check the USB drive in Device Manager. If it shows an error, try updating the drivers or using a different USB port. The USB drive may also be faulty.
Conclusion
Accessing Linux-formatted USB drives in Windows doesn't have to be a daunting task. By using tools like DiskInternals Linux Reader, leveraging the power of WSL, or booting into a Live Linux environment, you can easily read and copy files from these drives. Choose the method that best suits your technical expertise and needs, and remember to follow the safety precautions to avoid data loss. With a little patience and the right tools, you can seamlessly bridge the gap between Windows and Linux file systems.