Do you find yourself constantly checking the weather each morning? Wouldn't it be convenient to have the forecast delivered straight to your inbox? With Microsoft Power Automate, you can automate this task and receive a daily email with the latest weather information for your location. This guide will walk you through the process step-by-step, even if you're new to automation tools.
Power Automate, formerly known as Microsoft Flow, is a powerful cloud-based service that allows you to create automated workflows between your favorite apps and services. No coding experience is required! This simple flow we'll build will fetch weather data from MSN Weather and send it to your email address on a schedule you define. Get ready to streamline your morning routine and stay informed about the weather with minimal effort.
The entire process takes approximately 15-20 minutes to set up, and the flow will run automatically afterward. Let's get started!
Step 1: Access Power Automate and Create a Scheduled Flow
First, you'll need to access the Power Automate platform. Open your web browser and navigate to flow.microsoft.com. Sign in using your Microsoft account (the same account you use for Outlook, Office 365, or other Microsoft services). If you don't have an account, you can create one for free. Once you're logged in, click on "Create" in the left-hand navigation menu, then select "Scheduled cloud flow." This will create a flow that runs on a schedule you define.
Step 2: Configure the Schedule and Name Your Flow
A pop-up window will appear, prompting you to name your flow and configure its schedule. In the "Flow name" field, enter a descriptive name like "Daily Weather Email". Next, set the "Start date and time" to when you want the flow to start running. For example, you might set it to tomorrow morning. Finally, under "Recurrence," select "Daily" from the dropdown menu. This will ensure that your flow runs every day. Click the "Create" button to proceed.
Pro Tip: Consider setting the start time to a few minutes from the current time during testing to ensure the flow triggers as expected. You can always adjust it later.
Step 3: Add the "Get current weather" Action
You are now in the Power Automate flow designer. Click the "+ New step" button to add a new action to your flow. In the search bar, type "Weather" and select the "Get current weather (from MSN Weather)" connector from the search results. This connector will retrieve weather data from MSN Weather based on the location you specify.
Step 4: Configure the Weather Location and Units
After selecting the "Get current weather" action, you'll need to configure it. In the "Location" field, enter the name of the city for which you want to receive weather updates. Be as specific as possible (e.g., "London, UK" instead of just "London") to avoid ambiguity. Next, select your preferred unit of measurement from the "Units" dropdown. Choose either "Imperial" for Fahrenheit (°F) or "Metric" for Celsius (°C).
Common Mistakes to Avoid: Ensure the city name is spelled correctly. An incorrect spelling will result in the flow failing or retrieving weather data for the wrong location.
Step 5: Add the "Send an email (V2)" Action
Now that you have the weather data, you need to send it to yourself via email. Click "+ New step" again and search for "Send an email (V2)". Select this action, which uses the Outlook connector to send emails. You may be prompted to authenticate your Outlook account if you haven't used it with Power Automate before. Follow the on-screen instructions to connect your account.
Step 6: Configure the Email Details
Configure the email action by filling in the required fields. In the "To" field, enter your email address. This is where the daily weather updates will be sent. In the "Subject" field, enter a descriptive subject line, such as "Today's Weather Update" or "Daily Weather Forecast". Next, compose the body of your email. You can type any text you want, and you can also insert dynamic content from the "Get current weather" action to include the weather information in the email.
To insert dynamic content, click inside the "Body" field where you want the weather information to appear. A pane called "Dynamic content" will appear. Here, you'll see a list of available data points from the "Get current weather" action, such as "Temperature," "Conditions," and "Wind speed." Click on the data points you want to include in your email body. Power Automate will automatically insert the corresponding variables into your email.
Example Email Body:
Hello!

Here's today's weather forecast for [City]:

Conditions: [Conditions]
Temperature: [Temperature] [Units]
Wind Speed: [Wind speed] [Wind speed unit]

Have a great day!
Pro Tip: Experiment with different email formats to find one that you find easy to read and understand. You can use HTML formatting in the email body for more customization.
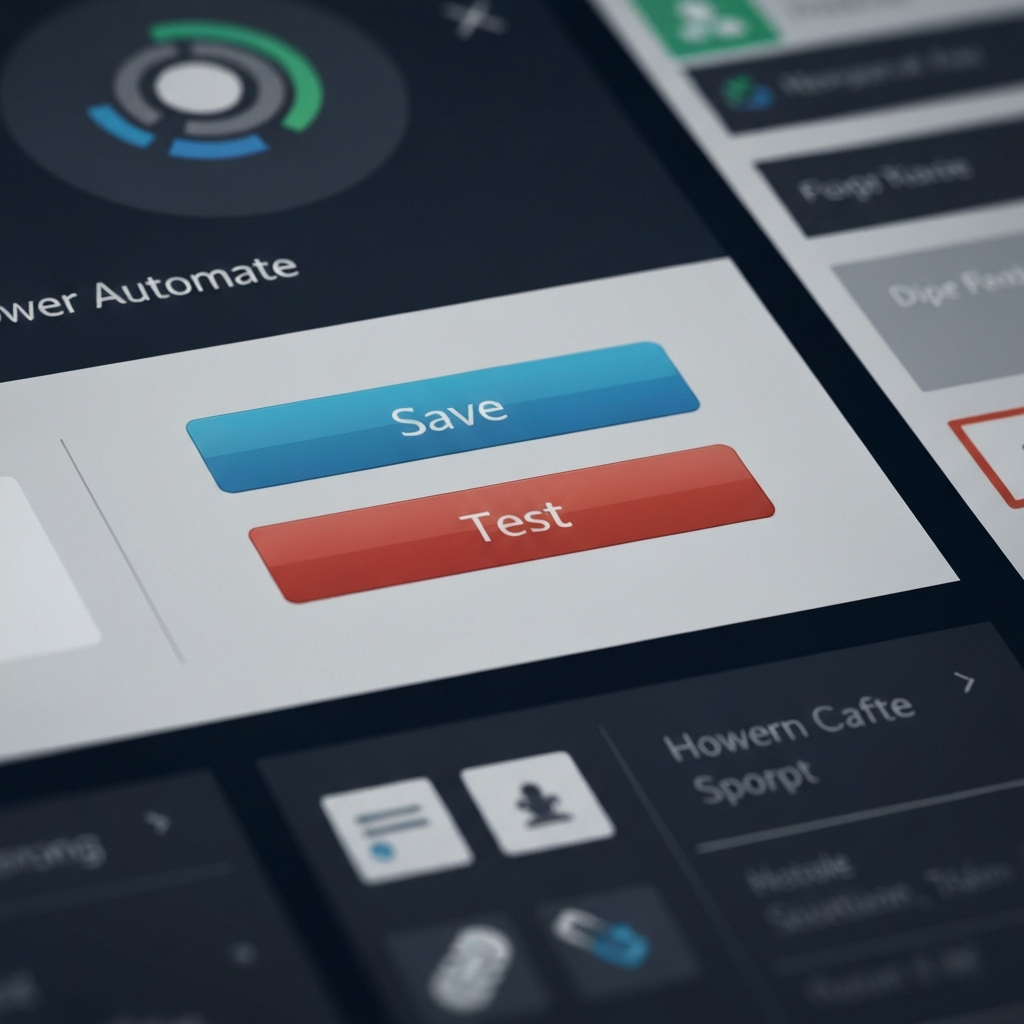
Step 7: Save and Test Your Flow
Once you've configured all the actions, it's time to save and test your flow. Click the "Save" button in the top-right corner of the screen. After saving, click the "Test" button, also in the top-right corner. Select "Manually" and click "Test". This will trigger the flow immediately, allowing you to confirm that it's working correctly.
Step 8: Verify the Email
After running the test, check your email inbox. You should receive an email with the subject line you specified, containing the weather information for your chosen location. Verify that the information is accurate and that the email is formatted correctly. If you encounter any issues, return to the Power Automate flow designer and make the necessary adjustments. You can test the flow as many times as needed to ensure it's working perfectly.
Common Mistakes to Avoid: Ensure that your email filter doesn't classify the email as spam or junk. Check your spam folder if you don't see the email in your inbox.
FAQ Section
Q: Can I get weather updates for multiple locations?
A: Yes, you can add multiple "Get current weather" actions to your flow, one for each location you want to track. Simply add a new action and configure it for a different city.
Q: Can I customize the schedule to receive updates more or less frequently?
A: Yes, you can modify the schedule in the trigger settings. For example, you can set the flow to run every few hours or only on certain days of the week.
Q: What happens if the flow fails?
A: Power Automate will notify you if a flow fails. You can then review the flow's run history to identify the cause of the failure and make any necessary corrections.
Conclusion
Congratulations! You've successfully created a Power Automate flow to send yourself daily weather updates. This simple automation can save you time and keep you informed about the weather without having to manually check it each day. Power Automate is a versatile tool with countless possibilities for automating tasks and streamlining your workflows. Explore the platform and discover other ways to automate your life!