In a world overflowing with mass-produced items, the act of creating something beautiful and functional from discarded materials offers a unique sense of accomplishment and connection. Upcycled art, the process of transforming waste materials into something of higher value, not only reduces environmental impact but also ignites creativity and brings a personalized touch to our surroundings. It's about seeing potential where others see trash, and breathing new life into forgotten objects.
This guide will walk you through the process of sparking joy through upcycled art, providing practical steps and expert tips to help you transform unwanted items into treasured pieces. Whether you're a seasoned artist or a beginner looking for a creative outlet, upcycling offers a rewarding experience that allows you to express your individuality while contributing to a more sustainable future.
Get ready to unleash your imagination and discover the endless possibilities of upcycled art. From transforming old t-shirts into vibrant rugs to turning glass bottles into stunning light fixtures, the possibilities are as limitless as your creativity. Let's begin this journey of transformation and discover the joy of creating something beautiful from what others have left behind.
Step 1: Source and Select Your Materials
The first step in any upcycling project is to gather your materials. Look around your home, attic, garage, and even your neighbor's recycling bin (with permission, of course!). Consider what inspires you. Are you drawn to the texture of old wood, the vibrant colors of discarded fabric, or the interesting shapes of glass bottles? The key is to choose materials that resonate with you and spark your imagination. Think about the intended purpose of your artwork. A sturdy metal can is ideal for a planter, while colorful plastic scraps may be perfect for a mosaic.
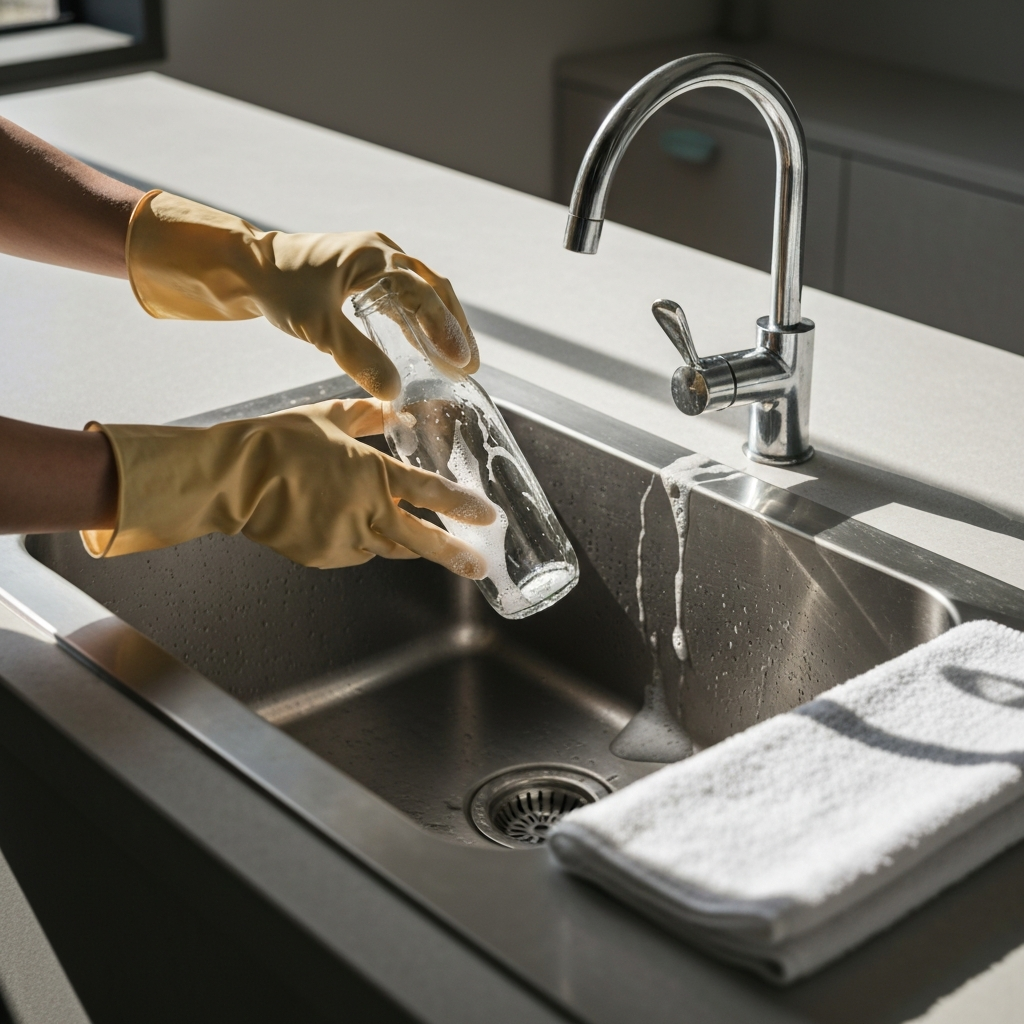
Step 2: Clean and Prepare Your Materials
Once you've gathered your materials, it's essential to clean and prepare them for your project. This may involve washing fabrics, removing rust from metal, or sanding down rough edges. Proper preparation ensures a better finish and improves the longevity of your artwork. Thoroughly clean items with soap and water, and consider using a degreaser for greasy surfaces. For wooden items, sanding creates a smooth surface for painting or staining. For metal items, use a wire brush to remove rust and apply a rust-resistant primer. Remember to let your materials dry completely before moving on to the next step.
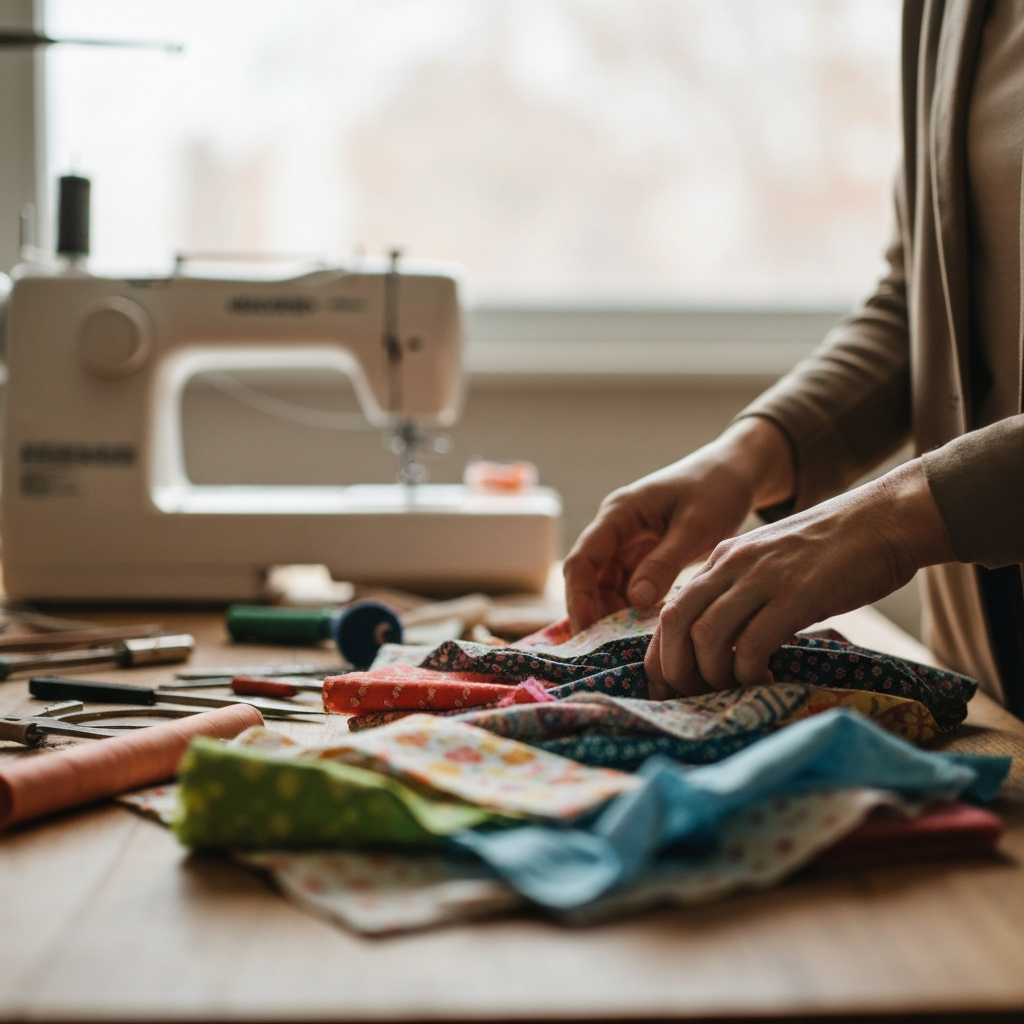
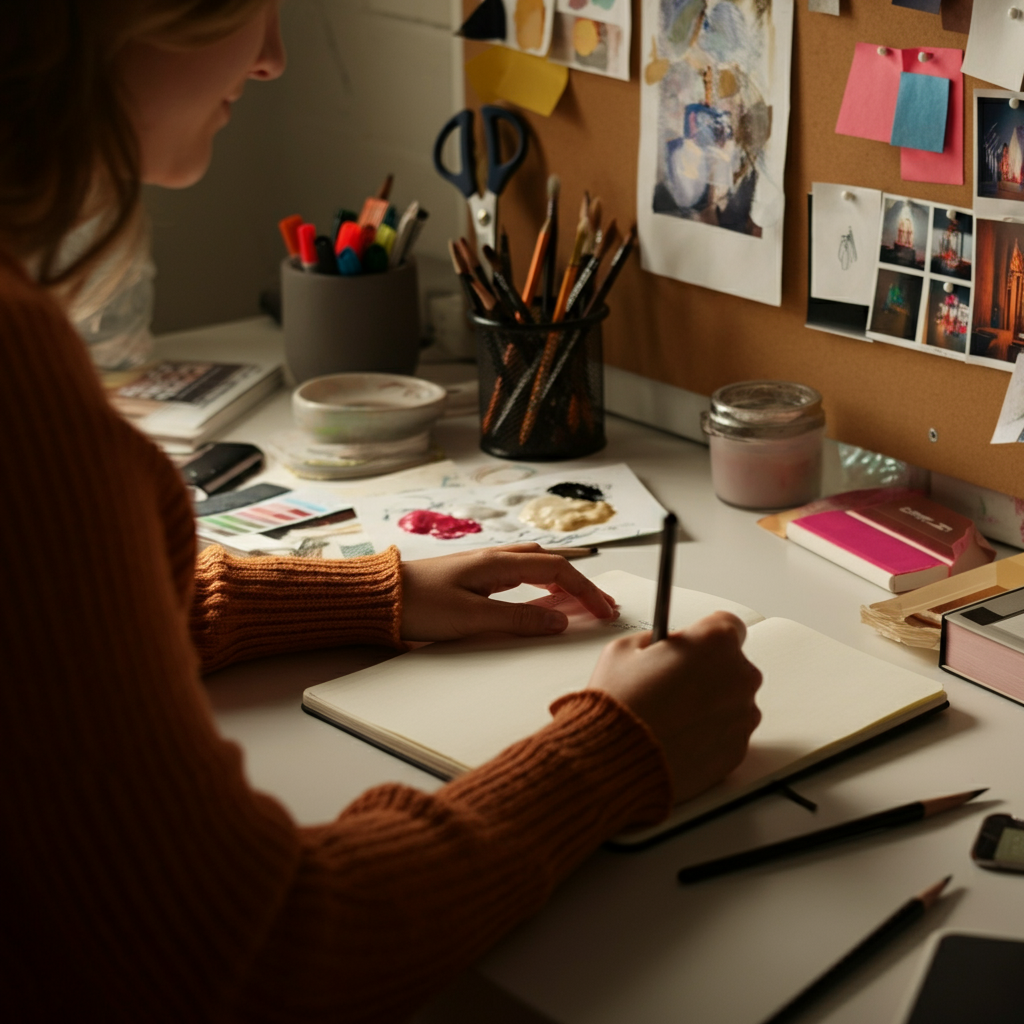
Step 3: Brainstorm and Design Your Project
Now comes the fun part: brainstorming and designing your project! Consider the materials you've gathered and how they can be transformed into something new and beautiful. Sketch out your ideas on paper, or use digital tools to visualize your design. Don't be afraid to experiment and think outside the box. Look for inspiration online, in magazines, or at local art galleries. Consider the functionality of your artwork and how it will be used. Will it be a decorative piece, a functional object, or a combination of both? Think about the colors, textures, and patterns you want to incorporate into your design.
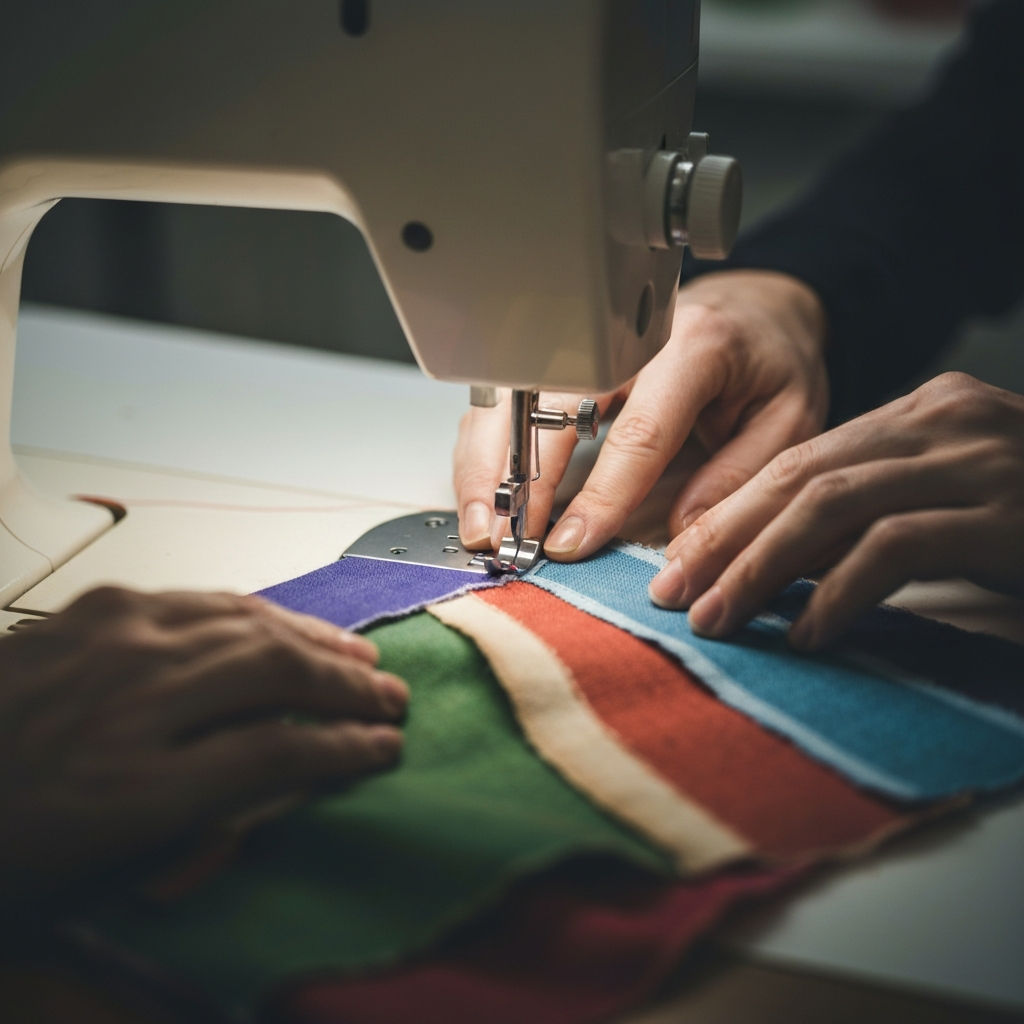
Step 4: Construct and Assemble Your Artwork
With your design in place, it's time to start constructing and assembling your artwork. Use appropriate tools and techniques to cut, shape, and join your materials. Always prioritize safety when using power tools or adhesives. For fabric projects, sewing, gluing, or knotting techniques can be used. For wooden projects, sawing, drilling, and sanding are common techniques. For metal projects, welding, soldering, or riveting may be necessary. Take your time and pay attention to detail. Accuracy and precision will enhance the overall quality of your artwork.
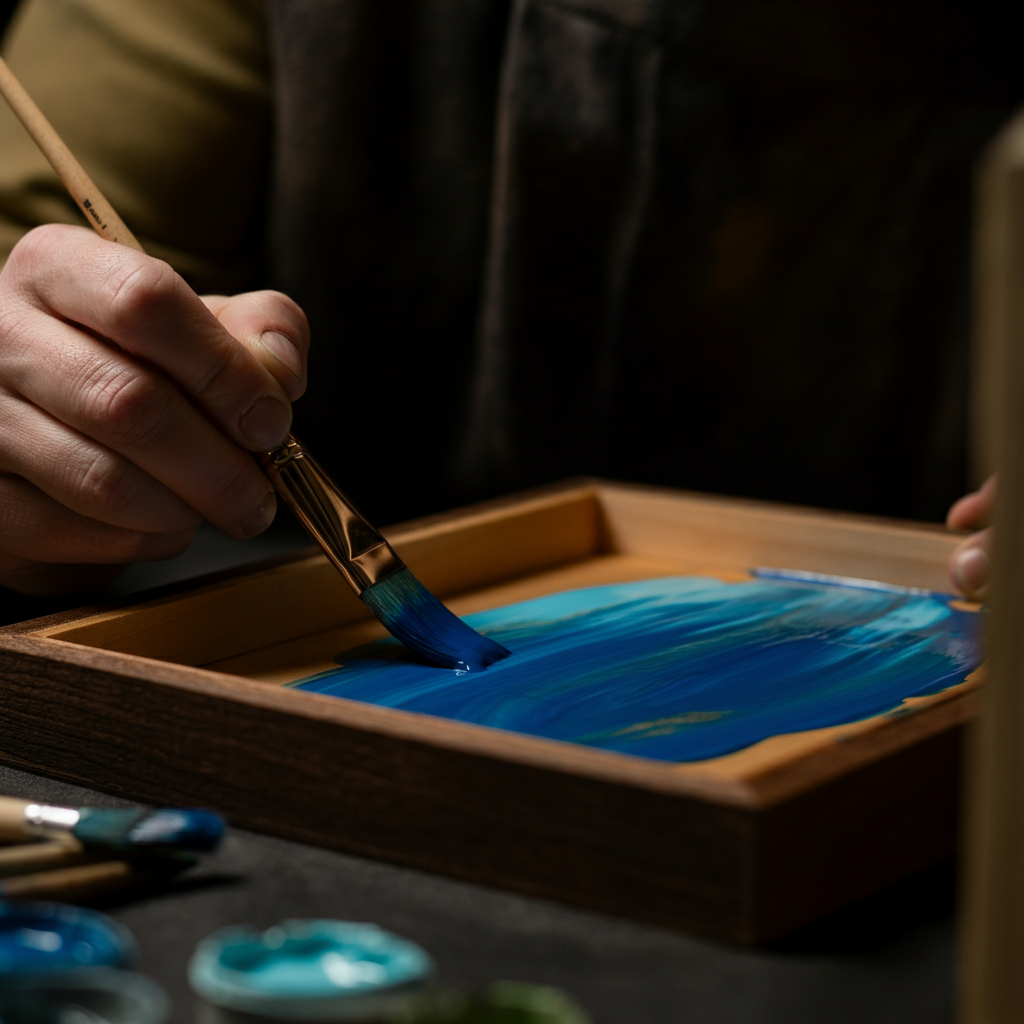
Step 5: Decorate and Finish Your Creation
The final step is to decorate and finish your upcycled artwork. This is where you can add your personal touch and bring your vision to life. Painting, staining, varnishing, and embellishing are all options to consider. Choose finishes that complement your design and protect your artwork from the elements. Use stencils, stamps, or freehand techniques to add intricate details. Consider adding decorative elements such as beads, buttons, or shells. Remember to let your finishes dry completely before displaying or using your artwork. A clear sealant can help protect paint from scratches and wear.
Safety Considerations
When working with upcycled materials, safety should always be a top priority. Wear appropriate safety gear, such as gloves, safety glasses, and a dust mask. Be aware of potential hazards associated with your materials and tools. Use caution when working with sharp objects, power tools, and adhesives. Ensure adequate ventilation when working with paints, solvents, or other chemicals. Dispose of waste materials responsibly. If you are unsure about a particular technique or material, consult with a professional.
Pro Tips
- Embrace imperfections. Upcycled art is all about celebrating the unique character and history of your materials.
- Don't be afraid to experiment with different techniques and materials. The best way to learn is by doing.
- Share your creations with others. Upcycled art can inspire and encourage others to reduce waste and embrace creativity.
- Start with small, manageable projects to build your confidence and skills.
Conclusion
Upcycled art is a rewarding and fulfilling way to express your creativity while contributing to a more sustainable future. By transforming unwanted materials into beautiful and functional objects, you can spark joy in your own life and inspire others to do the same. Remember to source your materials responsibly, prepare them thoroughly, and design your projects with care. Most importantly, have fun and let your creativity shine. The possibilities are endless, and the rewards are immeasurable.