Upcycled art, also known as recycled art, transcends simple crafting; it’s a powerful statement about sustainability and creative expression. It's about transforming discarded materials into something beautiful and functional. This guide offers a comprehensive approach to unlocking your artistic potential through upcycling, providing practical steps and expert tips to help you create unique and meaningful artwork.
Beyond its environmental benefits, upcycled art challenges you to see the world differently. It forces you to look beyond the initial purpose of an object and envision its potential in a new form. This process fosters innovation, problem-solving, and a deeper appreciation for resourcefulness. Whether you're a seasoned artist or a complete beginner, upcycling offers a rewarding and accessible path to artistic fulfillment.
This guide provides step-by-step instructions, creative prompts, and practical advice to help you embark on your upcycled art journey. Prepare to be inspired by the possibilities that lie within the discarded materials around you.
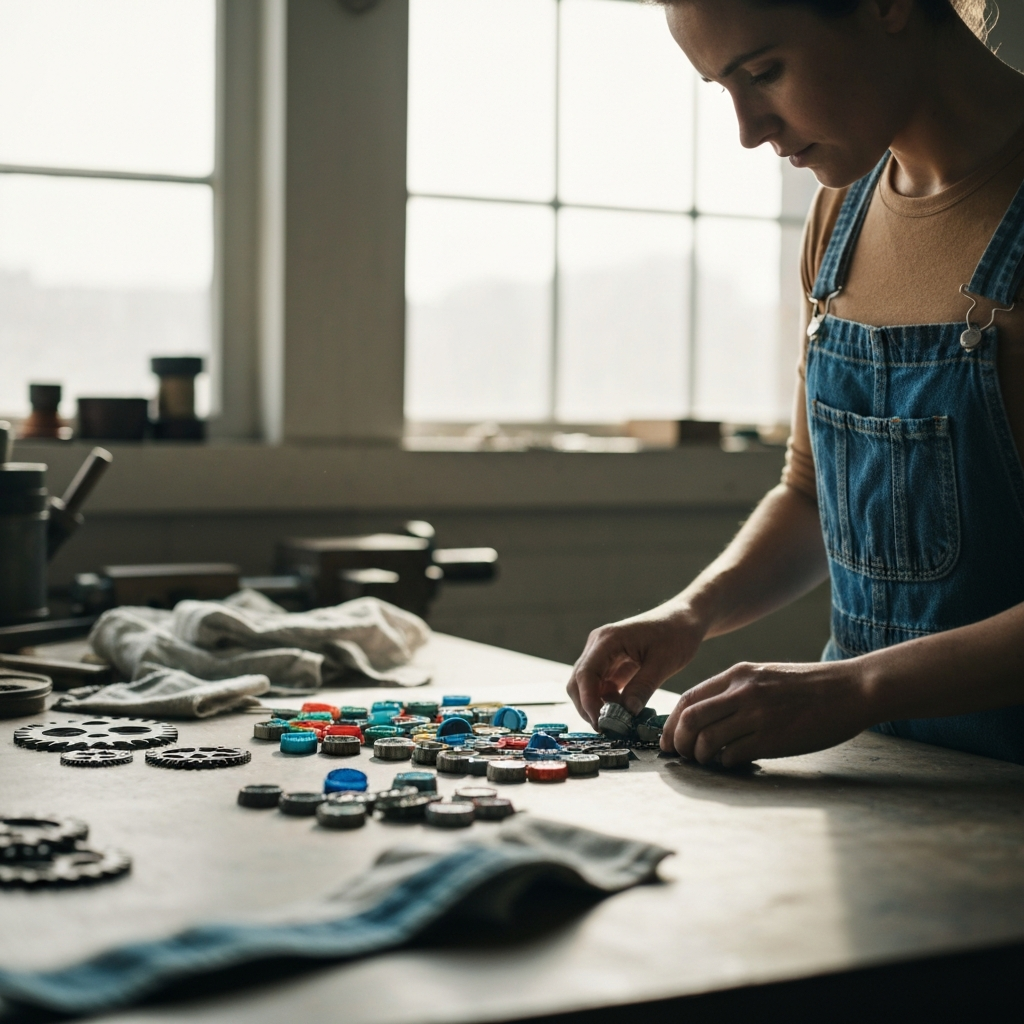
Step 1: Gathering Your Materials and Inspiration
The first step is to gather your materials. This doesn't mean a trip to the art supply store; it means exploring your home, local recycling centers (with permission, of course), and even your neighbors' discarded items. Think beyond the obvious – old newspapers, glass bottles, metal scraps, fabric remnants, and plastic containers can all become valuable components of your artwork. Consider the shape, texture, and color of each item and how it might contribute to your overall vision. Spend time observing these materials; let them speak to you.
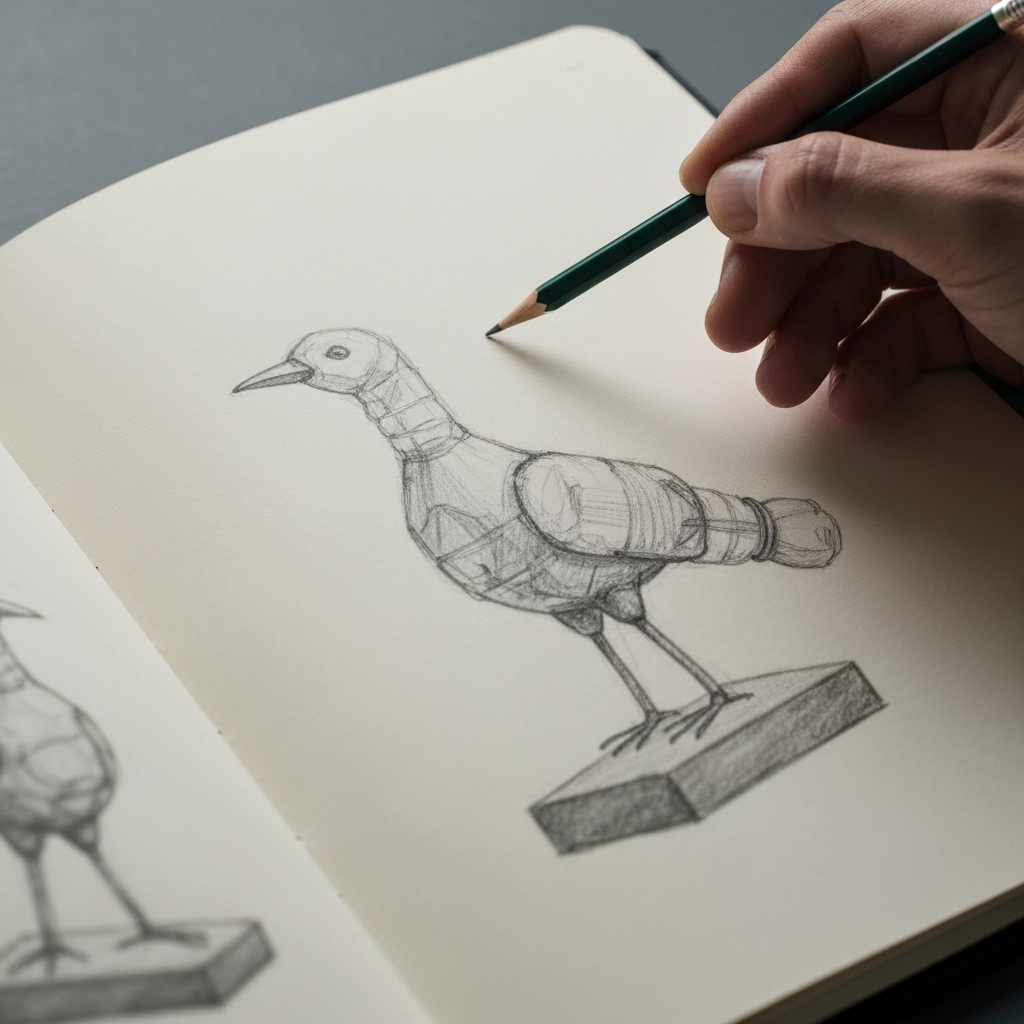
Step 2: Conceptualizing Your Artwork
Before you start cutting and gluing, take some time to conceptualize your artwork. What story do you want to tell? What message do you want to convey? Sketch out your ideas, experiment with different arrangements of your materials, and consider the overall aesthetic you want to achieve. Don't be afraid to be abstract or unconventional. Upcycled art is all about breaking boundaries and challenging expectations. If you are stuck, look to other artists for inspiration, visit museums (virtually or in person), and allow yourself to experiment without judgment.
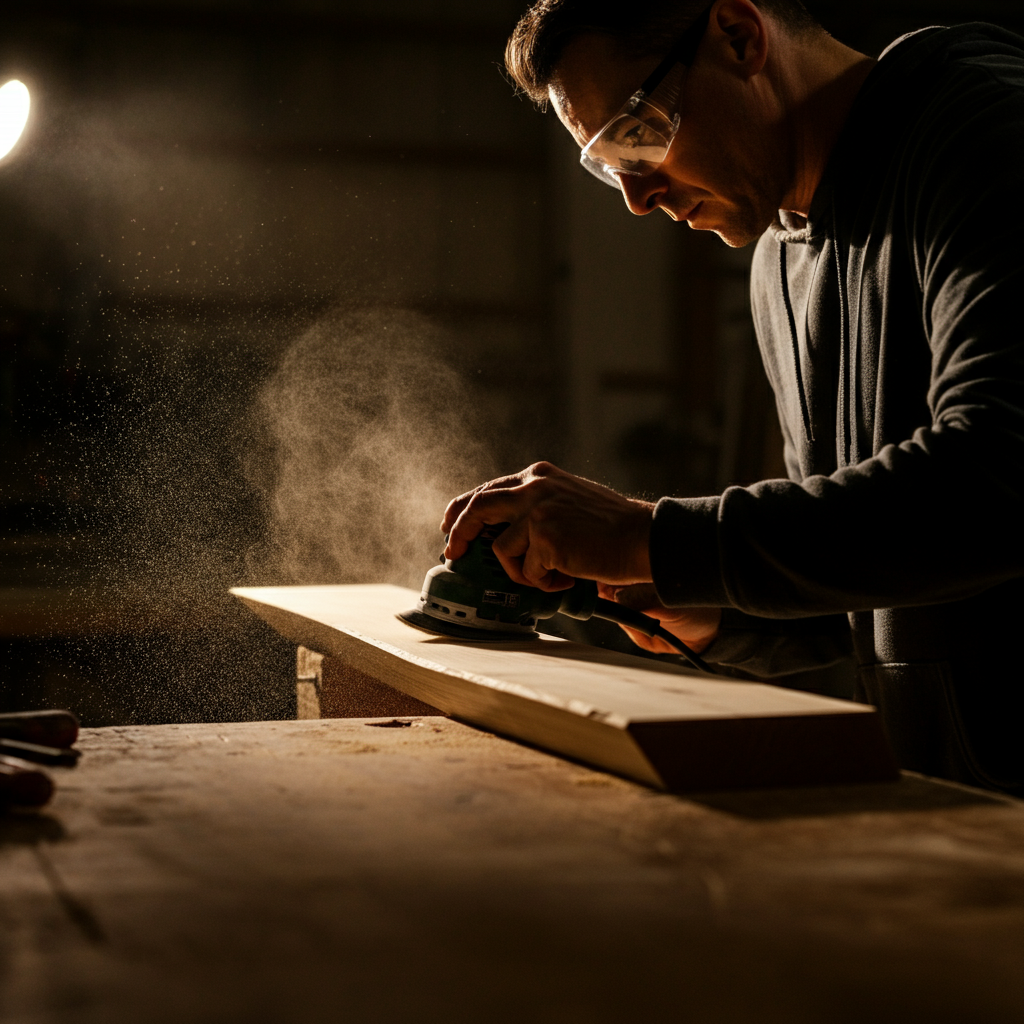
Step 3: Preparing Your Materials
Once you have a clear idea of what you want to create, it's time to prepare your materials. This may involve cleaning, cutting, sanding, or painting them. Always prioritize safety when working with sharp objects or power tools. Wear gloves, eye protection, and a dust mask as needed. For example, if you're using glass bottles, be sure to sand down any sharp edges to prevent cuts. If you're using metal scraps, remove any rust or corrosion before painting them. Proper preparation is essential for creating a durable and visually appealing artwork.
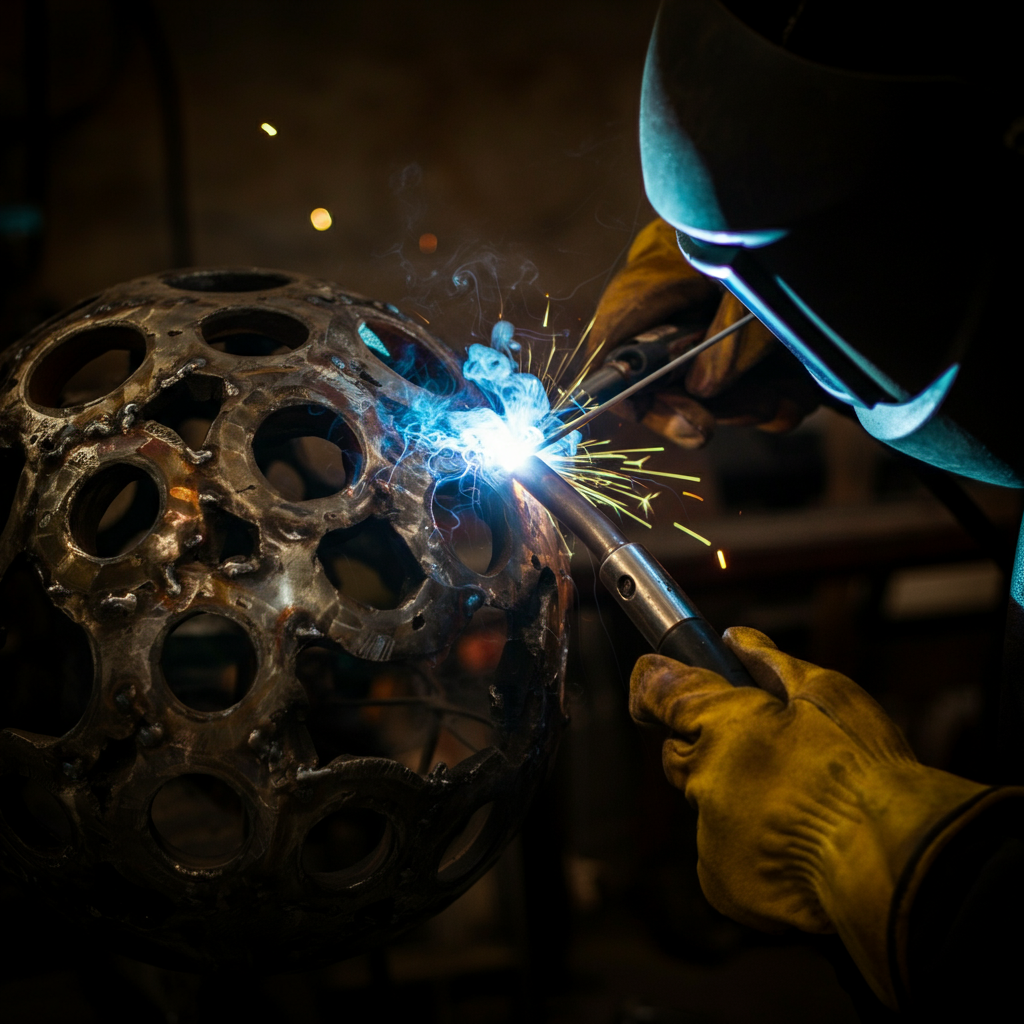
Step 4: Assembling Your Masterpiece
Now comes the fun part: assembling your artwork. Use appropriate adhesives, fasteners, or welding techniques to join your materials together. Consider the structural integrity of your piece and ensure that it can withstand handling and display. If you are creating a sculpture, think about the balance and weight distribution. If you are creating a collage, experiment with different layering techniques. Don't be afraid to make mistakes – they can often lead to unexpected discoveries and creative breakthroughs.
Step 5: Finishing Touches and Presentation
Once your artwork is assembled, it's time to add the finishing touches. This may involve painting, varnishing, polishing, or adding embellishments. Consider the overall aesthetic of your piece and choose finishes that complement its style. Think about how you will present your artwork. Will you display it on a wall, a shelf, or a pedestal? Will you frame it or leave it exposed? A thoughtful presentation can elevate your artwork and enhance its impact. Consider adding a title or an artist's statement to provide context and meaning to your creation.
Tools or Materials Required
- Assorted discarded materials (e.g., plastic bottles, metal scraps, fabric remnants)
- Cleaning supplies (soap, water, brushes)
- Cutting tools (scissors, utility knife, saw)
- Adhesives (glue, epoxy, screws, nails)
- Safety gear (gloves, eye protection, dust mask)
- Painting supplies (paint, brushes, varnish)
- Sketchbook and pencils
Safety Considerations
Always wear appropriate safety gear when working with sharp objects, power tools, or hazardous materials. Work in a well-ventilated area to avoid inhaling fumes or dust. Supervise children closely when they are involved in upcycled art projects. Dispose of waste materials responsibly.
Common Mistakes to Avoid
Rushing the design process. Not properly cleaning and preparing your materials. Using inappropriate adhesives or fasteners. Neglecting safety precautions. Being afraid to experiment and make mistakes.
FAQ Section
Q: What if I don't have any artistic experience?
A: Upcycled art is accessible to everyone, regardless of their artistic background. Start with simple projects and gradually work your way up to more complex designs. The most important thing is to have fun and experiment.
Q: Where can I find inspiration for my upcycled art projects?
A: Look around you! Nature, architecture, fashion, and everyday objects can all provide inspiration. Browse online art galleries, visit museums, and follow upcycled artists on social media.
Q: How can I make my upcycled art more sustainable?
A: Use non-toxic materials and finishes. Recycle any waste materials generated during the creative process. Consider donating your artwork to charity or selling it at local craft fairs to promote sustainability.
Conclusion
Unleashing your inner artist through upcycled art is a journey of creativity, sustainability, and self-discovery. By transforming discarded materials into something beautiful and meaningful, you not only create unique artwork but also contribute to a more sustainable future. Remember to experiment, be bold, and most importantly, have fun. The world is full of untapped artistic potential waiting to be discovered in the most unexpected places.