Kwanzaa, celebrated from December 26th to January 1st, is a joyous time for reflection and the sharing of meaningful gifts. The act of giving is deeply symbolic, and the wrapping itself becomes an extension of that sentiment. Wrapping a Kwanzaa gift thoughtfully reflects the holiday's principles: Umoja (Unity), Kujichagulia (Self-Determination), Ujima (Collective Responsibility), Ujamaa (Cooperative Economics), Nia (Purpose), Kuumba (Creativity), and Imani (Faith).
Incorporating the Pan-African colors of black, red, and green into your gift wrapping is a beautiful way to honor these principles and the rich heritage of Kwanzaa. You can use these colors in a variety of creative ways, from the wrapping paper itself to the ribbons and embellishments. The key is to make it meaningful and personal.
This guide provides a step-by-step approach to wrapping a Kwanzaa gift that is both visually stunning and imbued with cultural significance. We'll explore the traditional colors and materials, offering practical tips and expert insights to ensure your gift is a true reflection of the spirit of Kwanzaa.
-
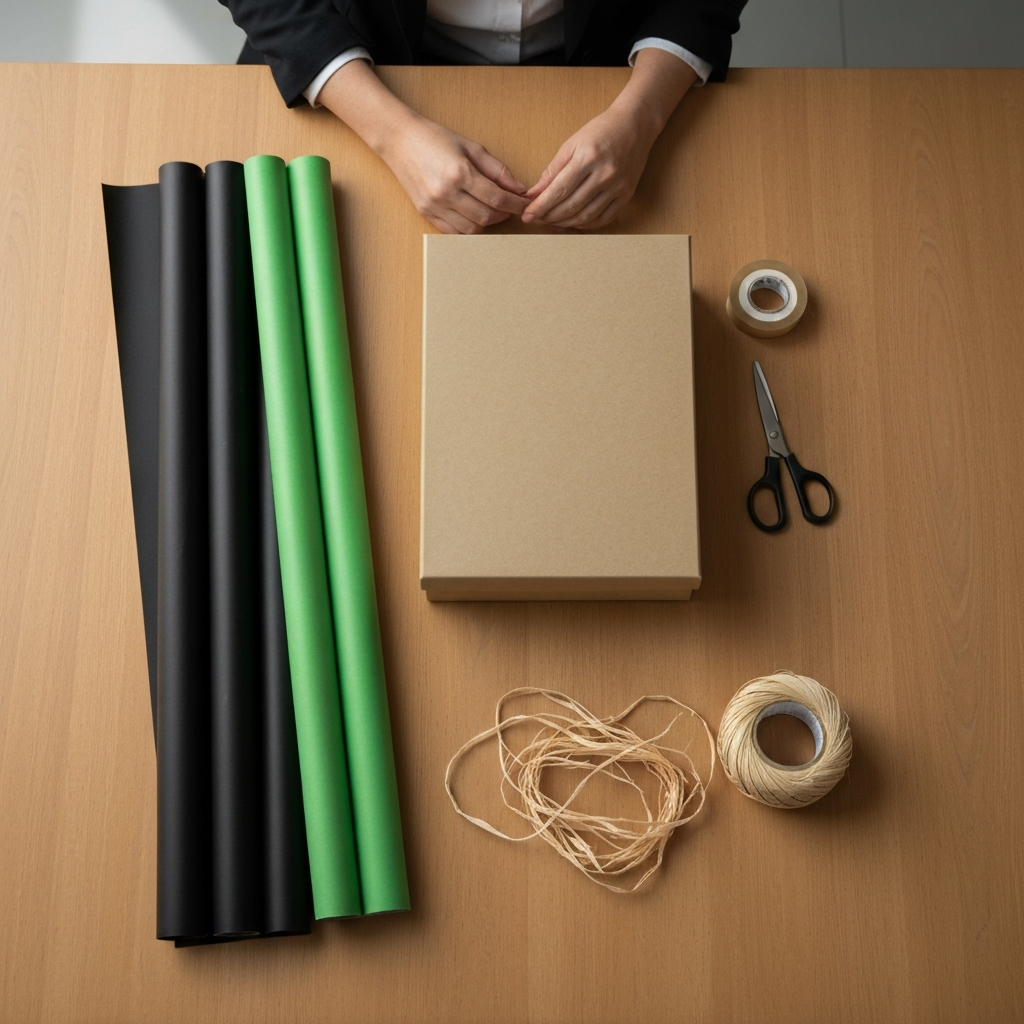
Step 1: Prepare Your Gift and Gather Supplies
Before you even think about wrapping, ensure your gift is safely housed in a suitable box. The box should be clean, sturdy, and appropriately sized for the gift. Using a box provides a uniform surface for wrapping and protects the gift inside. Measure the box's dimensions (length, width, and height) to estimate how much wrapping paper you'll need. This saves time and reduces waste. Gather all your materials: black wrapping paper (embossed or glossy adds a touch of elegance), natural-style green paper, red fiber netting or ribbon, raffia, scissors, and tape.
-
Step 2: Wrap the Box in Black Paper
Begin by wrapping the entire box in the black paper. Place the box face down on the wrapping paper. Bring one side of the paper up and over the box, then repeat with the other side, ensuring the paper overlaps by at least an inch. Tape the seam securely. For neat corners, fold the paper inward at a 45-degree angle before folding up the bottom and top flaps. This creates a clean, professional look. Use small pieces of tape for a smooth finish. Creases can ruin the aesthetic, so pull the paper taut but not too tight.

-
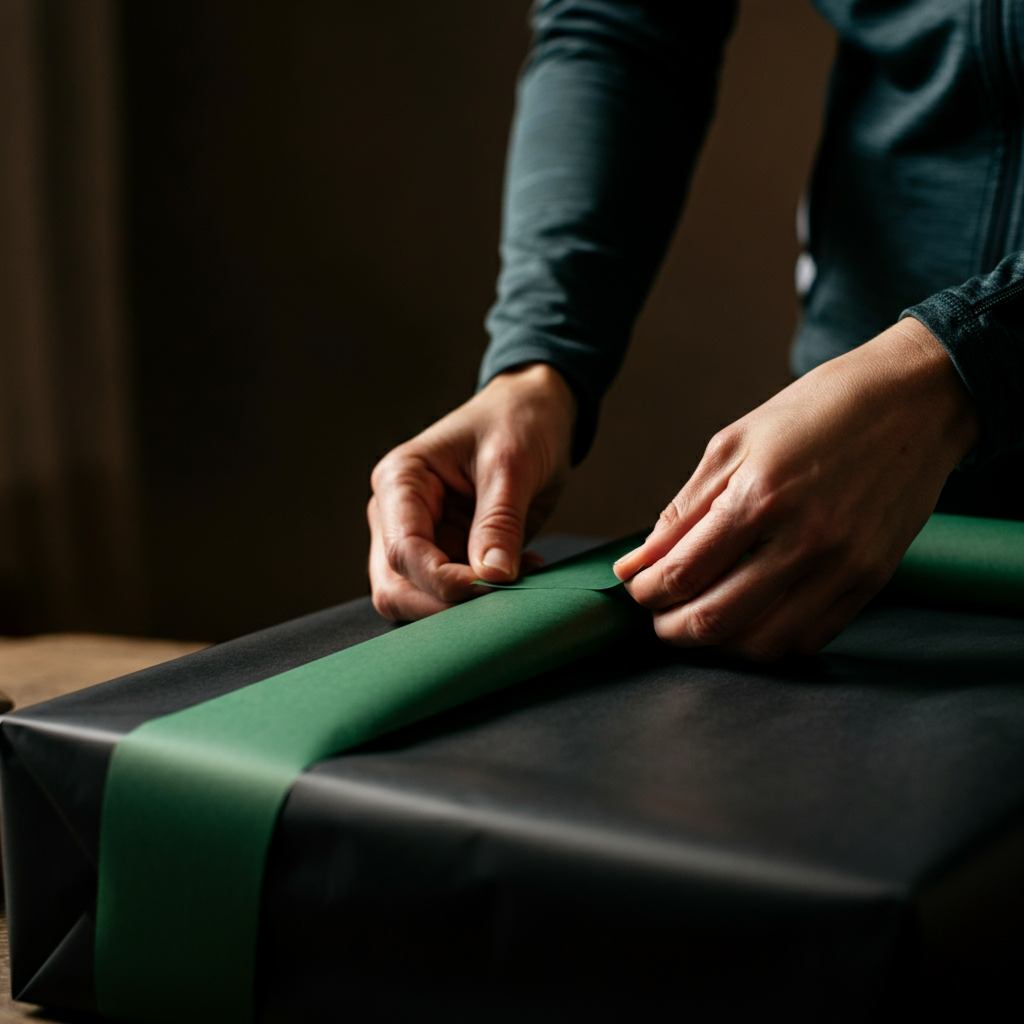
Step 3: Add a Green Paper Band
Cut a strip of the green paper that's wide enough to wrap around the box, leaving an even amount of the black wrapping paper visible at the top and bottom. Consider the proportions carefully; too much green can overpower the black, while too little can make it look insignificant. Secure the green band with tape, ensuring it's snug but not so tight that it wrinkles the black paper underneath. Aim for even spacing and a clean, straight line.
-
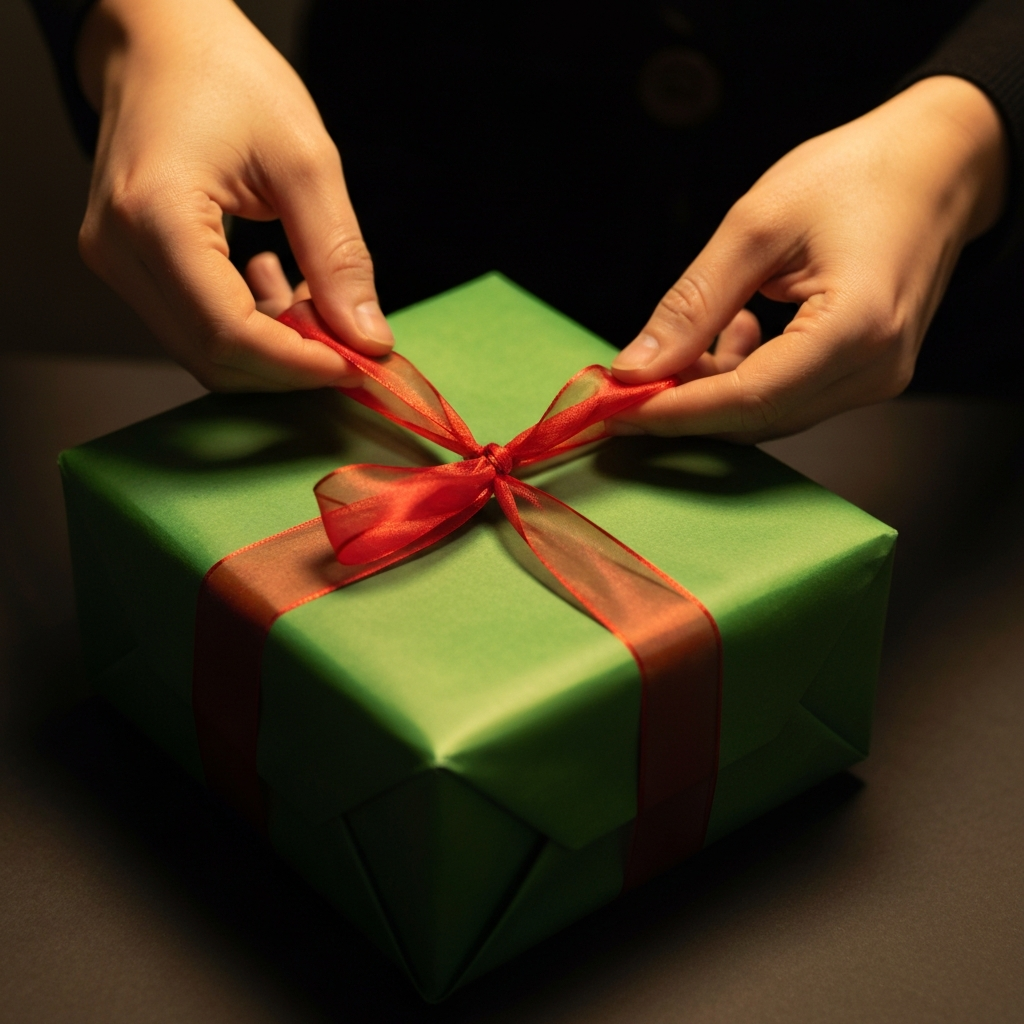
Step 4: Tie with Red Netting or Ribbon
Cut a length of red fiber netting or ribbon long enough to wrap around the box and tie into a generous bow. Center the netting/ribbon on the box and cross it underneath. Bring the ends up to the top and tie them into a bow. Opt for a bow that stands out and adds a splash of color. Experiment with different bow styles, such as a classic bow or a more elaborate looped bow. Ensure the netting or ribbon is securely tied but not so tight that it crushes the box or the wrapping paper.
-
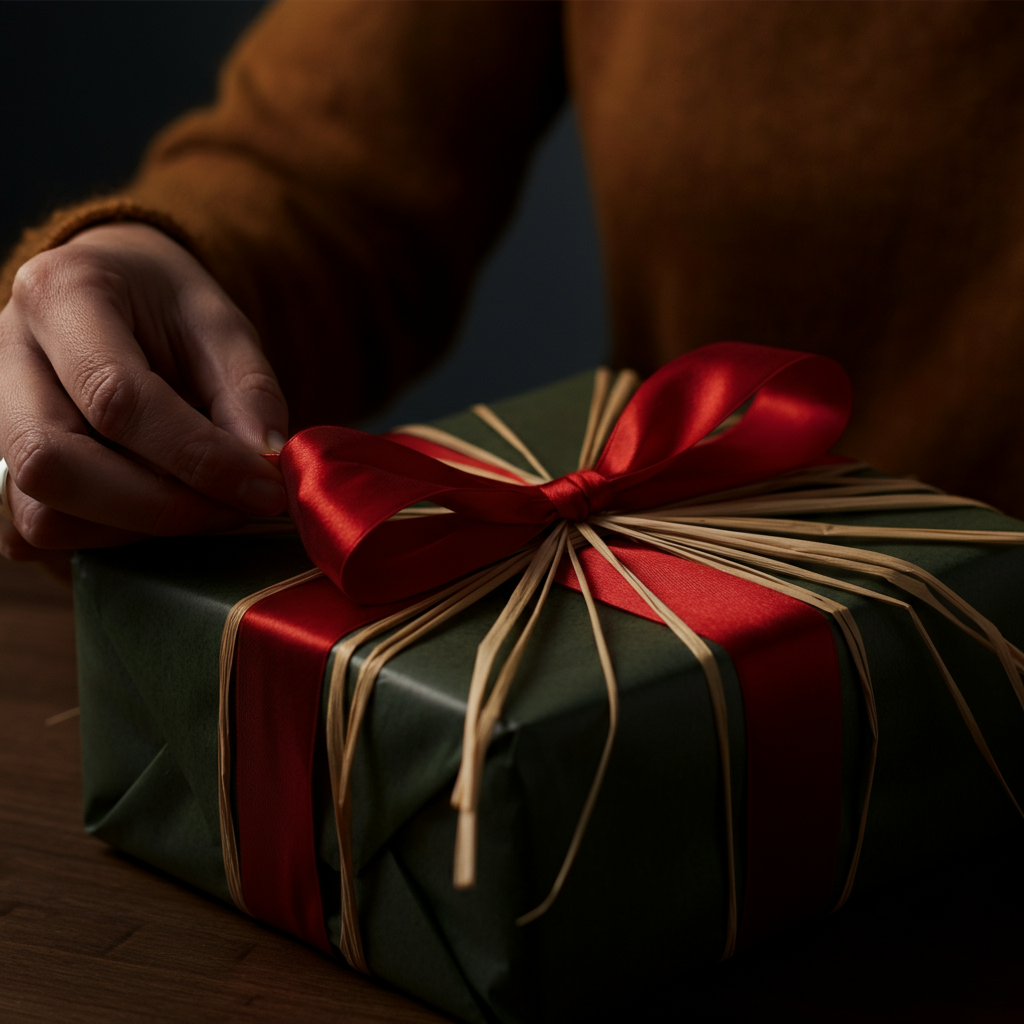
Step 5: Embellish with Raffia
Gather a generous bundle of raffia and tie it around the knotted center of the red netting bow. The raffia should be long enough to cascade down the sides of the box, adding a natural, organic touch. Fan out the raffia strands evenly, creating a balanced and visually appealing arrangement. You can trim the ends of the raffia at an angle for a more polished look.
Tools or Materials Required
- Box suitable for the gift size
- Black wrapping paper - embossed or glossy
- Natural style green paper
- Red fiber netting or ribbon
- Raffia
- Scissors
- Tape
Common Mistakes to Avoid
- Using too little wrapping paper. Always overestimate to avoid awkward seams.
- Creasing the wrapping paper. Work on a flat surface and pull the paper taut.
- Using too much tape. Small pieces are sufficient for a clean finish.
- Tying the ribbon or netting too tightly. This can damage the wrapping paper and the gift.
- Skipping the box. It provides structure and protects the gift.
Pro Tips
- Iron the wrapping paper on a low setting to remove any creases before you begin.
- Use double-sided tape for a seamless finish on the edges of the wrapping paper.
- Add small embellishments like African beads or cowrie shells for a personal touch.
- Consider using reusable fabric wraps instead of paper for a more sustainable option.
By following these steps and incorporating your own creativity, you can wrap a Kwanzaa gift that is not only beautiful but also deeply meaningful. The act of wrapping becomes a celebration of the holiday's principles, reflecting the love, respect, and unity that Kwanzaa represents.