Gold prospecting is a captivating hobby, drawing enthusiasts to the great outdoors with the tantalizing prospect of striking it rich. While traditional gold panning is a classic technique, a sluice box dramatically increases your efficiency, allowing you to process significantly more material – often ten times or more – than panning alone. This guide provides a detailed, step-by-step approach to effectively using a sluice box to concentrate and recover gold from gold-bearing material.
The fundamental principle behind a sluice box is simple yet effective: it utilizes flowing water and gravity to separate heavier materials, like gold, from lighter gravel and sand. The design incorporates riffles, which create turbulence and trap the heavier particles while allowing the lighter tailings to wash away. Mastering the use of a sluice box can significantly enhance your gold recovery rate and make your prospecting efforts more rewarding.
This guide will walk you through each stage of the process, from selecting a suitable location to performing a final cleanup and extracting your hard-earned gold. We will also cover essential tips and best practices to ensure optimal results and minimize gold loss.
1. Finding a Suitable Location
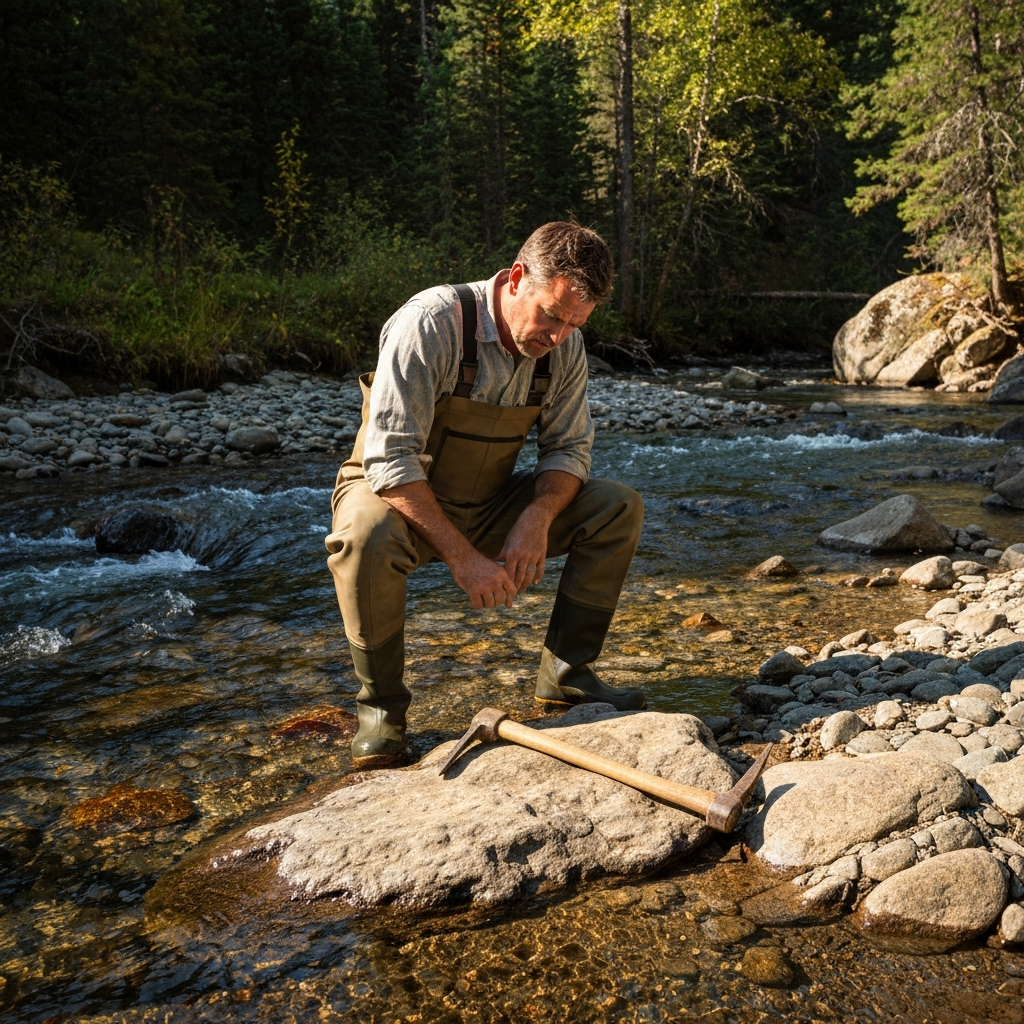
The first step in using a sluice box is identifying a location with both running water and the potential for gold deposits. Your sluice box relies on the water's current to separate gold from lighter materials. Walk along the stream or river bank, carefully observing the geology and looking for areas where gold might have accumulated. Consider areas with bedrock outcroppings, inside bends in the river, or locations downstream from known gold-bearing areas. It's also crucial to position your sluice box relatively close to where you intend to dig up your gold-bearing gravel. Swift-moving water is essential for efficient operation. Look for sections of the stream or river where the water naturally constricts, creating a faster current.
2. Setting Up Your Sluice Box
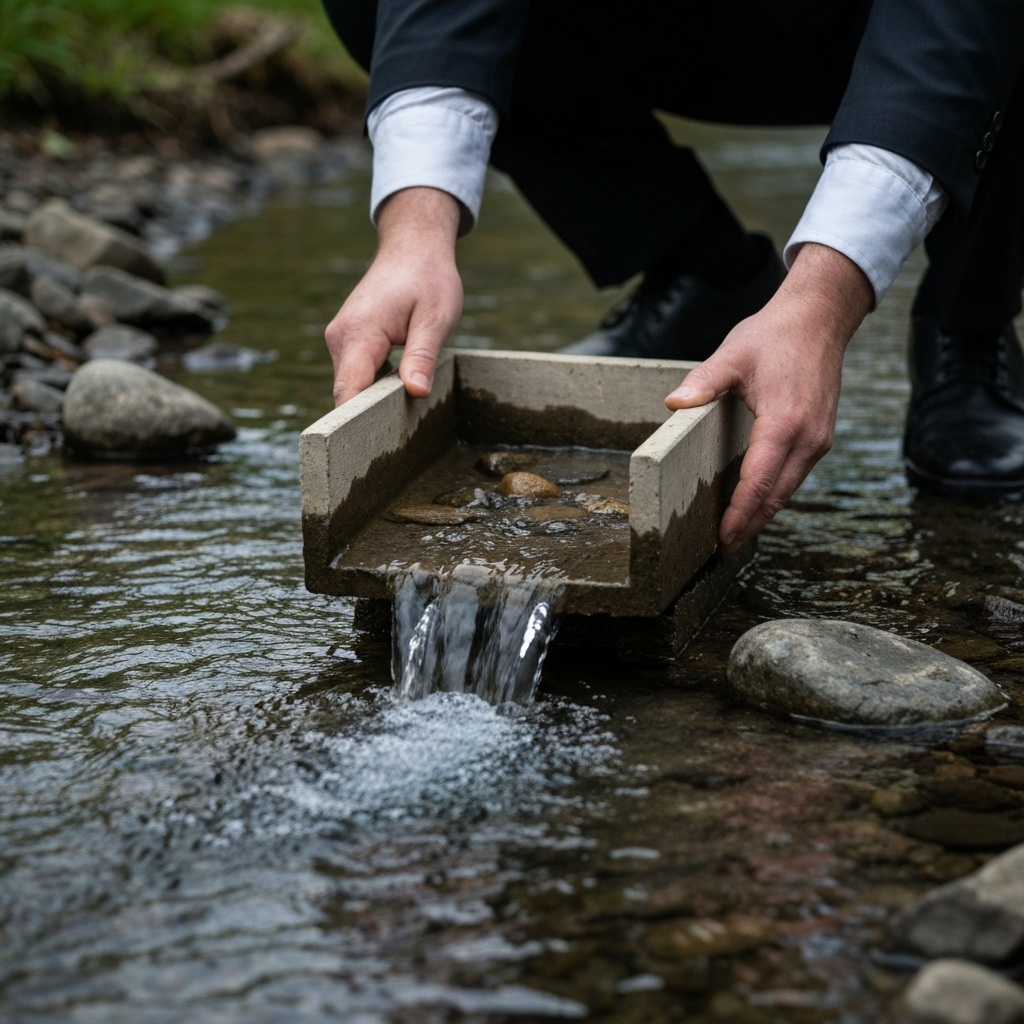
Carefully place your sluice box directly into the current, ensuring that it is partially submerged. Aim for the water level to reach just below the top edge of the sluice box walls. A crucial aspect of setup is to ensure a slight downward slope from the input (upper) end to the discharge (lower) end. This gradient encourages the water to flow through the sluice and facilitates the separation process. Use rocks and other stable materials to securely position and level the box, both horizontally and laterally. Stability is paramount; an unstable sluice box can lead to inefficiencies and potential gold loss. A level sluice box ensures even water flow and optimal gold trapping.
3. Feeding Material into the Sluice Box
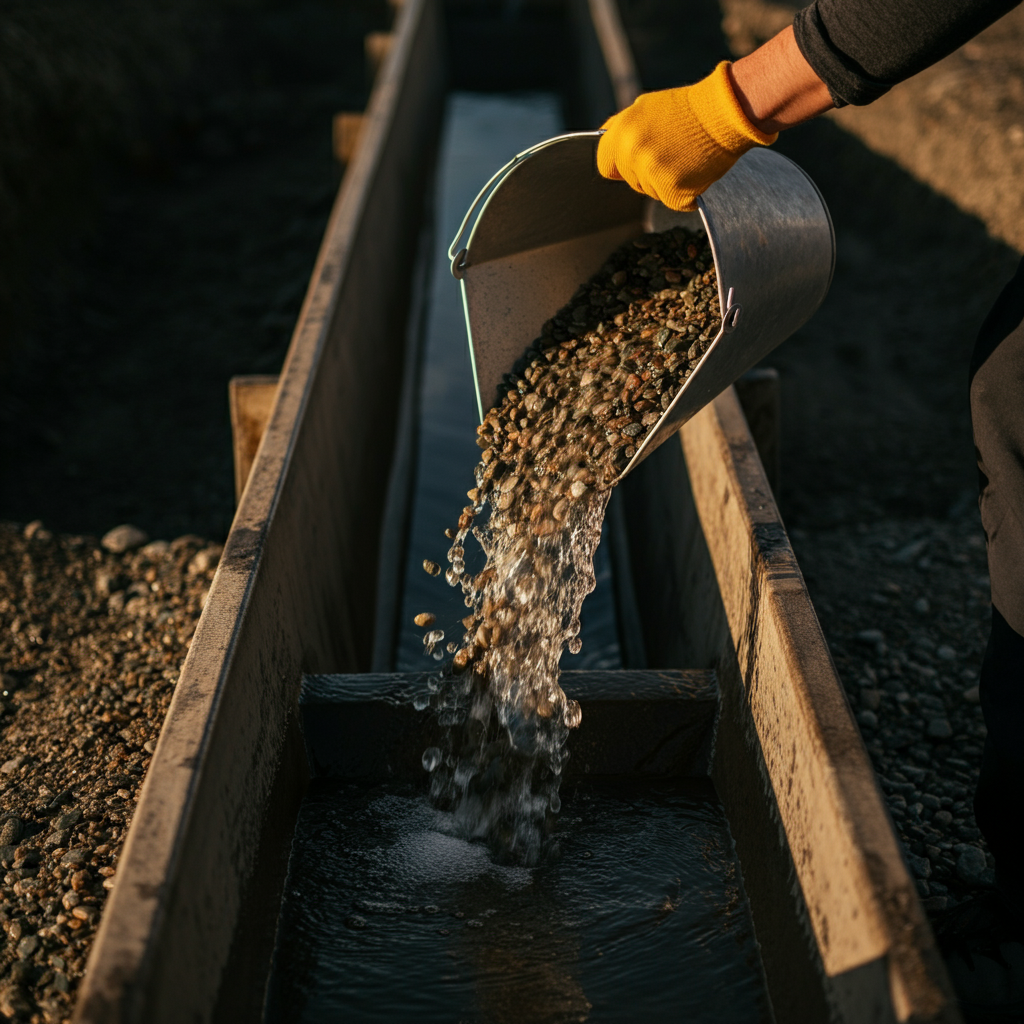
Once your sluice box is firmly in place and the water is flowing correctly, you can begin feeding it with gold-bearing gravel. The key here is controlled feeding. Avoid dumping large quantities of material into the sluice all at once, as this can overload the riffles and cause gold to be washed through along with the tailings. Instead, introduce the gravel gradually and consistently. Monitor the top edge of each riffle while feeding material. If the riffle edge is obscured by gravel, you're feeding too much too quickly. Consider using a classifier screen to filter the gravel to a uniform size before running it through the sluice. Classifying your material removes larger rocks and debris, improving efficiency and preventing riffle overload.
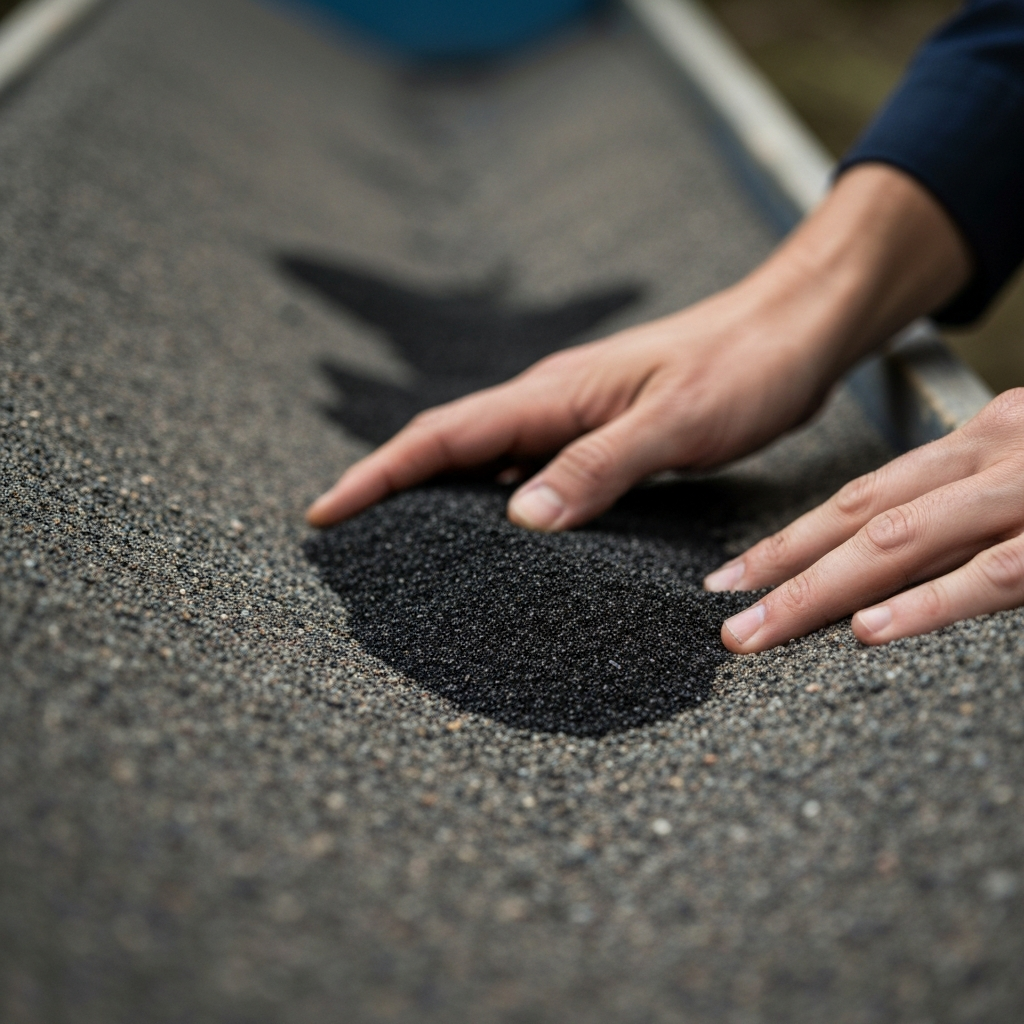
4. Tending to Your Sluice Box
While the sluice box is operating, it's crucial to periodically tend to it. After running a load of gravel, inspect the riffles for accumulations of waste material and, more importantly, any visible gold. Regularly clear away any large debris or excess gravel that might be obstructing the flow or hindering gold capture. Maintain a consistent water flow by shoveling away the tailings (the material exiting the sluice box) that accumulate downstream. Check the black matting and riffle areas for any valuable material that may need to be removed manually.
5. Knowing When to Perform a Cleanup
Determining when to perform a cleanup is essential for maximizing gold recovery. A cleanup is necessary when the riffles have accumulated significant amounts of black iron sands and gravel, typically extending more than halfway down to the next lower riffle. At this point, the sluice box's efficiency diminishes, and gold can be lost. Regular observation is key. Pay close attention to the accumulation of heavy materials in the riffles; this is your indicator that it's time for a cleanup.
6. Performing the Sluice Box Cleanup
To perform a cleanup, carefully lift the sluice box out of the current, keeping it as level as possible to avoid losing any concentrates. Transfer the sluice box to the bank and position the tail end over a large bucket or container. Gradually rinse the material from the sluice box into the bucket using plenty of water. Remove any removable riffles and carpeting and thoroughly rinse them into the bucket as well. The goal is to collect all the concentrates (heavy materials, including gold) into the bucket while leaving the sluice box clean.

7. Panning the Concentrates
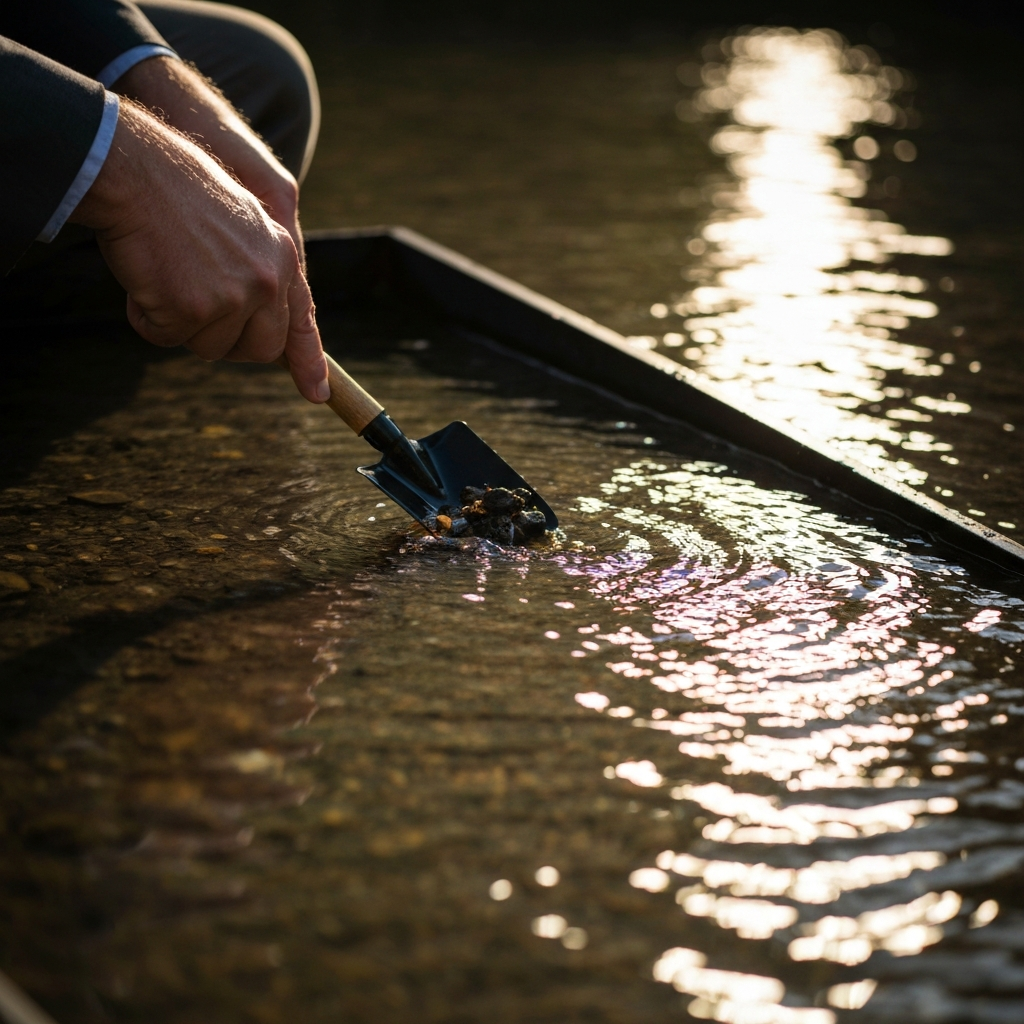
With the concentrates safely collected in the bucket, the next step is to separate the gold from the remaining heavy materials. This is typically done using a gold pan. Panning is a skill that requires practice and patience. The basic principle involves swirling the material in the pan with water, allowing the lighter materials to wash away while the heavier gold settles to the bottom. Mastering the art of panning is crucial for recovering the gold from your concentrates. Online resources and instructional videos can provide valuable guidance on panning techniques.

8. Upgrading the Gold
After panning, you will be left with "gold". The gold will have some black sand and other small material. You can use a magnet to remove the black sand material. Consider using a snuffer bottle or a gold grabber tool to collect the gold flakes and nuggets.

Tools or Materials Required
- Sluice box
- Shovel
- Buckets (at least one, preferably more)
- Gold pan
- Classifier screen (recommended)
- Snuffer bottle or gold grabber
- Magnet
Safety Considerations
- Be aware of your surroundings and potential hazards, such as slippery rocks, fast-moving water, and wildlife.
- Let someone know your prospecting location and expected return time.
- Check local regulations regarding prospecting in the area.
- Wear appropriate safety gear, including sturdy boots, gloves, and eye protection.
- Use caution when lifting heavy objects.
- Be aware that cellular service may not be available in some prospecting locations.
Pro Tips
- Join a local prospecting club for access to resources, claims, and expert advice.
- Research the geology of your area to identify promising locations.
- Experiment with different sluice box angles and water flow rates to optimize gold recovery.
- Consistently monitor and adjust your sluice box setup as needed.
Common Mistakes to Avoid
- Overfeeding the sluice box with too much material at once.
- Failing to properly level the sluice box.
- Ignoring the water flow and allowing tailings to accumulate downstream.
- Not performing regular cleanups.
- Rushing the panning process and losing fine gold.
FAQ Section
- What size sluice box should I get?
- The ideal size depends on the scale of your operation and the size of the waterway. Smaller, portable sluice boxes are suitable for individual prospectors, while larger models are more efficient for processing larger volumes of material.
- How often should I clean out my sluice box?
- The frequency of cleanups depends on the amount of material you're processing and the amount of heavy minerals in the gravel. Generally, a cleanup is needed when the riffles are more than half full of concentrates.
- Can I use a sluice box in a creek with low water flow?
- A sluice box requires a certain amount of water flow to function effectively. In creeks with low water flow, you may need to use a pump or create a dam to increase the water volume.
Conclusion
Using a sluice box for gold prospecting is a rewarding and efficient method for recovering gold from alluvial deposits. By following these steps, paying attention to detail, and consistently refining your technique, you can significantly increase your chances of finding gold and enjoying the thrill of the hunt. Remember to prioritize safety, respect the environment, and always adhere to local regulations. Happy prospecting!