The Creality Ender 3 S1 is a fantastic 3D printer right out of the box, offering impressive print quality and features at an accessible price point. However, like any machine, it has areas where strategic upgrades can significantly improve its performance, reliability, and your overall printing experience. This guide provides a detailed, step-by-step approach to some of the most impactful upgrades you can perform on your Ender 3 S1.
This guide will walk you through upgrades focused on improving cooling efficiency, a crucial aspect for printing with various filaments and achieving optimal results. Upgrading the cooling system allows for faster print speeds, better bridging performance, and overall enhanced print quality. We will focus on upgrades that require minimal modification and are relatively easy to install, even for beginners.
By following this guide, you'll be able to enhance your Ender 3 S1's capabilities and unlock its full potential. Get ready to take your 3D printing to the next level!
Step 1: Initial Setup and First Print
Before diving into any upgrades, it's essential to ensure your Ender 3 S1 is properly assembled and functioning correctly. This step establishes a baseline for comparison and helps identify any potential issues that might be exacerbated by modifications. Begin by carefully unboxing all components and following the manufacturer's assembly instructions. Pay close attention to the alignment of the frame and ensure all screws are tightened to the correct torque specifications to avoid future wobbling or instability. Connect all the labeled wires to their respective ports on the printer's mainboard, including stepper motors, end stops, and thermistors. Double-check each connection for a secure fit.

Step 2: Power On and Bed Leveling
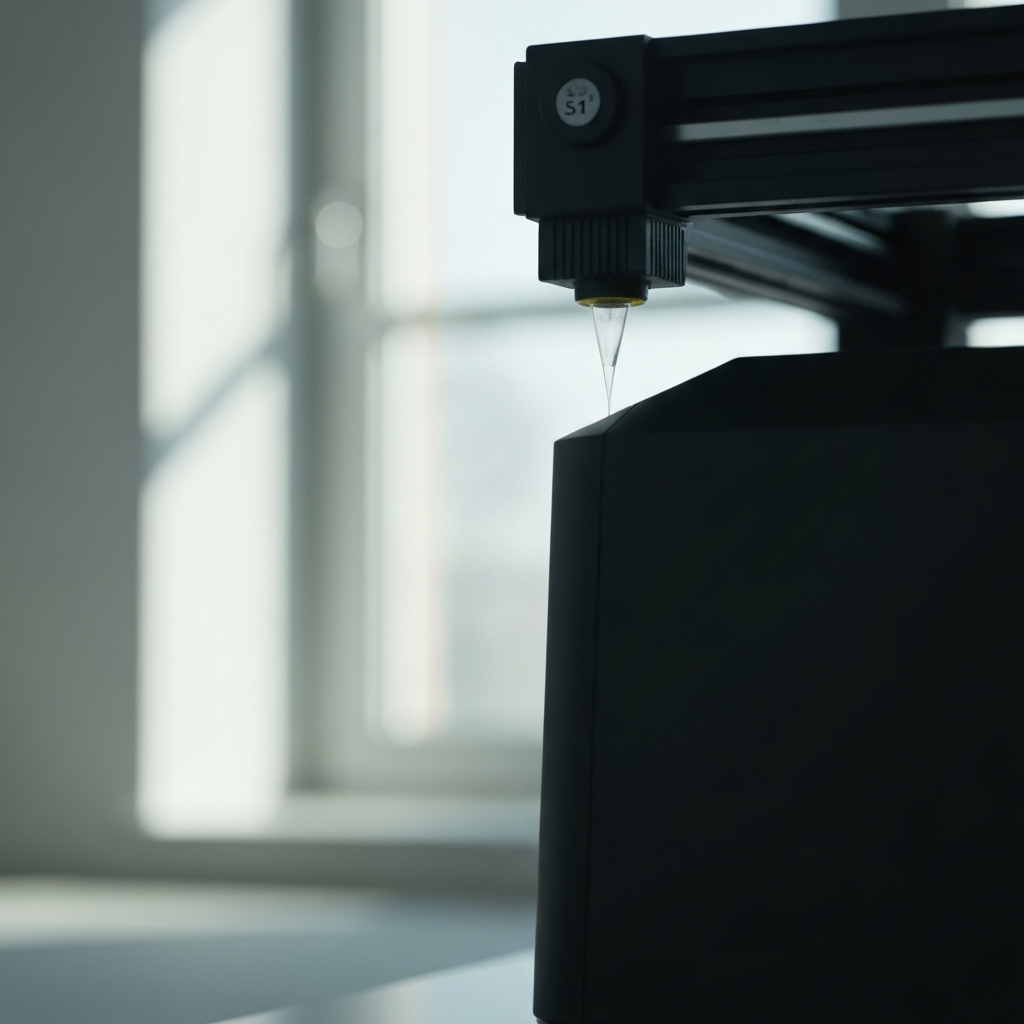
After assembly, locate the voltage selector switch (typically found on the power supply) and set it to match your local voltage (110V or 220V). Power on the printer using the switch located on the back. Once powered on, navigate to the 'Auto-Home' function on the LCD screen. After auto-homing, use the built-in BL-Touch auto bed leveling feature to create a mesh of the bed surface. Fine-tune the bed leveling manually by adjusting the leveling knobs under the bed while using a piece of standard printer paper to gauge the nozzle's distance from the bed. The goal is to achieve a slight resistance when sliding the paper underneath the nozzle at various points on the bed. Use the Z-offset settings to fine-tune the first layer.
Step 3: Test Print and Evaluation
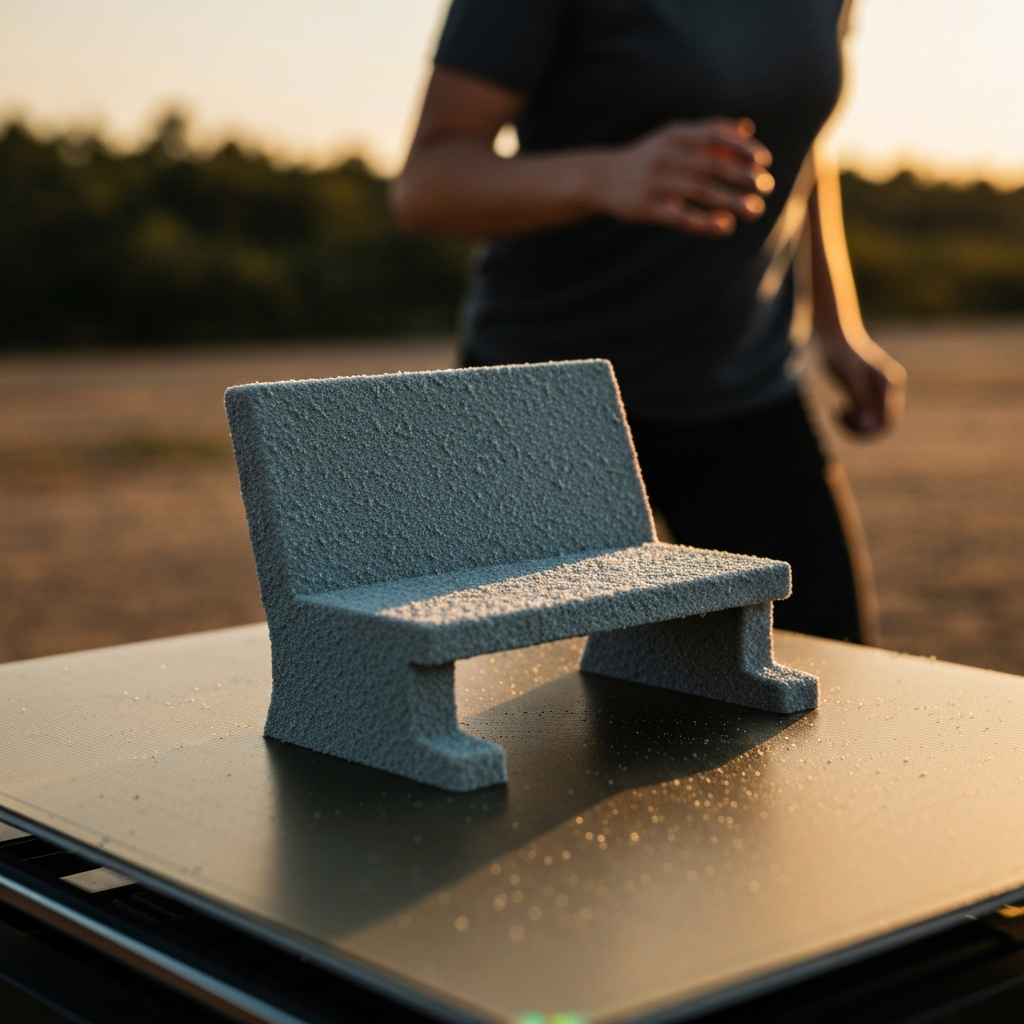
With the printer assembled and the bed leveled, it's time to perform a test print. Use the included SD card to print a pre-loaded test model, or download the widely recognized "3D Benchy" model from a reputable source like Printables.com. Carefully observe the print as it progresses, noting any imperfections such as uneven layers, warping, stringing, or poor adhesion. Document these observations, as they will serve as a reference point for evaluating the effectiveness of your upgrades. If the initial test print shows significant issues, address them before proceeding with further modifications.
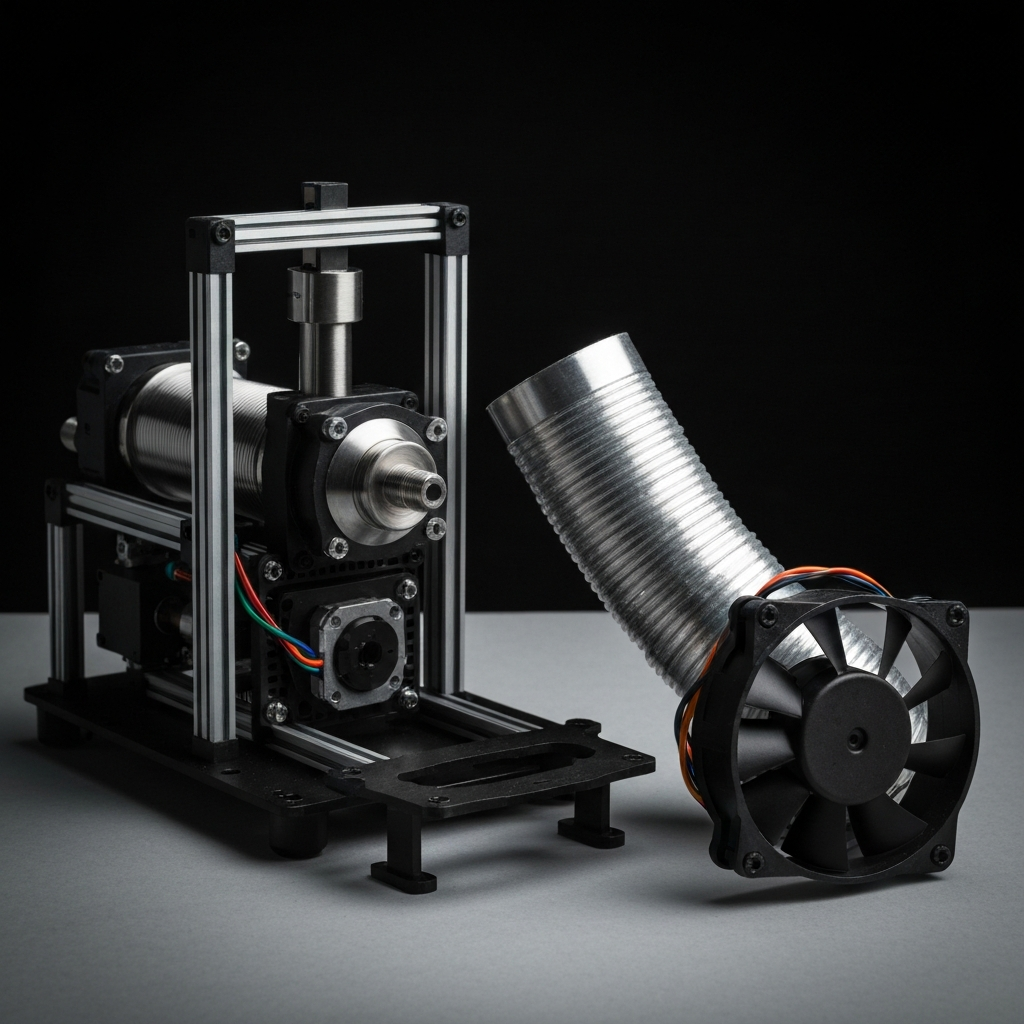
Step 4: Selecting a Cooling Solution – The 5015 Fan Upgrade
One of the most effective upgrades for the Ender 3 S1 is improving the part cooling system. Insufficient cooling can lead to warping, poor overhang performance, and overall reduced print quality, especially when working with materials like PLA. Several cooling solutions are available online, often involving replacing the stock part cooling fan with a more powerful 5015 blower fan. The specific model used in this guide is available from printables.com; search for "Ender 3 S1 extruder ultimate cooling." Consider the design's airflow characteristics, ease of installation, and compatibility with your printer before committing to a particular solution. Always prioritize designs that provide focused and directed airflow to the printed part.
Step 5: Preparing the Extruder for the 5015 Fan Upgrade
Before starting any electrical work, disconnect the power to your Ender 3 S1. Remove the M3 screws holding the stock part cooling fan in place on the side of the extruder assembly. Carefully disconnect the existing fan's connector from the extruder motherboard. To use the existing connector, you'll need to carefully cut the wires of the stock fan, leaving enough length on the connector side for soldering to the new 5015 fan. This step is essential to ensure compatibility with the printer's existing wiring harness.
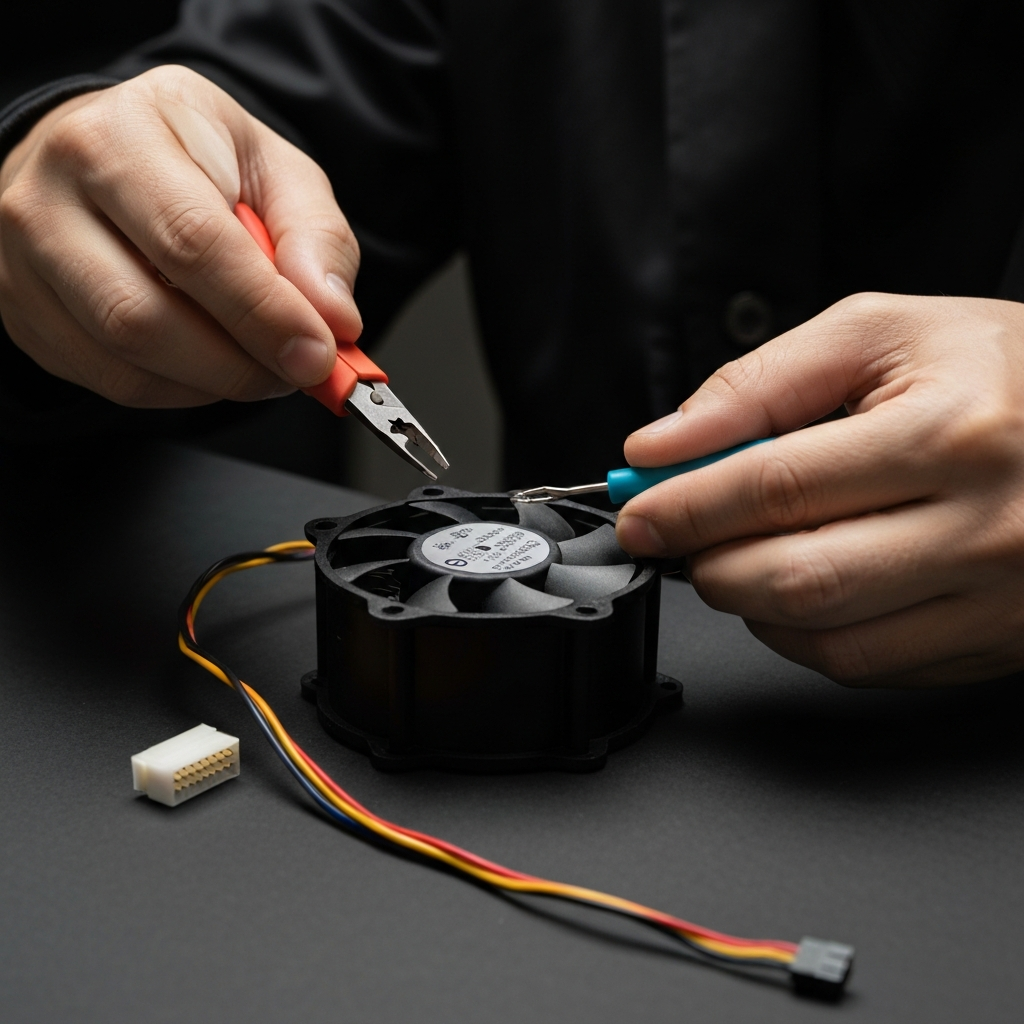
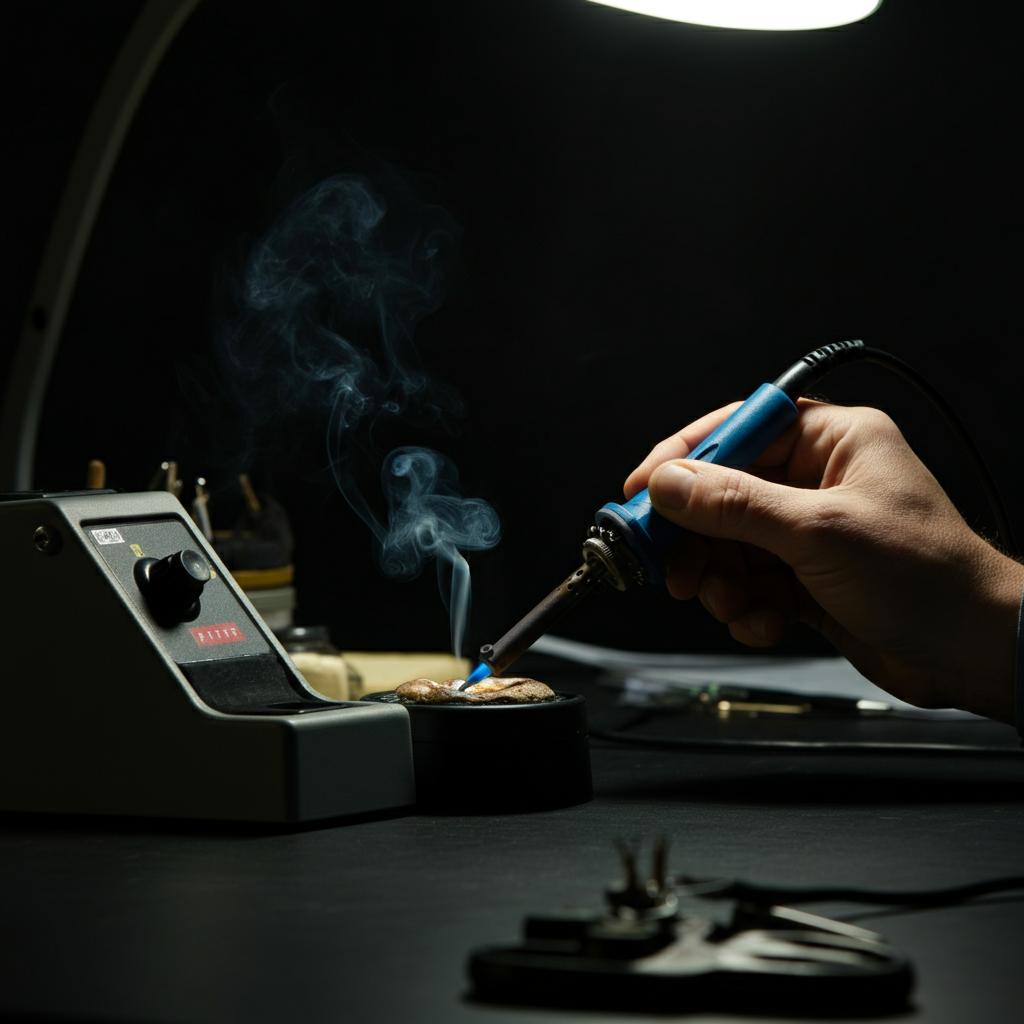
Step 6: Soldering the Wires and Mounting the 5015 Fan
With the wires prepped, carefully solder the red wire of the stock fan's connector to the red wire of the 5015 fan. Repeat this process for the black wires. Ensure that the solder joints are clean and secure. Wrap each solder joint individually with electrical tape to prevent short circuits. Mount the new 5015 fan onto the hot end assembly, typically using two or more M3 screws. Secure the fan tightly, ensuring it doesn't vibrate excessively during operation.
Step 7: Thermal Block Fan Upgrade – Preparation
Many cooling solutions also incorporate an upgraded fan for the hot end's thermal block. This helps prevent heat creep and ensures consistent filament melting. To proceed with this upgrade, prepare the wires from the existing thermal block fan by carefully cutting off its connector and stripping the ends. Solder these wires in parallel to the original connector used for the stock thermal block fan. This allows you to power both the new and old fans simultaneously. Be extremely careful not to damage any components during this process.
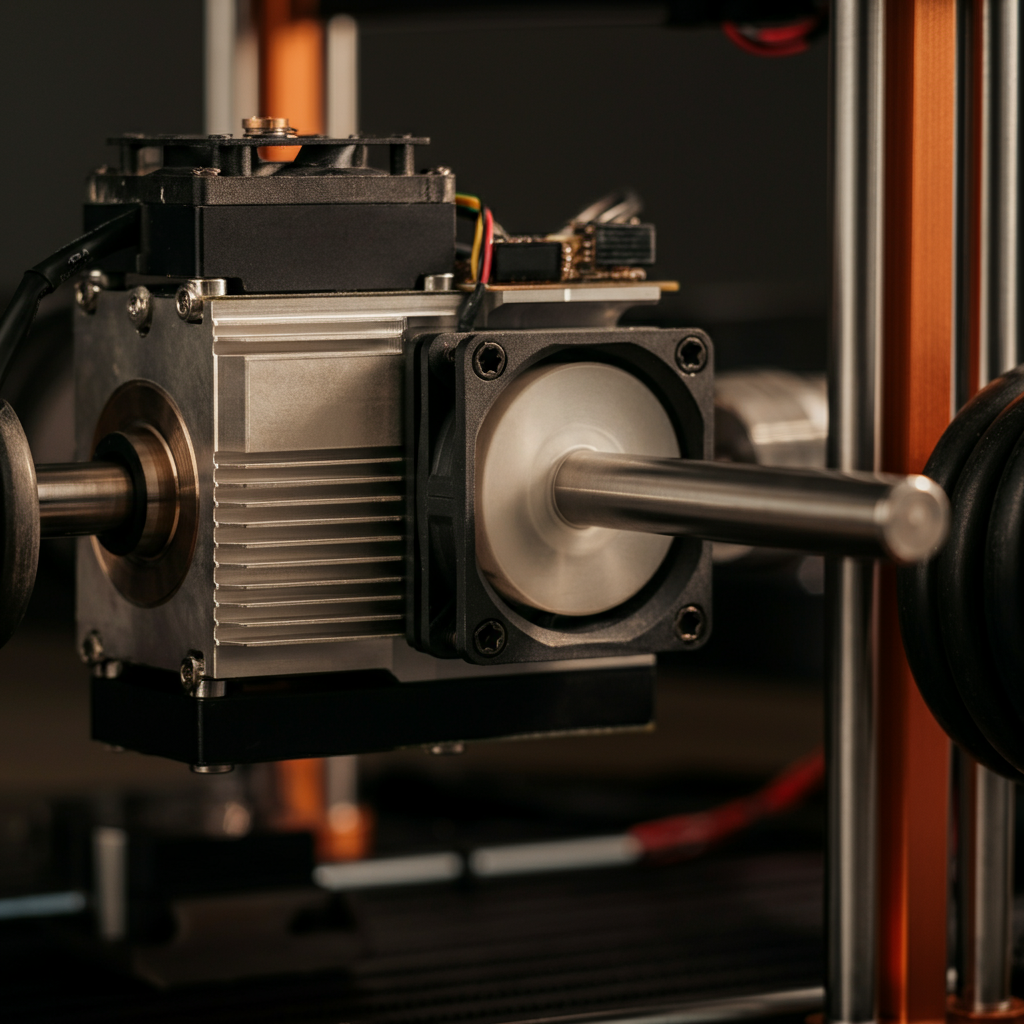
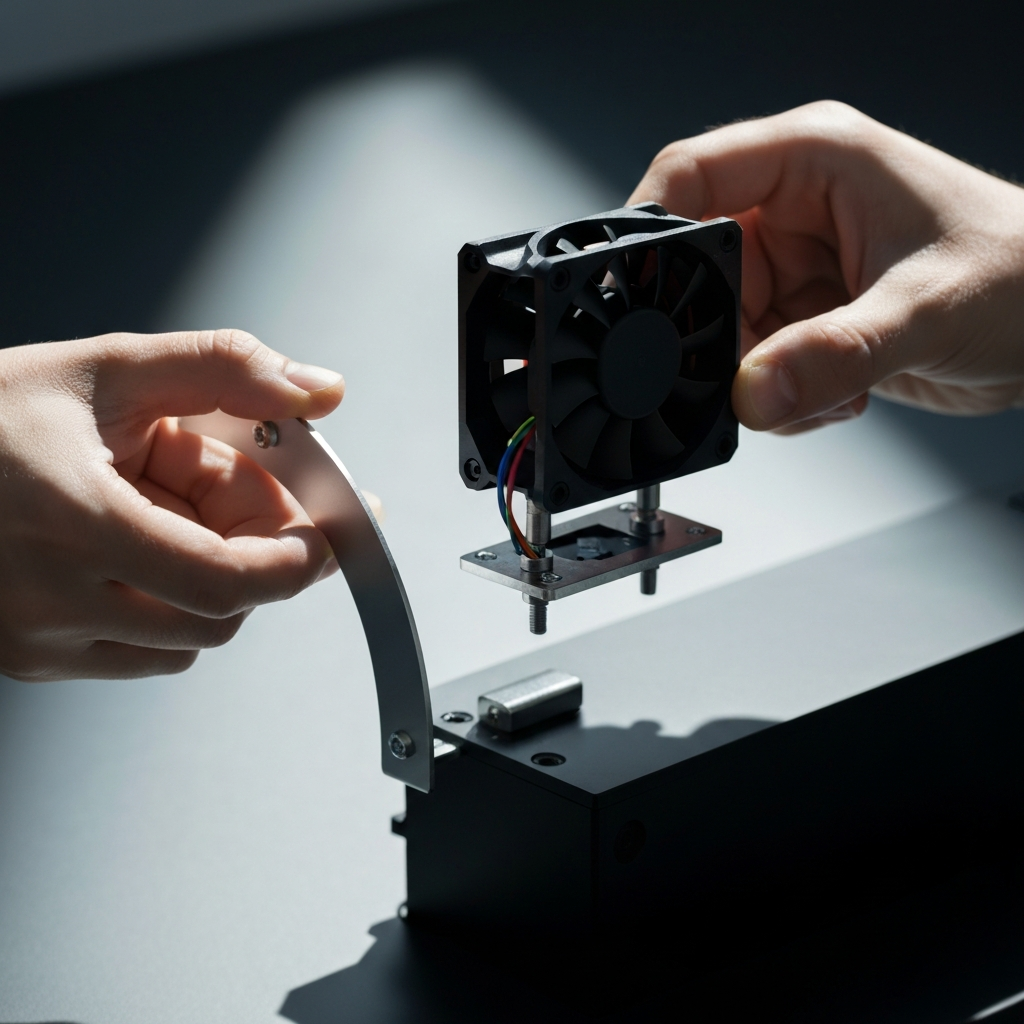
Step 8: Mounting the Cooling Assembly
Now that all the fans are wired and ready, you can mount the entire cooling assembly onto the extruder carriage. Carefully reattach the extruder to the carriage, using one of the stock extruder bracket screws to hold it in place temporarily. Next, assemble the two pieces of the cooling upgrade (if applicable) according to the design's instructions. Ensure all parts are properly aligned before tightening any screws.
Step 9: Final Assembly and Fan Testing
With the cooling assembly in place, use the appropriate M3 screws to attach the printed upgrade to the extruder, utilizing the provided holes in the design. Securely mount the 4020 thermal block fan using four M3 screws. Double-check that the airflow directions of both fans are complementary, meaning they are not opposing each other. Finally, reconnect the extruder power cable and power on the printer. Set the PLA preheat setting to ensure the thermal block fan activates. Manually set the part cooling fan speed to maximum in the "Control" menu to verify that the new 5015 part cooling fan is functioning correctly.