Connecting your PC to your TV via HDMI is a fantastic way to expand your viewing options, whether you want to watch movies, play games, give presentations, or simply browse the internet on a larger screen. The process is generally straightforward, but understanding the nuances can ensure a smooth and optimal experience. This guide provides a step-by-step walkthrough, covering everything from cable selection to troubleshooting common issues.
HDMI (High-Definition Multimedia Interface) is the standard for transmitting high-quality audio and video signals, making it the ideal choice for connecting your PC to your TV. Unlike older connection methods, HDMI carries both audio and video, simplifying the setup. We'll explore the necessary hardware, the connection process, and how to configure your display settings for the best possible picture and sound. Even if you encounter problems, this guide will equip you with the knowledge to resolve them efficiently.
Let's dive into the process of seamlessly connecting your PC to your TV and unlocking a world of entertainment and productivity possibilities.
Step 1: Gather Your Materials and Inspect Your Devices
Checking for HDMI Ports
Before you begin, ensure both your PC and TV have HDMI ports. On a desktop PC, the HDMI port is typically located on the back panel, near the other video outputs. For laptops, you'll usually find the HDMI port on one of the side panels. On your TV, HDMI ports are also usually on the back, often labeled sequentially (HDMI 1, HDMI 2, etc.). Note the number of the HDMI port you plan to use on your TV, as you'll need this information later. If your PC lacks a standard HDMI port, you may need an adapter (more on this in the next step).
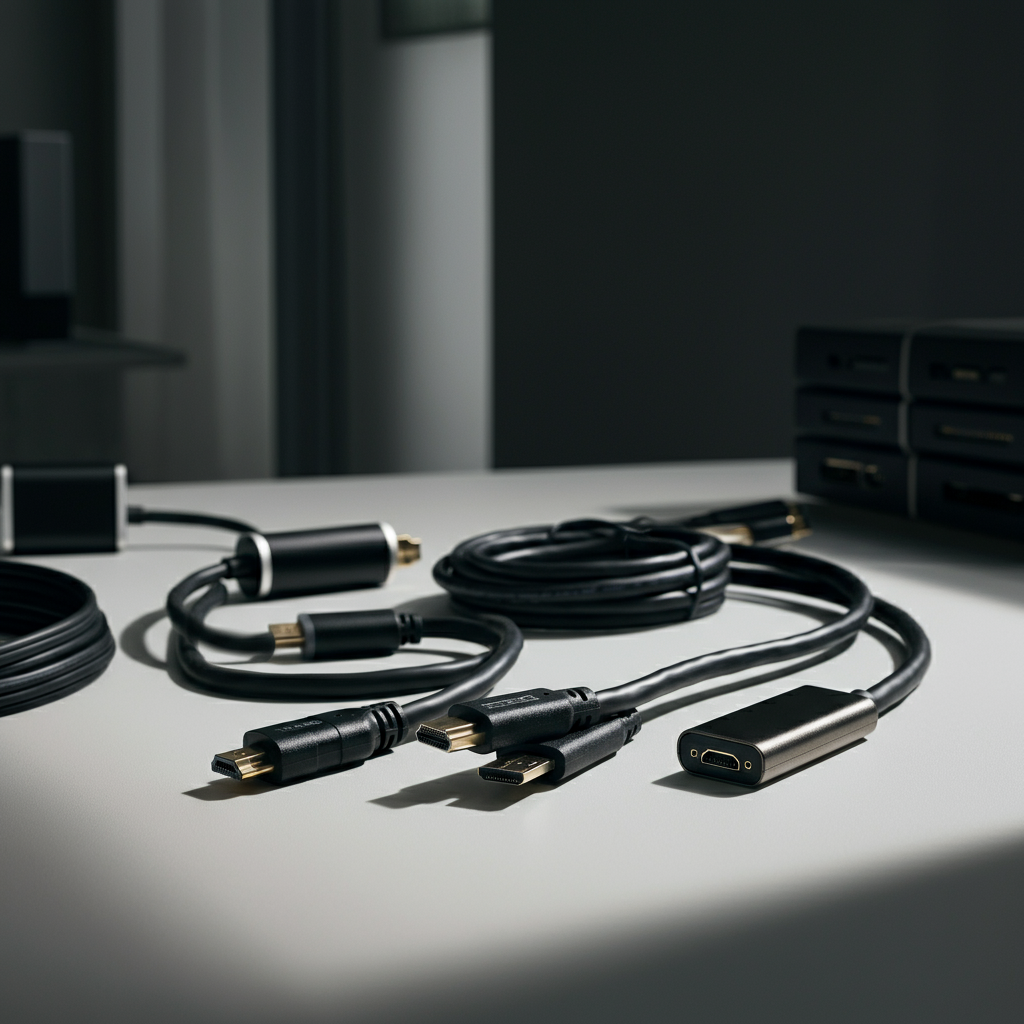
Step 2: Acquire the Correct HDMI Cable and Adapters (If Necessary)
Selecting the Right Cable and Adapters
You'll need an HDMI cable of sufficient length to comfortably connect your PC to your TV. Measure the distance between the devices to ensure you have enough slack. Standard HDMI cables should suffice for most applications. However, if you plan to transmit 4K content at higher refresh rates (120Hz), consider an "Ultra High-Speed" HDMI cable (HDMI 2.1) to ensure optimal performance. If your PC doesn't have a standard HDMI port, you'll need an adapter. Common alternatives include USB-C to HDMI, DisplayPort to HDMI, or Mini-DisplayPort to HDMI adapters. Choose an adapter that matches your PC's available ports.
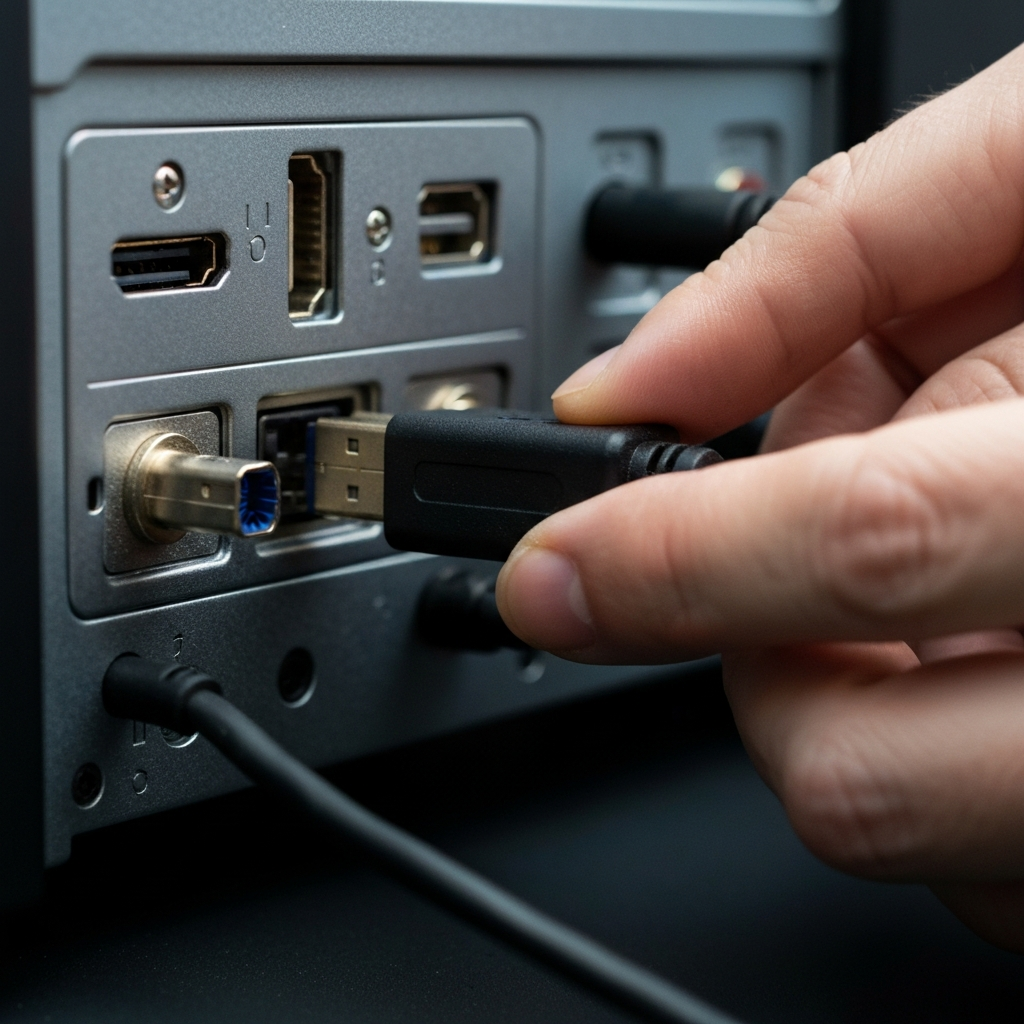
Step 3: Connect the HDMI Cable
Physically Connecting the Devices
With your HDMI cable in hand, connect one end to the HDMI port on your PC and the other end to the designated HDMI port on your TV. Ensure the connections are secure and snug. Don't force the cable; if it doesn't easily slide in, double-check the alignment. A loose connection can result in a distorted image or no signal at all. If you're using an adapter, connect it to your PC first, and then connect the HDMI cable to the adapter.

Step 4: Select the Correct Input Source on Your TV
Switching to the HDMI Input
Turn on both your PC and your TV. Use your TV remote to select the correct HDMI input source. Look for a button labeled "Input," "Source," or something similar. Cycle through the available inputs until you find the HDMI port you connected your PC to (e.g., HDMI 1, HDMI 2). If you're unsure which port you used, try each one until you see your PC's display appear on the TV screen. It may take a few seconds for the TV to recognize the signal.

Step 5: Configure Display Settings in Windows
Adjusting Display Options
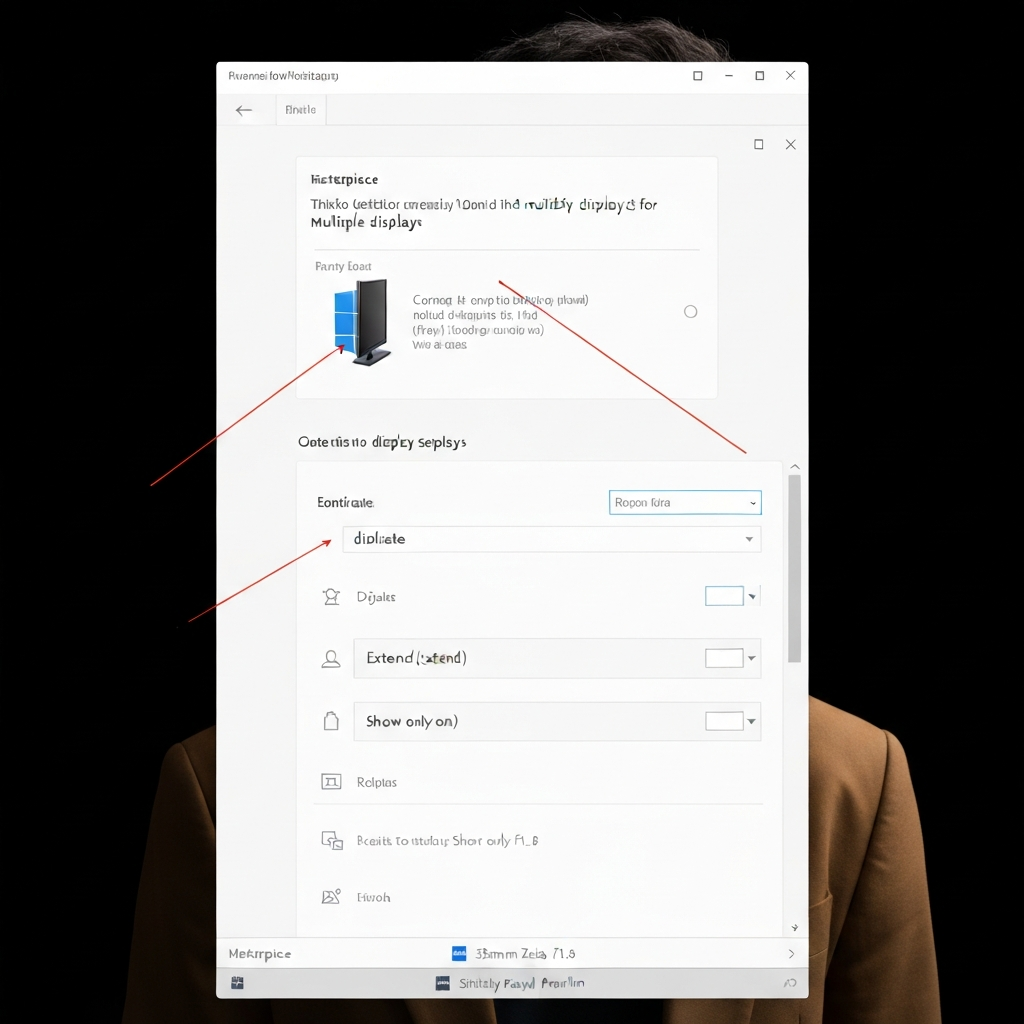
Once connected, your PC should automatically detect the TV as a second display. However, you might need to adjust the display settings for optimal viewing. Right-click on your desktop and select "Display settings" (or "Screen resolution" in older versions of Windows). In the display settings, you'll see representations of your monitors. Click the "Detect" button if your TV isn't automatically detected. You can then choose how to use the TV as a display: "Duplicate" (shows the same image on both screens), "Extend" (extends your desktop across both screens), or "Show only on [TV]" (displays only on the TV).
Step 6: Fine-Tune Resolution and Scaling
Optimizing Image Quality
In the display settings, you can also adjust the resolution and scaling to ensure the best possible image quality on your TV. For an HDTV, a resolution of 1920x1080 (1080p) is generally recommended. If you have a 4K TV, you can select a higher resolution, such as 3840x2160. Experiment with different scaling options (e.g., 100%, 125%, 150%) to find a comfortable text and icon size. If the image appears distorted or cut off, check your TV's settings for an "Overscan" or "Aspect Ratio" option and adjust accordingly.

Step 7: Adjust Audio Output Settings
Ensuring Audio Plays Through the TV
In some cases, audio may continue to play through your PC's speakers even after connecting to the TV. To fix this, click the speaker icon in the system tray (near the clock). Select your TV as the audio output device from the list of available options. The name of your TV should appear in the list. If it doesn't, go to Sound Settings, locate output devices and you may need to select it there. Windows may default to your PC's built-in speakers, so manually selecting the TV is often necessary.

Common Mistakes to Avoid
- Using the wrong HDMI cable: For 4K/120Hz content, use an Ultra High-Speed HDMI cable.
- Forgetting to select the correct input source on the TV: Double-check the HDMI port number.
- Not adjusting display settings: Resolution and scaling need to be configured for optimal viewing.
- Ignoring audio output settings: Manually select the TV as the audio output device.
- Assuming all HDMI ports are created equal: Some TVs have specific HDMI ports for certain features (e.g. HDMI ARC for audio return or HDMI 2.1 for higher refresh rate gaming).
Pro Tips
- Label your HDMI cables at both ends to easily identify which device is connected to which port.
- Use a cable management system to keep your cables organized and prevent tangling.
- Consider using a wireless keyboard and mouse for a more comfortable viewing experience from your couch.
FAQ Section
- Q: My TV isn't detected in the display settings. What should I do?
- A: Click the "Detect" button in the display settings. Also, ensure the HDMI cable is securely connected and the TV is turned on and set to the correct input.
- Q: The image on my TV is distorted or cut off.
- A: Check your TV's settings for an "Overscan" or "Aspect Ratio" option and adjust accordingly. Also, verify that the resolution is set correctly in the Windows display settings.
- Q: The sound is still coming from my PC speakers.
- A: Click the speaker icon in the system tray and select your TV as the audio output device.
Conclusion
Connecting your PC to your TV with an HDMI cable is a straightforward process that can greatly enhance your entertainment and productivity. By following these steps and troubleshooting tips, you can enjoy your favorite movies, games, and applications on the big screen. Remember to choose the correct HDMI cable, select the right input source on your TV, and configure your display settings for optimal viewing. With a little patience and attention to detail, you can create a seamless and enjoyable viewing experience.