For therians, expressing one's theriotype can be a deeply personal and meaningful experience. One popular avenue for self-expression is through the creation and wearing of therian masks. These masks, often representing the animal that resonates most strongly with an individual's identity, serve as a powerful visual symbol of their connection to the animal within.
Crafting a therian mask is more than just an artistic endeavor; it's a journey of self-discovery. It requires careful consideration of the animal's features, colors, and overall essence. Whether you're a seasoned artist or a complete beginner, this guide will provide you with a wealth of ideas and practical tips to help you create a therian mask that truly reflects your unique identity.
From choosing the right materials to mastering essential crafting techniques, we'll cover everything you need to know to bring your vision to life. Prepare to unleash your creativity and embark on an exciting adventure into the world of therian mask making!
Step 1: Brainstorming Your Theriotype Mask Concept
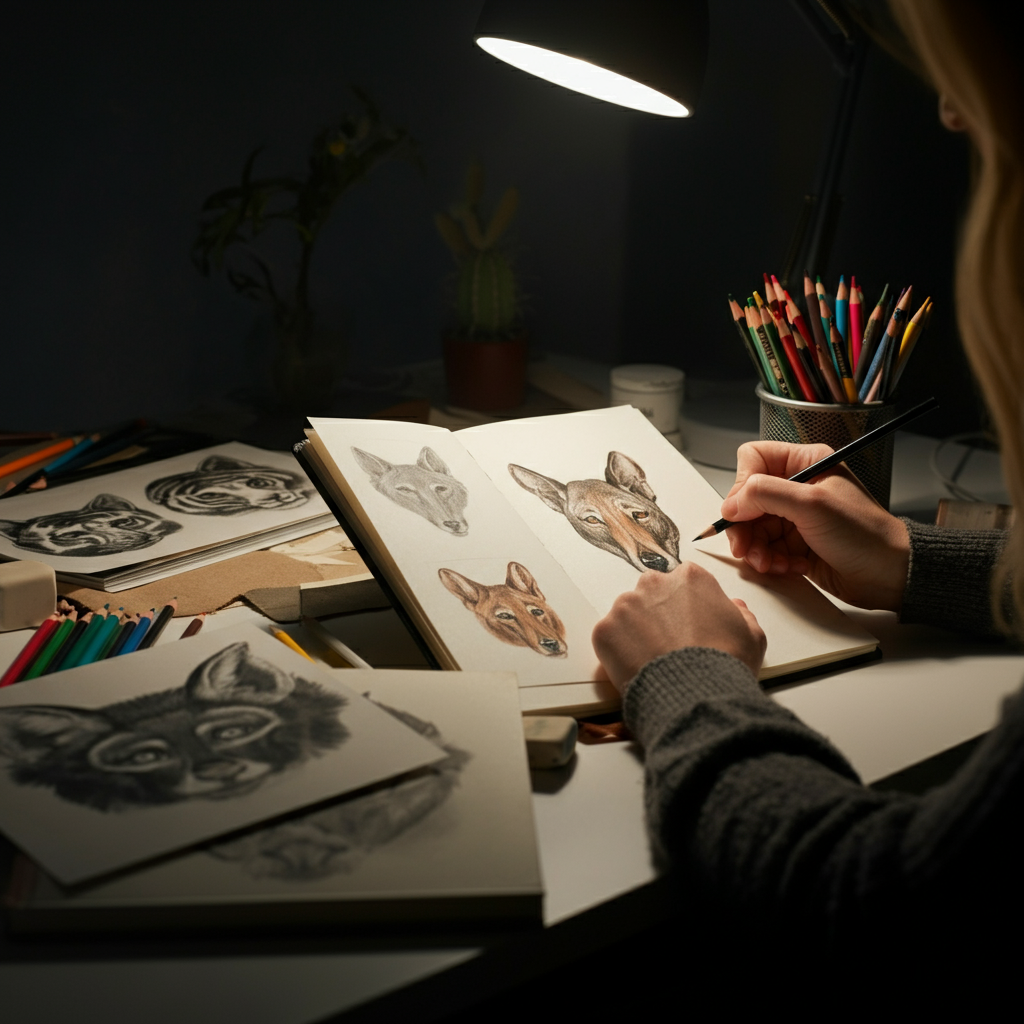
Before you even pick up a crafting tool, it's crucial to thoroughly brainstorm the design of your therian mask. Consider which animal theriotype you want to represent and research its key features. Pay close attention to details like fur patterns, eye color, and ear shape. Look at reference photos of real animals to gain a better understanding of their anatomy and coloration. Don't be afraid to incorporate creative liberties, such as adding unique markings or embellishments that reflect your personal style.
Step 2: Gathering Your Tools and Materials
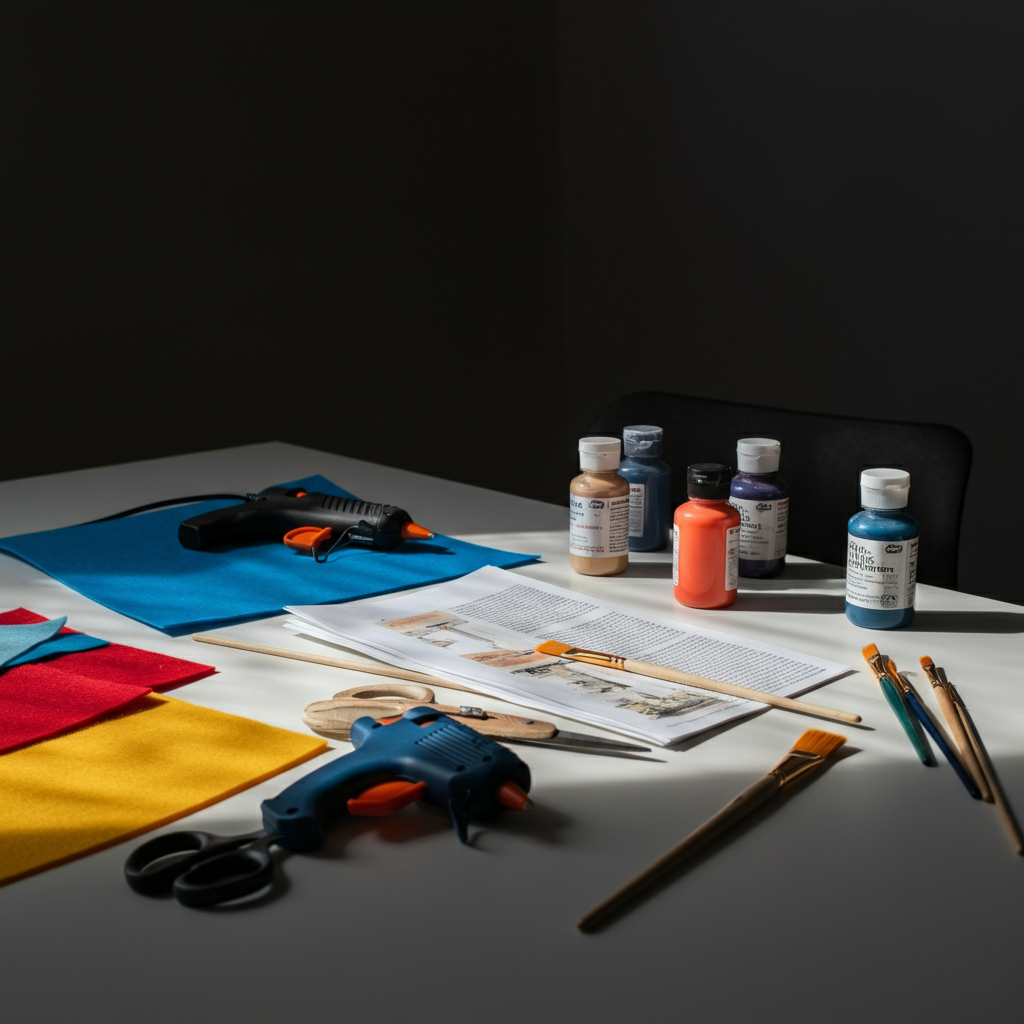
Once you have a clear idea of your mask design, it's time to gather the necessary tools and materials. The specific items you'll need will depend on the construction method you choose, but some common essentials include: a mask base (pre-made blank mask, cardboard, or craft foam), acrylic paints, paintbrushes, faux fur or felt, scissors or a craft knife, a hot glue gun, elastic bands, and embellishments such as beads, feathers, or chains. Investing in high-quality materials will ensure that your mask is durable and visually appealing. Consider using a well-ventilated area for any painting or gluing activities.
Step 3: Constructing Your Mask Base
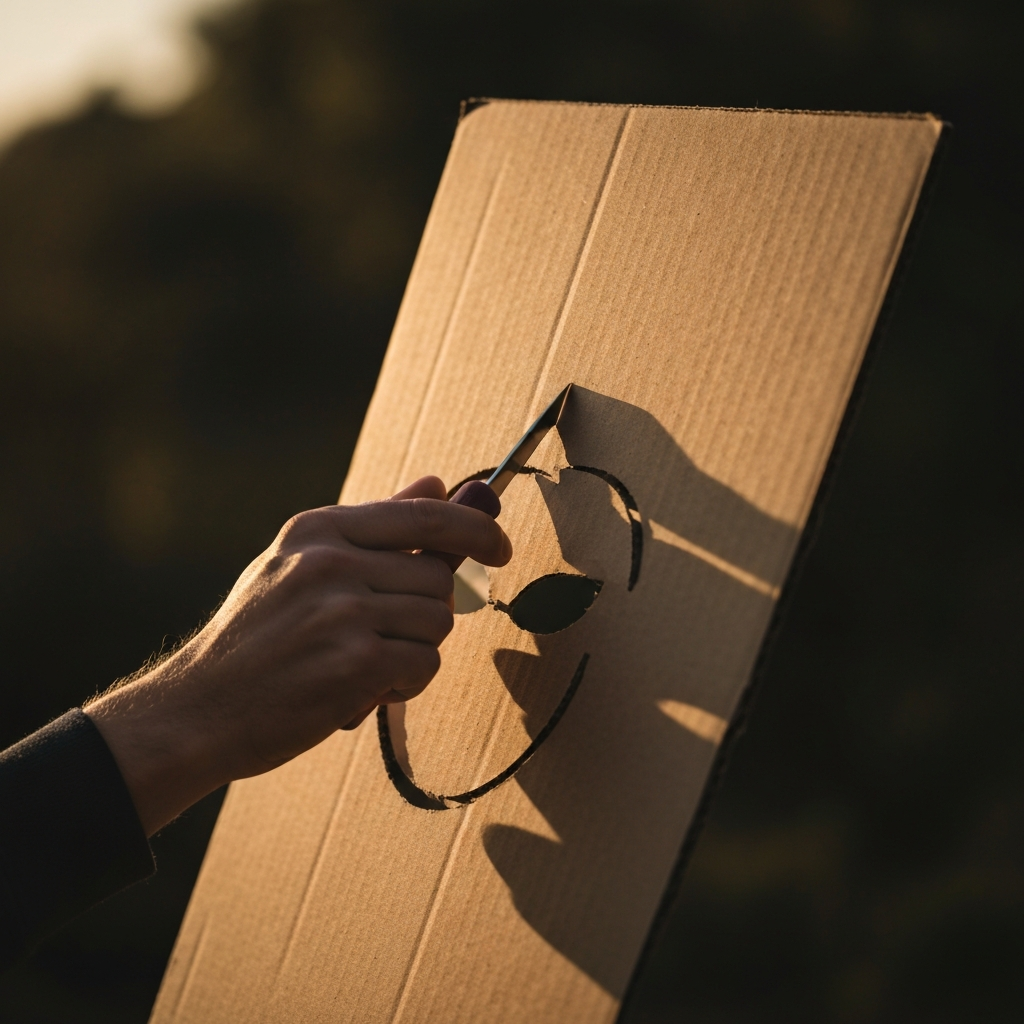
The base of your therian mask provides the foundation for all the subsequent embellishments. If you're using a pre-made mask, you can skip this step and move directly to painting and decorating. However, if you're starting from scratch, you'll need to create a mask base from cardboard or craft foam. Cut out the desired shape, ensuring that it comfortably fits your face and allows for adequate ventilation. Reinforce the edges of the base with extra layers of material to prevent tearing or bending. For cardboard, consider using multiple layers glued together for added strength.
Step 4: Painting and Coloring the Mask
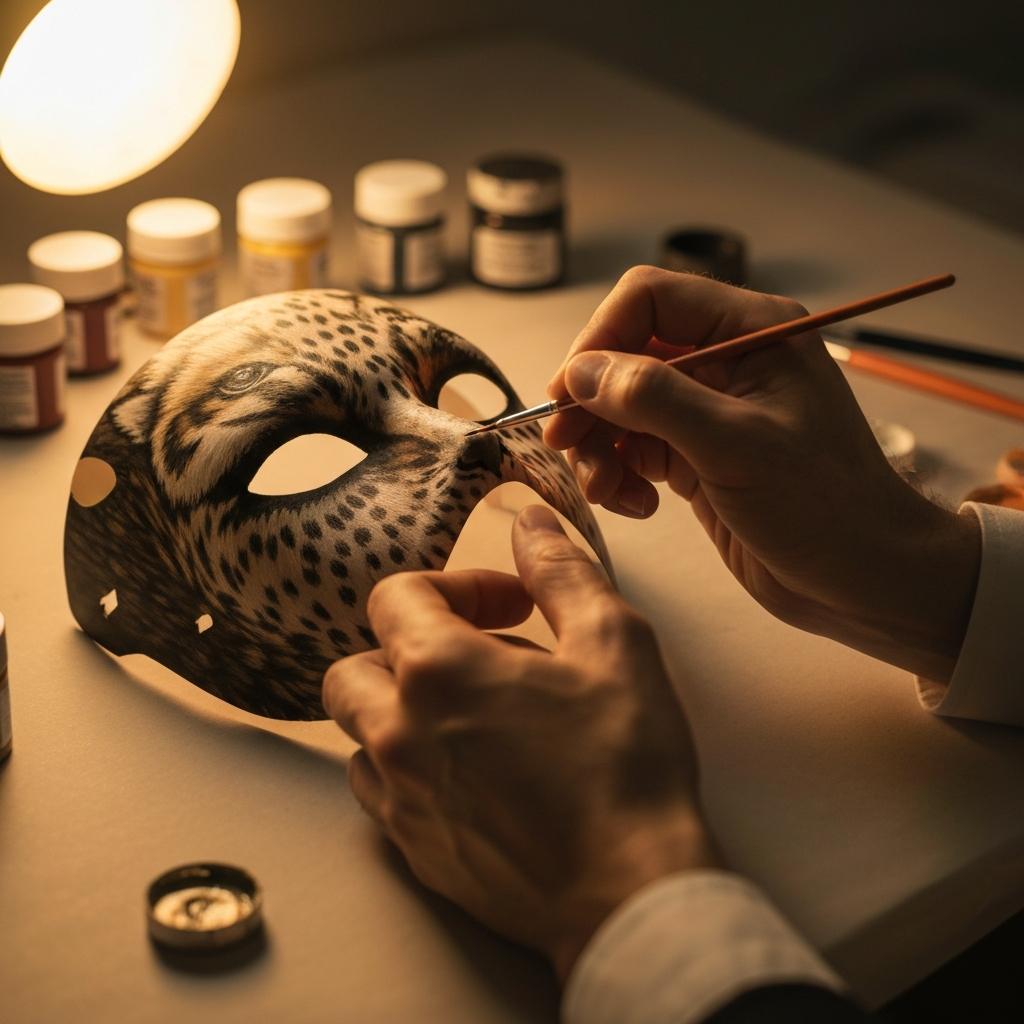
Now comes the fun part: adding color and detail to your mask! Use acrylic paints to bring your chosen animal theriotype to life. Start with a base coat in the primary color of the animal's fur or skin. Then, use smaller brushes to add intricate markings, shading, and highlights. Refer back to your reference photos frequently to ensure accurate coloration and pattern placement. Allow each layer of paint to dry completely before applying the next.
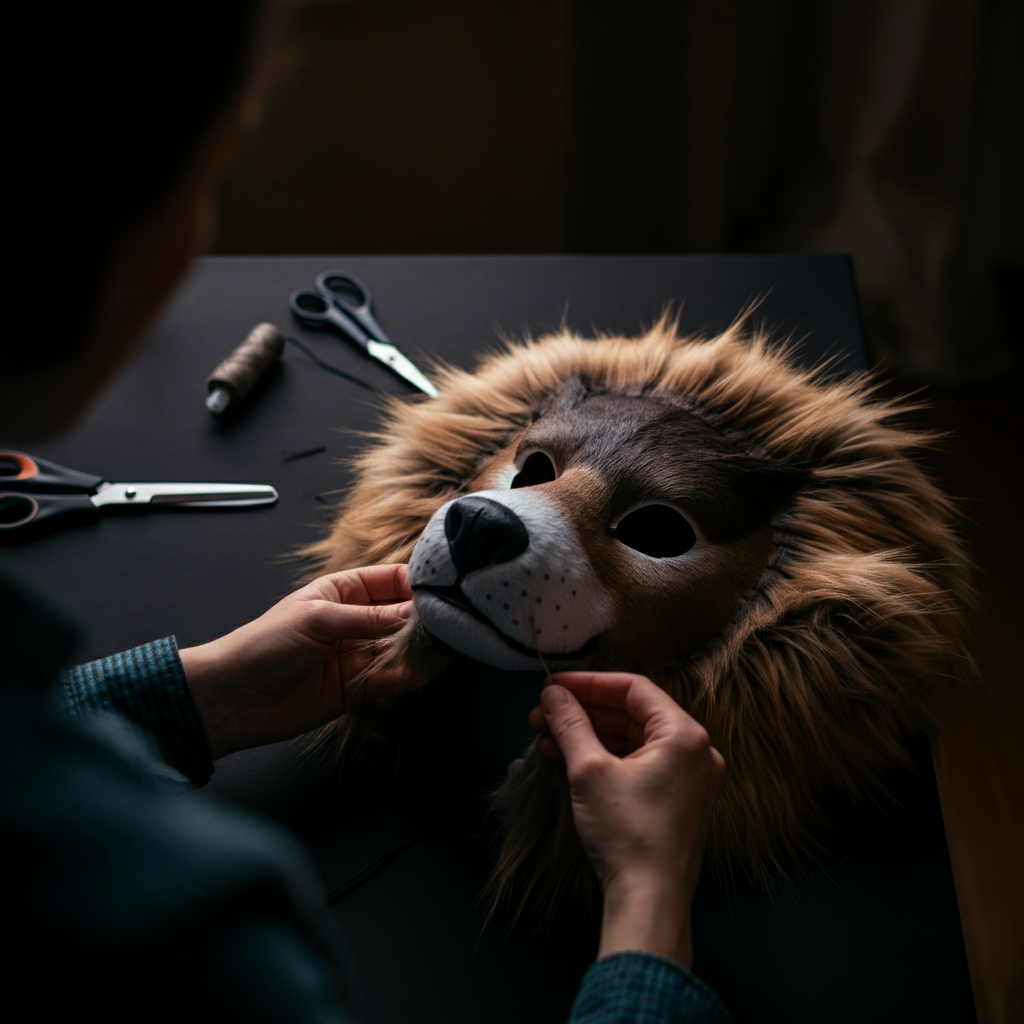
Step 5: Adding Fur and Texture
For a more realistic and tactile effect, consider adding faux fur or felt to your therian mask. Cut the fur or felt into appropriately sized pieces and carefully glue them onto the mask base, following the natural contours of the animal's face. Use a hot glue gun to ensure a secure bond, but be cautious of burns. Trim the fur or felt as needed to achieve the desired shape and texture. Layering different colors and textures of fur or felt can add depth and dimension to your mask.
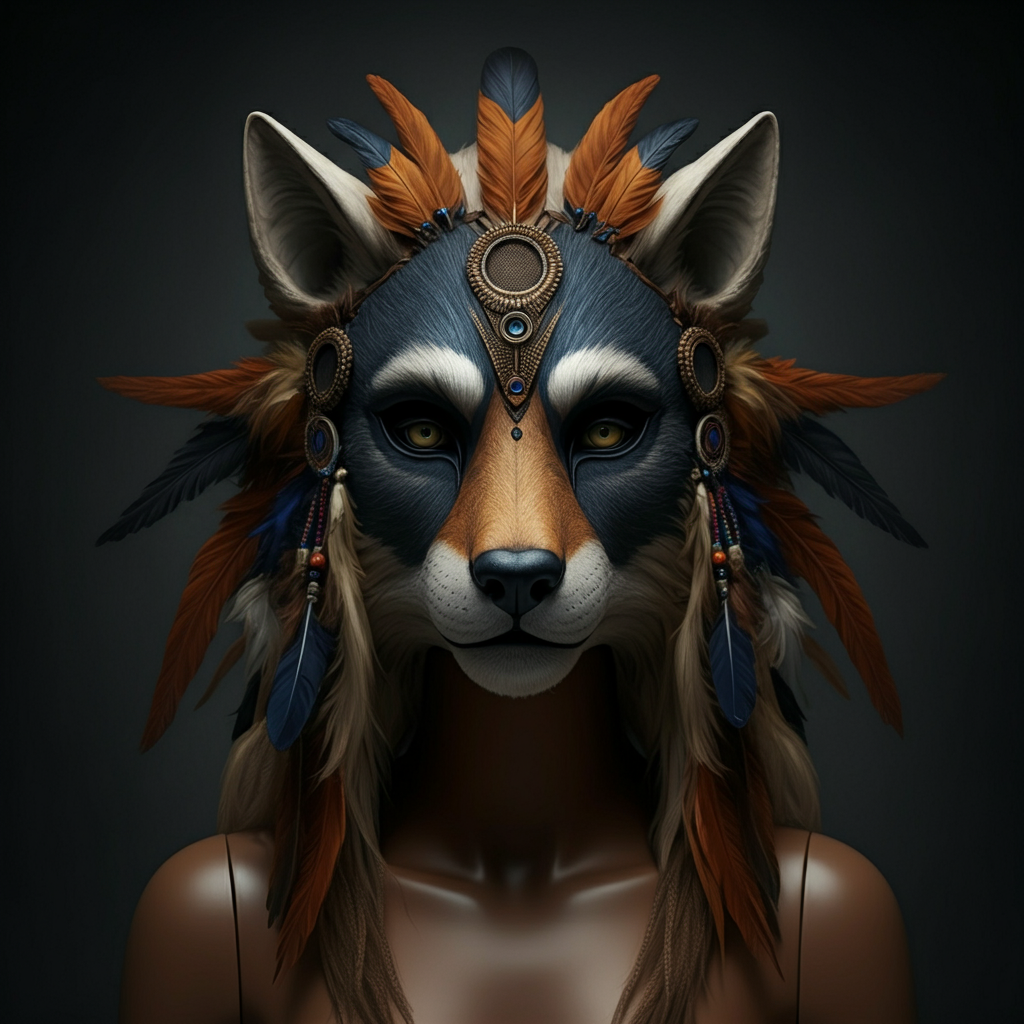
Step 6: Embellishing and Personalizing Your Mask
This is your opportunity to truly make your therian mask unique and personal. Add embellishments such as beads, feathers, chains, or other decorative elements that resonate with your individual style and connection to your theriotype. Consider incorporating symbolic elements or personal totems that hold special meaning for you. Don't be afraid to experiment and let your creativity run wild! Be sure the embellishments you choose are securely attached and do not obstruct your vision or breathing.
Step 7: Attaching the Elastic Band
To ensure that your therian mask stays securely in place while you're wearing it, you'll need to attach an elastic band. Measure the circumference of your head and cut an elastic band to the appropriate length. Attach the ends of the elastic band to the sides of the mask, either by gluing, sewing, or using sturdy fasteners. Make sure the elastic band is tight enough to hold the mask in place, but not so tight that it's uncomfortable. You can adjust the length of the band as needed to achieve the perfect fit.
Tools or Materials Required
- Mask base (pre-made, cardboard, or craft foam)
- Acrylic paints
- Paintbrushes
- Faux fur or felt
- Scissors or craft knife
- Hot glue gun
- Elastic band
- Embellishments (beads, feathers, chains, etc.)
Safety Considerations
- Always use a hot glue gun with caution to avoid burns.
- Work in a well-ventilated area when using paints or adhesives.
- Ensure that your mask allows for adequate ventilation and does not obstruct your vision or breathing.
- Be mindful of any sharp edges or protruding embellishments that could pose a safety hazard.
Common Mistakes to Avoid
- Rushing the brainstorming and design process.
- Using low-quality materials.
- Applying paint or glue too thickly.
- Not allowing paint or glue to dry completely before proceeding to the next step.
- Creating a mask that is uncomfortable or unsafe to wear.
Pro Tips
- Use reference photos of real animals to ensure accurate coloration and pattern placement.
- Experiment with different textures and embellishments to add depth and dimension to your mask.
- Don't be afraid to take creative liberties and personalize your mask to reflect your unique style.
- Take your time and enjoy the process!
FAQ Section
Q: What is the best material for a mask base?
A: It depends on your preference and skill level. Pre-made masks are the easiest option, while cardboard and craft foam offer more customization.
Q: What kind of paint should I use?
A: Acrylic paints are a good choice because they are versatile, durable, and easy to work with.
Q: How do I attach fur to the mask?
A: A hot glue gun is the most effective way to attach fur, but be careful to avoid burns.
Conclusion
Creating a therian mask is a rewarding and expressive process that allows you to connect with your theriotype in a tangible way. By following the steps outlined in this guide and embracing your creativity, you can craft a unique and meaningful mask that reflects your individual identity. Remember to prioritize safety, take your time, and most importantly, have fun!