Radon, an invisible and odorless gas, is a significant health hazard in homes across the United States. It's the second leading cause of lung cancer, responsible for thousands of deaths each year. Radon originates from the natural breakdown of uranium in soil, rock, and water, and it can seep into your home through cracks in the foundation, porous building materials, and other openings. The only way to know if your home has elevated radon levels is to test for it.
This guide provides a comprehensive, step-by-step approach to testing your home for radon. We'll cover everything from selecting the right test kit to interpreting the results and understanding your next steps. By following these instructions, you can take control of your indoor air quality and protect your family's health. Remember, early detection is crucial for mitigating the risks associated with radon exposure.
Whether you're a new homeowner or a long-time resident, understanding how to test for radon is an essential part of home maintenance and safety. Let's begin the process of creating a healthier living environment.
Step 1: Selecting a Radon Test Kit
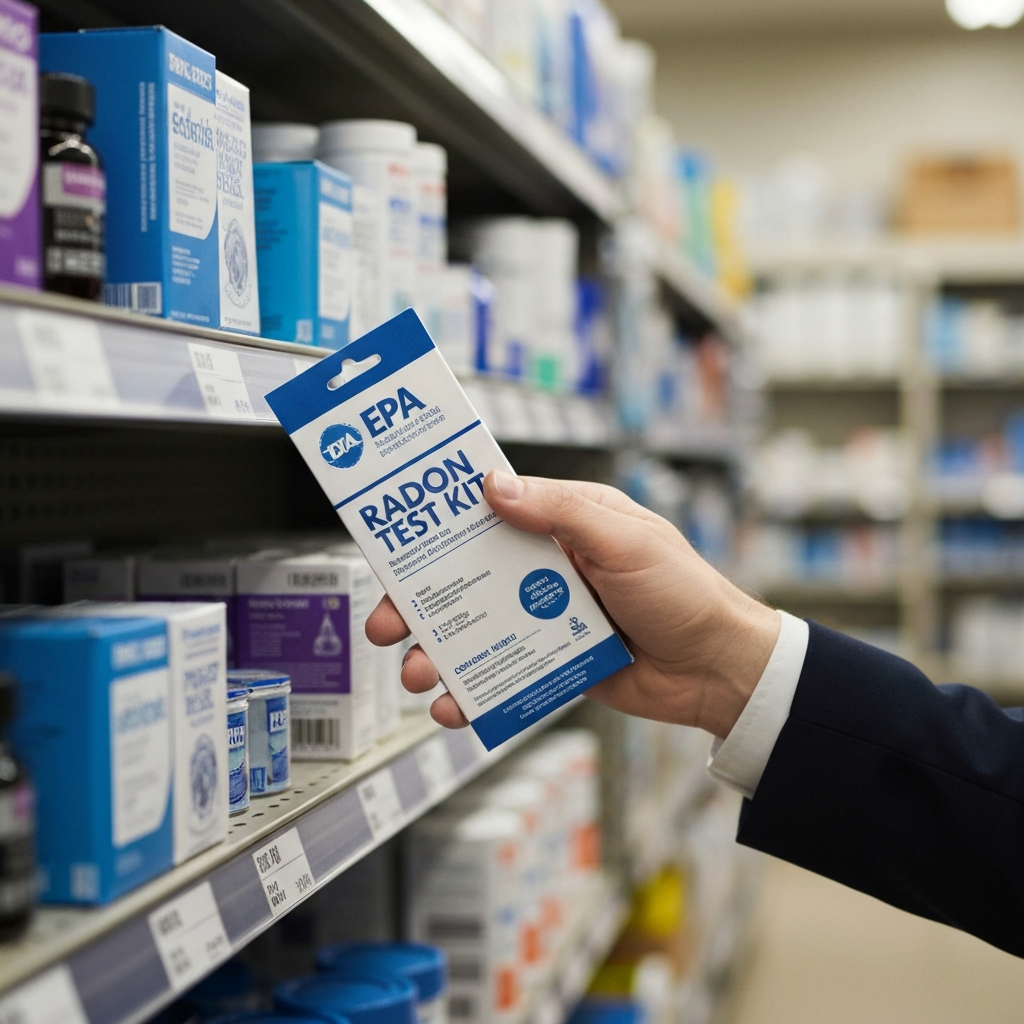
The first step is to acquire a radon test kit. You have two primary options: short-term and long-term test kits. Short-term kits are the most popular due to their convenience, providing results within 2-7 days. Long-term kits measure radon levels over a more extended period, typically 90 days to a year, offering a more accurate reflection of average radon levels. For initial testing, a short-term kit is usually sufficient.
You can purchase these kits at most hardware stores, home improvement centers, or online retailers. Ensure the kit you choose meets the Environmental Protection Agency's (EPA) requirements for radon testing. Some state health departments may offer discounted or free radon test kits to residents. Check with your local health department to see if you qualify.
Step 2: Preparing Your Home for Testing
Proper preparation is critical for accurate radon testing. Before deploying the test kit, it's essential to close all exterior doors and windows for at least 12 hours prior to and during the entire testing period. This helps ensure that the radon levels measured are representative of your home's typical indoor air quality.
While you should close windows and exterior doors, you can still operate your heating and air conditioning systems, as well as fans that recirculate indoor air. However, avoid using any fans or ventilation systems that draw air in from outside. Also, avoid conducting short-term tests during severe weather conditions like storms or high winds, as these can affect the accuracy of the results. Wait for a period of calm weather to begin your test.

Step 3: Choosing a Location for the Test Kit
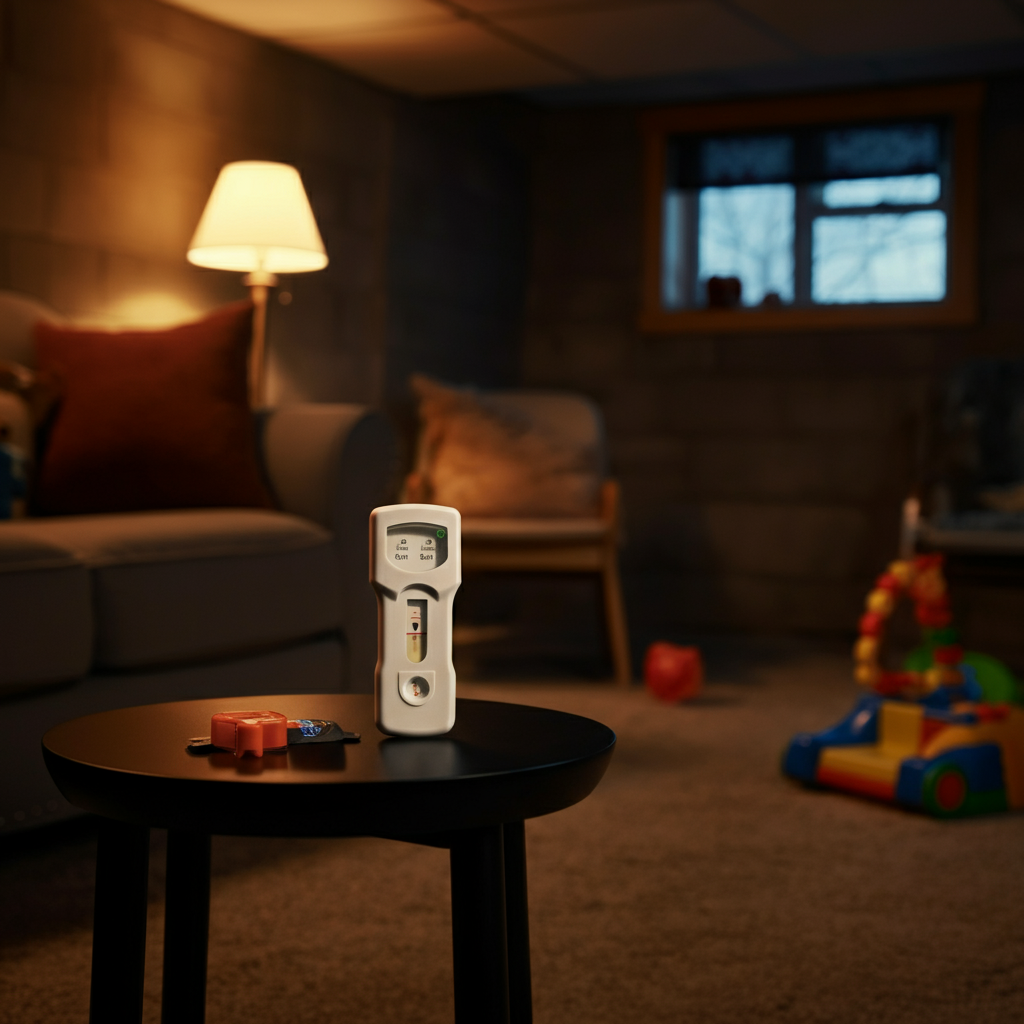
Selecting the right location for your radon test kit is vital for obtaining reliable results. The kit should be placed in the lowest level of your home that you regularly use. This could be the basement, if it's a frequently occupied space, or the first floor if you don't have a basement or rarely use it. The key is to test in an area where you and your family spend a significant amount of time.
Within that area, choose a room that is used regularly, such as a living room, playroom, office, or bedroom. Avoid placing the kit in kitchens or bathrooms, as humidity and fumes can interfere with the results. Position the test kit at least 20 inches above the floor, using a table or shelf if necessary. Ensure the kit is away from drafts, direct sunlight, high heat, humidity, and exterior walls. Proper placement ensures that the test measures radon levels accurately under normal living conditions.
Step 4: Deploying the Radon Test Kit
After selecting the appropriate location, carefully follow the instructions included with your radon test kit. Each kit has specific requirements for deployment, so it's essential to read and understand the instructions thoroughly before proceeding. Typically, you'll need to remove the radon-sensitive material from its packaging and position it in the designated area.
Short-term test kits often utilize charcoal canisters or liquid scintillation vials. For charcoal canisters, you'll usually remove the top to expose the charcoal to the air. For liquid scintillation vials, you may need to place two vials a specific distance apart. Ensure the radon-sensitive material is exposed to the air for the specified time frame, typically between two and seven days for short-term kits. Don't disturb the kit during the testing period.

Step 5: Completing the Test and Sending it for Analysis
Once the specified testing period has ended, it's time to complete the test and prepare the kit for analysis. Carefully replace the tops on the charcoal canisters or liquid scintillation vials, ensuring they are tightly sealed. Place the sealed containers back into their original packaging and reseal it securely.
Mail the package to the laboratory specified on the kit's packaging as soon as possible after the testing period ends. Use registered mail to ensure that the package arrives at the lab safely and to track its progress. Delaying the shipment can affect the accuracy of the results, so don't wait more than a day or two after the testing period ends. You'll typically receive your radon test results within a few weeks, both by mail and email. Most labs also allow you to check your results online.

FAQ Section
Q: How often should I test my home for radon?
A: It is recommended to test your home for radon every two years, especially if you live in an area known to have high radon levels. You should also test your home after any renovations or structural changes.
Q: What if my initial short-term test shows high radon levels?
A: If your initial short-term test results are close to or above 4 pCi/L, it is recommended to conduct a follow-up short-term test or a long-term test for a more accurate assessment.
Q: Can I test my home for radon myself, or do I need to hire a professional?
A: You can easily and affordably test your home for radon yourself using a DIY test kit. However, for long-term testing or if you need assistance interpreting results, hiring a qualified radon professional is advisable.
Safety Considerations
While radon testing itself poses no immediate health risks, remember that elevated radon levels can be dangerous over time. If your test results indicate high radon levels, take prompt action to mitigate the problem. Sealing cracks in the foundation and improving ventilation can help reduce radon levels. In some cases, a radon mitigation system may be necessary.
Conclusion
Testing your home for radon is a crucial step in protecting your family's health. By following the steps outlined in this guide, you can accurately assess the radon levels in your home and take appropriate action if necessary. Remember to select an EPA-approved test kit, prepare your home properly, and follow the instructions carefully. Early detection and mitigation of radon can significantly reduce the risk of lung cancer. Take control of your indoor air quality and create a safer, healthier living environment for yourself and your loved ones.