Achieving the perfect soft-boiled egg can feel like a culinary tightrope walk, especially when starting with cold eggs straight from the refrigerator. The sudden temperature change often leads to cracked shells and uneven cooking. But fear not! With a little technique and patience, you can consistently create creamy-yolked masterpieces every time. This guide will walk you through a foolproof method that minimizes cracking and maximizes deliciousness.
The key to preventing cracks lies in gradually increasing the egg's temperature. Forget the myth about poking a hole in the shell; it's unnecessary and doesn't guarantee success. This method prioritizes a gentle heating process that allows the egg to acclimate without suffering thermal shock. Prepare to say goodbye to frustrating failures and hello to perfectly cooked eggs!
Whether you're aiming for a quick breakfast, a sophisticated salad topping, or a comforting snack, mastering this technique will elevate your egg game. So, gather your supplies and get ready to embark on a journey to soft-boiled egg perfection.
Tools or Materials Required
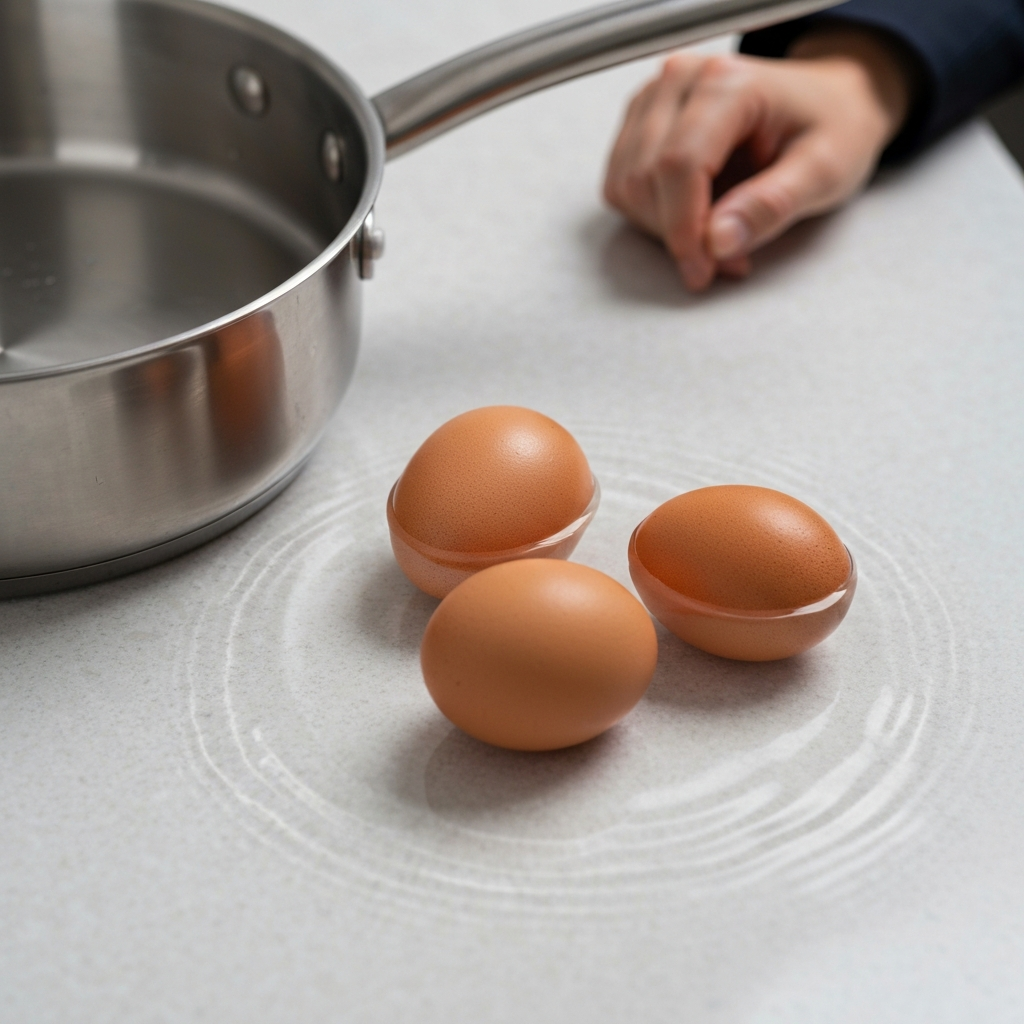
- Small saucepan
- Cold eggs (straight from the fridge)
- Hot tap water
- Small spoon
- Bowl or egg cups (optional)
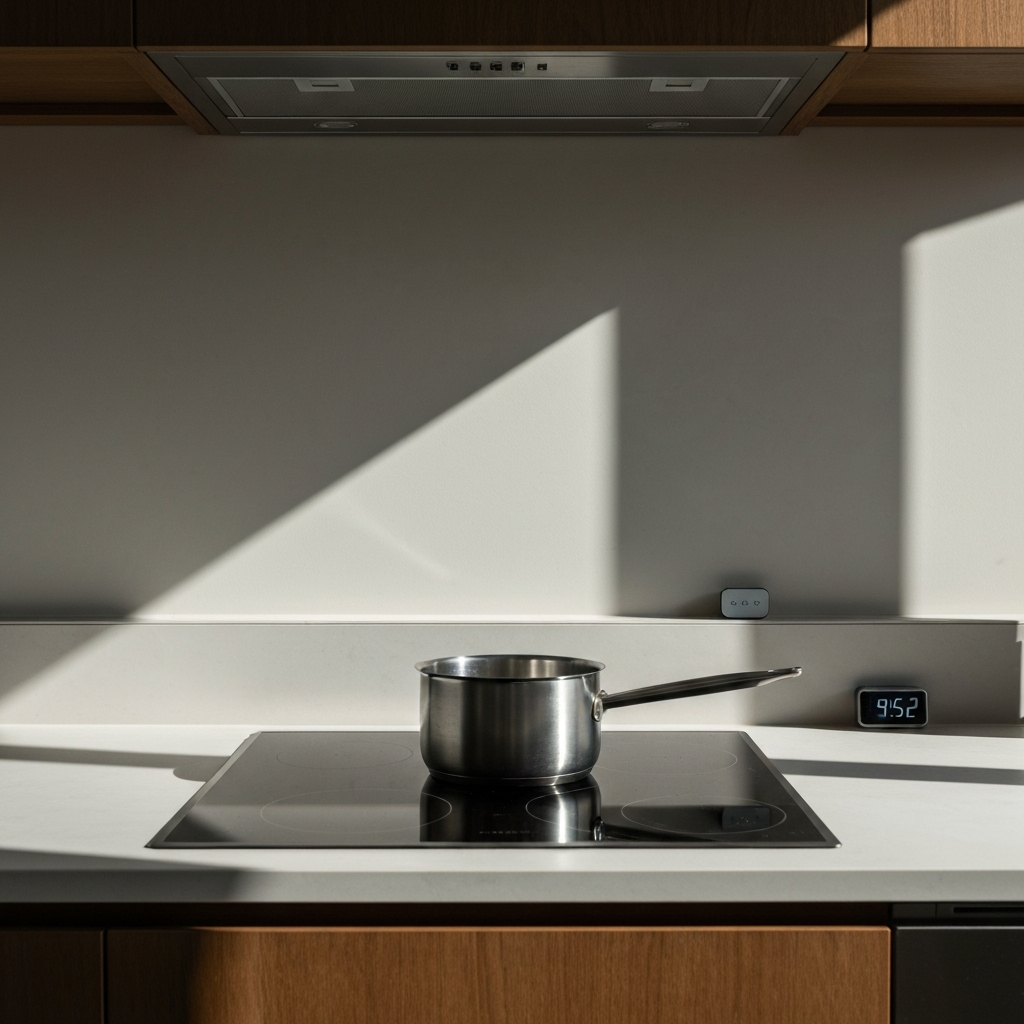
Step 1: Initial Water Bath
Gently Submerge
Carefully place your cold eggs into a small saucepan. Then, fill the saucepan with hot water directly from your tap. Ensure the water level just covers the eggs; overfilling isn't necessary and can actually prolong the cooking time. The goal here is to begin warming the eggs gradually.
Step 2: Pre-Heating Period
Sitting Before Boiling
This is the most important step for preventing cracks. Place the saucepan on your stove (turned OFF) and let it sit for a full 10 minutes. This allows the eggs to slowly acclimate to the warmer temperature, reducing the risk of thermal shock when you introduce direct heat. This step might seem counterintuitive, but it makes a significant difference.
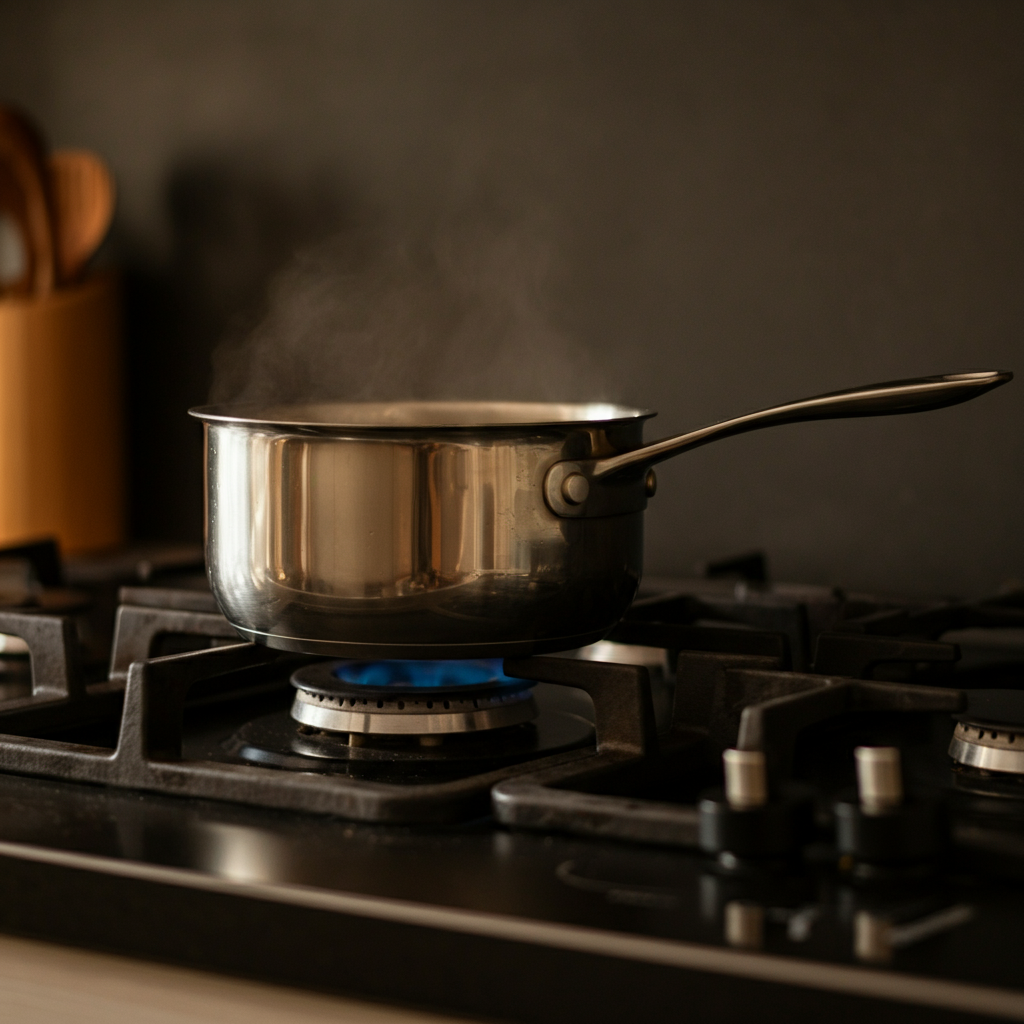
Step 3: Simmering Stage
Bring to a Simmer
After the 10-minute waiting period, turn your stove to high heat. Wait until the water starts to boil—this should take approximately 3-4 minutes. As soon as you see a rolling boil, immediately reduce the heat to a gentle simmer. The water should have small bubbles gently rising to the surface, not a vigorous bubbling action.
Step 4: Precise Timing
The 4-Minute Rule (Adjust as Needed)
Once at a simmer, set a timer for exactly 4 minutes. This is your cooking window for a perfectly soft-boiled egg. Keep in mind that cooking times can vary slightly depending on your stove, altitude, and personal preference. For firmer centers, increase the cooking time in 30-second intervals until you reach your desired consistency.
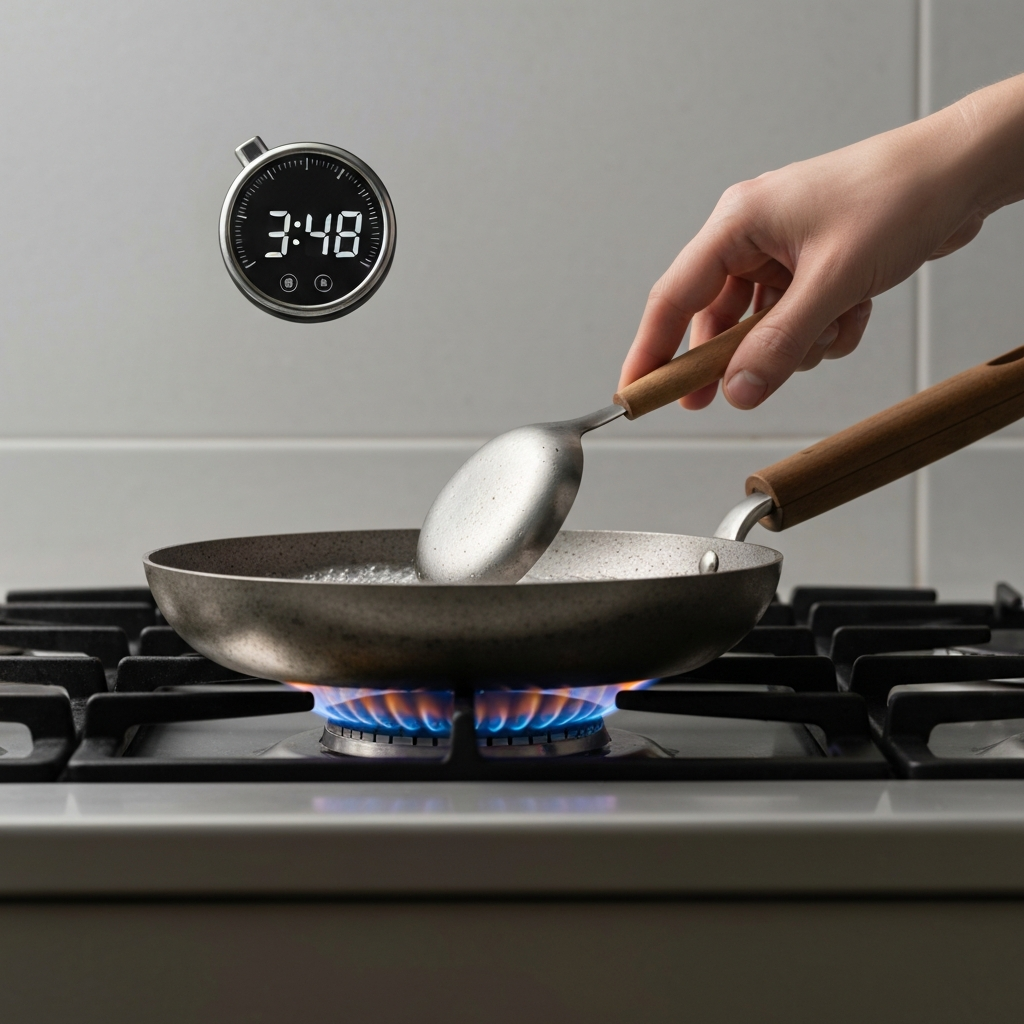
Step 5: Cooling and Serving
Quick Stop the Cooking
After 4 minutes (or your adjusted time), use a small spoon to carefully transfer the eggs into a bowl. You can immediately place them into a bowl of ice water to stop the cooking process and make them easier to peel. If you don’t plan on peeling them right away, serve them immediately or refrigerate for later use.

Common Mistakes to Avoid
- Starting with boiling water: This drastically increases the risk of cracking.
- Overcrowding the saucepan: This can lead to uneven cooking.
- Ignoring the simmering stage: A full boil will overcook the outside before the inside is done.
- Inconsistent timing: Use a timer and experiment to find your ideal cooking time.
Pro Tips
- For easier peeling, gently tap the egg all over on a hard surface to create small cracks before submerging it in ice water.
- Older eggs tend to peel more easily than very fresh eggs.
- Experiment with different cooking times to find your perfect yolk consistency.
FAQ Section
- Can I use this method for more than four eggs at a time?
- Yes, but be sure the eggs are in a single layer in the saucepan, and you may need to adjust the simmering time slightly.
- What if my eggs still crack?
- Ensure you're following the 10-minute pre-heating period and maintaining a gentle simmer. Also, consider that hairline cracks might be present on the eggshell before cooking.
- How long can I store soft-boiled eggs in the refrigerator?
- Soft-boiled eggs should be consumed within two days of cooking.
Conclusion
Soft-boiling eggs from the fridge doesn't have to be a daunting task. By following these steps, particularly the crucial 10-minute pre-heating period, you can significantly reduce the risk of cracking and achieve consistently perfect results. Remember to experiment with timing to find your ideal yolk consistency. Enjoy your delicious, perfectly soft-boiled eggs!