Carbon steel pans are prized by chefs for their responsiveness to heat, durability, and ability to develop a naturally non-stick surface. This non-stick quality, however, doesn't come straight out of the box. Like cast iron, carbon steel requires seasoning – a process of repeatedly layering polymerized oil onto the surface of the pan. This creates a patina that protects the pan from rust, prevents food from sticking, and even enhances the flavor of your cooking. Mastering the art of seasoning a carbon steel pan is an investment in your culinary future, leading to years of enjoyable cooking.
While the process is straightforward, attention to detail is key. A well-seasoned carbon steel pan can last a lifetime, while a poorly seasoned one can be prone to rust and sticking. This guide provides a comprehensive, step-by-step approach to seasoning your carbon steel pan, ensuring a smooth, durable, and naturally non-stick cooking surface. We'll cover everything from initial cleaning to long-term maintenance, equipping you with the knowledge to confidently care for your pan.
Let's embark on this journey to unlock the full potential of your carbon steel cookware!
Step 1: Initial Cleaning and Preparation
Remove the Factory Coating
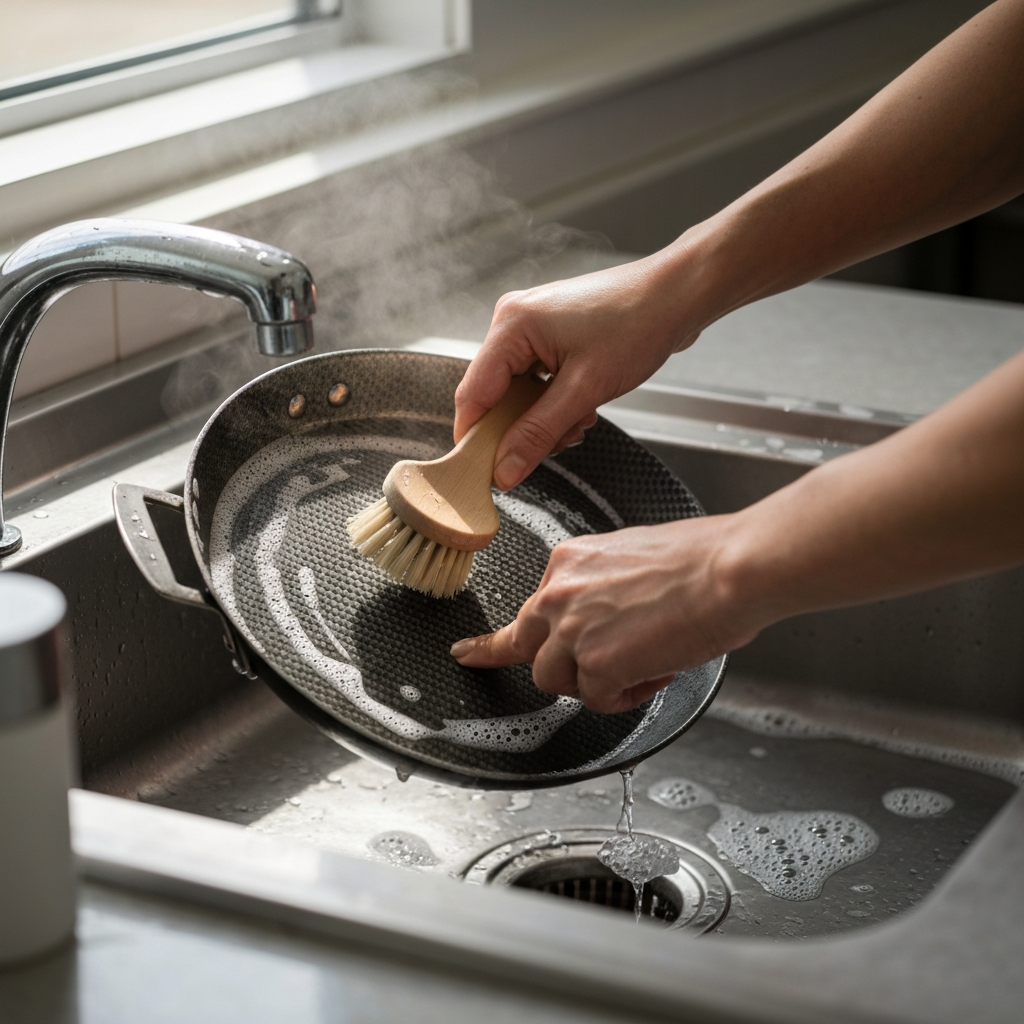
New carbon steel pans often come with a protective coating of oil or wax to prevent rust during shipping and storage. This coating must be thoroughly removed before you can begin the seasoning process. Start by washing the pan with hot, soapy water, using a non-abrasive sponge or a soft brush. Avoid steel wool or harsh scrubbers at this stage, as they can scratch the bare metal. Pay close attention to the manufacturer's instructions, as some coatings may require a specific removal method. For stubborn coatings, you can use a gentle degreaser.
Step 2: Thorough Drying
Dry the Pan Completely
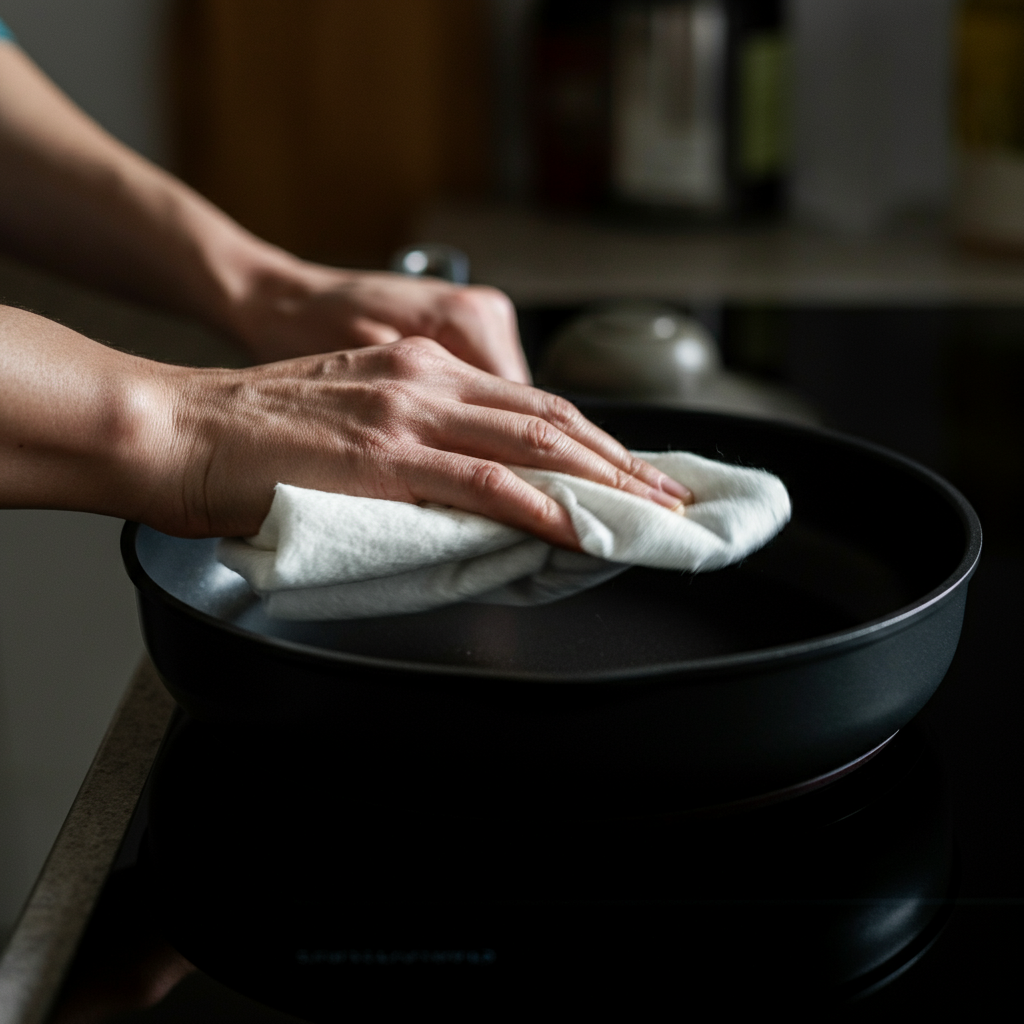
Once the pan is washed, it's crucial to dry it thoroughly to prevent rust formation. Carbon steel is highly susceptible to rust, so even a small amount of moisture can quickly lead to oxidation. Use a clean, lint-free towel to dry the pan, both inside and out, paying attention to the handle and any rivets. After towel-drying, place the pan on a stovetop burner over low heat for a few minutes. This will evaporate any remaining moisture and ensure the pan is bone dry. Be careful not to overheat the pan at this stage, as it's just meant for drying.

Step 3: Applying a Thin Layer of Oil
Oil Application is Key
The foundation of a good seasoning lies in the proper application of oil. The goal is to apply an extremely thin, even layer of oil – almost invisible to the naked eye. Use a neutral, high smoke-point oil such as grapeseed, canola, or refined coconut oil. Pour a small amount of oil into the pan (about a teaspoon for a 12-inch pan). Use a clean cloth or paper towel to spread the oil evenly over the entire surface of the pan, including the sides and bottom. Then, using a separate, clean cloth, wipe the pan vigorously as if you are trying to remove all the oil. This is the most crucial part, as any excess oil will result in a sticky, uneven seasoning.
Step 4: The Bake or Stovetop Method
Polymerizing the Oil
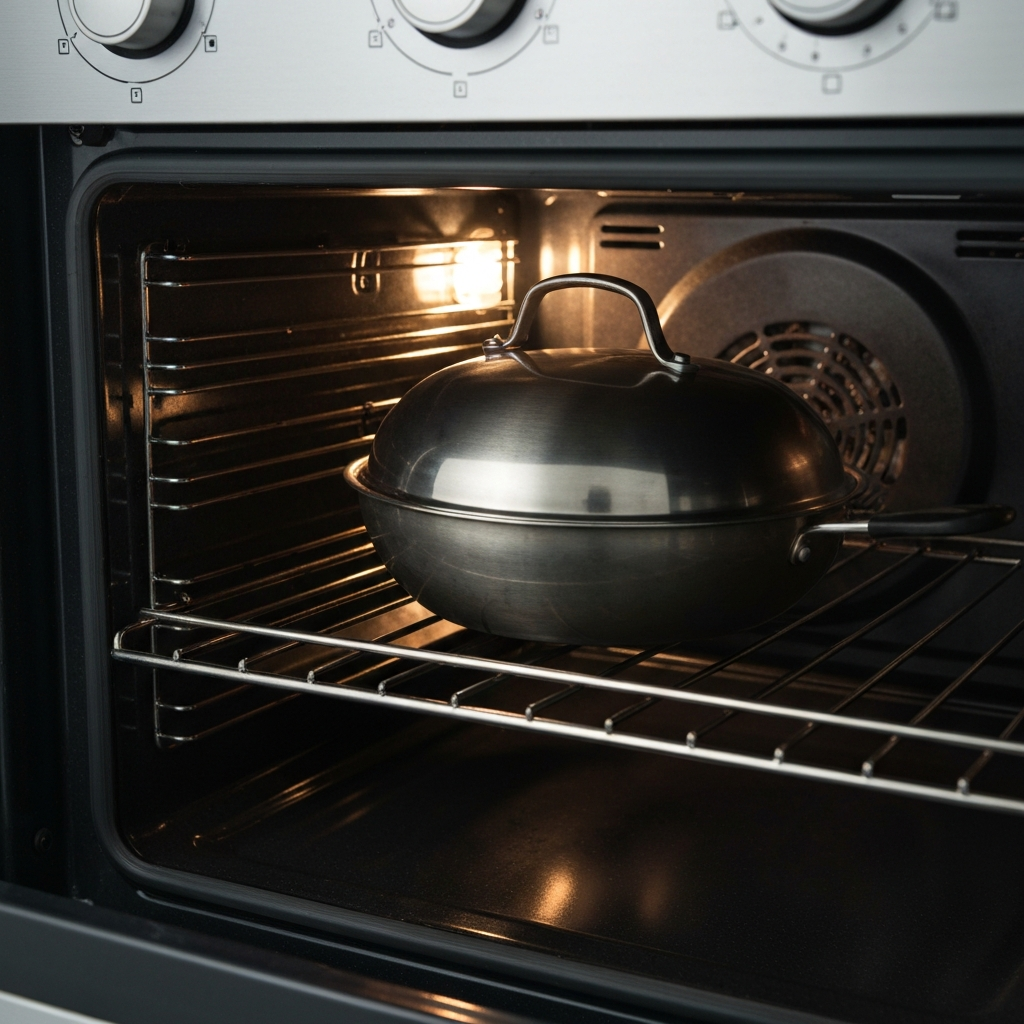
Now comes the polymerization stage, where the oil is transformed into a hard, durable coating. There are two primary methods: oven seasoning and stovetop seasoning. For oven seasoning, preheat your oven to 400-450°F (200-232°C). Place the pan upside down on the middle rack of the oven (this prevents oil from pooling). Bake for one hour. Let the pan cool completely in the oven before removing it. For stovetop seasoning, place the pan on a burner over medium-high heat. Heat the pan until it starts to smoke. Continue heating for a few minutes, then remove from heat and let it cool slightly. Ensure good ventilation in your kitchen when heating the pan, as this process will produce smoke.
Step 5: Repeating the Process
Multiple Layers for Durability
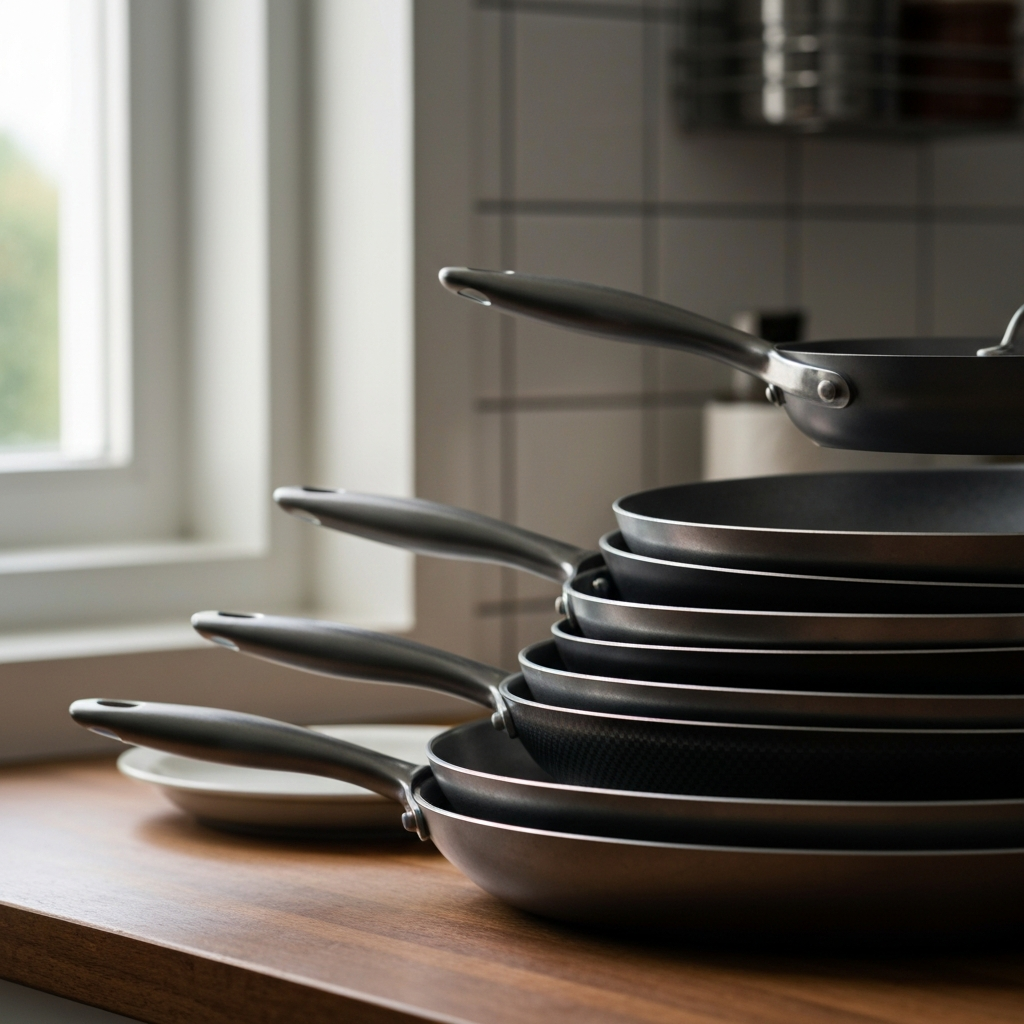
A single layer of seasoning is not enough to create a durable, non-stick surface. You need to repeat steps 3 and 4 several times (ideally 3-5 times) to build up a strong patina. Each layer adds to the pan's non-stick properties and protects it from rust. With each seasoning cycle, you'll notice the pan gradually darkening in color. This is a good sign, indicating that the seasoning is building up properly. Patience is key here. Don't rush the process, and ensure each layer is properly polymerized before applying the next.
Step 6: Maintaining Your Seasoned Pan
Proper Care for Longevity
Once your pan is seasoned, proper maintenance is essential to preserve its non-stick properties and prevent rust. After each use, wash the pan with hot water and a non-abrasive sponge. Avoid using harsh soaps or detergents, as they can strip away the seasoning. If food particles are stuck to the pan, add some water and simmer on the stovetop for a few minutes to loosen them. After washing, dry the pan thoroughly and apply a thin layer of oil. Heat the pan on the stovetop for a minute or two to polymerize the oil and prevent rust. Avoid cooking highly acidic foods like tomatoes or citrus for prolonged periods, as they can damage the seasoning. If rust appears, gently scrub it off with steel wool and re-season the affected area.

Common Mistakes to Avoid
- Using too much oil: This leads to a sticky, uneven seasoning.
- Not drying the pan thoroughly: This causes rust.
- Using harsh soaps or detergents: This strips away the seasoning.
- Cooking highly acidic foods for extended periods: This damages the seasoning.
- Overheating the pan: While high heat is needed for initial seasoning, excessive heat during cooking can damage the patina.
Safety Considerations
- Ventilation: Seasoning a carbon steel pan, especially on the stovetop, produces smoke. Ensure your kitchen is well-ventilated by opening windows and turning on the range hood fan.
- Heat safety: Be careful when handling hot pans. Use oven mitts or pot holders to protect your hands from burns.
- Oil splatter: When heating oil on the stovetop, be cautious of oil splatter. Keep a safe distance from the pan and use a splatter screen if necessary.
Pro Tips
- Use a dedicated seasoning oil: Keep a bottle of grapeseed or canola oil specifically for seasoning your pan.
- Monitor the pan's seasoning: Regularly inspect your pan for signs of wear or rust. Re-season as needed to maintain its non-stick properties.
- Cook with fat: Cooking high-fat foods like bacon or steak will naturally help to build up the patina over time.
FAQ Section
- How often should I re-season my carbon steel pan?
- Re-season as needed, typically when you notice food sticking or rust forming. This could be every few months, or even less frequently depending on your usage and care.
- Can I use my carbon steel pan on an induction cooktop?
- Yes, carbon steel pans are generally compatible with induction cooktops.
- What if my seasoning is uneven or splotchy?
- This is common during the initial seasoning process. Continue seasoning the pan, and the patina will eventually even out. You can also try gently scrubbing the affected areas with steel wool and re-seasoning.