Transform your Raspberry Pi 4 into a fully functional Network Attached Storage (NAS) device. A NAS allows you to create a centralized storage solution on your home network, accessible by all your devices. This eliminates the need for cloud-based storage subscriptions and gives you complete control over your data. This guide provides a comprehensive step-by-step approach to configuring your Raspberry Pi 4 as a reliable and efficient NAS server.
Setting up a Raspberry Pi 4 as a NAS offers numerous advantages. It's cost-effective, energy-efficient, and provides a customizable storage solution tailored to your specific needs. You can access your files from anywhere on your local network, share them with family members, and even set up media streaming capabilities. Furthermore, a Raspberry Pi-based NAS offers a great learning opportunity for those interested in networking and server administration.
This guide walks you through the entire process, from choosing the right hardware and installing the necessary software to configuring your NAS for optimal performance and security. By following these instructions carefully, you'll have your Raspberry Pi 4 NAS up and running in no time.
Step 1: Gather Required Hardware and Software
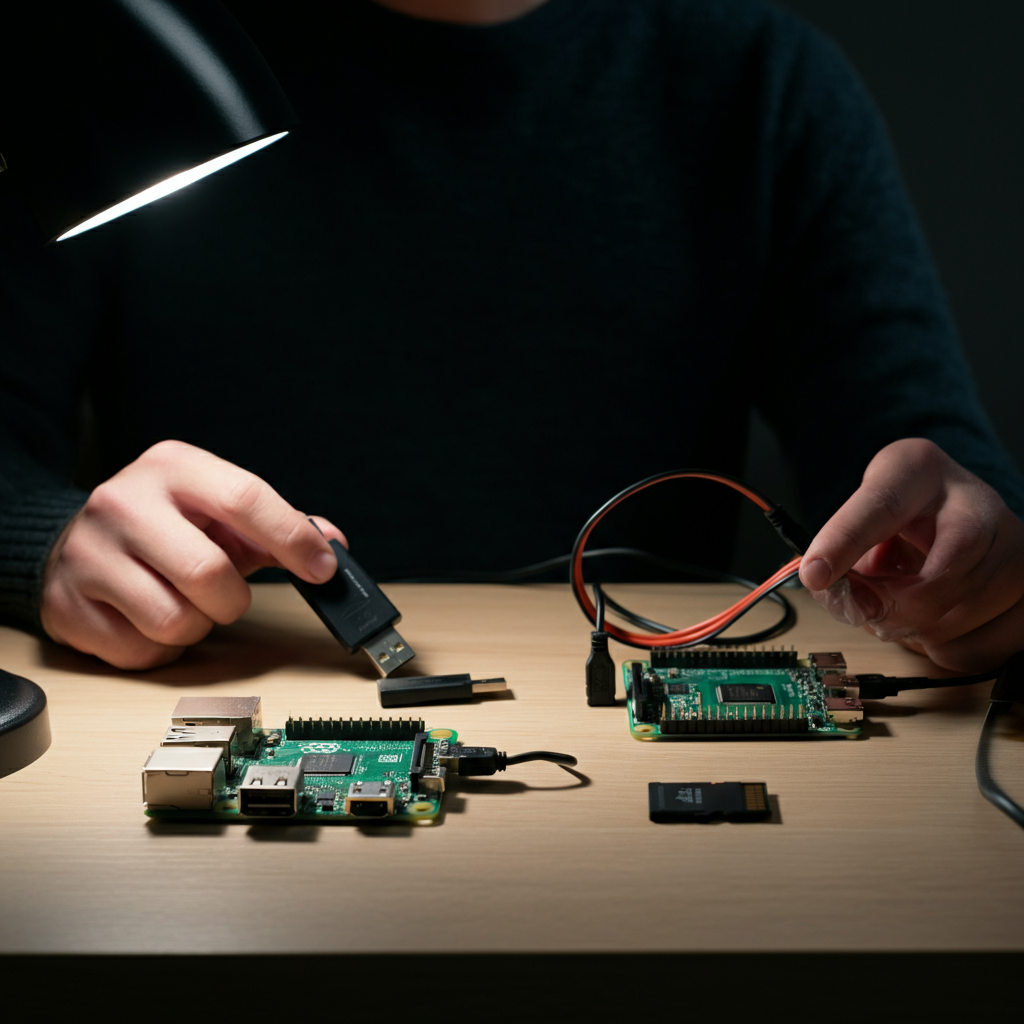
Before you begin, ensure you have all the necessary components. This includes a Raspberry Pi 4 (4GB or 8GB recommended for optimal performance), a suitable case, a USB drive (or multiple drives for RAID configurations), a Micro SD card (at least 16GB), a power supply, an Ethernet cable, and a computer to set up the initial software configuration. Downloading the Raspberry Pi Imager software to your computer is also crucial. Selecting high-quality components will improve stability and performance.
Step 2: Install the Operating System
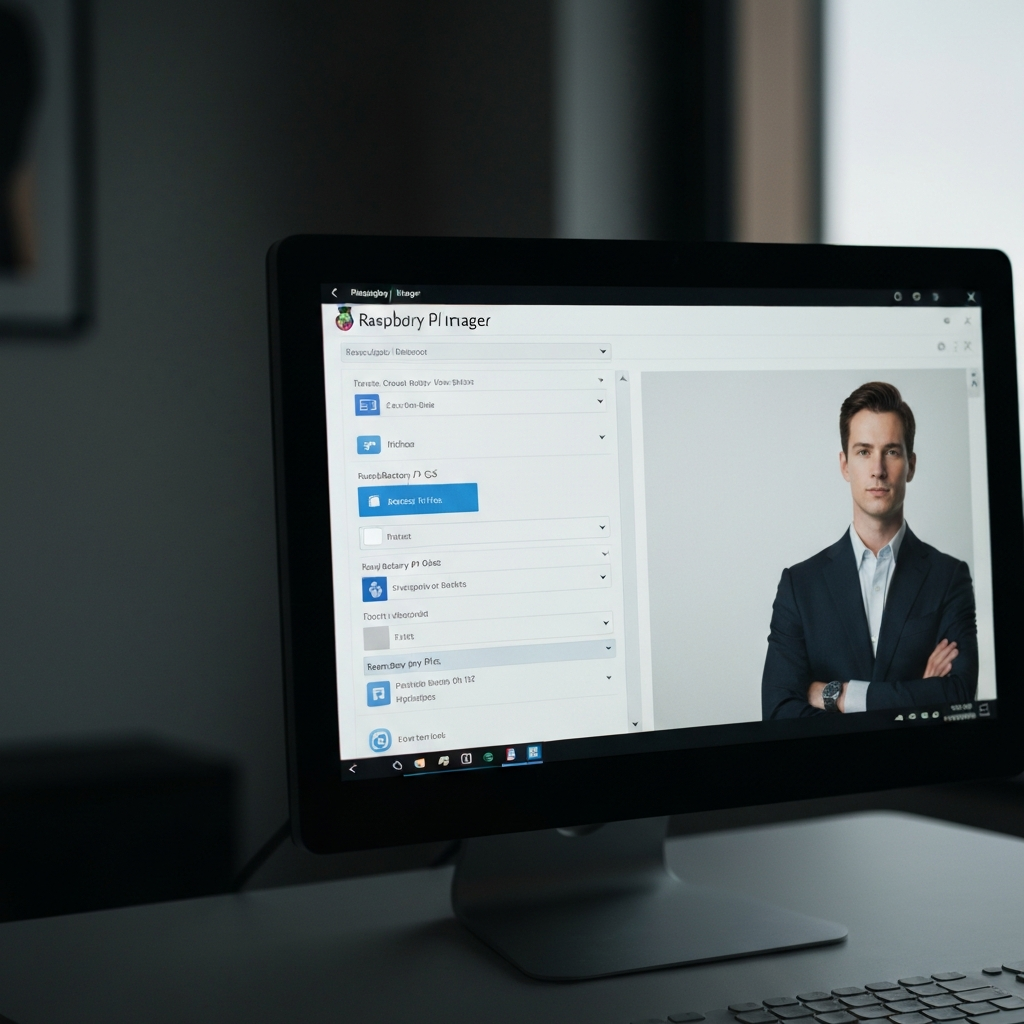
Using the Raspberry Pi Imager, install Raspberry Pi OS Lite (64-bit) onto the Micro SD card. The Lite version is recommended as it's lightweight and doesn't include a graphical user interface, which reduces resource usage on the NAS. After flashing the SD card, enable SSH and set a strong password for the default 'pi' user. This allows you to remotely access the Raspberry Pi from your computer via SSH, which is essential for configuring the NAS.
Step 3: Initial Raspberry Pi Setup and SSH Access
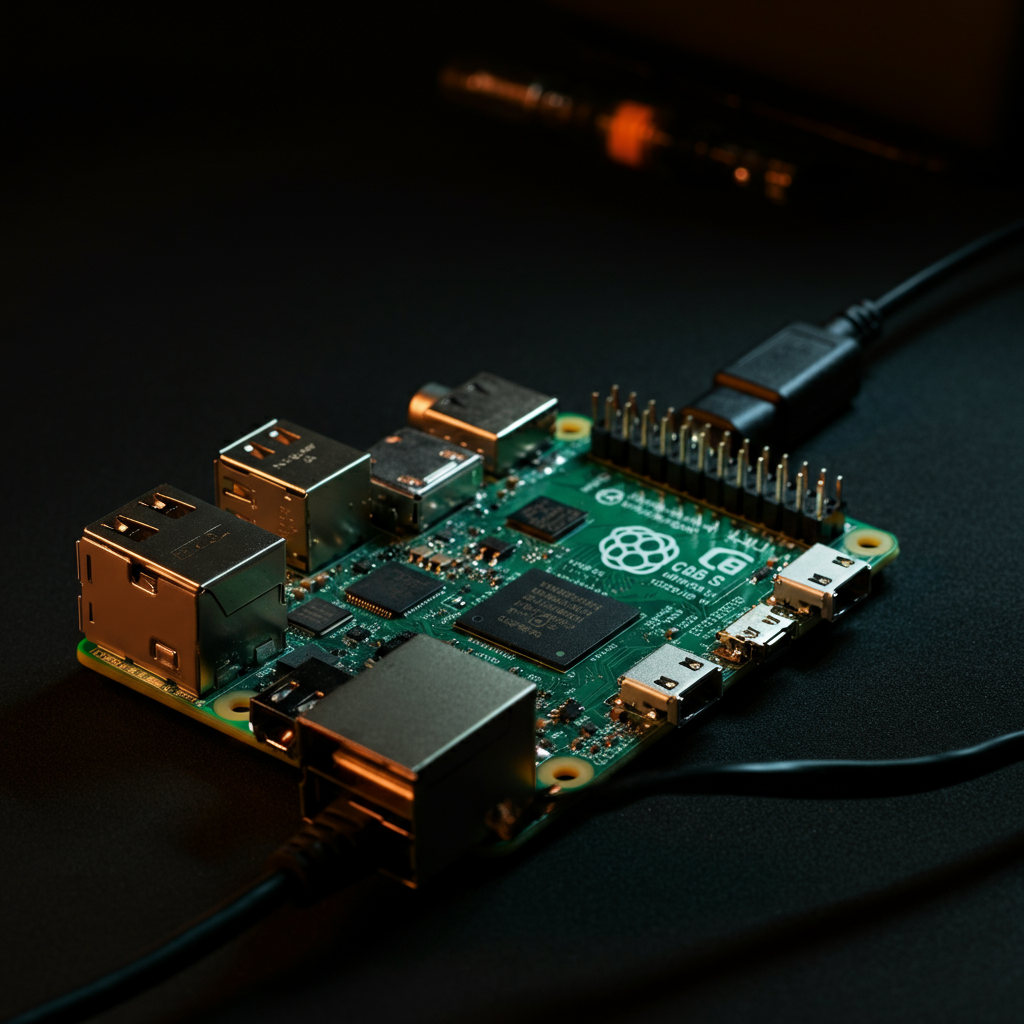
Insert the Micro SD card into the Raspberry Pi, connect it to your network via Ethernet, and power it on. Use a terminal or SSH client on your computer to connect to the Raspberry Pi using its IP address. You can find the IP address of your Raspberry Pi using your router's admin interface or by using a network scanning tool. Once connected, log in using the 'pi' user and the password you set during the OS installation. Make sure your Raspberry Pi has a static IP address on your network to prevent IP conflicts and ensure consistent access to your NAS.

Step 4: Update and Upgrade the System
After logging in via SSH, it's crucial to update and upgrade the system to ensure you have the latest security patches and software versions. Run the following commands in the terminal: `sudo apt update` followed by `sudo apt upgrade`. This process may take some time, depending on your internet connection speed. After the upgrade is complete, reboot the Raspberry Pi using the `sudo reboot` command. Always update your system before installing any new software to avoid compatibility issues and security vulnerabilities.
Step 5: Install OpenMediaVault (OMV)
OpenMediaVault (OMV) is a free and open-source NAS solution based on Debian Linux. It provides a user-friendly web interface for managing your NAS. To install OMV, run the following command in the terminal: `wget -O - https://github.com/OpenMediaVault-Plugin-Developers/installScript/raw/master/install | sudo bash`. This script will automatically download and install OMV along with all its dependencies. Once the installation is complete, the Raspberry Pi will reboot. Ensure you have a stable internet connection during the installation process, as it requires downloading numerous packages.

Step 6: Access the OpenMediaVault Web Interface
After the reboot, open a web browser on your computer and enter the IP address of your Raspberry Pi. This will take you to the OpenMediaVault web interface. The default username is 'admin' and the default password is 'openmediavault'. Log in to the web interface to begin configuring your NAS. Immediately change the default password to a strong, unique password for security reasons.

Step 7: Configure Storage and File Systems
In the OpenMediaVault web interface, navigate to "Storage" -> "Disks" and select your USB drive. Create a file system on the drive (e.g., ext4) by clicking "Create". After the file system is created, mount the drive by selecting it and clicking "Mount". Next, go to "Storage" -> "Shared Folders" and create a new shared folder. Assign a name to the folder and select the mounted drive as the storage location. Choosing the appropriate file system is crucial for performance and compatibility. ext4 is generally recommended for Linux-based NAS systems.

Step 8: Enable and Configure SMB/CIFS Service
To allow Windows, macOS, and Linux computers to access your NAS, enable the SMB/CIFS service. Navigate to "Services" -> "SMB/CIFS" and enable the service. Then, go to the "Shares" tab and add a new share. Select the shared folder you created earlier and configure the permissions (e.g., allow guest access or require authentication). Properly configuring SMB/CIFS permissions is essential for controlling access to your files and ensuring data security.

Step 9: Create User Accounts
For enhanced security and personalized access, create user accounts in OpenMediaVault. Navigate to "Access Rights Management" -> "User" and add new users. Set a username, password, and assign the user to the appropriate groups. You can then grant users access to specific shared folders based on their permissions. Avoid using generic usernames and passwords. Use strong, unique credentials for each user account.
Step 10: Access Your NAS from Other Devices
On Windows, open File Explorer and enter `\\
Common Mistakes to Avoid
- Using a weak password for the 'pi' user or the OpenMediaVault administrator account.
- Forgetting to update the system before installing OMV.
- Not properly configuring SMB/CIFS permissions, leading to unauthorized access.
- Using a low-quality USB drive, which can lead to data corruption or performance issues.
- Failing to back up your NAS data regularly.
FAQ Section
Q: Can I use multiple USB drives for increased storage?
A: Yes, you can connect multiple USB drives to your Raspberry Pi and create a RAID array for increased storage capacity and redundancy.
Q: Can I use a USB hub to connect multiple USB drives?
A: Yes, but it's recommended to use a powered USB hub to ensure sufficient power delivery to all the drives.
Q: Can I access my NAS from outside my home network?
A: Yes, you can set up port forwarding on your router to allow remote access to your NAS. However, this requires careful configuration and security considerations.
Tools or Materials Required
- Raspberry Pi 4 (4GB or 8GB Recommended)
- Raspberry Pi 4 Case
- USB Drive (or multiple drives for RAID)
- Micro SD Card (at least 16GB)
- USB-C Power Supply
- Ethernet Cable
- Computer with Raspberry Pi Imager software
Pro Tips
- Consider using a UPS (Uninterruptible Power Supply) to protect your NAS from power outages.
- Regularly monitor the health of your USB drives using SMART monitoring tools.
- Implement a robust backup strategy to protect your data from loss.
Conclusion
Setting up a Raspberry Pi 4 as a NAS server is a rewarding project that provides a cost-effective and customizable storage solution. By following this guide, you can transform your Raspberry Pi into a reliable and secure NAS device, giving you complete control over your data and enabling seamless file sharing across your network. Remember to prioritize security by using strong passwords, configuring appropriate permissions, and keeping your system up to date.