Ryobi tools are a staple in many workshops and homes, known for their affordability and decent performance. However, a common frustration arises when their batteries refuse to charge. A dead Ryobi battery can halt your project in its tracks, but don't immediately assume the worst. Often, the issue is easily resolved with a few troubleshooting steps.
This guide will walk you through a systematic approach to diagnosing and fixing a Ryobi battery that won't charge. We'll cover everything from simple fixes like cleaning contacts and resetting the battery to more advanced techniques like jumpstarting a deeply discharged battery. We'll also emphasize safety precautions throughout the process.
Before you rush out to buy a new battery, take the time to follow these steps. You might be surprised at how easily you can revive your Ryobi power source and get back to work. Remember, safety first! Always disconnect power sources and wear appropriate safety gear when working with electrical components.
Step 1: Rule Out Other Potential Issues
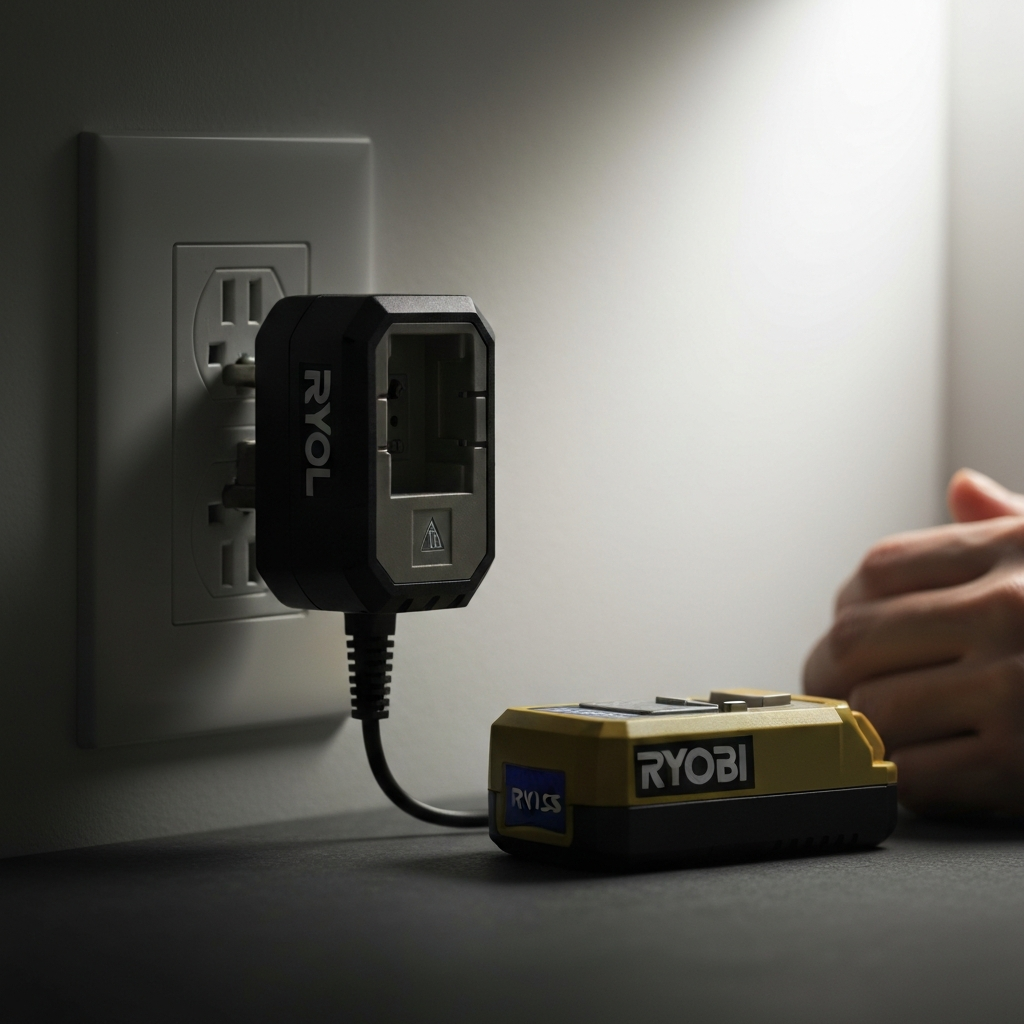
Before blaming the battery itself, it's crucial to ensure the problem isn't with the charger or the power outlet. Try using a different Ryobi charger if you have one available. Alternatively, test the charger with a known good Ryobi battery. This simple swap will quickly pinpoint whether the charger is the culprit. Also, verify that the outlet you're using is functioning correctly by plugging in another device. Don't overlook the obvious – a faulty outlet can easily be mistaken for a battery issue.
Step 2: Check the Battery Contacts
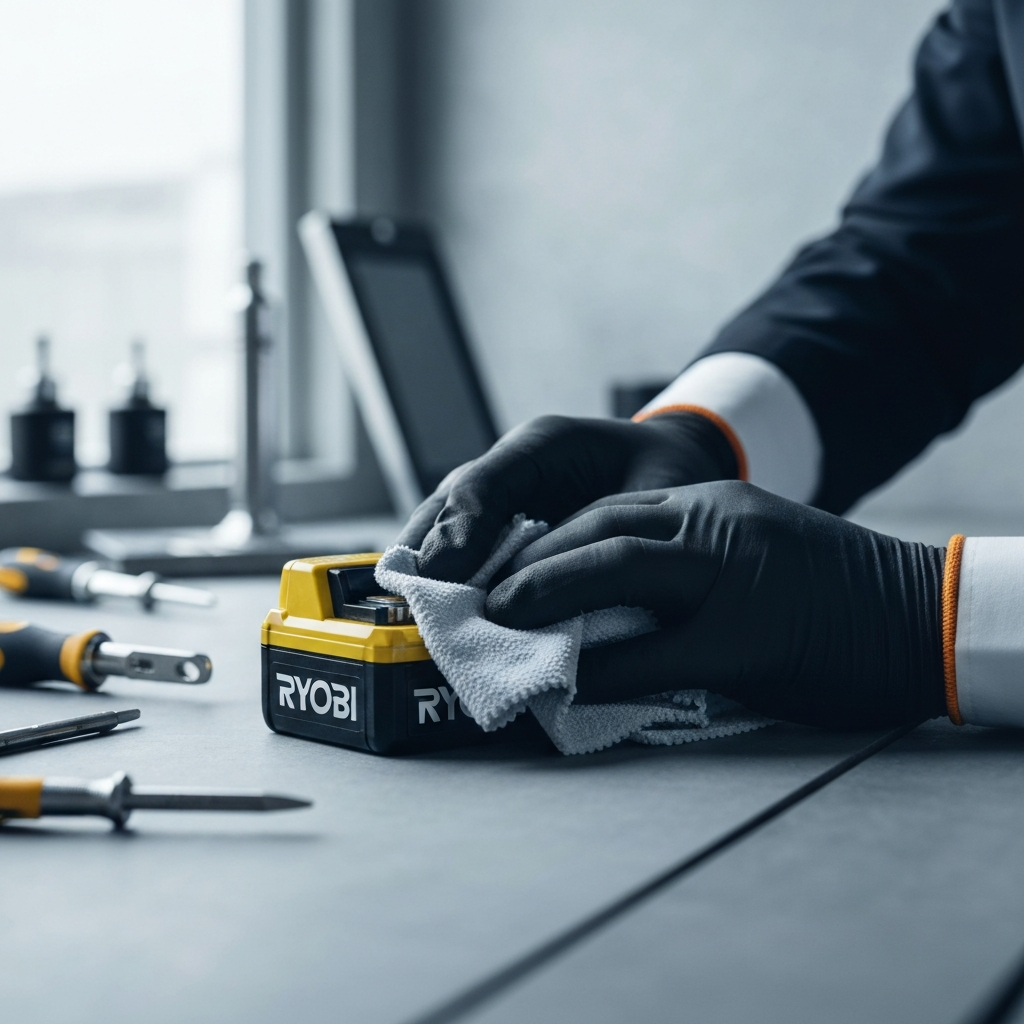
Dirty or corroded battery contacts can impede the flow of electricity, preventing the battery from charging. Inspect the metal contacts on both the battery and the charger for any signs of dirt, dust, debris, or corrosion. Use a clean, dry cloth to wipe the contacts thoroughly. For stubborn dirt or corrosion, you can use a cotton swab lightly dampened with isopropyl alcohol. Ensure the contacts are completely dry before attempting to charge the battery. Corrosion can appear as a white or greenish powder, indicating oxidation.
Step 3: Battery Warranty Check
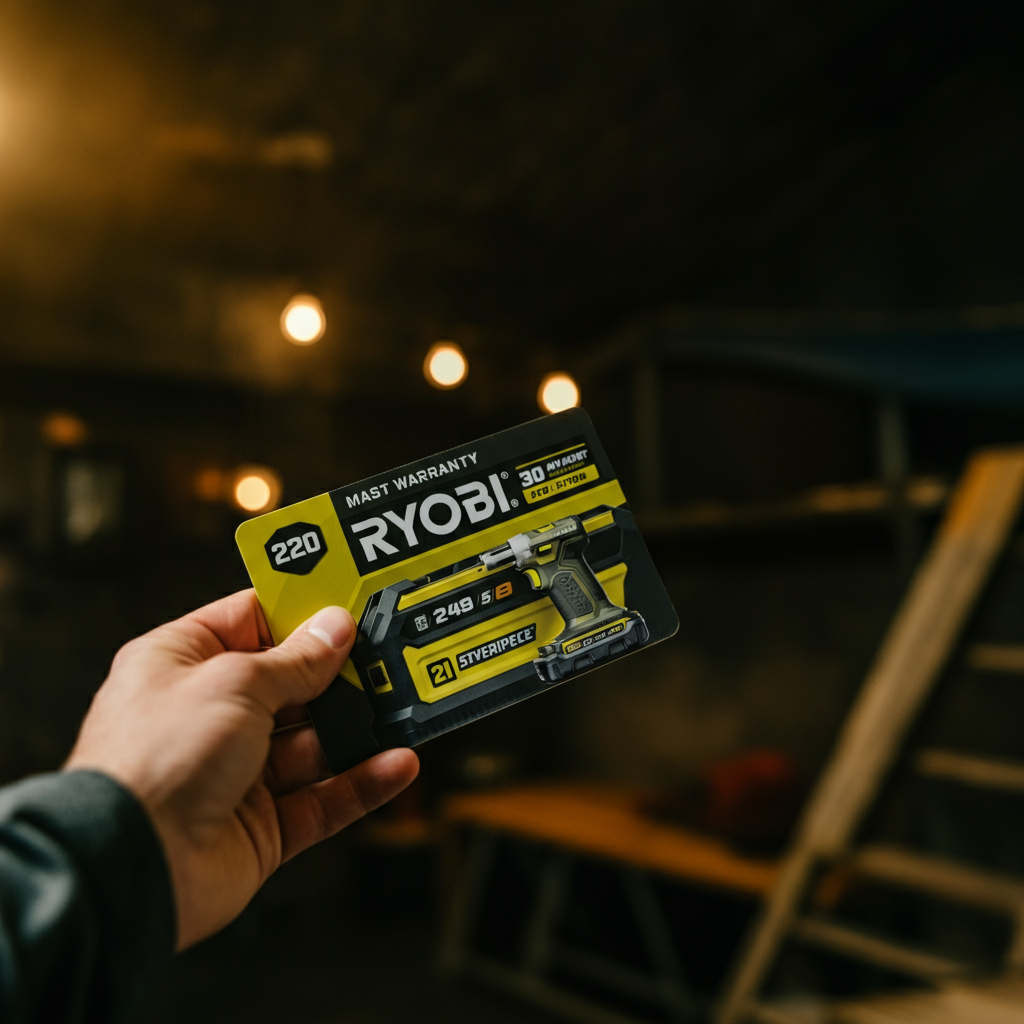
Ryobi offers a warranty on their batteries, typically covering them for a certain period (often 3 years) against defects in materials and workmanship. Check your battery's warranty information to see if it's still covered. If the battery is within the warranty period and has failed due to a manufacturing defect (and not misuse), Ryobi will typically replace it free of charge. Contact Ryobi customer service or an authorized dealer to initiate a warranty claim. Keep your proof of purchase handy, as you'll likely need it.
Step 4: "Exercise" the Battery
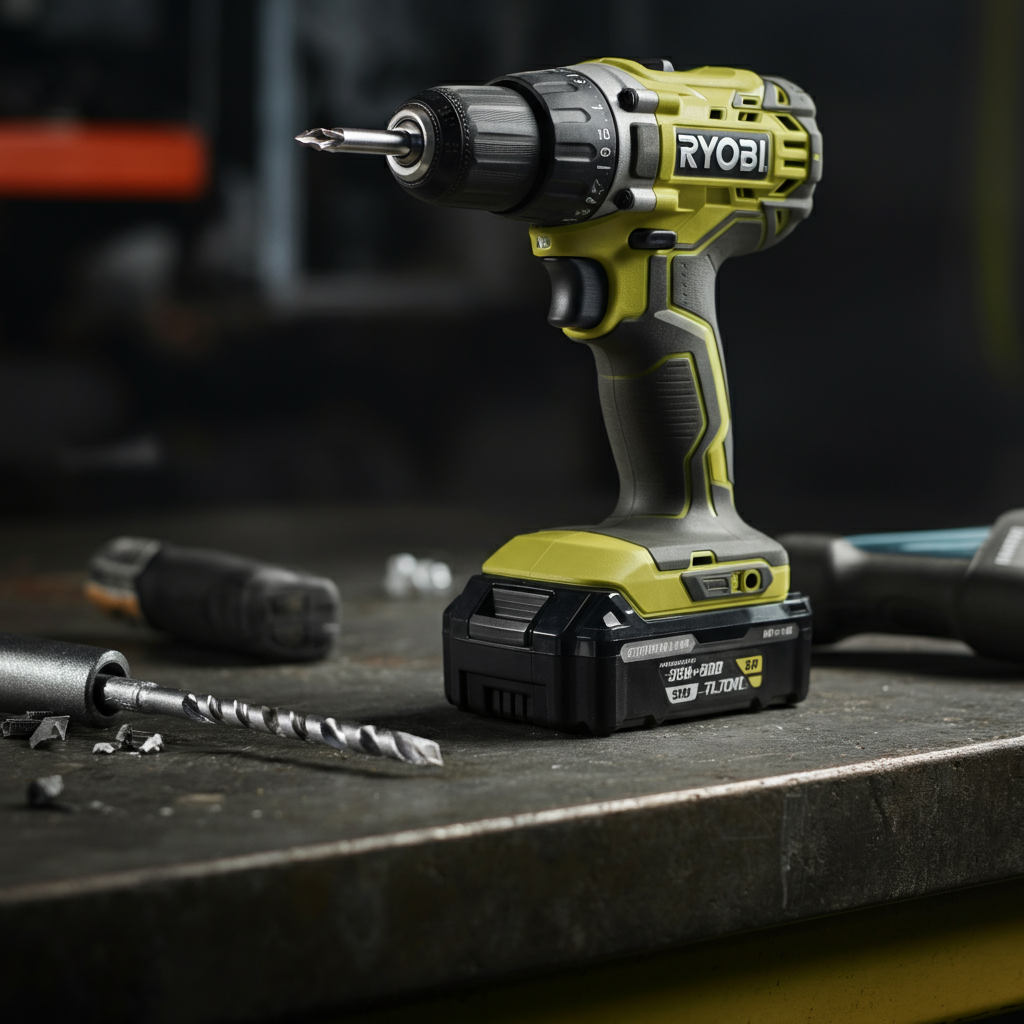
Sometimes, a Ryobi battery that has been sitting unused for an extended period may appear "dead" due to a phenomenon known as self-discharge. In such cases, attempting to fully drain the battery and then recharge it can sometimes revive it. Insert the battery into a Ryobi tool and run the tool until the battery is completely depleted. This deep discharge cycle can help recalibrate the battery's internal circuitry and improve its ability to accept a charge. After the battery is fully discharged, immediately place it on the charger.
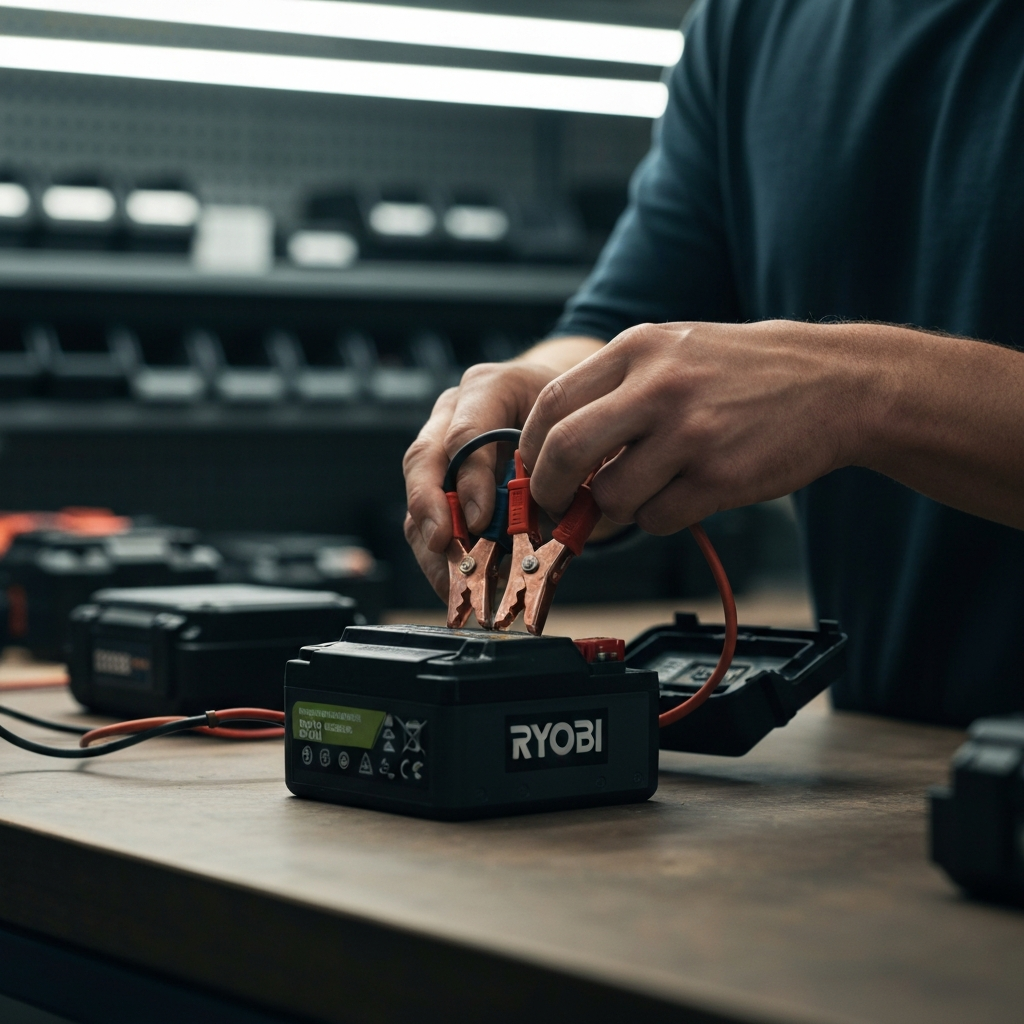
Step 5: Jumpstarting a Deeply Discharged Battery (Advanced - Use Caution!)
If the above methods fail, your Ryobi battery may be so deeply discharged that the charger refuses to recognize it. In this scenario, a technique called "jumpstarting" can sometimes be employed. This method involves applying a small amount of external voltage directly to the battery terminals to "wake it up." Safety Considerations: This process carries risks of electrical shock, fire, and battery damage if not performed correctly. Proceed with extreme caution and only if you are comfortable working with electrical components.
Step 5.1: Disassembling the Battery Pack (Warning: Voids Warranty)
Carefully disassemble the Ryobi battery pack by removing the screws that hold the casing together. The screw type is usually Torx. Be aware that disassembling the battery pack will likely void its warranty. Take photos as you disassemble the battery to ensure you can reassemble it correctly. Note the position and connection of all wires and components.
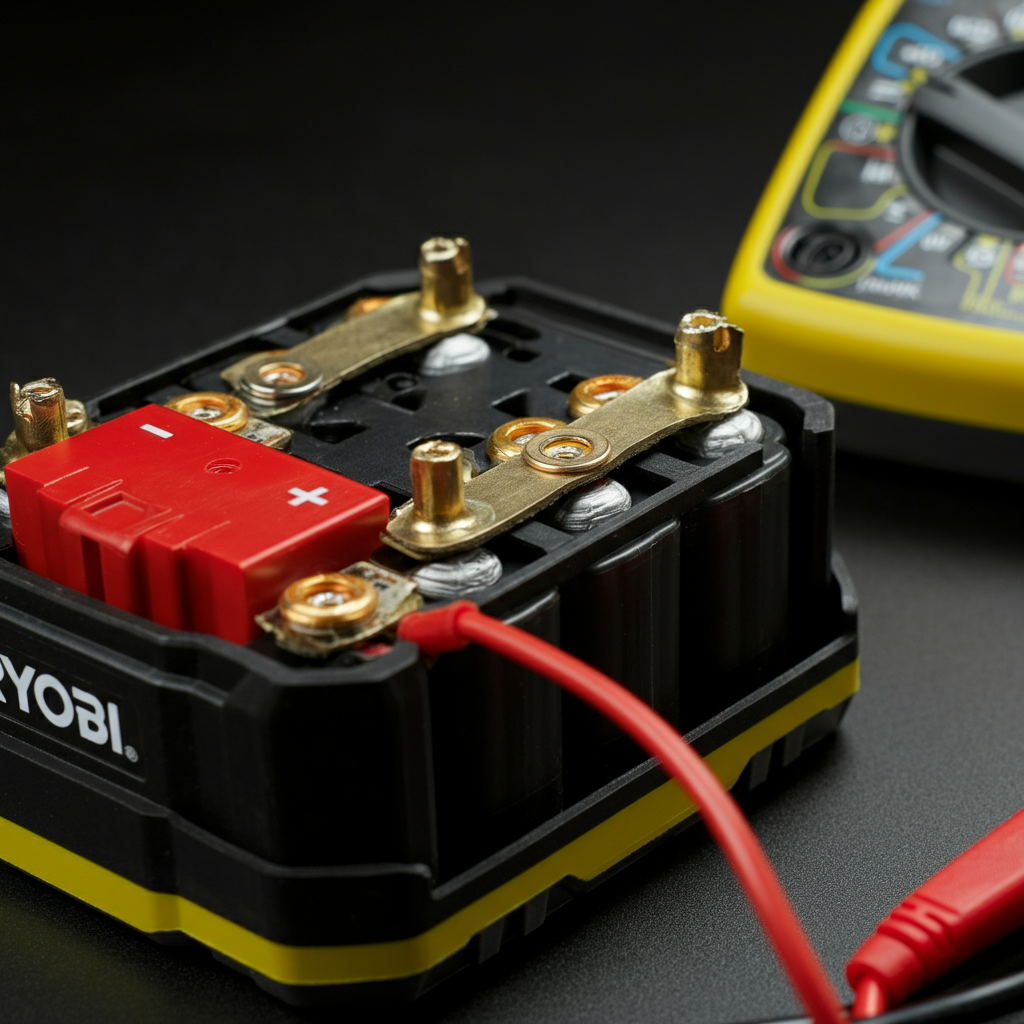
Step 5.2: Identifying Battery Terminals
Locate the positive (+) and negative (-) terminals on the battery cells inside the pack. These are usually marked with symbols or color-coded wires (typically red for positive and black or white for negative). If unsure, consult the battery's documentation or online resources. A multimeter can be used to confirm the polarity of the terminals.
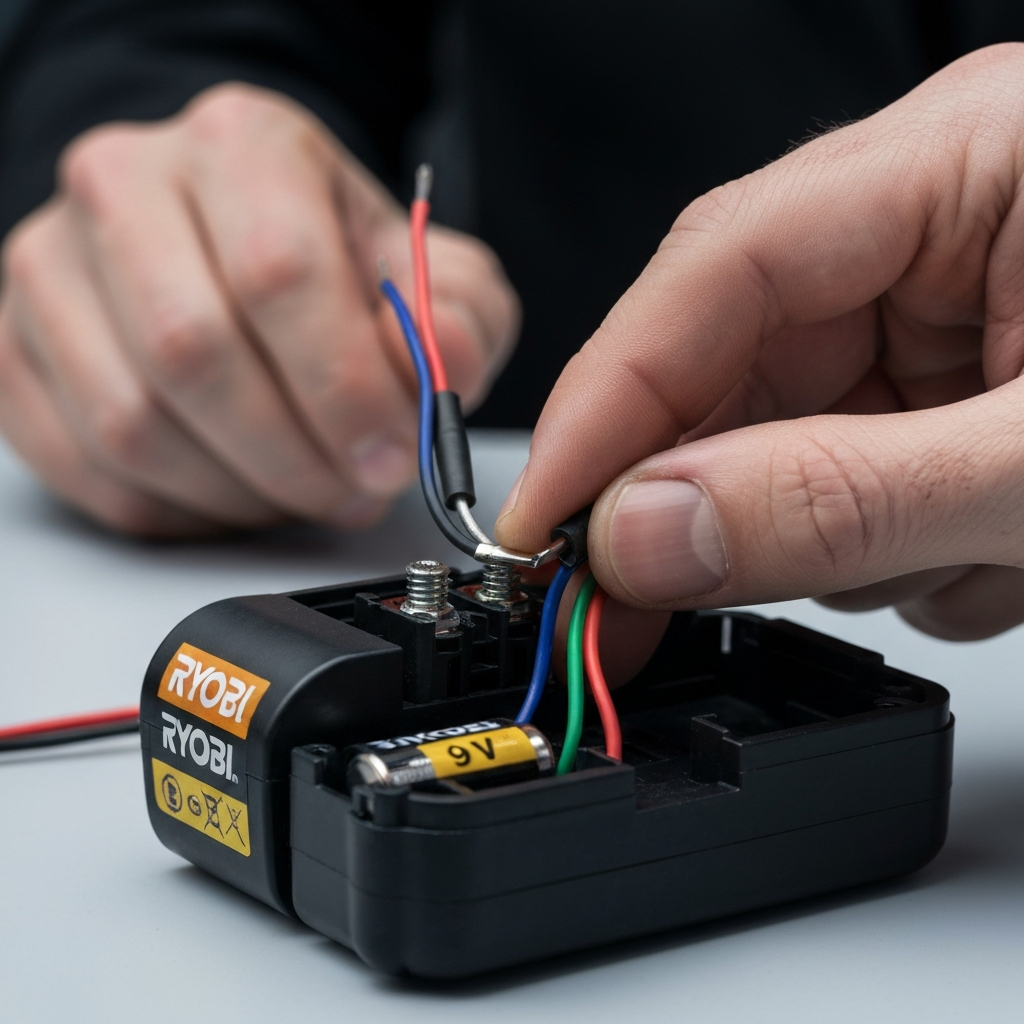
Step 5.3: Applying a Small Voltage (Use Extreme Caution)
Obtain a low-voltage DC power source, such as a 9-volt battery or a charger from an old electronic device (e.g., a phone charger). Ensure the voltage of the power source is no higher than the rated voltage of the Ryobi battery. Connect the positive (+) terminal of the power source to the positive (+) terminal of the Ryobi battery and the negative (-) terminal to the negative (-) terminal. Apply the voltage for only a few seconds (5-10 seconds max). Do not leave the battery unattended during this process.
Step 5.4: Reassembling and Testing
Carefully disconnect the external power source and reassemble the Ryobi battery pack. Place the battery on the Ryobi charger and see if it begins to charge. If it does, allow it to charge fully. If it still doesn't charge, the battery may be damaged beyond repair. Dispose of the battery responsibly according to local regulations for lithium-ion batteries.
Tools or Materials Required
- Clean, dry cloth
- Isopropyl alcohol (optional)
- Cotton swabs (optional)
- Screwdrivers (Phillips head and Torx)
- Low-voltage DC power source (e.g., 9-volt battery) - for jumpstarting
- Wire strippers (for jumpstarting if using a repurposed charger)
- Multimeter (optional, but helpful for testing voltage)
Safety Considerations
- Always disconnect power sources before working on electrical components.
- Wear appropriate safety gear, such as eye protection.
- Work in a well-ventilated area.
- Do not attempt to repair batteries if you are not comfortable working with electrical components.
- Lithium-ion batteries can be dangerous if mishandled. Dispose of damaged batteries responsibly.
- Never short-circuit a battery, as this can cause a fire or explosion.
Common Mistakes to Avoid
- Assuming the battery is the problem without first checking the charger and outlet.
- Using excessive force when disassembling the battery pack.
- Applying too much voltage during jumpstarting.
- Failing to disconnect the power source before working on electrical components.
- Reassembling the battery pack incorrectly.
Pro Tips
- Store Ryobi batteries in a cool, dry place when not in use.
- Avoid fully discharging Ryobi batteries, as this can shorten their lifespan.
- If you have multiple Ryobi batteries, rotate their use to ensure they are all regularly cycled.
- Consider investing in a Ryobi battery tester to monitor the health of your batteries.
FAQ Section
- Why won't my Ryobi battery charge?
- Several factors can prevent a Ryobi battery from charging, including a faulty charger, dirty contacts, a deeply discharged battery, or a defective battery.
- Can I revive a dead Ryobi battery?
- Yes, in many cases, you can revive a dead Ryobi battery by cleaning the contacts, "exercising" the battery, or jumpstarting it.
- How do I dispose of a Ryobi battery?
- Ryobi batteries should be disposed of responsibly at a designated recycling center or hazardous waste collection site.
- Is it safe to disassemble a Ryobi battery?
- Disassembling a Ryobi battery can be dangerous and should only be attempted by experienced individuals who are comfortable working with electrical components. It will also void the warranty.
Conclusion
A Ryobi battery that won't charge can be a frustrating problem, but with a systematic approach and a little troubleshooting, you can often resolve the issue and get your tools back in action. Remember to start with the simplest solutions and work your way up to more advanced techniques. Prioritize safety throughout the process, and don't hesitate to consult a qualified technician if you're unsure about any step. By following this guide, you'll be well-equipped to diagnose and fix most Ryobi battery charging problems, saving you time and money.