Is your trusty laptop feeling a bit sluggish? Don't resign it to the tech graveyard just yet! With a few strategic tweaks and upgrades, you can breathe new life into your aging machine and dramatically improve its performance. This guide will walk you through practical steps to supercharge your old laptop, making it feel like a brand-new device without breaking the bank.
We'll cover everything from software optimizations to hardware upgrades, providing clear instructions and expert tips along the way. Remember to back up your data before making any significant changes, as unexpected issues can occasionally arise. Prepare to unlock the hidden potential of your laptop!
This isn't about miracle fixes; it's about understanding the bottlenecks and addressing them methodically. Let's get started and transform that slowpoke into a speed demon.
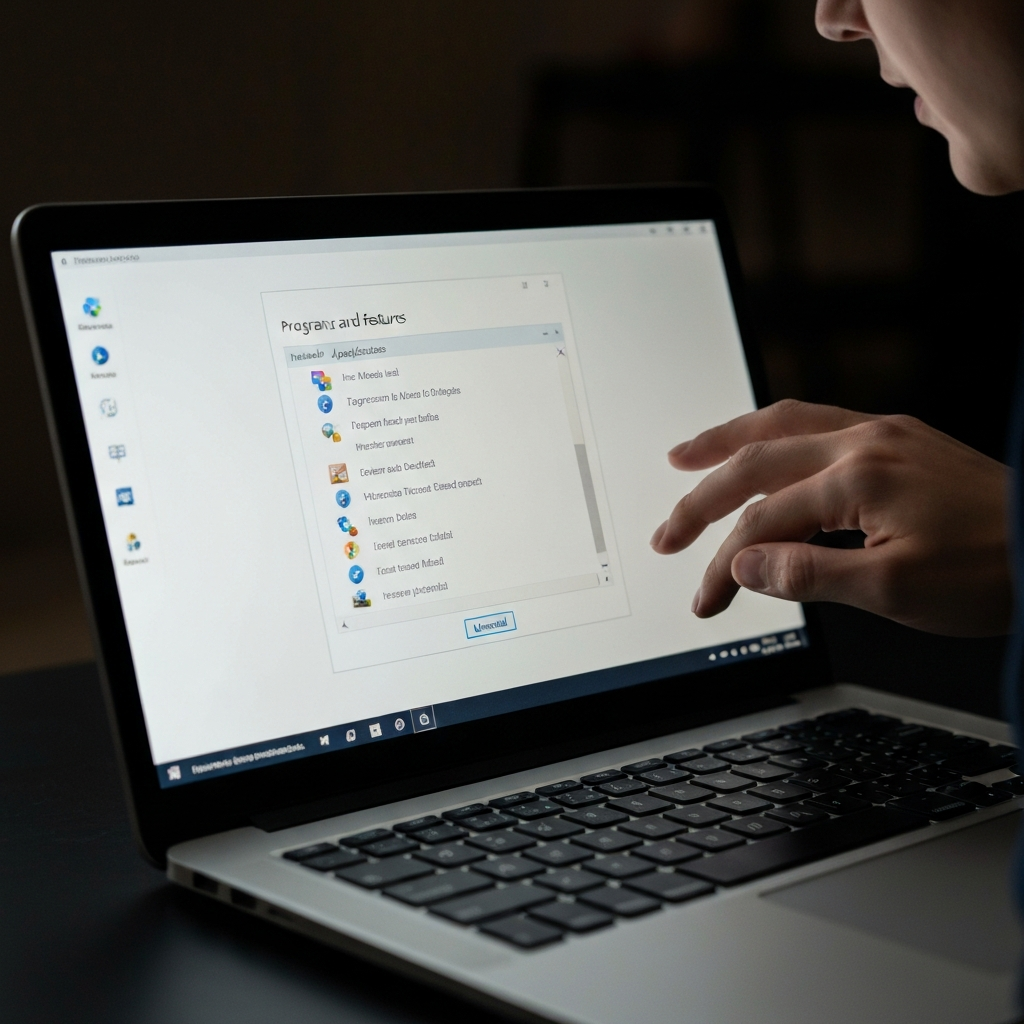
Step 1: Declutter Your Hard Drive
Clean Up Unnecessary Files and Programs
One of the easiest and most effective ways to speed up your old laptop is to declutter your hard drive. Over time, laptops accumulate a mountain of unnecessary files, temporary data, and programs you no longer use. These files consume valuable storage space and can significantly slow down your system. Start by deleting any large files or folders you don't need. Then, uninstall programs you rarely or never use. Use the built-in "Programs and Features" tool (Windows) or the Applications folder (macOS) to identify and remove these culprits. Be cautious when uninstalling programs; if you're unsure about a program, research it online before removing it. Empty the Recycle Bin or Trash to permanently delete the files.
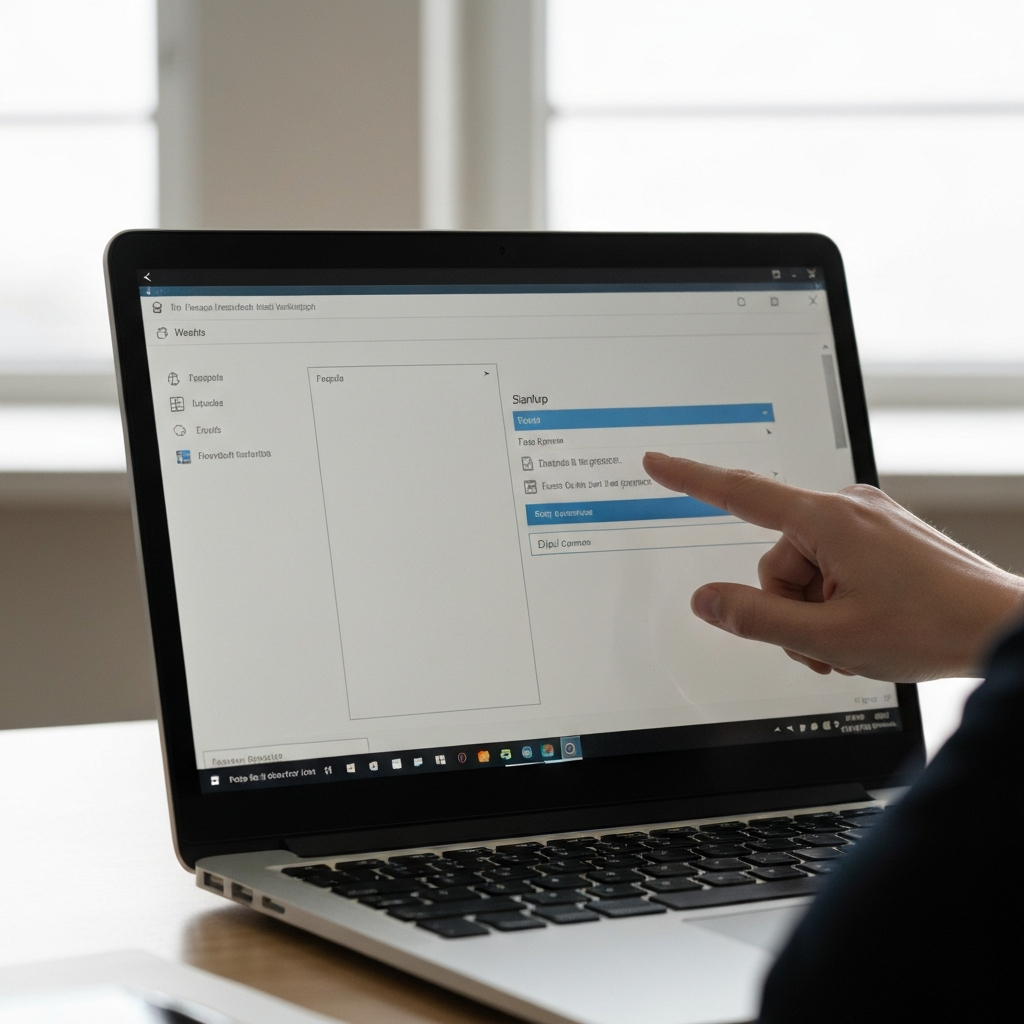
Step 2: Optimize Startup Programs
Manage Programs That Launch on Boot
Many programs automatically launch when you turn on your laptop, even if you don't need them running constantly. These startup programs consume system resources and can significantly slow down the boot process. To manage startup programs on Windows, open Task Manager (Ctrl+Shift+Esc), go to the "Startup" tab, and disable any non-essential programs. On macOS, go to System Preferences > Users & Groups, select your user account, click on "Login Items," and remove any unnecessary applications. Disabling startup programs won't prevent you from using them; it just stops them from launching automatically. Only disable items you recognize. If you are unsure leave it alone.
Step 3: Run Disk Defragmentation (Windows Only)
Organize Your Hard Drive for Faster Access
Over time, files on your hard drive become fragmented, meaning they're stored in different locations across the disk. This fragmentation slows down access times and reduces overall performance. Windows includes a built-in Disk Defragmenter tool that reorganizes files to improve efficiency. To run Disk Defragmenter, search for "defragment" in the Start menu and select "Defragment and Optimize Drives." Choose your hard drive and click "Optimize." Solid State Drives (SSDs) do not require defragmentation and may actually experience reduced lifespans from unnecessary defragmentation. Skip this step if your laptop has an SSD. Regularly defragmenting a standard hard drive can significantly improve its performance.

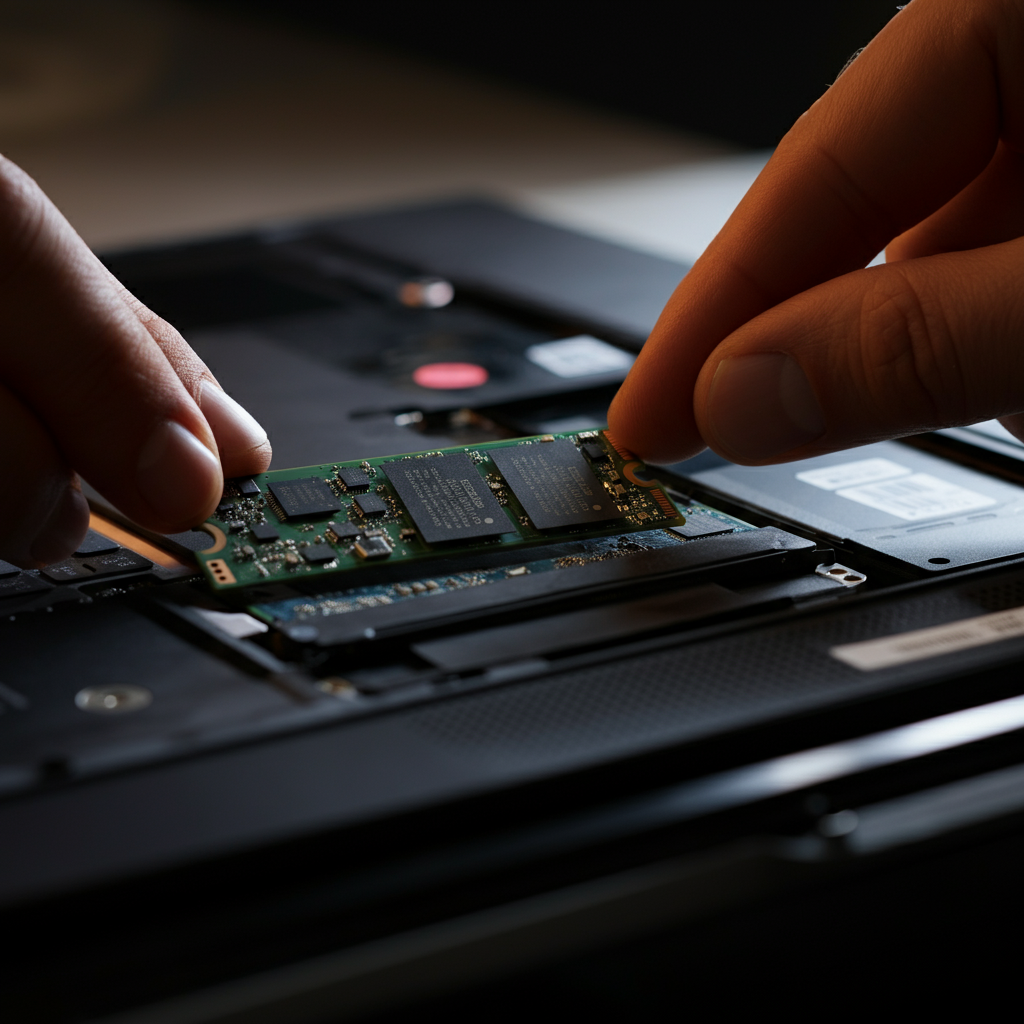
Step 4: Upgrade to an SSD (Solid State Drive)
The Single Biggest Performance Booster
If you're serious about supercharging your old laptop, upgrading to an SSD is the single biggest improvement you can make. SSDs are significantly faster than traditional hard drives, resulting in faster boot times, application loading times, and overall system responsiveness. The difference is often night and day. Replacing your old hard drive with an SSD is relatively straightforward. You'll need to purchase an SSD that's compatible with your laptop (check the specifications for the correct size and interface). Cloning your existing hard drive to the SSD is the easiest way to migrate your operating system and data. Numerous free or paid cloning software options are available. Make sure to follow the manufacturer's instructions for installing the SSD and cloning your data.
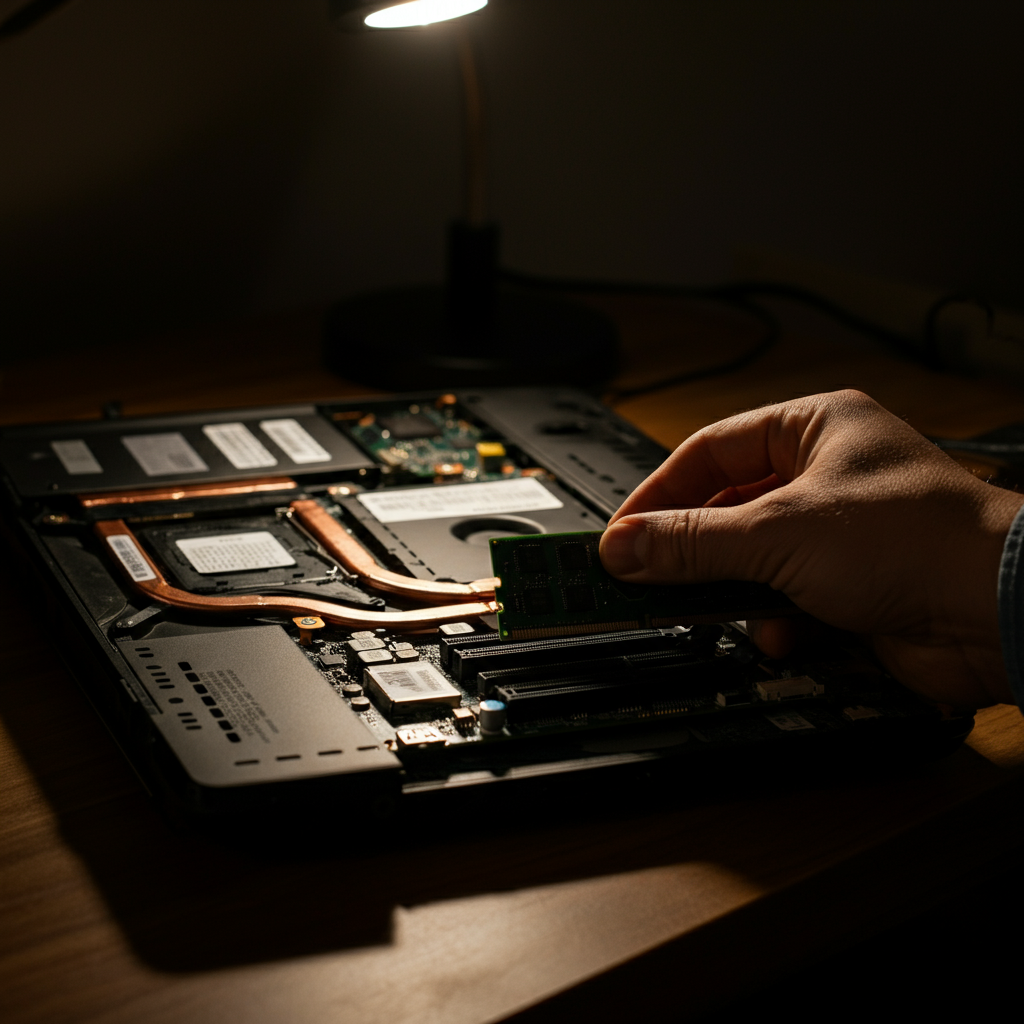
Step 5: Increase RAM (Random Access Memory)
Boost Multitasking Capabilities
RAM (Random Access Memory) is essential for multitasking and running demanding applications. If your laptop frequently slows down when you have multiple programs open, or if you experience lag when running memory-intensive applications, upgrading your RAM can significantly improve performance. Check your laptop's specifications to determine the maximum amount of RAM it supports and the type of RAM it uses (e.g., DDR3, DDR4). Purchase compatible RAM modules and install them according to the manufacturer's instructions. Before purchasing RAM, double-check the supported RAM type and speed in your laptop's manual or on the manufacturer's website. Insufficient RAM can lead to sluggish performance and frequent hard drive access.
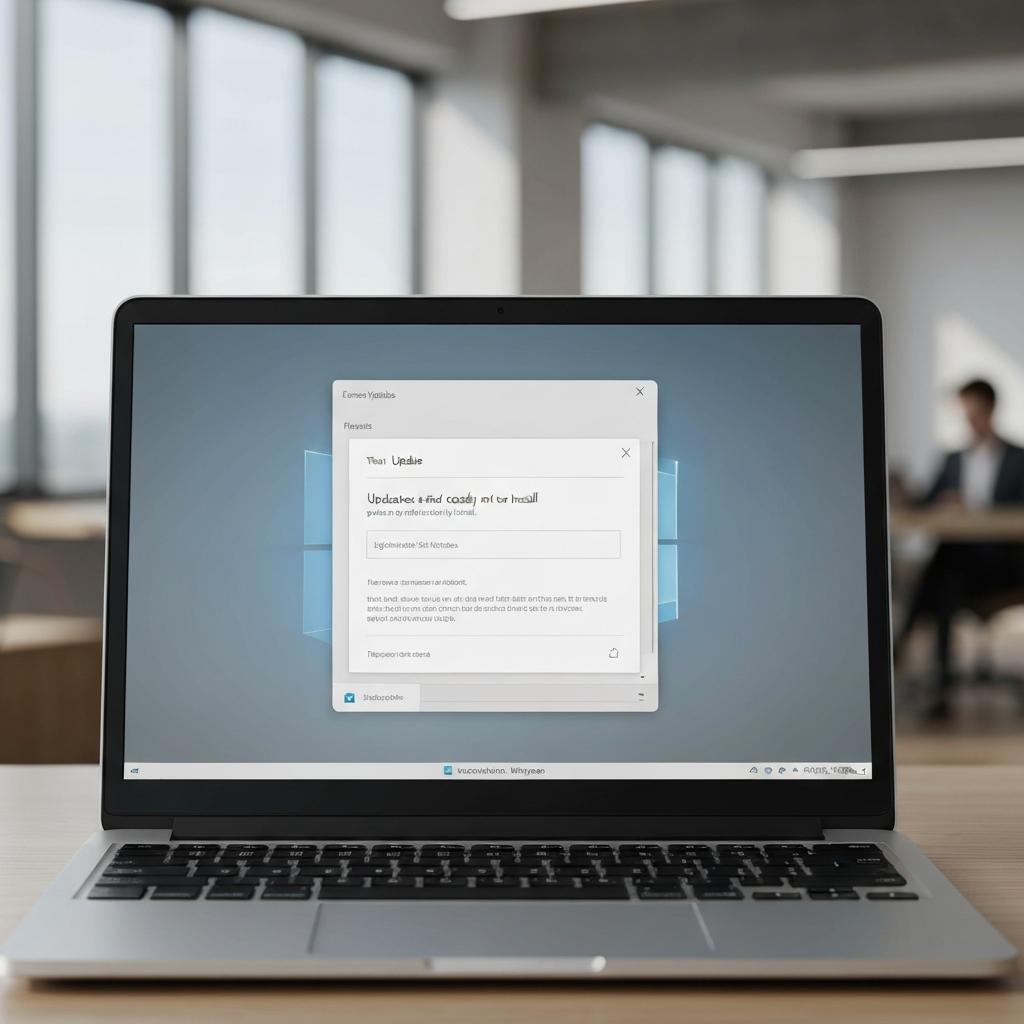
Step 6: Keep Your Operating System Updated
Install the Latest Security Patches and Performance Improvements
Keeping your operating system updated is crucial for both security and performance. Updates often include bug fixes, security patches, and performance optimizations that can improve your laptop's speed and stability. Enable automatic updates in your operating system settings to ensure that you're always running the latest version. Before installing major updates, back up your data to protect against unexpected issues. Regularly check for updates and install them promptly to keep your laptop running smoothly.
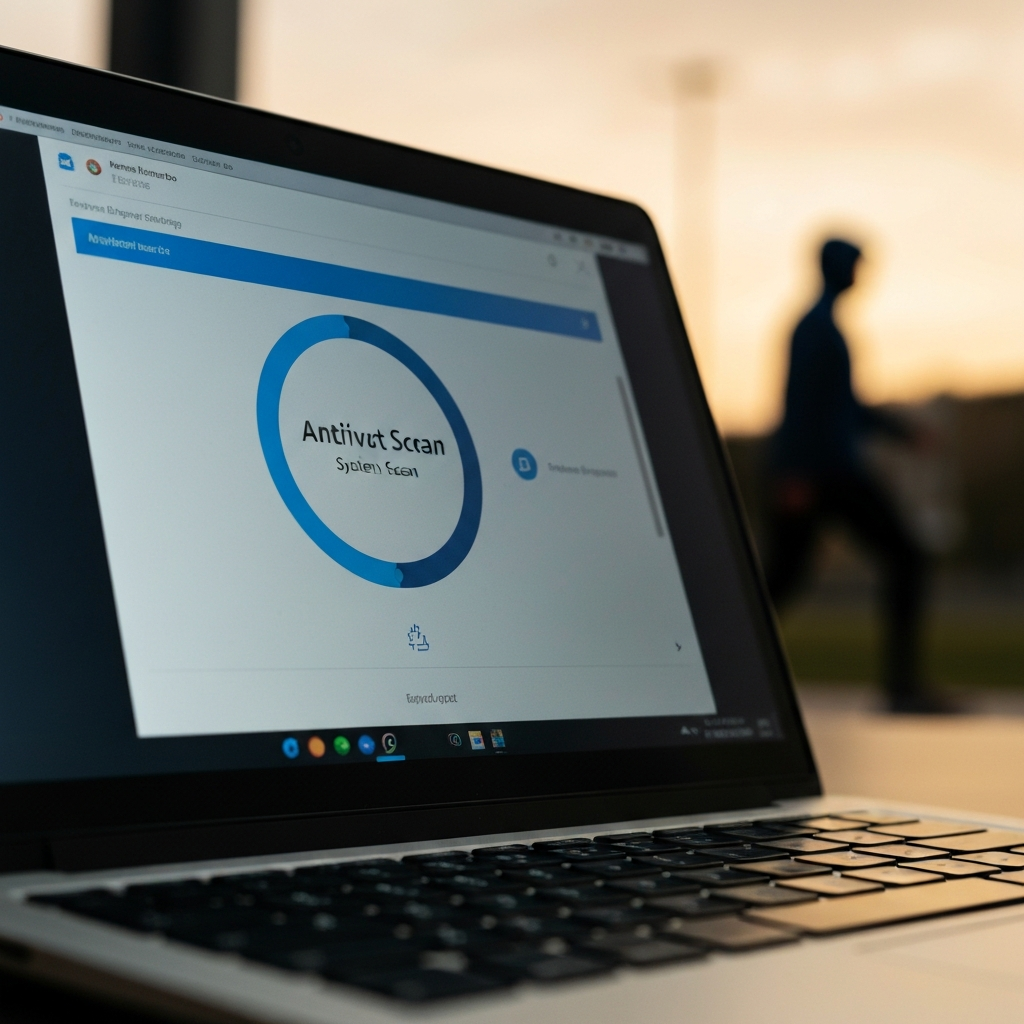
Step 7: Check for Malware and Viruses
Scan Your System for Malicious Software
Malware and viruses can significantly impact your laptop's performance, consuming system resources and slowing everything down. Run a full system scan with a reputable antivirus program to detect and remove any malicious software. Consider using a real-time antivirus program to protect your laptop from future threats. Keep your antivirus software up to date with the latest virus definitions to ensure effective protection. Regularly scanning your system for malware and viruses is essential for maintaining optimal performance.
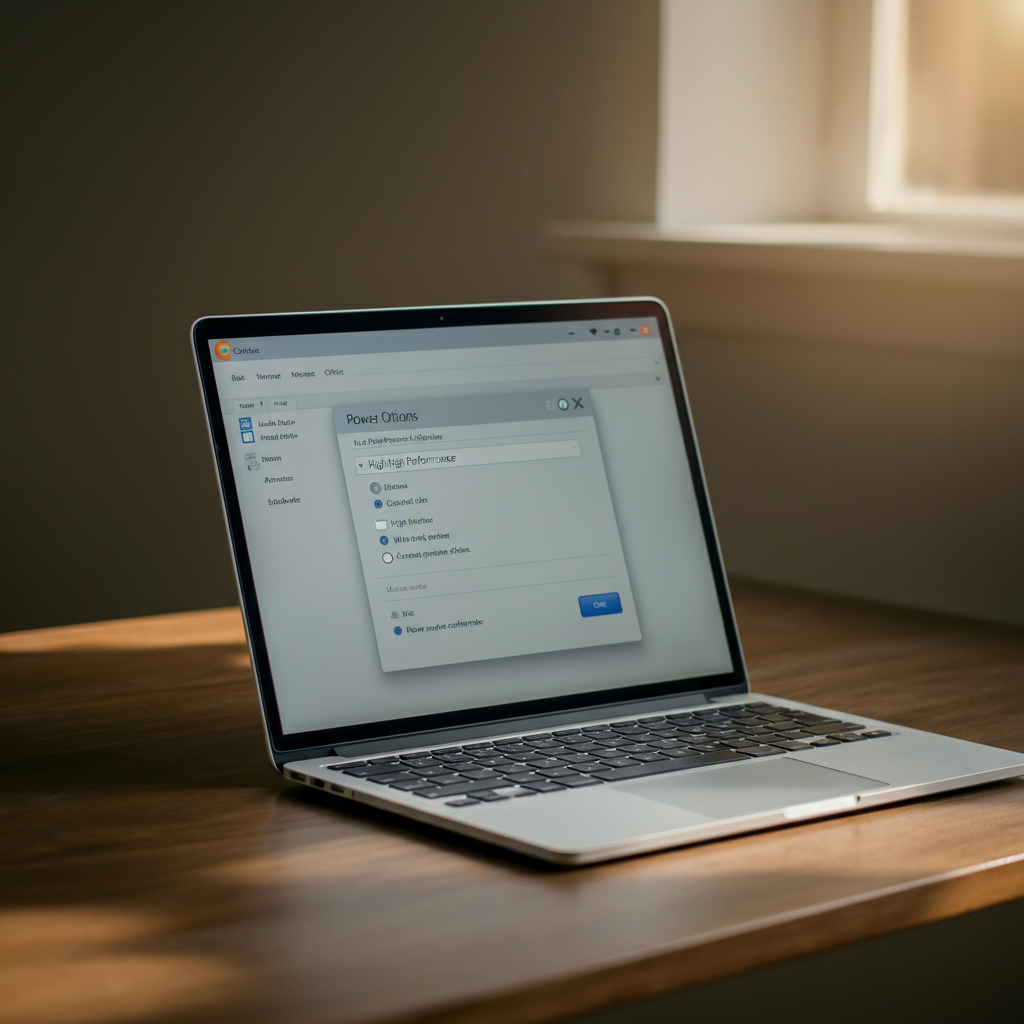
Step 8: Adjust Power Settings
Optimize for Performance Instead of Battery Life
Most laptops offer different power settings that allow you to prioritize battery life or performance. If you're primarily concerned with speed, adjust your power settings to prioritize performance. On Windows, go to Control Panel > Power Options and select the "High performance" plan. On macOS, go to System Preferences > Energy Saver and adjust the settings to maximize performance. Keep in mind that prioritizing performance may reduce battery life. Adjust the settings based on your needs and usage patterns.
Tools or Materials Required
- Screwdriver set (for hardware upgrades)
- USB drive (for backing up data)
- SSD (if upgrading)
- RAM modules (if upgrading)
- Cloning software (for migrating your operating system to an SSD)
- Antivirus software
Common Mistakes to Avoid
- Forgetting to back up your data before making changes
- Installing incompatible hardware (e.g., RAM)
- Disabling essential startup programs
- Defragmenting an SSD
Conclusion
By following these steps, you can significantly improve the performance of your old laptop and extend its lifespan. Remember to declutter your hard drive, optimize startup programs, upgrade to an SSD (if possible), increase RAM, keep your operating system updated, and regularly scan for malware. With a little effort, you can transform your sluggish laptop into a responsive and efficient machine.