The CMOS (Complementary Metal-Oxide-Semiconductor) battery, a small, coin-sized cell on your computer's motherboard, plays a crucial role in maintaining system settings even when the computer is powered off. It provides power to the CMOS chip, which stores the BIOS/UEFI settings, date, and time. Sometimes, you might need to remove this battery to reset the BIOS to its default settings, troubleshoot boot issues, or replace a failing battery.
Removing the CMOS battery is a relatively straightforward process, but it requires careful handling to avoid damaging the motherboard or other components. This guide provides a detailed, step-by-step walkthrough of how to safely remove and, if necessary, replace the CMOS battery in your desktop computer. Always prioritize safety and take necessary precautions, such as grounding yourself, before working inside your computer case.
Following these instructions carefully can help resolve a range of computer issues related to incorrect BIOS settings or a failing battery. Let's get started!
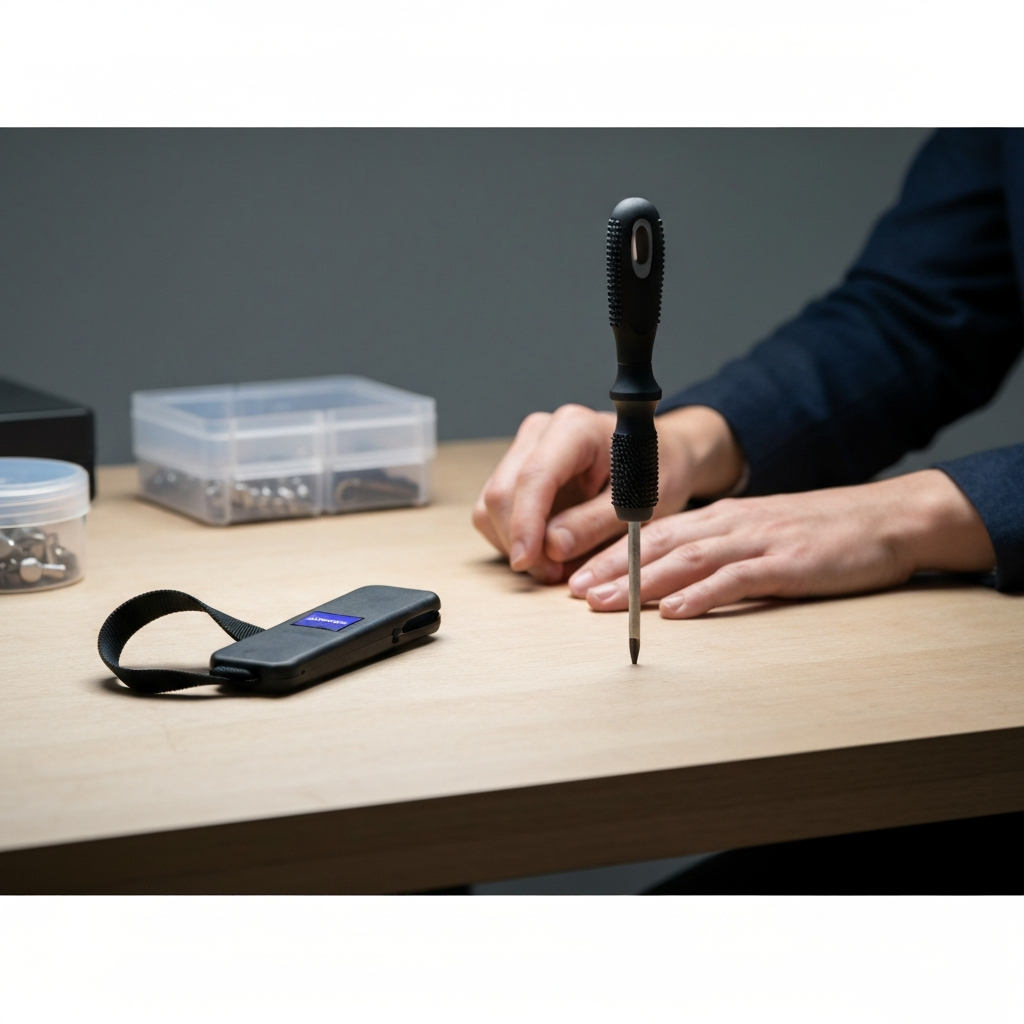
Step 1: Gather Your Tools and Prepare Your Workspace
Before you begin, gather all the necessary tools and prepare your workspace. This will ensure a smooth and efficient process. You'll need a Phillips head screwdriver (possibly a flathead screwdriver depending on your case and battery retention mechanism), an anti-static wrist strap, and optionally, a small container to hold any screws you remove. A well-lit area is also crucial. Ground yourself using the anti-static wrist strap by attaching it to a metal part of the computer case (while the computer is unplugged). Clear your workspace to avoid accidental bumps or spills. Working on a non-carpeted surface is highly recommended to minimize the risk of static discharge.
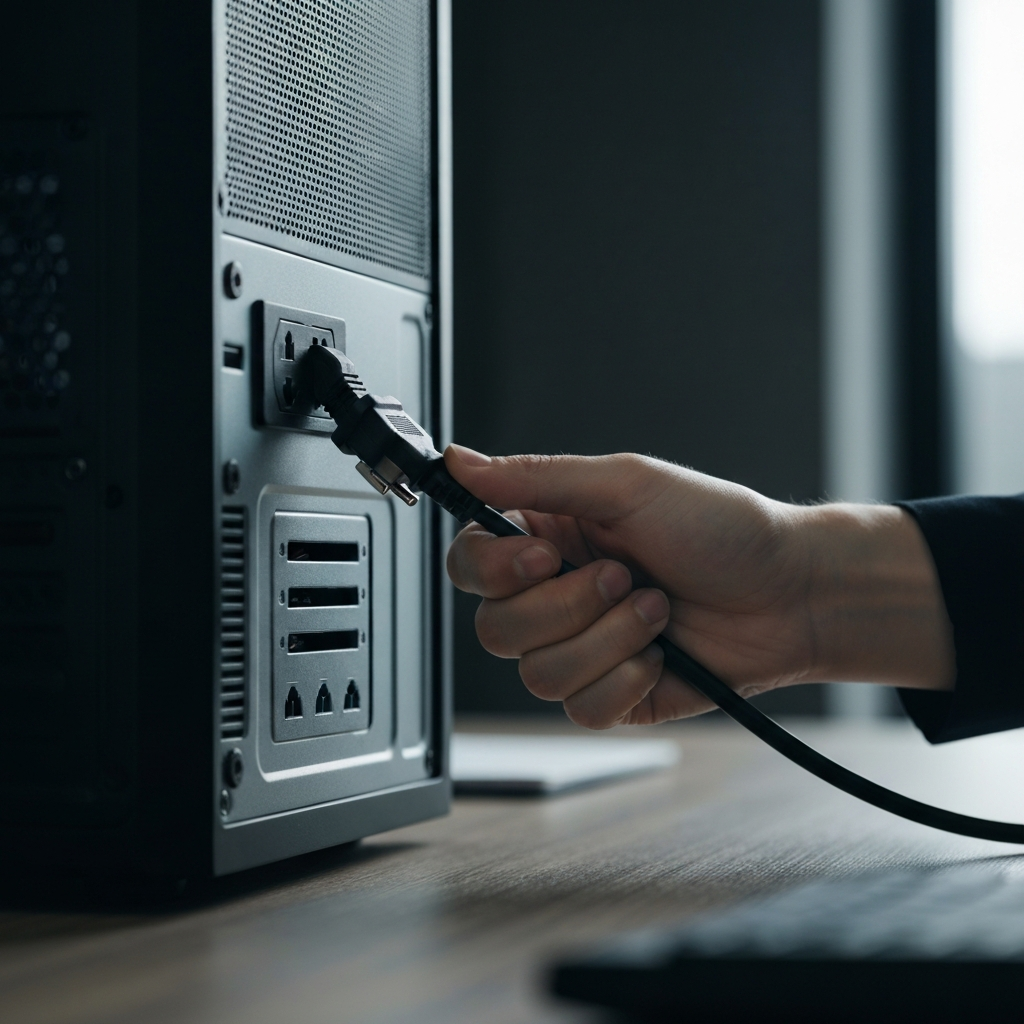
Step 2: Power Down and Unplug Your Computer
This is arguably the most important step. Ensure that your computer is completely powered down and unplugged from the power outlet. This prevents any electrical shocks or damage to the computer's components. Double-check that all cables, including the power cable, monitor cable, keyboard, mouse, and any USB devices, are disconnected from the computer. Press and hold the power button for about 10-15 seconds to discharge any residual electricity in the system. This extra precaution will significantly reduce the risk of damaging sensitive components.
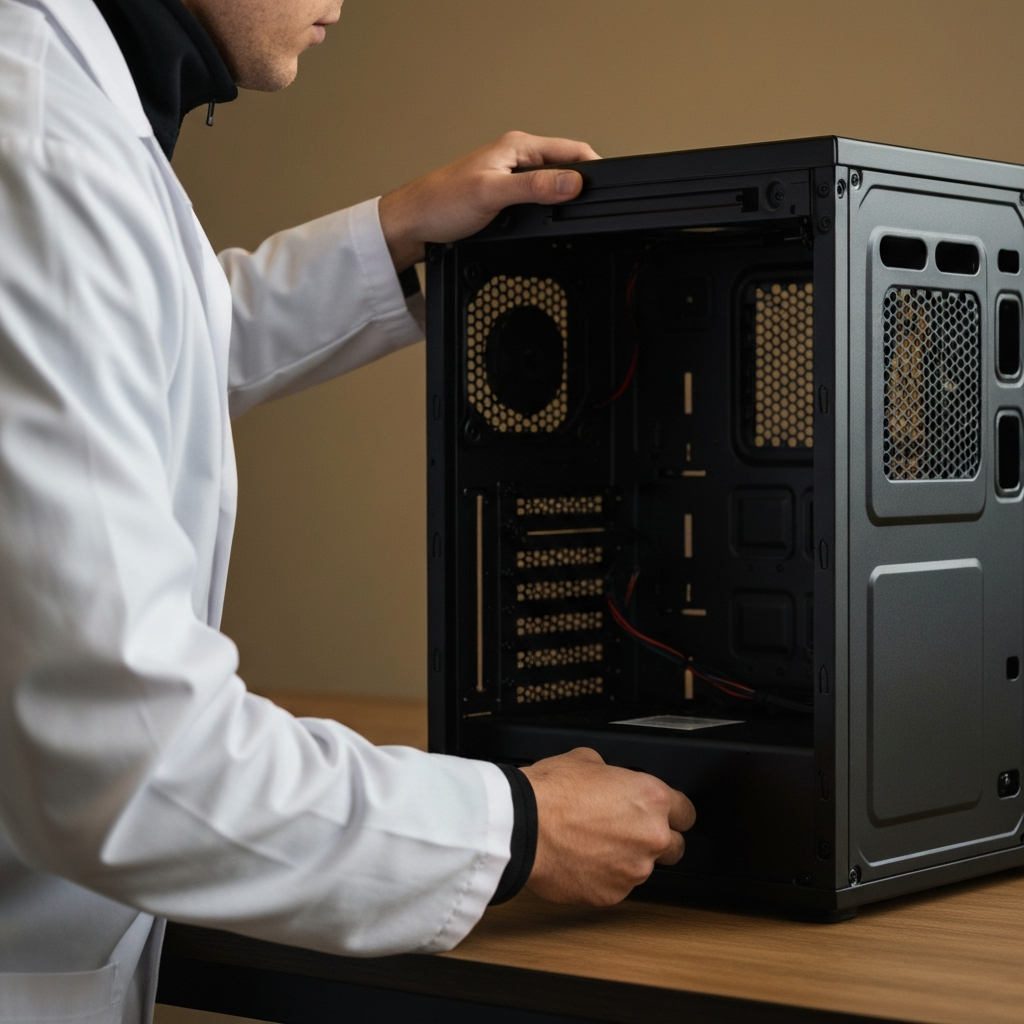
Step 3: Open Your Computer Case
With the computer powered down and unplugged, it's time to open the computer case. Most desktop cases have thumb screws or regular screws on the back that secure the side panels. Remove the screws and carefully slide the side panel off. The side panel you need to remove is usually the one opposite the motherboard (usually the left side when facing the front of the computer). If you're unsure, consult your computer case's manual. Be gentle and avoid forcing the panel, as this could damage the case or internal components. Place the removed panel aside in a safe location.
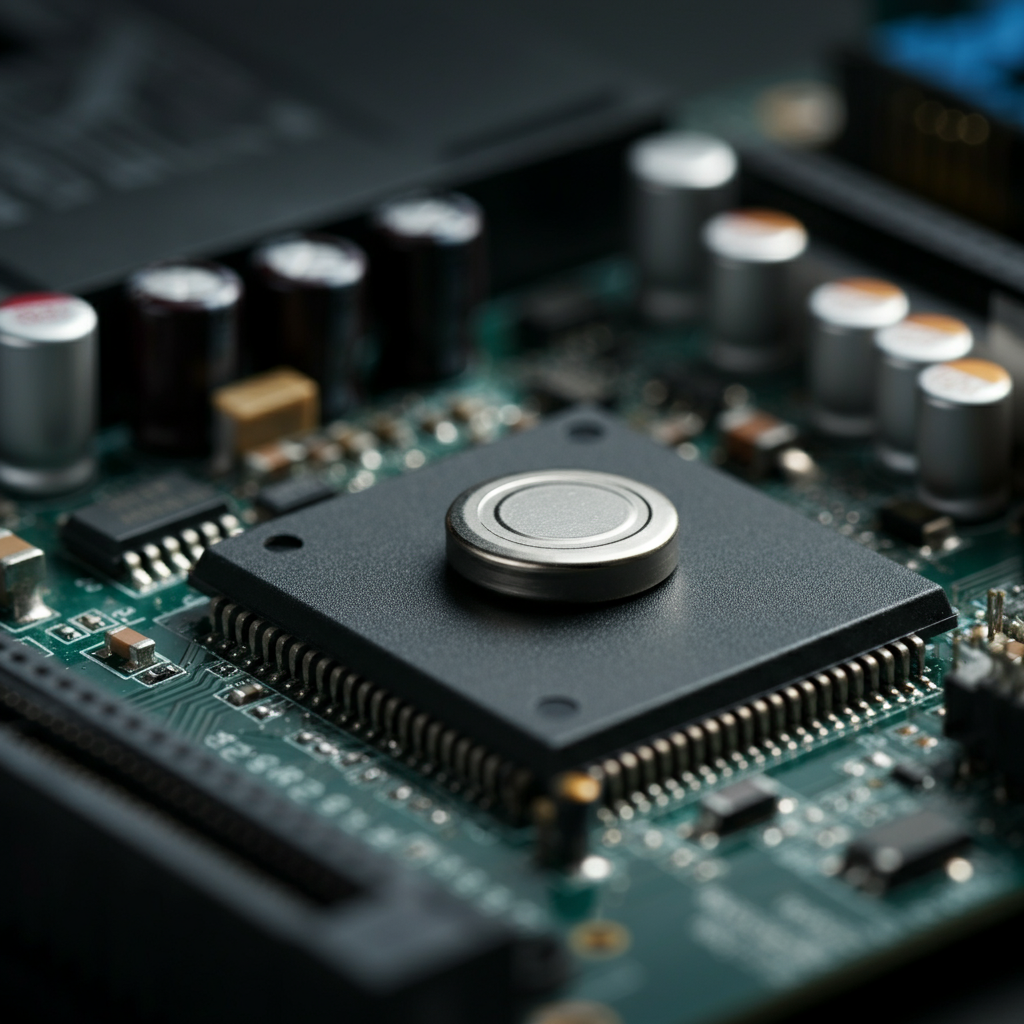
Step 4: Locate the CMOS Battery
The CMOS battery is a small, circular, coin-shaped battery, typically silver in color. It's usually located on the motherboard, and its position can vary depending on the motherboard manufacturer and model. Look for a CR2032 battery near the chipset or expansion slots. If you're having trouble finding it, consult your motherboard's manual. Once you've located the CMOS battery, take a moment to examine the surrounding area to understand the removal mechanism, which is usually a small clip or lever.
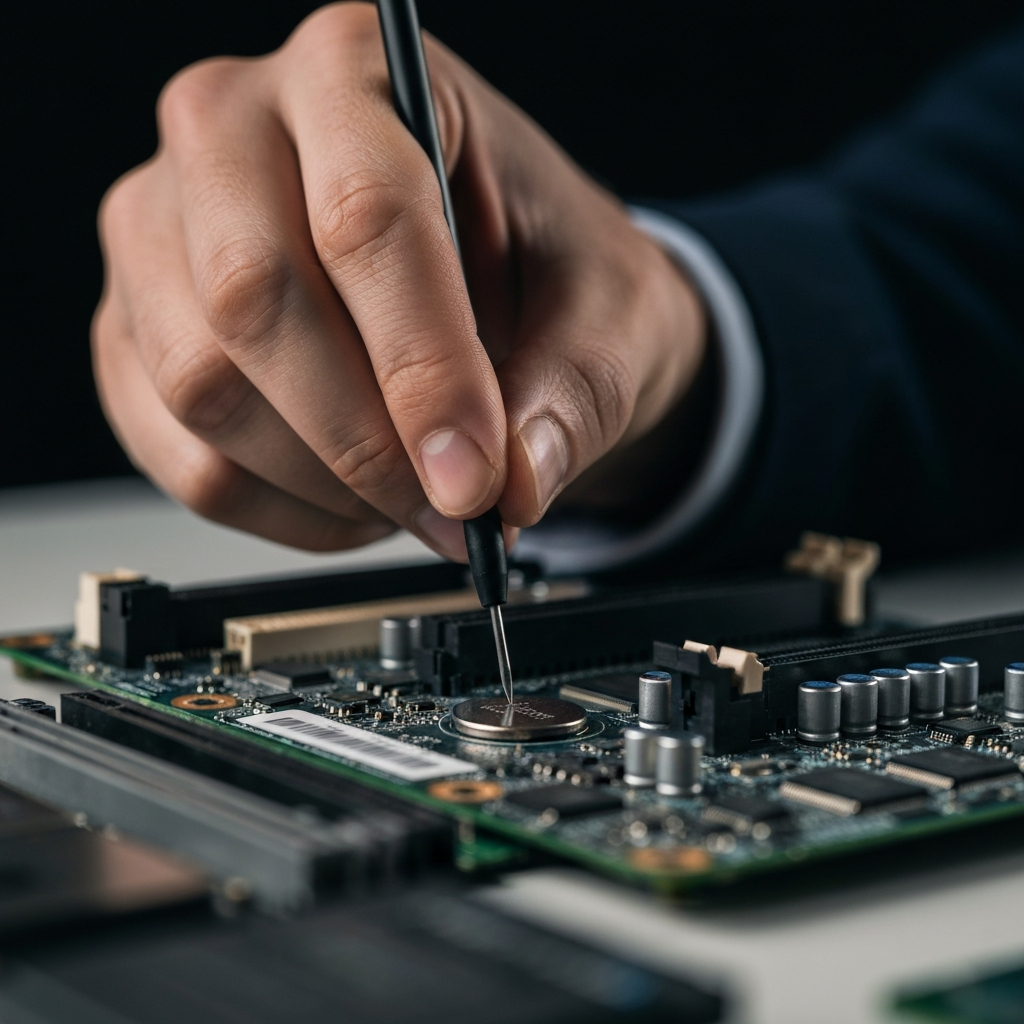
Step 5: Remove the CMOS Battery
Most motherboards have a small metal clip or lever holding the CMOS battery in place. Gently push the lever away from the battery. This should release the battery, allowing you to lift it out. If there's no lever, you might need to use a small, flathead screwdriver to carefully pry the battery out. Be extremely careful not to scratch or damage the motherboard. Apply minimal pressure and gently wiggle the screwdriver until the battery pops out. Avoid using excessive force, as this could break the battery holder or damage the surrounding circuitry.
Step 6: (Optional) Reset the BIOS
If your goal is to reset the BIOS settings to their default values, leave the CMOS battery out for about 5-10 minutes. This allows the CMOS chip to discharge completely, effectively clearing the stored settings. Some motherboards have a jumper specifically for clearing the CMOS; refer to your motherboard manual for instructions. After the waiting period, you can proceed to reinstall the battery.
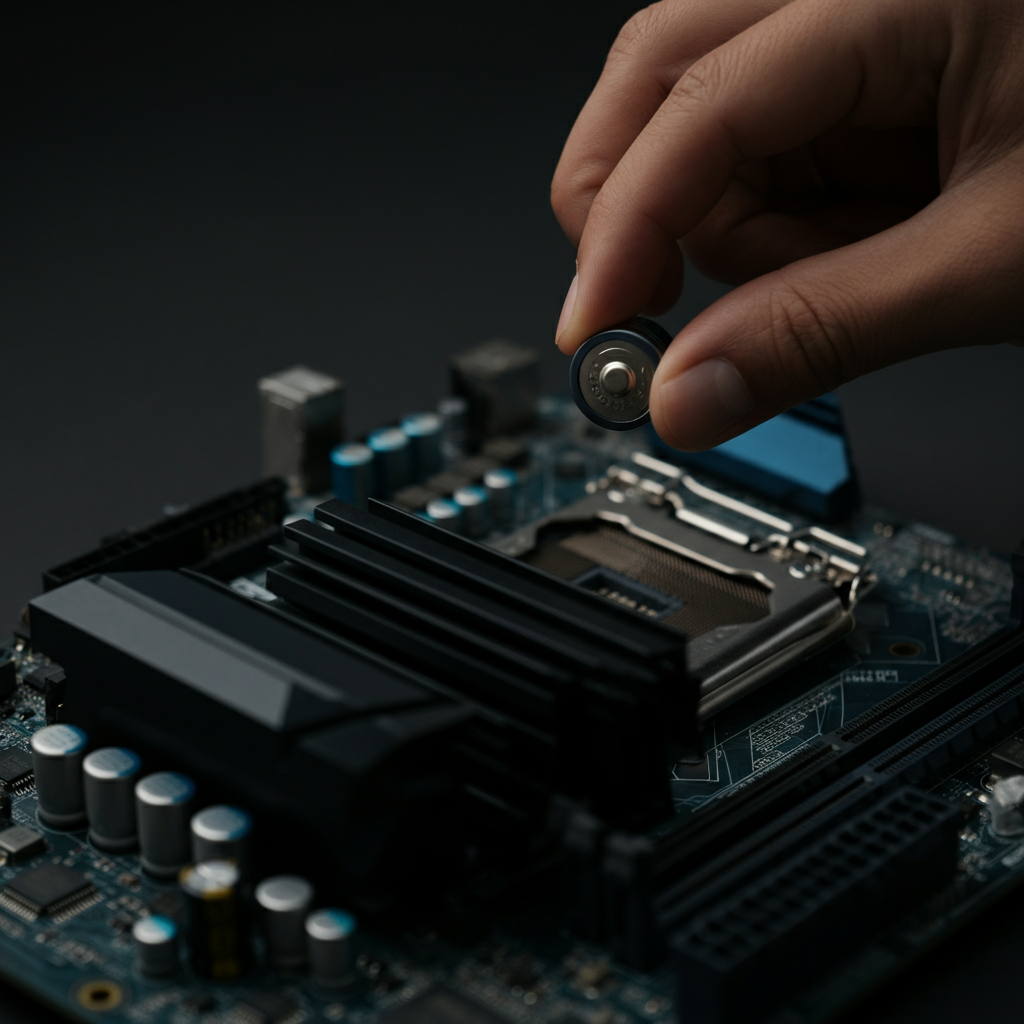
Step 7: Reinstall the CMOS Battery
To reinstall the CMOS battery, align it with the battery holder, ensuring that the positive (+) side is facing up. Press the battery firmly into the holder until it clicks into place. Make sure the retention clip, if present, secures the battery properly. If you're replacing the battery, use a new CR2032 battery. Double-check that the battery is securely seated in the holder to ensure proper contact.
Step 8: Reassemble Your Computer
Carefully reattach the side panel of your computer case. Secure it with the screws you removed earlier. Ensure that the panel is properly aligned before tightening the screws. Reconnect all the cables, including the power cable, monitor cable, keyboard, mouse, and any USB devices. Double-check all connections to avoid any issues during startup. Power on your computer to verify that everything is working correctly. You may need to enter the BIOS settings to configure the date, time, and other settings that were reset.
Safety Considerations
- Always ground yourself with an anti-static wrist strap to prevent static discharge.
- Never use excessive force when removing or installing the CMOS battery.
- Double-check all connections before powering on the computer.
- Consult your motherboard manual for specific instructions.
Common Mistakes to Avoid
- Forgetting to unplug the computer before starting.
- Using excessive force when removing the battery, potentially damaging the motherboard.
- Inserting the battery with the wrong polarity (+/-).
- Losing the screws from the case or battery holder.
Tools or Materials Required
- Anti-static wrist strap
- Phillips head screwdriver (possibly a flathead)
- New CR2032 battery (if replacing)
- Small container for screws (optional)
- Flashlight (optional, for better visibility)
FAQ Section
Q: How long does a CMOS battery last?
A: Typically, a CMOS battery lasts between 2 to 10 years, depending on usage and quality.
Q: What are the signs of a failing CMOS battery?
A: Common signs include incorrect date and time, reset BIOS settings, slow startup, boot issues, and error messages like "Please enter setup to recover settings" or "System battery failure".
Q: Where can I buy a replacement CMOS battery?
A: You can purchase a CR2032 battery online, at computer stores, electronics stores, or big box retailers.
Conclusion
Removing and replacing the CMOS battery is a task that, when done carefully, can help troubleshoot and resolve various computer issues. Remember to prioritize safety by grounding yourself and disconnecting the power supply before you begin. By following the steps outlined in this guide, you can confidently handle this procedure and keep your computer running smoothly.