Have you ever encountered a USB drive that your Windows machine refuses to recognize, only to realize it's formatted for Linux? This is a common issue when dealing with devices used across different operating systems. While Windows primarily uses the NTFS and FAT file systems, Linux distributions often utilize EXT4, EXT3, or EXT2. Attempting to directly access a Linux-formatted drive in Windows without the proper tools will result in errors, leaving your data inaccessible.
Fortunately, there are several methods to overcome this hurdle. This guide will walk you through the most effective techniques, ranging from simple software solutions to leveraging the power of Windows Subsystem for Linux (WSL) and even booting from a live Linux environment. Each approach offers a different balance of ease of use, functionality, and system requirements. Choose the method that best suits your technical skill level and the urgency of your data access needs.
Before proceeding, it's crucial to understand the file system used on your USB drive. While EXT4 is the most common, older drives might be formatted with EXT3 or EXT2. Knowing this information will help you select the correct tools and avoid potential compatibility issues. Improper handling of the drive could lead to data corruption, so proceed with caution and double-check each step.
1. Using DiskInternals Linux Reader
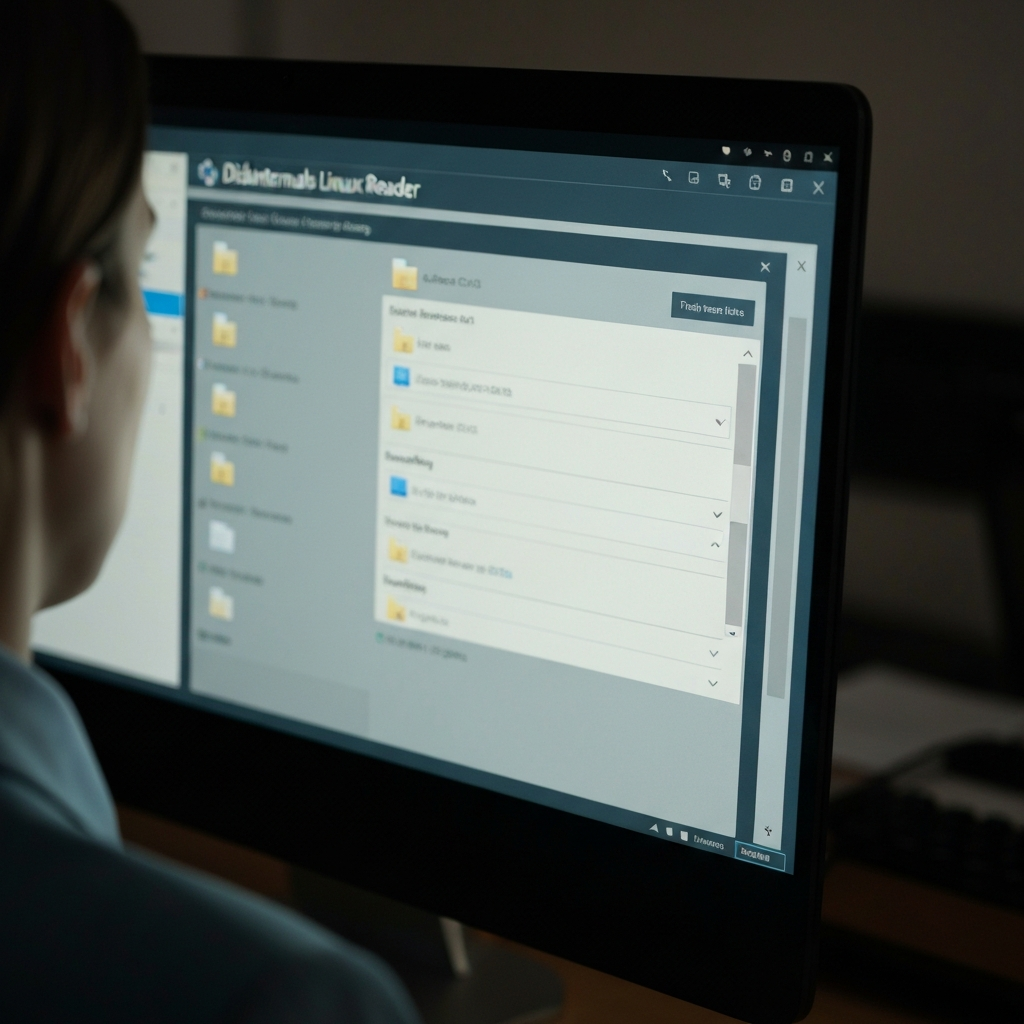
DiskInternals Linux Reader is a free and user-friendly application designed specifically for accessing Linux file systems from within Windows. It functions similarly to Windows File Explorer, allowing you to browse the contents of your Linux-formatted USB drive and copy files to your Windows system. This is often the simplest and fastest solution for basic data retrieval. It supports EXT2, EXT3, EXT4, ReiserFS, and other common Linux file systems. However, it's important to note that DiskInternals Linux Reader only allows you to read files; you cannot write or modify data on the Linux drive.
2. Install DiskInternals Linux Reader
Begin by downloading DiskInternals Linux Reader from the official DiskInternals website. Ensure you download the free version, as they also offer paid versions with advanced features. Once the download is complete, run the installer. You may need to grant administrator privileges during the installation process. Follow the on-screen prompts to complete the installation. Once installed, launch the application. Be mindful during installation to avoid unintentionally installing bundled software. Double-check each screen before clicking "Next."

3. Connect the USB Drive and Browse Files
Insert the Linux-formatted USB drive into your computer. Once the drive is detected, it should appear in the DiskInternals Linux Reader window, typically listed alongside your other drives. Double-click the USB drive icon to explore its contents. You'll see the familiar file and folder structure of the Linux file system. If the drive doesn't appear, try unplugging and re-plugging it, or try a different USB port. In rare cases, the drive may be physically damaged or incompatible with the software.

4. Copy Files to Your Windows PC
To copy a file or folder from the USB drive to your Windows computer, right-click on the desired item and select "Save." A wizard will guide you through the process. Choose a destination folder on your Windows drive and click "Next." DiskInternals Linux Reader will then copy the selected files to the specified location. Note that you can only copy files; you cannot modify or delete them on the Linux drive using this method. If you need to make changes, consider using one of the other methods described below.
5. Using Windows Subsystem for Linux (WSL)
Windows Subsystem for Linux (WSL) allows you to run a Linux environment directly within Windows. This provides a more powerful and flexible way to access Linux-formatted drives, as you can use standard Linux command-line tools to manage files and perform other operations. This method requires a bit more technical knowledge but offers greater control and functionality. WSL is particularly useful if you need to modify files or perform more advanced tasks on the Linux drive. Be aware that setting up WSL can take some time and requires a reasonably modern version of Windows 10 or Windows 11.
6. Enable WSL and Install a Linux Distribution
First, you need to enable WSL on your Windows machine. Open PowerShell as an administrator and run the command wsl --install. This will install WSL along with the default Ubuntu distribution. After the installation is complete, you'll be prompted to restart your computer. Once restarted, Ubuntu will finalize its installation and ask you to create a username and password. Make sure you remember the username and password you create, as you'll need them to access the Linux environment. If you prefer a different Linux distribution, you can install it from the Microsoft Store after enabling WSL.

7. Identify and Mount the USB Drive
After installing WSL, open the Ubuntu terminal. Before connecting the USB drive, run the command lsblk (list block devices) to see the currently mounted drives. Then, plug in your Linux-formatted USB drive. Run lsblk again to identify the newly connected drive. It will likely appear as `/dev/sdb1` or similar. Create a mount point using the command sudo mkdir /mnt/usb. Finally, mount the USB drive to the mount point using the command sudo mount /dev/sdb1 /mnt/usb (replace `/dev/sdb1` with the actual device name). If you get an error message about incorrect file system type, try specifying the file system type using the `-t` option, such as `sudo mount -t ext4 /dev/sdb1 /mnt/usb`.

8. Access Files in the Linux Environment
Once the USB drive is mounted, you can access its contents through the Ubuntu terminal. Navigate to the mount point using the command cd /mnt/usb. You can then use standard Linux commands such as ls (list files), cp (copy files), and mv (move files) to manage the files on the USB drive. To copy files from the USB drive to your Windows system, you can copy them to the `/mnt/c` directory, which corresponds to your C: drive in Windows. For example, to copy a file named `data.txt` to your Windows Documents folder, you would use the command cp data.txt /mnt/c/Users/YourUsername/Documents (replace `YourUsername` with your actual Windows username). Remember to unmount the USB drive before disconnecting it using the command `sudo umount /mnt/usb`.

9. Using a Live Linux USB Drive
Another method for accessing Linux-formatted USB drives in Windows is to boot your computer from a live Linux environment. This involves creating a bootable USB drive with a Linux distribution and then booting your computer from that drive. This allows you to access the Linux-formatted drive without making any changes to your Windows installation. This method is particularly useful if you need to access the drive urgently or if you don't want to install any software on your Windows system. However, it requires you to restart your computer and change the boot order in your BIOS settings.
10. Create a Bootable Linux USB Drive
First, you need to download a Linux distribution ISO image. Ubuntu is a popular and user-friendly option. You can download the ISO image from the Ubuntu website. Next, you need a tool to create a bootable USB drive. Rufus is a free and open-source tool that makes this process easy. Download Rufus from its official website. Launch Rufus and select your USB drive. Then, select the Ubuntu ISO image and click "Start." Rufus will format the USB drive and copy the ISO image to it, making it bootable. Back up any important data on the USB drive before using Rufus, as the process will erase all existing data.
11. Boot from the USB Drive and Access Files
After Rufus has finished creating the bootable USB drive, restart your computer. During startup, you'll need to enter your BIOS settings to change the boot order. The key to enter the BIOS settings varies depending on your computer manufacturer (it's often Del, F2, F12, or Esc). Once in the BIOS settings, find the boot order option and set your USB drive as the first boot device. Save the changes and exit the BIOS. Your computer will now boot from the USB drive, loading the live Linux environment. Once Ubuntu has booted, insert the Linux-formatted USB drive. It should be automatically detected and mounted. You can then use the file manager to browse the files on the drive and copy them to another location, such as another USB drive or an external hard drive. Be careful when making changes in the live Linux environment, as any changes will be lost when you shut down the computer (unless you choose to install Ubuntu to your hard drive).
Tools or Materials Required
- Computer running Windows 10 or Windows 11
- Linux-formatted USB drive
- DiskInternals Linux Reader (for Method 1)
- Internet connection (for downloading software)
- USB drive (for creating a bootable Linux environment, for Method 3)
- Rufus (for creating a bootable Linux environment, for Method 3)
Common Mistakes to Avoid
- Incorrectly identifying the Linux file system (EXT2, EXT3, EXT4)
- Attempting to write to the Linux drive using DiskInternals Linux Reader
- Forgetting the username and password for the WSL environment
- Failing to unmount the USB drive before disconnecting it from WSL
- Erasing data on the USB drive when creating a bootable Linux environment
- Not backing up important data before making changes
FAQ Section
- Can I write files to the Linux drive using DiskInternals Linux Reader?
- No, DiskInternals Linux Reader is a read-only tool. You can only copy files from the Linux drive to your Windows system.
- Do I need to format the USB drive before using it with WSL?
- No, you should not format the USB drive. WSL will automatically detect the Linux file system and allow you to mount the drive.
- What if my USB drive is not detected by Windows?
- Try plugging the USB drive into a different USB port. If that doesn't work, the drive may be physically damaged. You can also try using a different computer to see if the drive is recognized.
- Is it safe to use these methods to access my Linux drive?
- Yes, these methods are generally safe, but it's always a good idea to back up your data before making any changes to your system or USB drive.
Conclusion
Accessing a Linux-formatted USB drive in Windows doesn't have to be a daunting task. By utilizing tools like DiskInternals Linux Reader, leveraging the power of Windows Subsystem for Linux, or booting from a live Linux environment, you can effectively access and retrieve your data. Remember to choose the method that best suits your technical skills and the specific needs of your situation. Always exercise caution and back up your data before making any changes to your system or storage devices. With the right approach, you can seamlessly bridge the gap between Windows and Linux file systems.