Ever wondered what happens when you subject a compact disc to the intense electromagnetic radiation of a microwave oven? The results can be quite spectacular, a miniature light show of sparks and shimmering patterns. This process, while visually captivating, involves inherent risks and should only be undertaken with proper precautions and a thorough understanding of the potential hazards.
This guide provides a step-by-step approach to safely microwaving a CD, emphasizing safety and controlled execution. We'll cover everything from essential preparation to understanding the resulting patterns and potential dangers. Remember, this is an experiment in controlled destruction, not a cooking method! Always prioritize safety and responsible disposal.
By following these instructions carefully, you can witness this fascinating phenomenon while minimizing the risk of damage to yourself or your equipment. Let's begin!
Tools or Materials Required
- An expendable CD (CD-R or CD-ROM, not a valuable music CD!)
- A microwave oven (preferably one you are willing to potentially sacrifice)
- Safety glasses or goggles
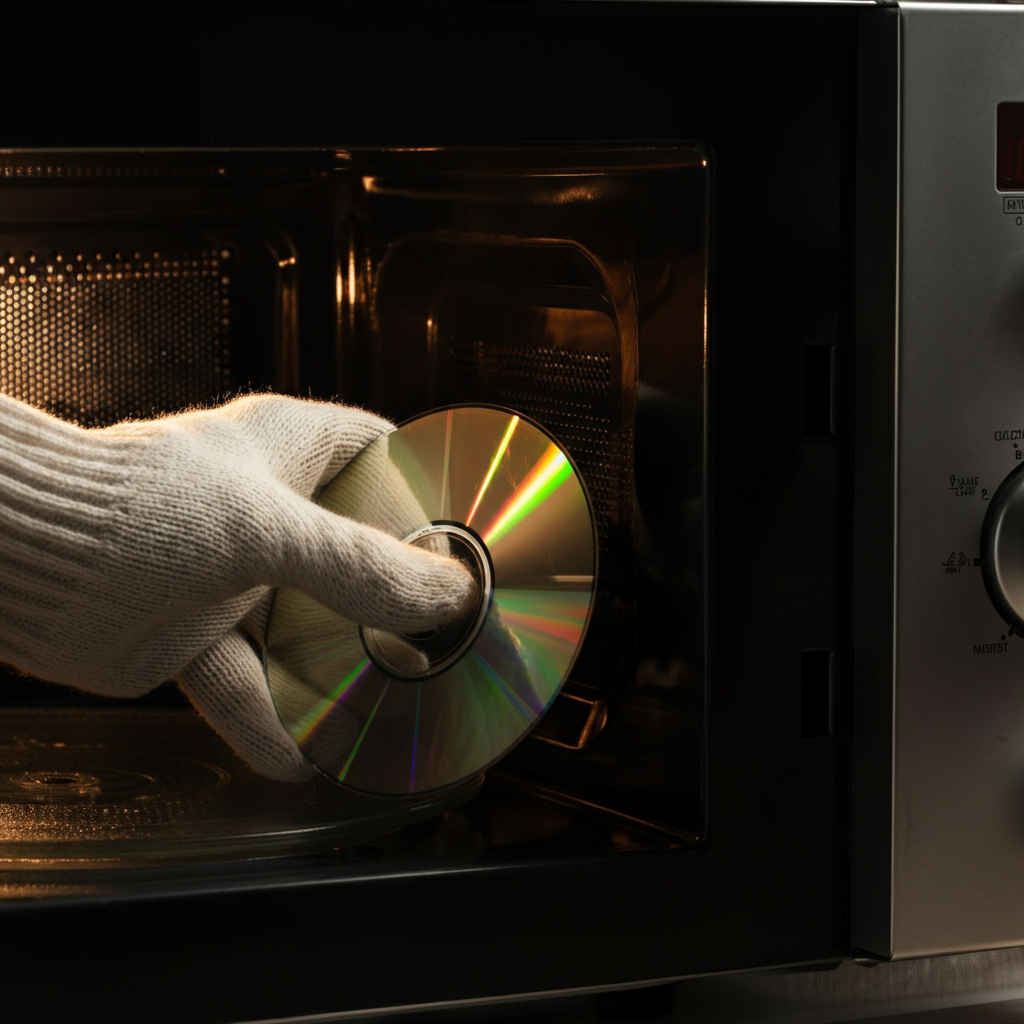
- Heat-resistant gloves
- A well-ventilated area or outdoor space
- A fire extinguisher (just in case)
Step 1: Preparation is Key
Selecting Your CD and Microwave
Choose a CD that you no longer need or that is already damaged. Avoid using commercially released music CDs that you still value. A CD-R or CD-ROM works best. Regarding the microwave, ideally, use an older model or one you're prepared to potentially damage. The experiment can sometimes cause arcing and potential damage to the internal components of the microwave. Before starting, ensure the microwave's interior is clean and free of any debris that could ignite.
Step 2: Safety Gear and Ventilation
Protect Yourself and Your Environment
Safety is paramount. Always wear safety glasses or goggles to protect your eyes from potential sparks or debris. Heat-resistant gloves are essential for handling the CD after microwaving, as it will be hot. Perform the experiment in a well-ventilated area or, ideally, outdoors to avoid inhaling any fumes that may be released during the process. Keep a fire extinguisher nearby as a precautionary measure, though a fire is unlikely if you follow these instructions carefully.

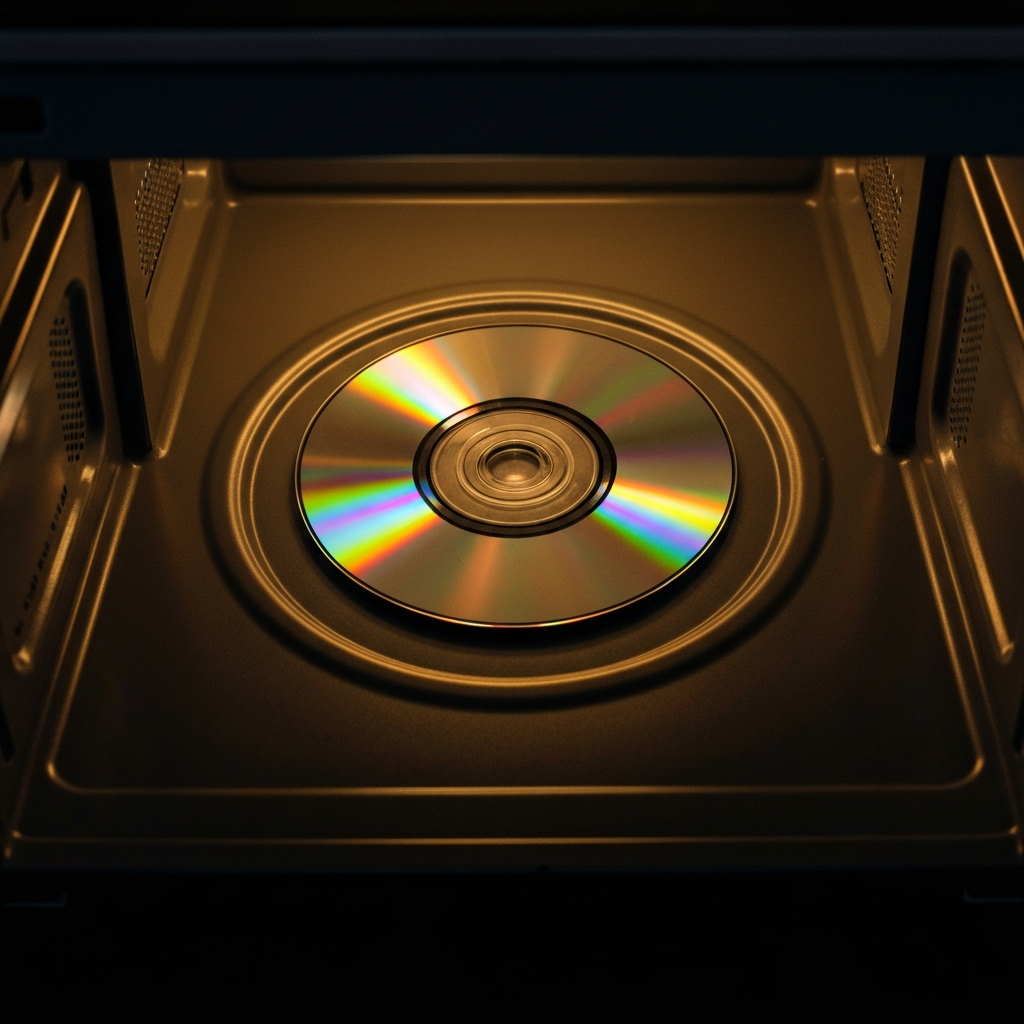
Step 3: Positioning the CD
Optimize for Visual Spectacle
Place the CD in the center of the microwave. Some experts recommend placing a small, microwave-safe cup (ceramic or glass) underneath the CD to elevate it slightly. This can help to create more dramatic arcing patterns. Ensure the CD is not touching the walls of the microwave, as this can concentrate the electromagnetic field and increase the risk of damage.
Step 4: The Microwave Cycle
Short Bursts are Crucial
Set the microwave to a low power setting (if available) and microwave for very short bursts, typically no more than 5-10 seconds at a time. Monitor the CD closely through the microwave door. You should begin to see sparks and arcing. If you observe excessive smoke or flames, stop the microwave immediately. The goal is controlled destruction, not a microwave fire. Repeat in short intervals, if desired, checking after each cycle.

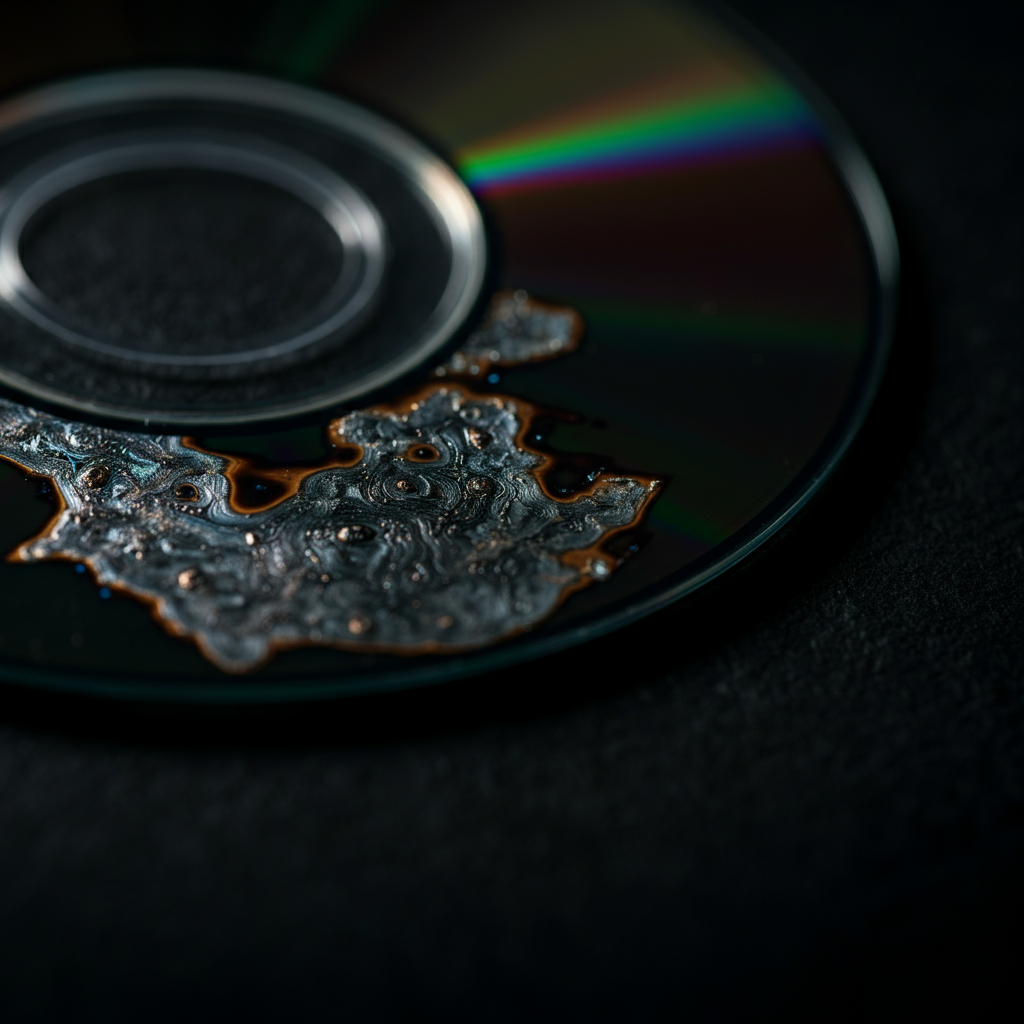
Step 5: Observation and Analysis
Deciphering the Patterns
After microwaving, allow the CD to cool completely before handling it. The surface will be extremely hot. Observe the patterns etched onto the CD's surface. These patterns are created by the electric arcs burning away the metallic layer. Each microwave oven and CD will produce unique and unpredictable patterns. Consider documenting your results with photographs.
Safety Considerations
- Never leave the microwave unattended while the CD is being microwaved.
- Avoid inhaling any smoke produced during the process.
- Do not touch the CD immediately after microwaving, as it will be extremely hot.
- Dispose of the microwaved CD responsibly.
- If you are unsure about any step, consult a qualified professional before proceeding.
Common Mistakes to Avoid
- Microwaving for too long at a time, leading to excessive smoke or flames.
- Using a valuable or irreplaceable CD.
- Using a microwave you cannot afford to damage.
- Failing to provide adequate ventilation.
- Ignoring safety precautions.
Pro Tips
- Experiment with different power settings on your microwave to see how they affect the patterns.
- Try using different types of CDs (CD-R, CD-ROM) to observe the variations in the resulting patterns.
- Consider using a clear, microwave-safe container to contain any debris during the process.
FAQ Section
Q: Will microwaving a CD damage my microwave?
A: It's possible. The arcing can potentially damage the magnetron or other components. Using an older, less valuable microwave is recommended.
Q: Is it safe to eat food cooked in a microwave after microwaving a CD?
A: It's generally not recommended, especially if there was significant smoke or fumes produced. The fumes can contaminate the microwave's interior. Thorough cleaning may help, but using a dedicated "experiment" microwave is the safest option.
Q: Can I microwave other types of discs, like DVDs or Blu-rays?
A: The process is similar, but the results may vary due to differences in the materials used. Follow the same safety precautions.
Conclusion
Microwaving a CD can be a fascinating and visually stimulating experiment, offering a glimpse into the power of electromagnetic radiation and its effects on metallic materials. However, it's crucial to remember that this process involves inherent risks and should be approached with caution and respect. By following the steps outlined in this guide and adhering to the safety precautions, you can safely witness this phenomenon and gain a better understanding of the science behind it. Always prioritize safety and responsible disposal, and enjoy the show!