Achieving the perfect drum sound is a constant quest for drummers. From meticulous tuning to experimenting with various dampening techniques, the pursuit of sonic excellence never ends. One surprisingly effective and customizable method for muffling drums is the use of "drum tortillas." These fabric discs, placed directly on the drumhead, offer a simple yet powerful way to control overtones and achieve a warmer, deader sound – reminiscent of classic 70s drum tones. Creating your own drum tortillas is a cost-effective and creatively rewarding project.
Drum tortillas provide an excellent way to create custom dampening based on the room and music. Unlike permanent muffling solutions, drum tortillas can be quickly added or removed, providing ultimate flexibility. This makes them ideal for both live performances and studio recordings, where adapting to different acoustic environments is crucial. In this guide, we'll walk you through the process of crafting your own drum tortillas, empowering you to tailor your drum sound with ease.
This method provides interchangable and customizable muffling depending on the music scenario. The thickness and material of the fabric, as well as the overall size of the tortilla, can be adjusted to produce just the sound you are after. Furthermore, it offers a creative way to give your kit a new aesthetic.
Tools or Materials Required
- Tape Measure
- Fabric (old t-shirts, dresses, or polyester fabrics work well)
- Scissors
- Gel Pen or Fine-Point Marker
- Compass, Circle Ruler, or a Plate/Cymbal (for tracing)
- Needle and Thread (or Hot Glue/Fabric Adhesive/Stapler - optional)
- Binder Clips (optional)
Safety Considerations
When working with scissors and needles, exercise caution. Ensure you have adequate lighting and a stable workspace to prevent accidents. Store sharp objects safely when not in use.
Pro Tips
- Experiment with different fabrics to find the perfect muffling effect for your kit.
- Start with larger tortillas and trim them down gradually to achieve the desired sound.
- Use binder clips sparingly to avoid over-dampening the drum.
Step 1: Tune Your Drums
Before applying any muffling, it's essential to have your drums properly tuned. A well-tuned drum will resonate clearly and produce a more pleasing tone, making it easier to control with muffling. Ensure each drumhead is evenly tensioned and that the overall pitch aligns with your desired sound. Muffling should only be applied after proper tuning has been achieved.

Step 2: Measure Your Drumheads
Accurate measurements are crucial for creating tortillas that fit snugly inside the drum rim. Use a tape measure to determine the diameter of each drumhead you wish to muffle. Measure from the inside edge of the rim to the opposite inside edge. Avoid measuring from the outside of the rim, as this will result in an oversized tortilla. If you already know the drumhead sizes, you can skip this step.

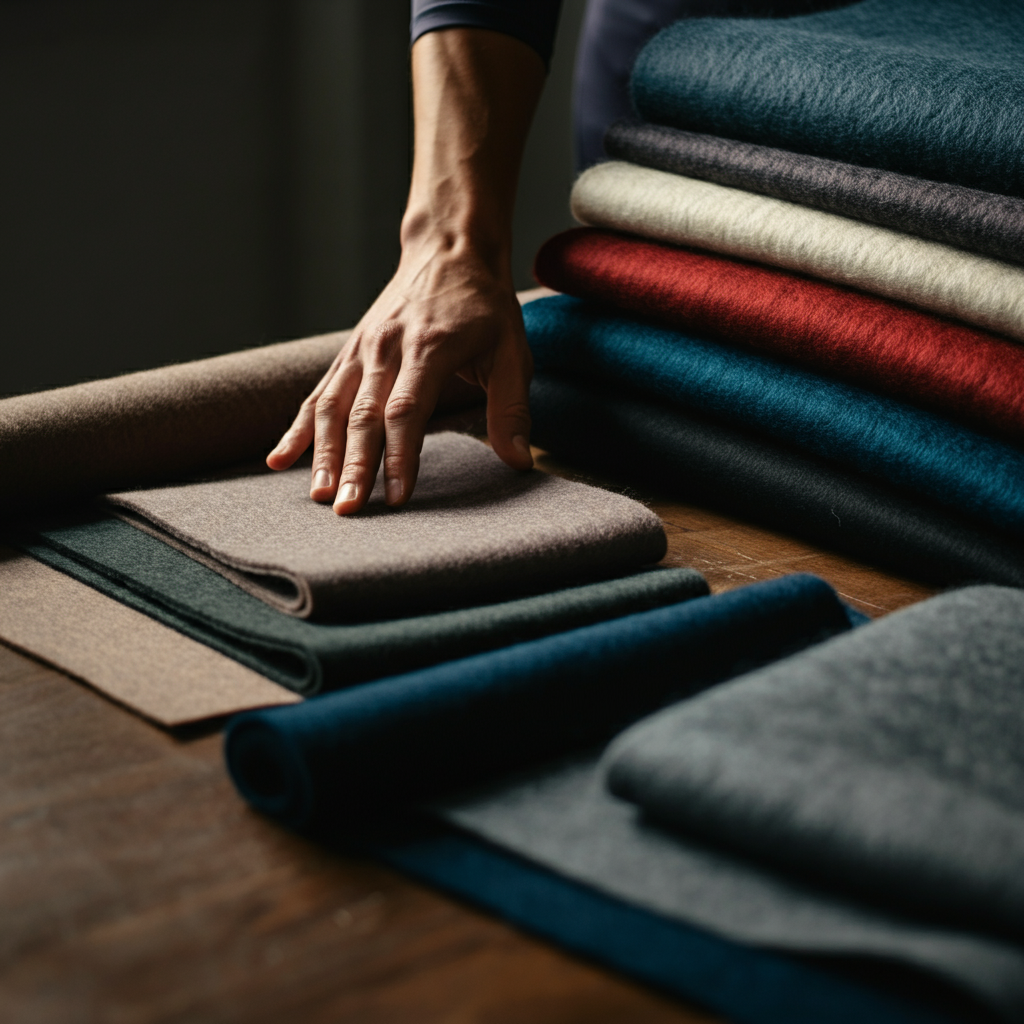
Step 3: Select a Fabric
The choice of fabric greatly influences the muffling effect. Thicker fabrics provide more significant dampening, while thinner fabrics offer a subtle reduction in overtones. Polyester fabrics tend to hold their shape well and resist wear and tear. Old t-shirts, dresses, and tablecloths can also be repurposed for this project. Experimenting with different materials is key to finding the perfect sound for your drums.
Step 4: Trace a Circle on the Back of the Fabric
Lay the selected fabric flat on a clean, stable surface. Using a compass, circle ruler, or a suitable circular object like a cymbal or plate, trace a circle onto the back of the fabric. Use a gel pen or fine-point marker to create a clear, visible line. If using a compass, ensure the pivot point is securely anchored to prevent wobbling.

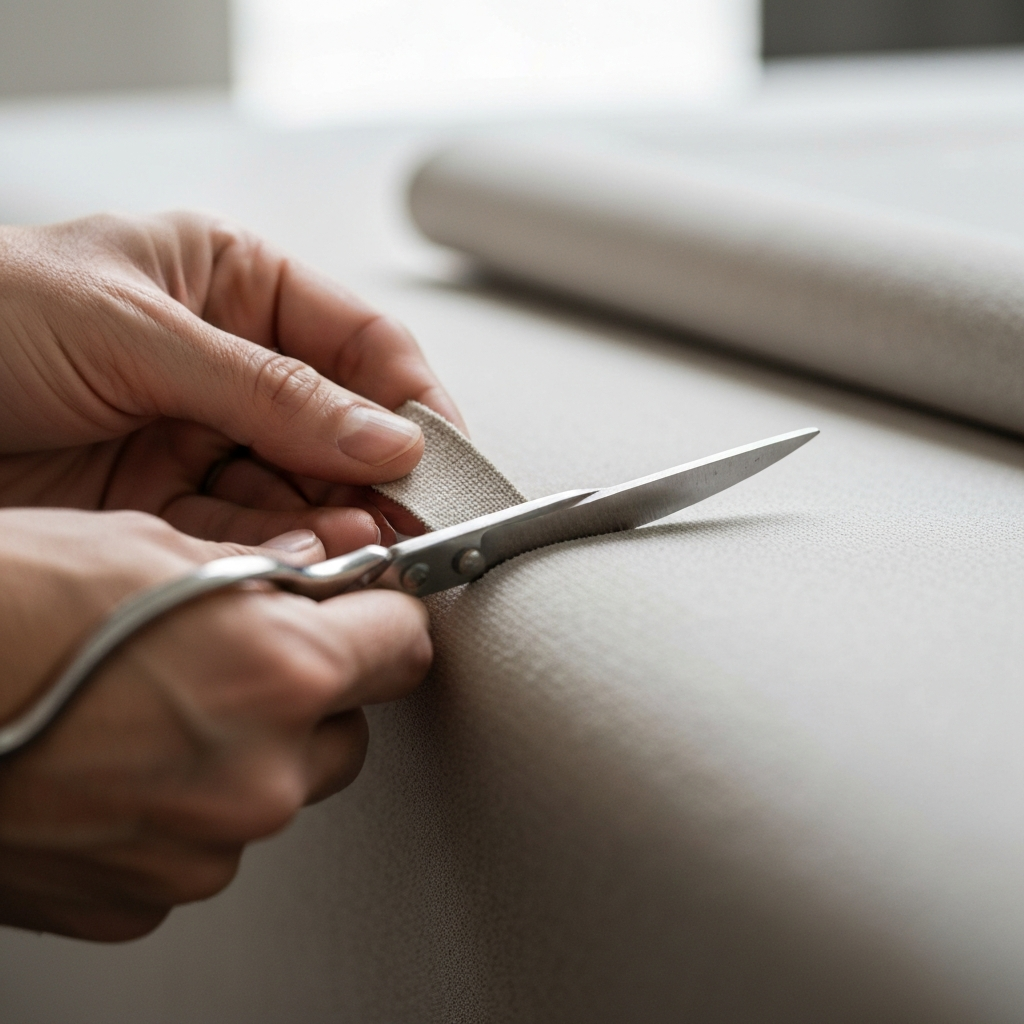
Step 5: Cut Out the Fabric
Carefully cut out the fabric along the traced line. It's better to err on the side of having slightly too much fabric than too little. You can always trim excess material later. Use sharp scissors for a clean, precise cut. Avoid rushing this step to prevent jagged edges. Safety should be paramount when using scissors.
Step 6: Create a Loop from Leftover Fabric
From the remaining fabric scraps, cut a strip approximately 3-4 inches long and ¼ inch wide. If using a piece of clothing, cutting along a stitched seam can provide extra durability. Loop the fabric strip and overlap the ends to form a small circle. This loop will be used to attach the tortilla to the drum rim. Ensure the loop is sturdy enough to withstand some tension.
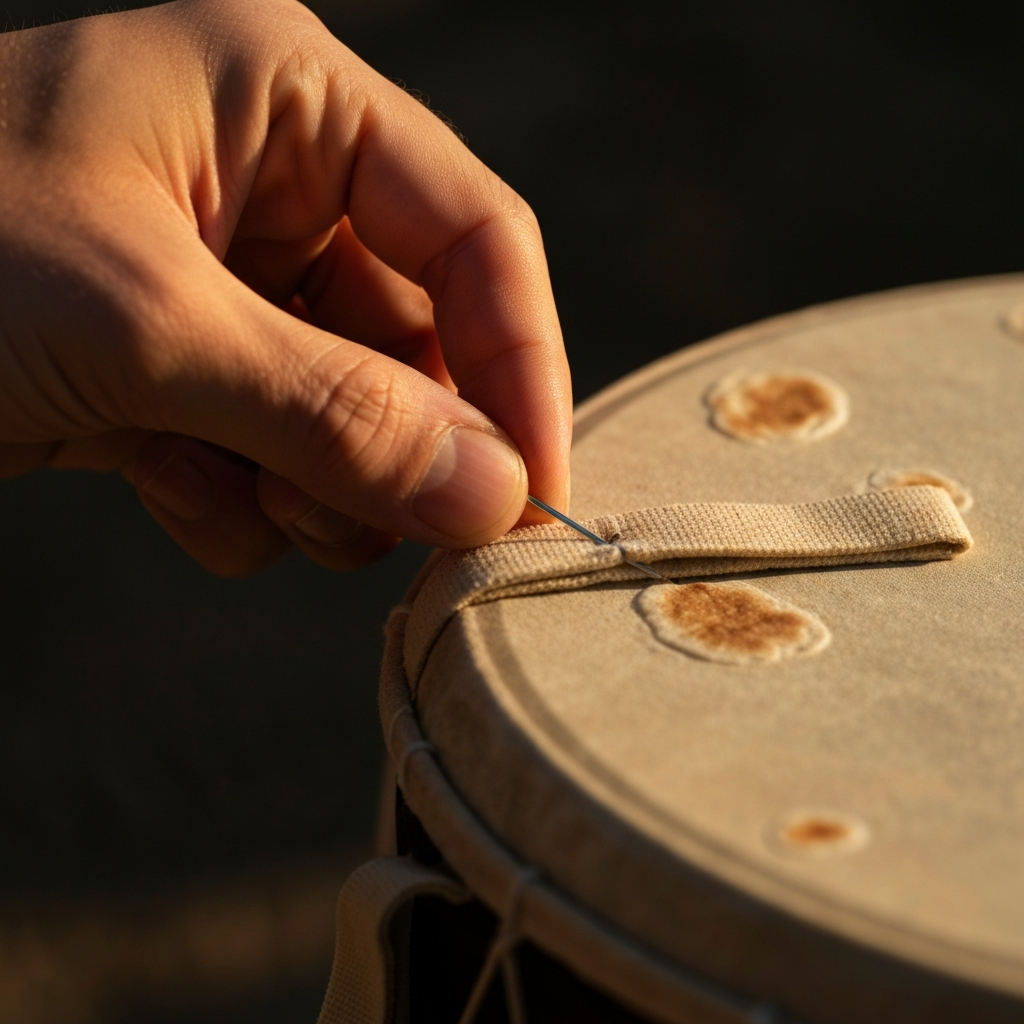
Step 7: Stitch the Loop to the Backside of the Tortilla
Using a needle and thread, securely stitch the overlapping ends of the fabric loop to the edge of the drum tortilla. An "X" pattern for sewing provides a strong and reliable attachment. Alternatively, you can use hot glue, fabric adhesive, or staples, although these methods may be less durable. Ensure the loop is firmly attached to prevent it from detaching during use.
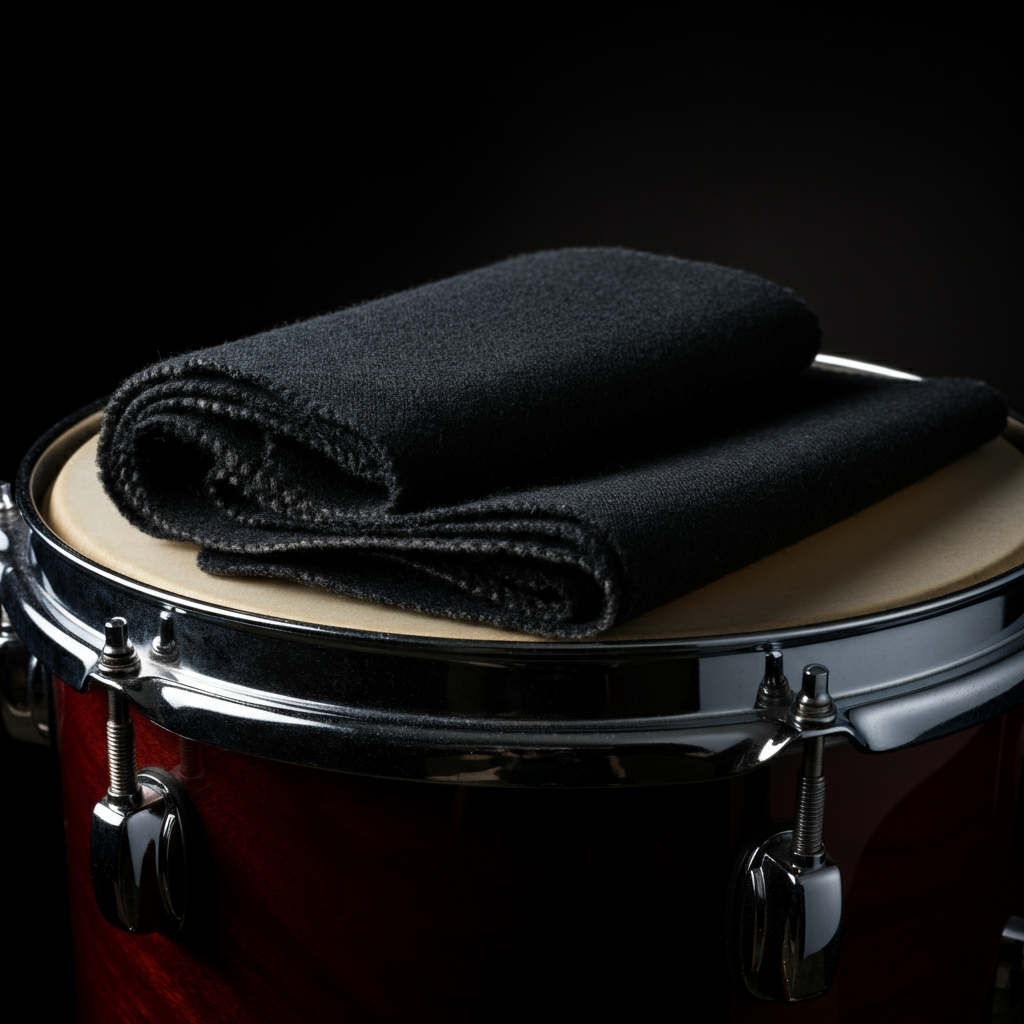
Step 8: Attach the Tortillas to the Drumheads
Simply place the tortilla on the drumhead, ensuring it lies flat. You can adjust the position to fine-tune the muffling effect. Remove or reposition the tortilla as needed to achieve your desired sound. Experiment with different placements to discover the optimal sound for your kit. You can also fold the tortilla for less dampening.
Step 9: Use Binder Clips (Optional)
To prevent the tortilla from slipping or moving around during play, attach the loop to the drum rim using a small binder clip. This provides added security, especially for more vigorous playing styles. Use binder clips sparingly, as they can further dampen the drum.
Step 10: Use a Drum Key (Optional)
Placing the drum key through the loop helps keep it from slipping or moving around when playing. Position the key on a lug to help secure the tortilla in place. This is another way to secure the drum tortilla if you are not a fan of binder clips.
Step 11: Customize Your Drum Tortillas
One of the greatest benefits of drum tortillas is the ability to customize your drum sounds. Experiment with different fabrics, thicknesses, and sizes to tailor the muffling effect to your specific needs. Different patterns and colors can also be used to give your drums a unique and personalized look. There are no limits to your creativity when it comes to designing and crafting drum tortillas.
Step 12: Wash Your Drum Tortillas
Over time, drum tortillas may become dirty or creased. To clean them, simply place them in the laundry using a cold wash cycle or handwash them with laundry detergent and warm water. Dry them by air-drying or tumble drying on a low setting. If they become creased, use an iron to flatten them out once dry. Regular cleaning will help maintain the appearance and performance of your drum tortillas.
Common Mistakes to Avoid
- Cutting the fabric too small. It's always better to have excess fabric that can be trimmed.
- Using flimsy fabric that tears easily. Opt for durable materials like polyester or repurposed clothing.
- Attaching the loop insecurely. Ensure the loop is firmly stitched or glued to the tortilla.
- Over-dampening the drums with excessively thick tortillas. Start with thinner materials and gradually increase the thickness as needed.
FAQ Section
- What type of fabric is best for drum tortillas?
- Polyester and repurposed clothing like t-shirts and dresses work well. Thicker fabrics provide more muffling.
- How do I prevent the tortilla from slipping?
- Use binder clips or a drum key to secure the loop to the drum rim.
- Can I wash my drum tortillas?
- Yes, you can wash them in a cold wash cycle or handwash them with laundry detergent and warm water.
- How do I adjust the amount of muffling?
- Use different thicknesses of fabric or fold the tortilla to reduce the dampening effect.
Conclusion
Creating your own drum tortillas is a simple and effective way to customize your drum sound. By following these steps and experimenting with different materials and techniques, you can achieve the perfect level of muffling for your drums. Whether you're seeking a warm, vintage tone or a more controlled and focused sound, drum tortillas offer a versatile and cost-effective solution. Remember to prioritize safety when working with sharp objects and to have fun exploring the endless possibilities of drum tortilla customization.