In today's world, sustainability is more than just a buzzword; it's a necessity. One of the most rewarding ways to embrace an eco-conscious lifestyle is by upcycling. Upcycling transforms discarded materials into functional and beautiful items for your home and garden, reducing waste and adding unique character to your living space. It's a creative outlet that saves money and minimizes your environmental footprint.
This comprehensive guide will walk you through several exciting upcycling projects, providing step-by-step instructions, expert tips, and safety advice to ensure your success. From transforming old tires into planters to crafting stunning light fixtures from glass bottles, you'll discover endless possibilities for turning trash into treasure. Let's embark on this journey of creativity and sustainability!
Get ready to unleash your inner artist and create one-of-a-kind pieces that will impress your friends and neighbors. Upcycling is not just about recycling; it's about adding value and beauty to items that were once destined for the landfill.
Step 1: Tire Transformation: DIY Tire Planter
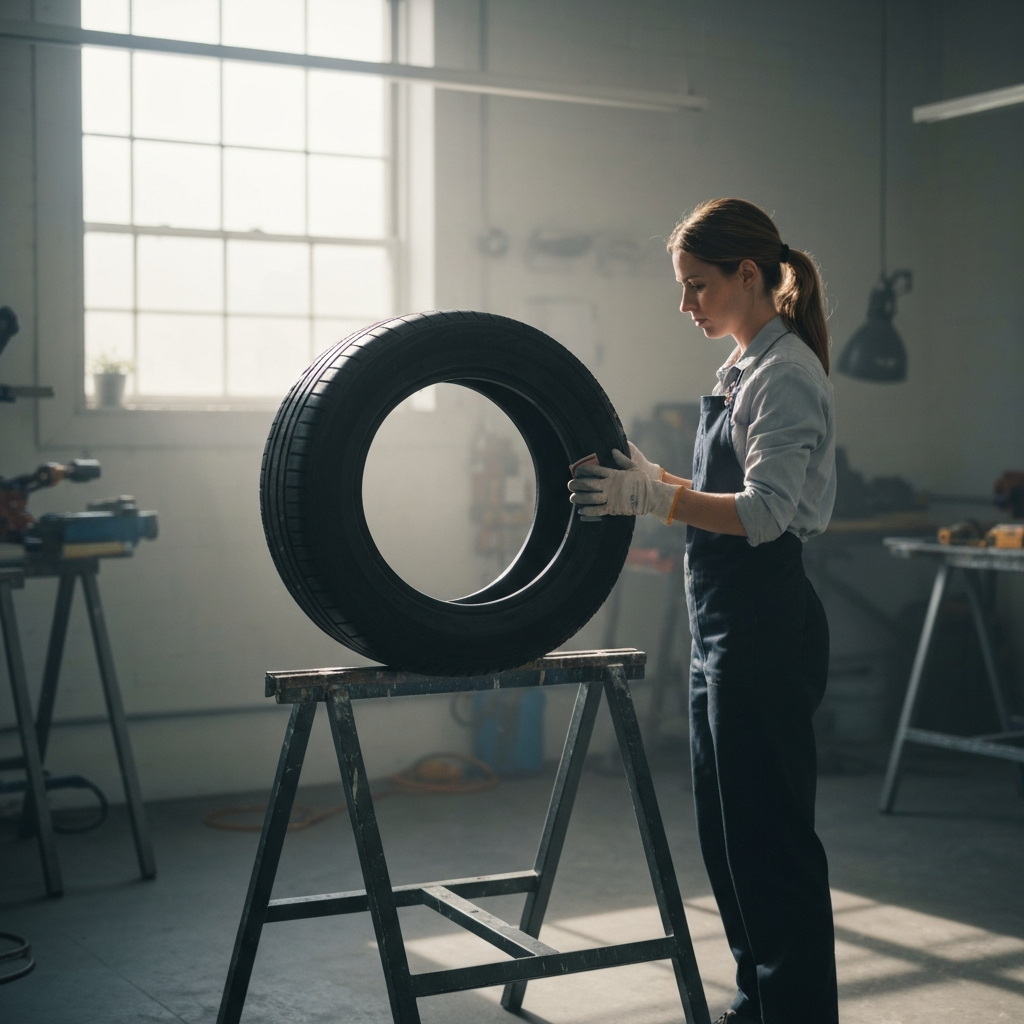
Preparing the Tire
The first step in creating a stunning tire planter is preparing the tire itself. Start by thoroughly cleaning the tire with soap and water to remove any dirt, grime, or debris. A pressure washer can be incredibly helpful for this step, but a scrub brush and elbow grease will work just as well. Allow the tire to dry completely before moving on to the next stage. Consider the tire's condition; heavily damaged tires might not be suitable. If you plan to paint the tire, lightly sand the surface to help the paint adhere better.
Step 2: Painting and Decorating
Adding Color and Personality
Now comes the fun part – adding color and personality to your tire planter! Choose exterior-grade paints that are specifically designed for use on rubber or plastic. Bright, vibrant colors can add a playful touch, while more muted tones can create a sophisticated look. Apply multiple thin coats of paint, allowing each coat to dry completely before applying the next. Consider using stencils or freehand designs to create unique patterns and embellishments. Once the paint is dry, you can further decorate the tire with rope, twine, or other decorative elements for added texture and visual interest.

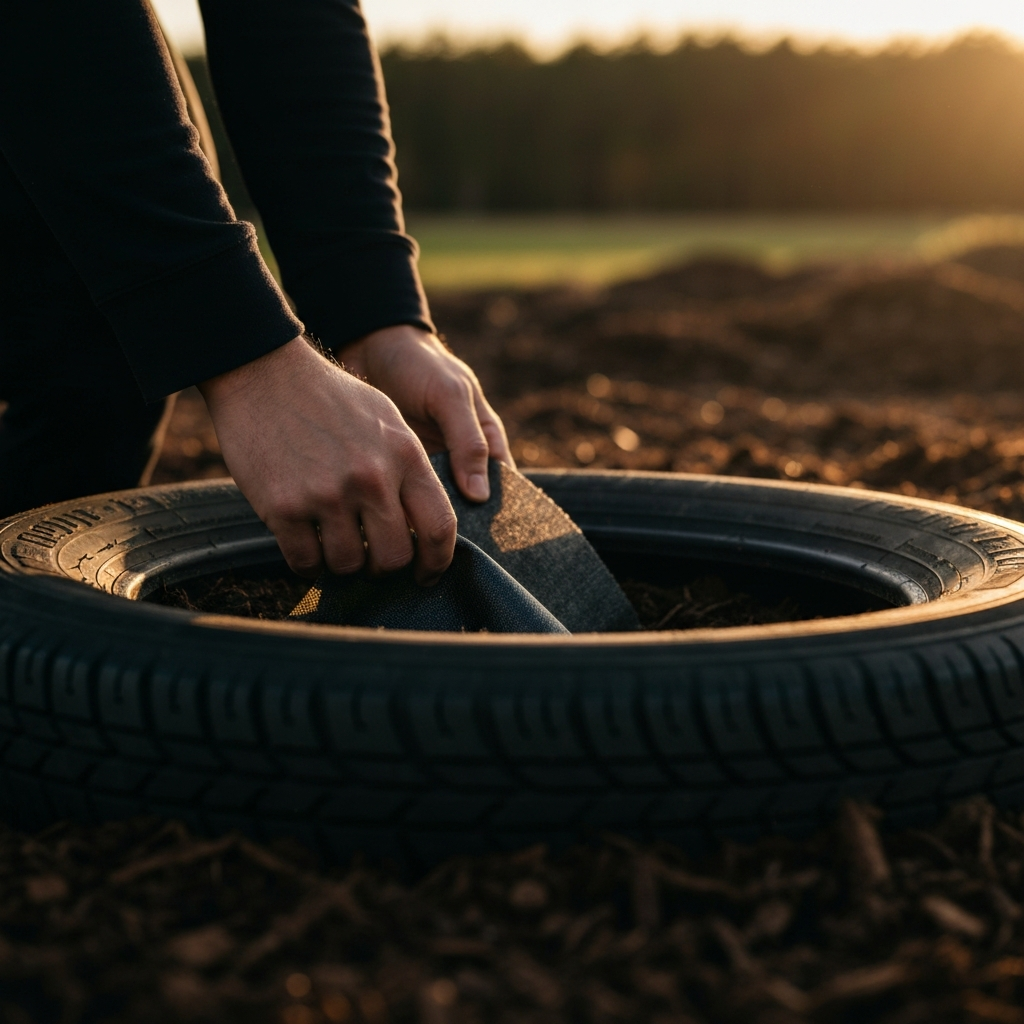
Step 3: Preparing the Planting Area
Creating a Home for Your Plants
Before you can start planting, you need to prepare the planting area inside the tire. First, ensure that the tire has drainage holes to prevent waterlogging. If it doesn't, drill several holes in the bottom of the tire using a power drill. Line the inside of the tire with landscape fabric to prevent soil from escaping through the drainage holes. Fill the tire with a high-quality potting mix that is appropriate for the plants you intend to grow. Avoid using garden soil, as it can become compacted and inhibit drainage. Add a layer of mulch on top of the soil to help retain moisture and suppress weeds.
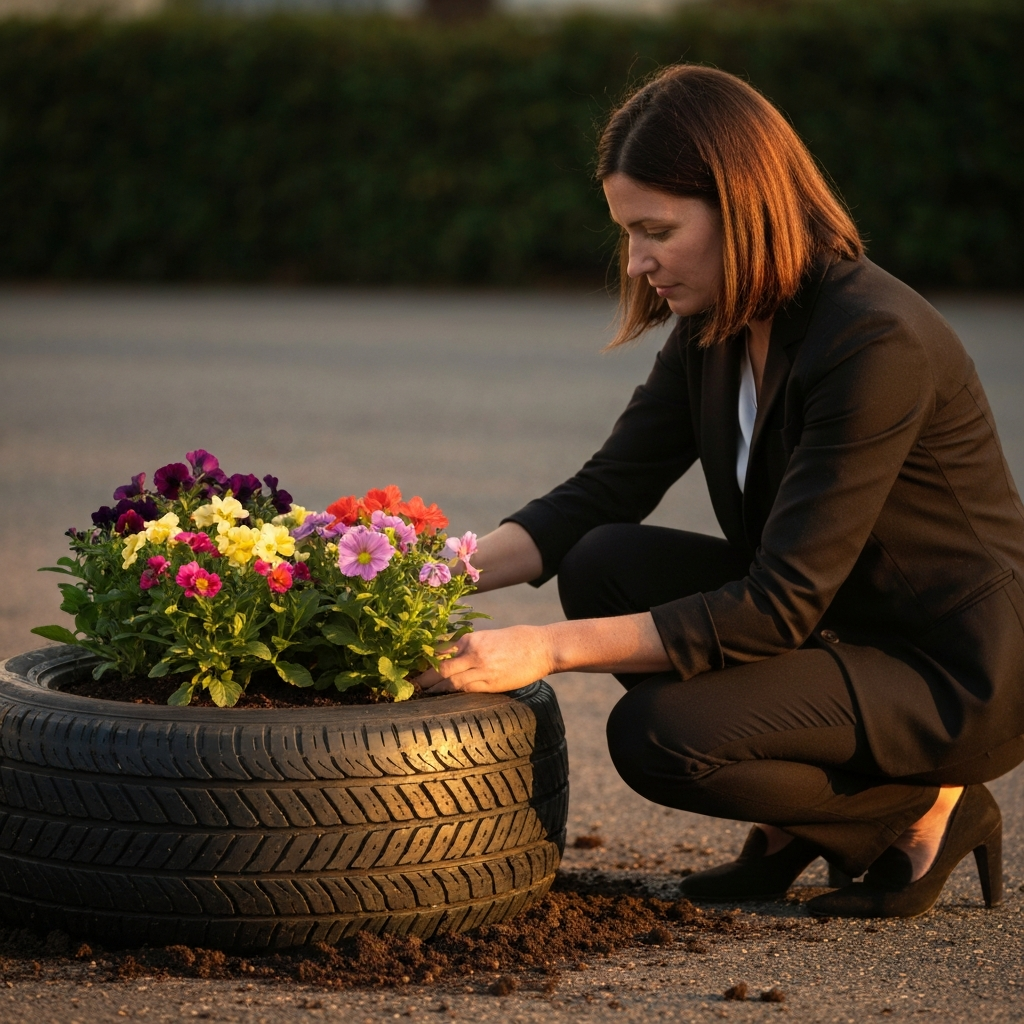
Step 4: Planting and Placement
Bringing Your Garden to Life
Now it's time to bring your garden to life! Choose plants that are well-suited to your climate and growing conditions. Consider the size and shape of the plants, as well as their color and texture. Arrange the plants in the tire planter, taking into account their individual needs for sunlight and water. Water the plants thoroughly after planting and continue to monitor their moisture levels regularly. Place your tire planter in a sunny location and enjoy the beauty of your upcycled creation. Consider planting cascading flowers to create a visually stunning effect. Remember to fertilize regularly to keep your plants healthy and thriving.
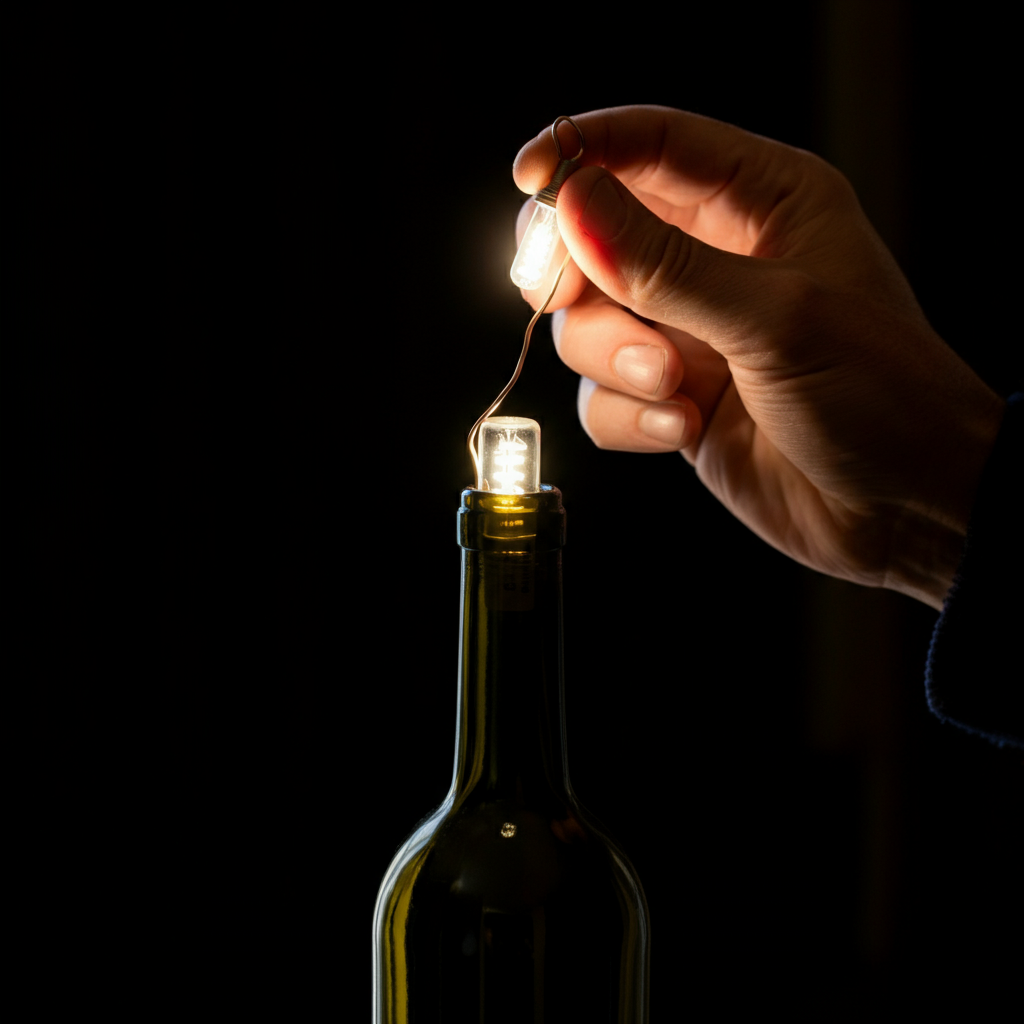
Step 5: Wine Bottle Wonders: Creating a Unique Light Fixture
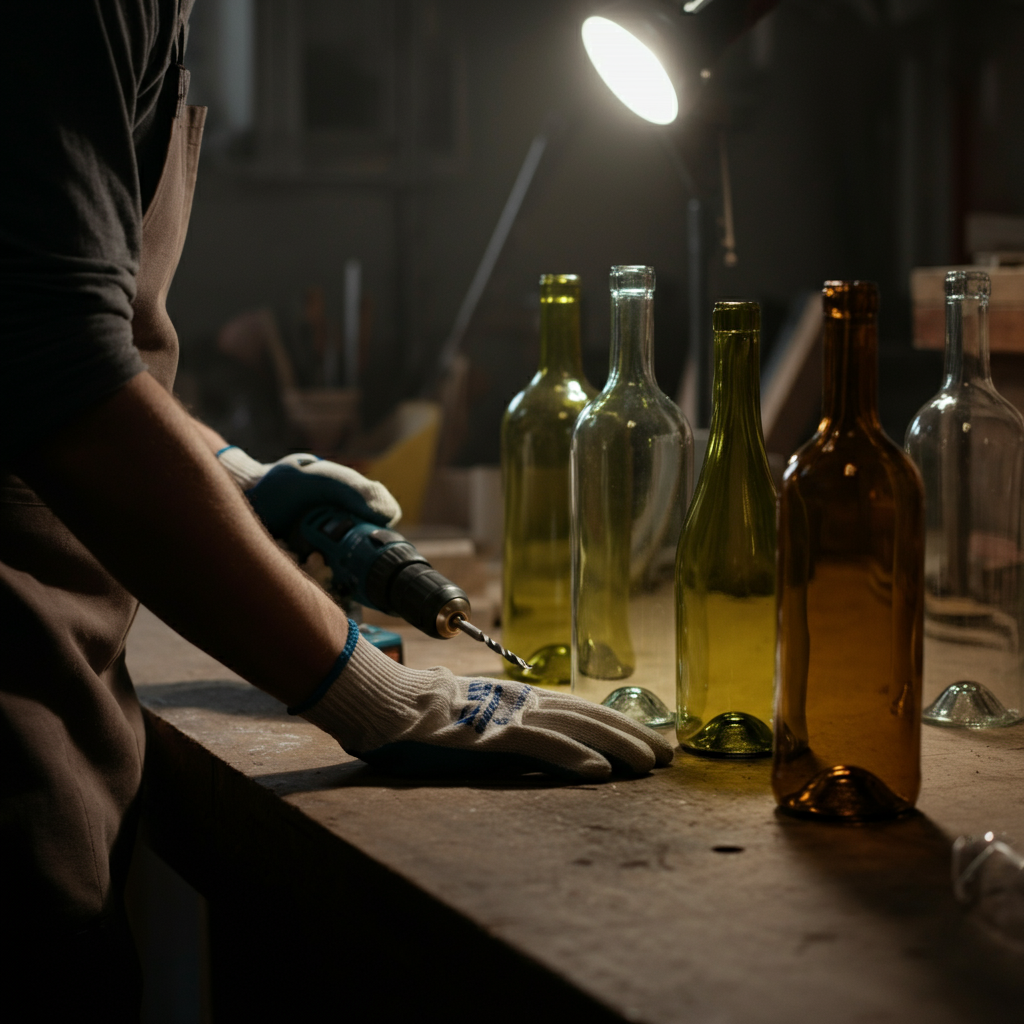
Preparing the Bottles
Transforming wine bottles into a captivating light fixture requires careful preparation. First, collect several wine bottles of varying colors and shapes for visual interest. Thoroughly clean the bottles inside and out to remove any residue or labels. Soaking the bottles in warm, soapy water can help loosen stubborn labels. Once the bottles are clean and dry, you will need to carefully drill a hole in the bottom of each bottle to accommodate the electrical wiring. This requires specialized drill bits designed for glass and a slow, steady hand. Always wear safety glasses and gloves when working with glass.
Step 6: Wiring and Assembly
Connecting the Lights
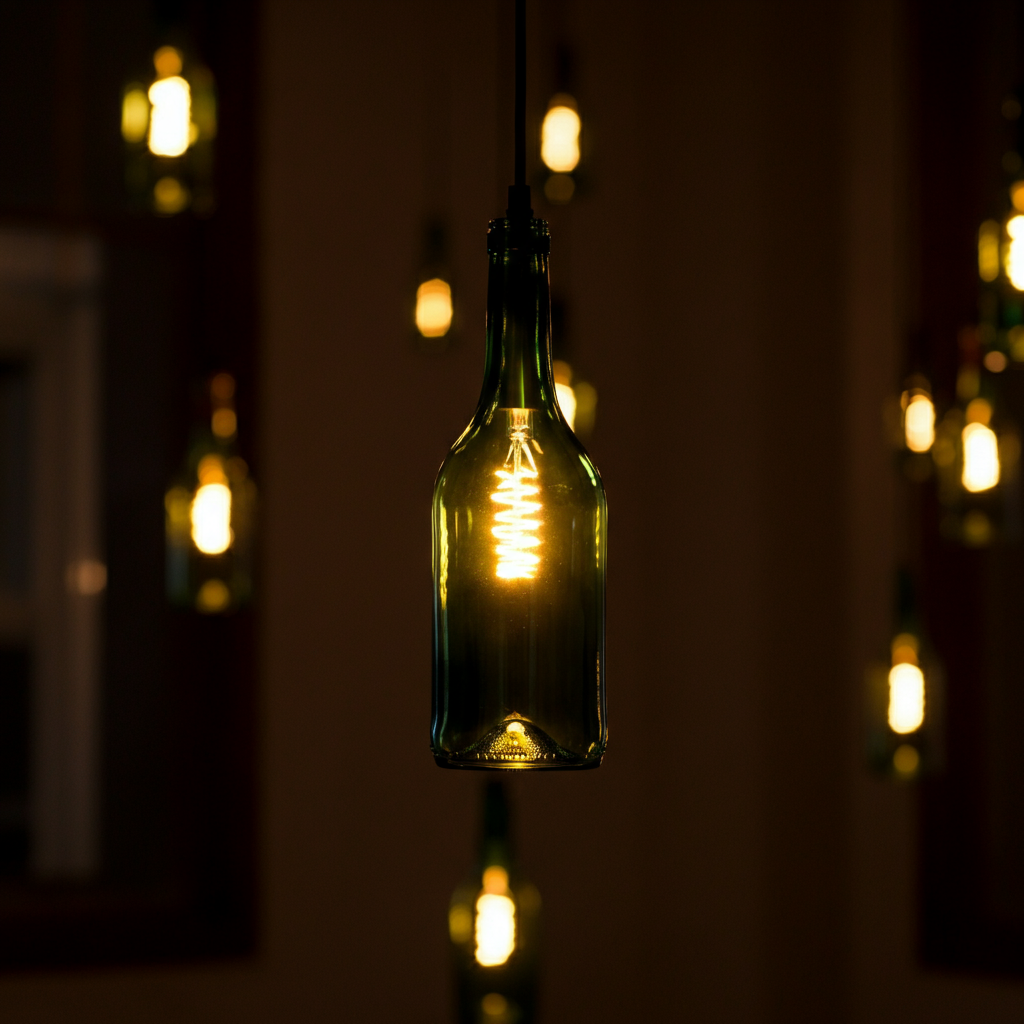
Wiring the light fixture requires some electrical knowledge. If you're not comfortable working with electricity, it's best to consult a qualified electrician. Carefully thread the electrical wiring through the hole in the bottom of each bottle. Attach a light socket to the end of the wiring inside each bottle. Use low-wattage LED bulbs to prevent the bottles from overheating. Once the wiring is complete, connect all the wires to a central junction box or a pre-made light fixture canopy. Securely mount the bottles to the canopy using appropriate hardware. Ensure that all connections are tight and properly insulated.
Step 7: Hanging and Enjoying Your Creation
Admiring Your Upcycled Masterpiece
Now it's time to hang your upcycled light fixture and enjoy the fruits of your labor. Choose a location that will showcase the beauty of the fixture. Securely mount the canopy to the ceiling or wall using appropriate hardware. Connect the wiring to the electrical system, ensuring that the power is turned off at the breaker before making any connections. Once the fixture is securely mounted and the wiring is connected, turn on the power and admire your unique and stunning upcycled light fixture. The soft, diffused light emanating from the bottles will create a warm and inviting ambiance.
Tools or Materials Required
- Tires
- Exterior-grade paints
- Potting soil
- Landscape fabric
- Wine Bottles
- Glass drill bits
- Light sockets
- Electrical wiring
- Light fixture canopy
- Safety glasses
- Gloves
Common Mistakes to Avoid
- Using improper paint types for tires
- Forgetting drainage holes in planters
- Overwatering plants
- Using excessive wattage bulbs in the wine bottle fixture
- Improper wiring without qualified help
Safety Considerations
- Always wear safety glasses and gloves when working with power tools or glass.
- Disconnect power before working on electrical projects.
- Use caution when drilling into glass, as it can shatter.
- Ensure proper ventilation when working with paints and adhesives.
FAQ Section
Q: Where can I find old tires for upcycling?
A: Tire shops are often willing to give away old tires. You can also check online marketplaces or ask friends and neighbors.
Q: What type of paint is best for upcycling projects?
A: Exterior-grade acrylic paints or specialized rubber paints are ideal for tires. For other materials, choose paints that are appropriate for the surface.
Q: How do I drill a hole in a glass bottle?
A: Use a diamond-tipped drill bit specifically designed for glass. Apply constant pressure and use water as a lubricant to prevent overheating and cracking.
Conclusion
Upcycling is a fantastic way to reduce waste, express your creativity, and add unique character to your home and garden. By following these simple steps and incorporating the expert tips provided, you can transform discarded materials into beautiful and functional items that will be the envy of your friends and neighbors. Remember to prioritize safety and always consult with professionals when dealing with electrical work or other potentially hazardous tasks. Embrace the spirit of sustainability and let your imagination run wild!