Art isn't confined to canvases and sculpting studios. In fact, some of the most compelling and innovative art pieces are born from reimagining the mundane. This guide will show you how to transform ordinary items found around your home into captivating works of art, fostering creativity and sparking a new appreciation for the world around you.
We'll explore various techniques, from simple assemblage to intricate repurposing, all designed to unlock your artistic potential. Prepare to see your surroundings with fresh eyes and discover the hidden beauty within the everyday. The key is to approach each object with curiosity and a willingness to experiment.
This journey is about more than just creating visually appealing pieces; it's about challenging perceptions and finding artistic expression in unexpected places. By embracing the principles outlined in this guide, you'll be well on your way to crafting unique and thought-provoking art from the most unassuming materials.
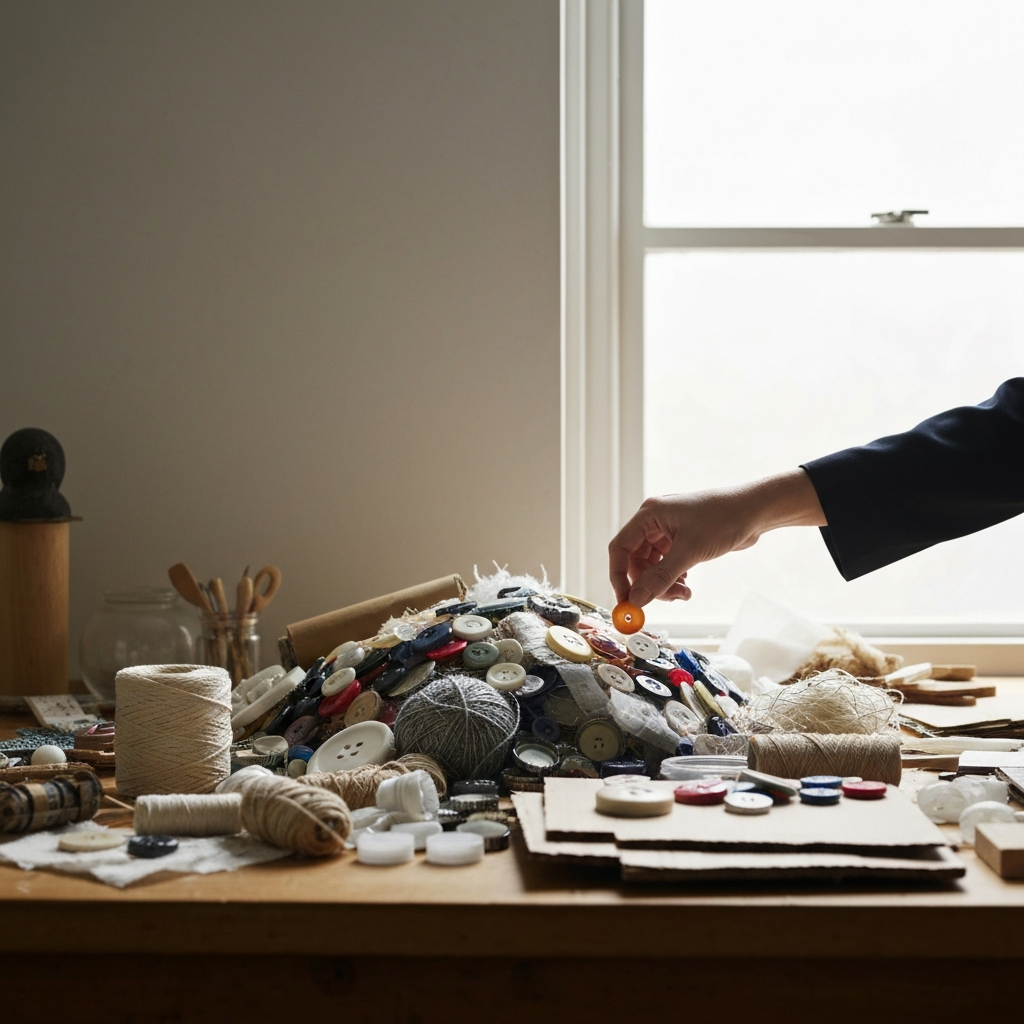
Step 1: Gathering Your Materials
The first step is to gather a diverse collection of everyday objects. Think beyond the obvious: consider items like discarded plastic bottles, used cardboard boxes, old newspapers, broken toys, buttons, fabric scraps, and even food packaging. Variety is crucial; the wider the range of materials, the greater the potential for creative combinations. Don't underestimate the power of seemingly useless items – a rusty nail, a bent paperclip, or a torn piece of paper can all become integral parts of your artwork.
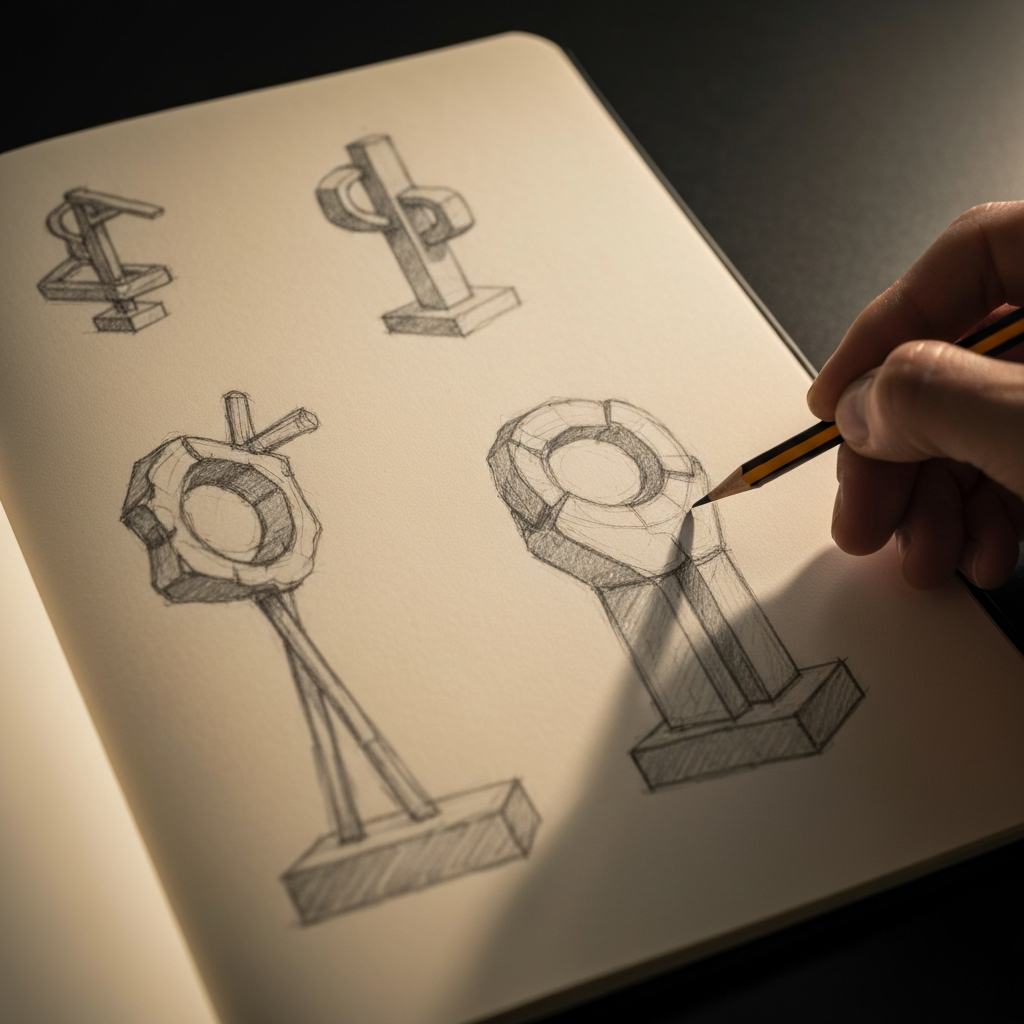
Step 2: Brainstorming and Sketching
Before diving into the creation process, take some time to brainstorm and sketch out your ideas. Experiment with different arrangements of your collected objects. Consider the themes you want to explore, the emotions you want to evoke, and the stories you want to tell. Don't be afraid to think outside the box and challenge conventional notions of art. Your sketches don't need to be perfect – they're simply a tool to visualize your ideas and explore different possibilities. Try sketching several variations of a concept before settling on a final design.
Step 3: Preparing Your Objects
Once you have a clear vision, it's time to prepare your chosen objects. This may involve cleaning, cutting, shaping, or painting them. For example, plastic bottles can be cut into interesting shapes and then painted with vibrant colors. Cardboard boxes can be flattened and used as a base for collage or assemblage. Safety is paramount when working with tools, so always wear appropriate protective gear, such as gloves and eye protection. Consider sanding down any sharp edges or rough surfaces to prevent injury.

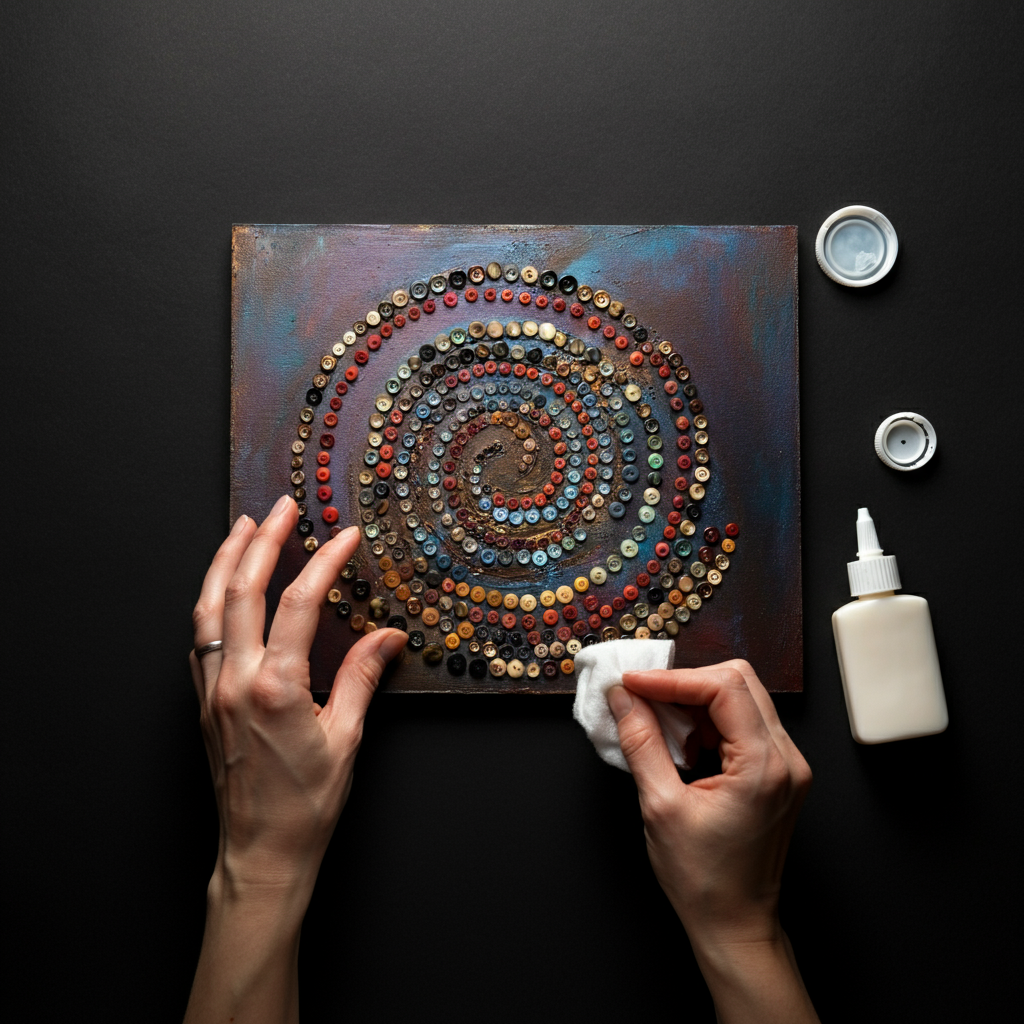
Step 4: Assembling Your Artwork
Now comes the exciting part: bringing your vision to life! Begin assembling your prepared objects according to your sketches. Use a variety of adhesives, such as glue, tape, or epoxy, depending on the materials you're working with. Consider the balance, composition, and overall aesthetic of your piece. Don't be afraid to make adjustments along the way; the creative process is often iterative and involves experimentation. Think about layering different objects to create depth and visual interest.
Step 5: Adding Finishing Touches
Once your artwork is assembled, add any necessary finishing touches. This could involve painting, varnishing, adding embellishments, or simply cleaning up any excess glue or debris. Consider the overall impact of your piece and make any final adjustments to enhance its aesthetic appeal. A well-placed detail can elevate your artwork from ordinary to extraordinary. Experiment with different textures and finishes to create a unique and captivating visual experience.
Tools or Materials Required
- A diverse collection of everyday objects
- Adhesives (glue, tape, epoxy)
- Cutting tools (scissors, knives, saws)
- Painting supplies (paints, brushes, varnishes)
- Protective gear (gloves, eye protection)
- Sketchbook and pencils
Common Mistakes to Avoid
- Failing to plan and sketch your ideas beforehand.
- Using inappropriate adhesives that don't hold the materials together properly.
- Neglecting safety precautions when working with tools.
- Overcrowding your artwork with too many objects.
- Ignoring the balance and composition of your piece.
Safety Considerations
- Always wear appropriate protective gear when working with tools.
- Use sharp tools with caution and supervise children closely.
- Work in a well-ventilated area when using paints, glues, or varnishes.
- Dispose of waste materials responsibly.
- Be mindful of potential hazards when working with electrical components.
Pro Tips
- Embrace experimentation and don't be afraid to make mistakes.
- Look for inspiration in nature, art, and everyday life.
- Collaborate with other artists to share ideas and techniques.
- Document your creative process through photography or video.
- Don't be afraid to challenge conventional notions of art.
FAQ Section
- What if I don't consider myself artistic?
- Everyone has the potential to be creative! This process is about exploration and having fun. Don't worry about perfection; just focus on expressing yourself.
- Where can I find inspiration for my artwork?
- Inspiration can be found everywhere! Look to nature, art, design, and even your own personal experiences. Browse online galleries, visit museums, or simply take a walk and observe the world around you.
- What if my artwork doesn't turn out as planned?
- That's okay! Sometimes the most unexpected results can be the most rewarding. Embrace the imperfections and learn from your mistakes. Every artwork is a learning opportunity.
Conclusion
Turning everyday objects into stunning art is a rewarding process that allows you to tap into your creativity and see the world with fresh eyes. By following the steps outlined in this guide, you can transform mundane materials into captivating works of art that express your unique vision and perspective. Remember to embrace experimentation, prioritize safety, and most importantly, have fun! The possibilities are endless when you unlock the hidden potential within the everyday.