Art doesn't always require expensive materials or specialized equipment. In fact, some of the most compelling and thought-provoking art pieces are created using nothing more than the ordinary items we encounter daily. This guide will show you how to transform commonplace objects into extraordinary works of art, fostering creativity and challenging your perception of the world around you.
The beauty of this approach lies in its accessibility. You don't need formal training or a dedicated studio. Your kitchen, your backyard, or your local thrift store can become treasure troves of inspiration and raw materials. By embracing resourcefulness and imagination, you can unlock your artistic potential and create art that is both unique and meaningful.
Get ready to explore the transformative power of art and discover how to see the world through an artist's eye. Let's begin our journey of turning the mundane into the magnificent!
Step 1: Gathering Your Materials
The first step in creating art from everyday objects is to gather your materials. Think beyond the traditional art supplies and consider anything that catches your eye. This could include old newspapers, discarded plastic bottles, broken toys, dried leaves, fabric scraps, buttons, and even food packaging. The more diverse your collection, the more options you'll have for creating unique textures, shapes, and compositions. Don't be afraid to experiment with unconventional materials. The unexpected combination of elements can often lead to the most interesting results.
Step 2: Finding Inspiration
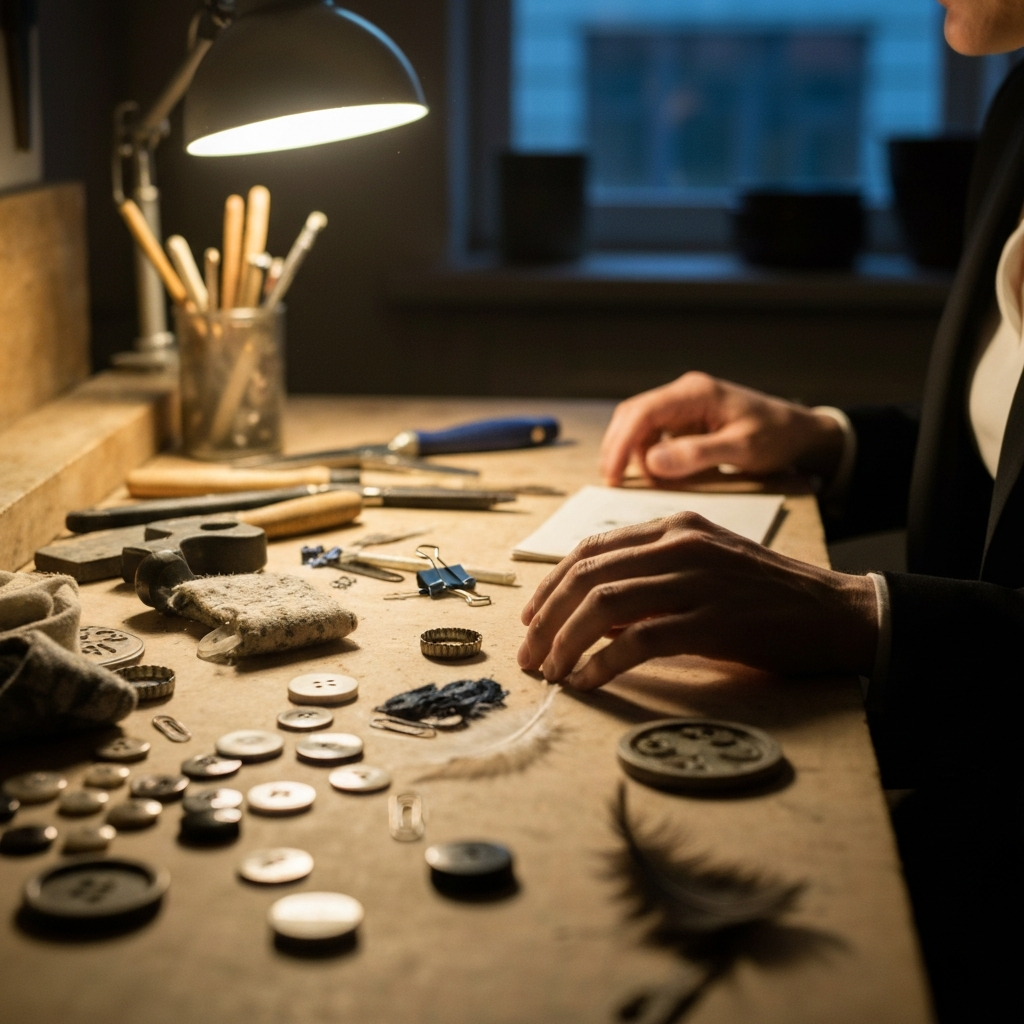
Once you have a collection of materials, it's time to find inspiration. Look at the objects individually and consider their potential. What shapes do they suggest? What textures do they offer? How can they be combined to create something new? Consider drawing inspiration from nature, abstract art, or even other artists who work with found objects. Try sketching out ideas or creating small mock-ups to visualize your final artwork. Consider the "Recreate your very first date down to the last detail" idea - can you recreate a scene from that date using only found objects?

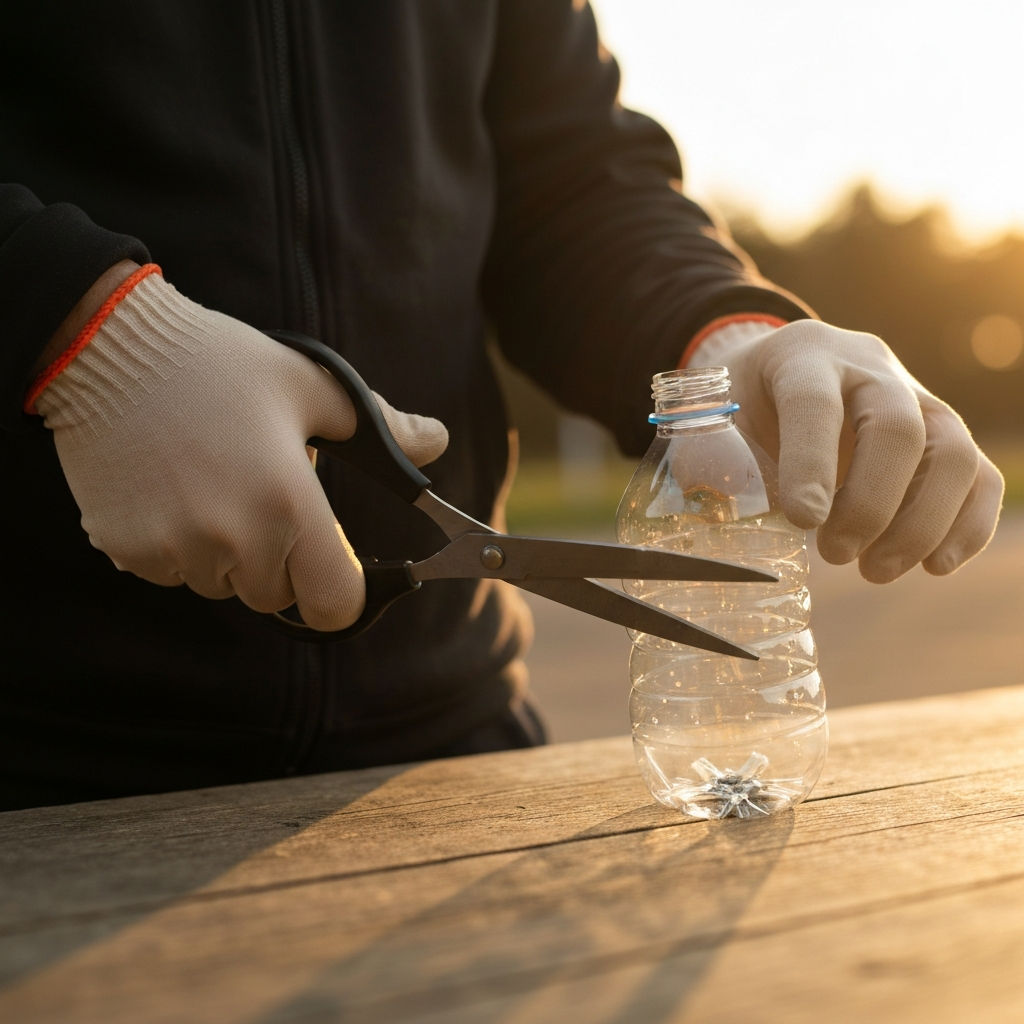
Step 3: Preparing Your Objects
Before you start assembling your artwork, it's important to prepare your objects. This may involve cleaning, cutting, painting, or otherwise altering them to suit your vision. Safety is crucial, especially when working with sharp objects or power tools. Always wear appropriate safety gear, such as gloves and eye protection. If you're working with plastic, consider sanding it down to create a better surface for paint or glue. For fabric scraps, you may want to iron them to remove wrinkles and create a smoother texture. Cleaning objects is also crucial.
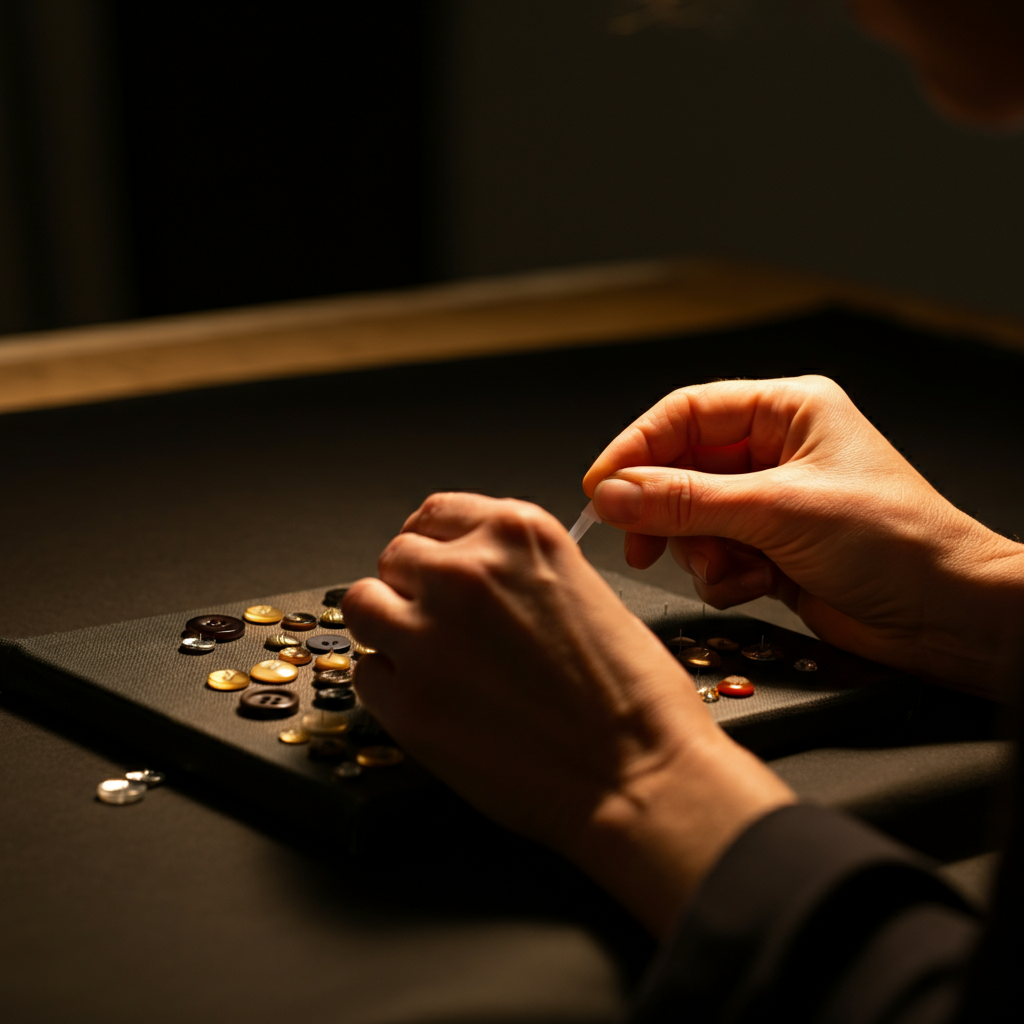
Step 4: Assembling Your Artwork
Now comes the fun part: assembling your artwork. There are many different techniques you can use, depending on the materials you're working with and the desired effect. Glue is often a good choice for adhering lightweight objects to a surface, while screws or nails may be necessary for heavier items. Consider using wire or string to create intricate connections between objects. Experiment with different arrangements and compositions until you find something that resonates with you. Think about creating a couple's bucket list using images cut from magazines and recycled materials.
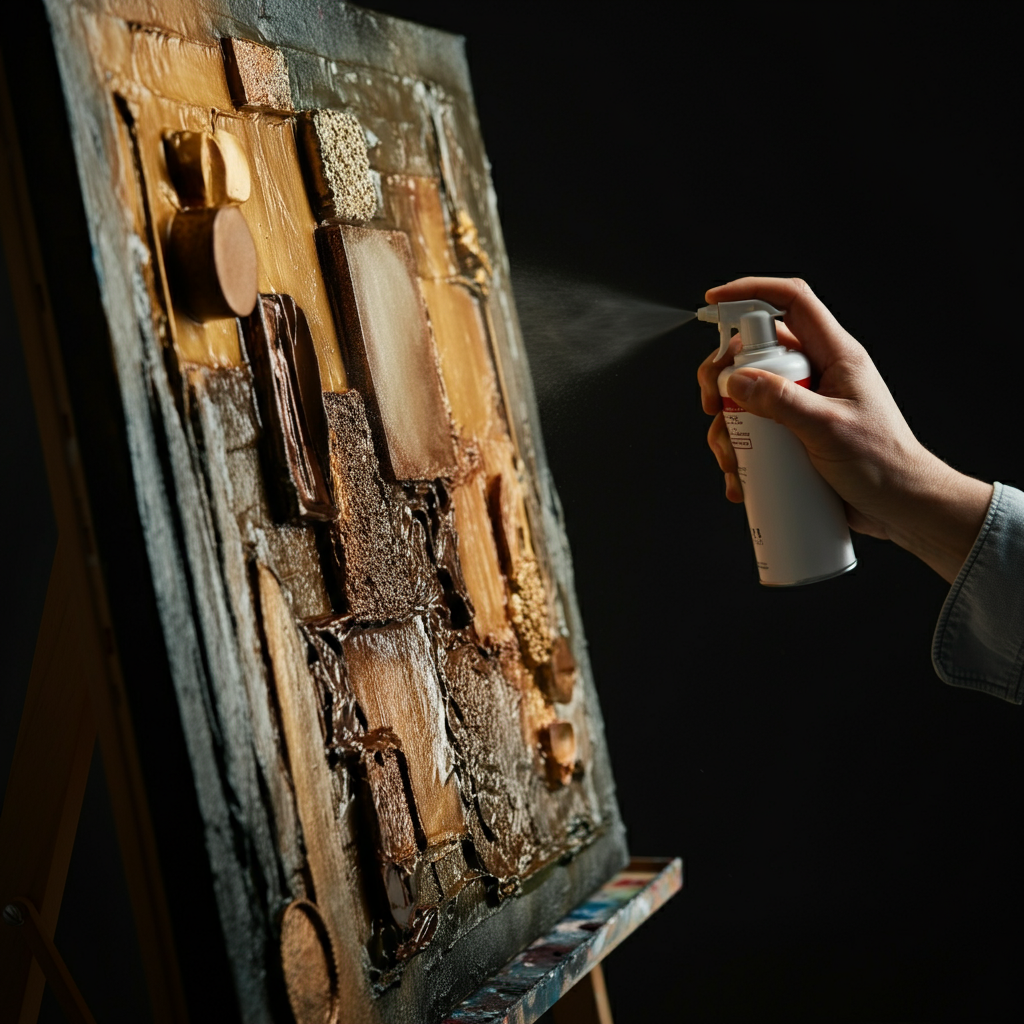
Step 5: Adding Finishing Touches
Once your artwork is assembled, it's time to add the finishing touches. This could involve painting, varnishing, or adding other embellishments to enhance the overall effect. Consider using spray paint to create a uniform color palette or adding highlights and shadows to create depth. Varnish can protect your artwork from dust and moisture, while also adding a glossy or matte finish. Don't be afraid to experiment with different techniques to achieve the desired look and feel. Think about adding glitter or metallic paint to create a sense of glamour.
Tools or Materials Required
- Assorted everyday objects (newspapers, plastic bottles, fabric scraps, buttons, etc.)
- Glue (various types, depending on the materials)
- Scissors or craft knife
- Paint (acrylic, spray paint, etc.)
- Varnish (optional)
- Wire or string
- Safety glasses
- Gloves
- Canvas or other backing surface
Common Mistakes to Avoid
- Using materials that are not properly cleaned or prepared.
- Neglecting safety precautions when working with sharp objects or power tools.
- Overcomplicating the design. Sometimes, simplicity is key.
- Failing to consider the long-term stability of the artwork.
- Being afraid to experiment.
Safety Considerations
When working with everyday objects, it's important to prioritize safety. Always wear appropriate safety gear, such as gloves and eye protection. Be careful when using sharp objects or power tools. Avoid using materials that are toxic or flammable. If you're working with children, supervise them closely and ensure they understand the safety guidelines.
Pro Tips
- Start with a simple project to get a feel for the materials and techniques.
- Don't be afraid to deconstruct objects and use only certain parts.
- Use texture to add visual interest to your artwork.
- Consider the environmental impact of your materials and try to use recycled or repurposed items whenever possible.
- Document your process with photos or videos to share with others or use as inspiration for future projects.
FAQ Section
Q: What kind of glue should I use?
A: The best type of glue depends on the materials you're working with. For lightweight objects like paper or fabric, craft glue or hot glue may be sufficient. For heavier objects like plastic or metal, epoxy or construction adhesive may be necessary.
Q: How can I protect my artwork from dust and moisture?
A: Varnish is a great way to protect your artwork from the elements. Choose a varnish that is appropriate for the materials you've used and apply it according to the manufacturer's instructions.
Q: Can I sell my artwork made from everyday objects?
A: Absolutely! Many artists make a living selling their unique creations made from found objects. Consider showcasing your work at art fairs, online marketplaces, or local galleries.
Conclusion
Turning everyday objects into epic art is a rewarding and accessible creative outlet. By embracing resourcefulness, imagination, and a willingness to experiment, you can transform the mundane into the magnificent. Remember to prioritize safety, find inspiration in the world around you, and don't be afraid to make mistakes. With practice and persistence, you can unlock your artistic potential and create art that is both unique and meaningful. So, gather your materials, unleash your creativity, and start turning those everyday objects into extraordinary works of art!