Technology, despite its advancements, can be frustratingly unreliable. From your laptop freezing mid-presentation to your phone refusing to connect to the Wi-Fi, tech problems are a modern-day inevitability. But fear not! You don't need to be a computer science graduate to diagnose and solve most common tech issues. This guide will equip you with a systematic approach, transforming you from a tech-troubled user into a confident troubleshooter.
We'll walk you through a series of proven steps, starting with the fundamentals and progressing to more advanced techniques. Remember, patience and a willingness to learn are your greatest assets. The key to effective troubleshooting is not brute force, but a methodical and logical process. So, let's dive in and empower you to conquer your tech challenges!
This guide focuses on software and connectivity troubleshooting. Repairing broken screens or damaged hardware requires specialized tools and expertise best left to professionals.
Step 1: Identify the Problem Clearly
Before you start randomly clicking buttons, take a moment to clearly define the problem. What exactly is happening (or not happening)? When did the issue start? What were you doing immediately before the problem arose? The more specific you can be in describing the problem, the easier it will be to find a solution. Avoid vague statements like "the internet is broken." Instead, say, "I can't access Google.com, but I can access other websites like Wikipedia." This level of detail narrows down the potential causes significantly. Documenting the steps you take and their outcomes is also crucial.

Step 2: The Power of Restarting
It sounds cliché, but restarting your device is often the most effective solution. Restarting clears the device's memory, closes all running programs, and can resolve temporary glitches. Think of it as giving your device a fresh start. Before you attempt any complex troubleshooting steps, always try restarting the affected device first. This applies to computers, smartphones, routers, and even smart appliances. Make sure to completely power down the device, wait a few seconds, and then power it back on.

Step 3: Check the Connections
Connectivity issues are a common source of frustration. If you're experiencing problems with your internet connection, Wi-Fi, or peripherals, start by checking the physical connections. Ensure that all cables are securely plugged in. For Wi-Fi, make sure you're connected to the correct network and that the password is entered correctly. Try connecting to the internet via Ethernet cable directly to your router to rule out Wi-Fi issues. Sometimes, a loose cable or a faulty connector is all that's causing the problem. Also, check that the router and modem are correctly plugged into power and that all the lights are illuminated correctly. A visual inspection of cables and ports can often reveal the culprit.

Step 4: Google is Your Friend
When faced with a tech problem, don't hesitate to use search engines like Google or DuckDuckGo. Chances are, someone else has encountered the same issue and posted a solution online. When searching, be as specific as possible with your search terms. Include the exact error message you're seeing, the name of the device or software you're using, and a brief description of the problem. For example, instead of searching "computer won't connect to Wi-Fi," try "Windows 10 cannot connect to Netgear router with WPA2 encryption." Be critical of the search results and prioritize official support pages or reputable tech websites. Forums can be helpful, but be wary of advice from unverified sources.

Step 5: Update Your Software
Outdated software can often lead to compatibility issues and performance problems. Make sure your operating system, drivers, and applications are up to date. Most devices and software have built-in update mechanisms. Check for updates regularly to ensure you have the latest bug fixes and security patches. Enabling automatic updates is a good way to prevent outdated software from causing problems in the first place. Remember to back up your data before performing any major software updates.

Step 6: Check Resource Usage
Slow performance can often be attributed to high resource usage. Open your task manager (Windows) or Activity Monitor (macOS) to see which programs are consuming the most CPU, memory, or disk space. If you identify a resource-hogging application, try closing it or uninstalling it if you no longer need it. Be cautious about closing system processes, as this can lead to instability. It's often useful to close any unnecessary applications running in the background.
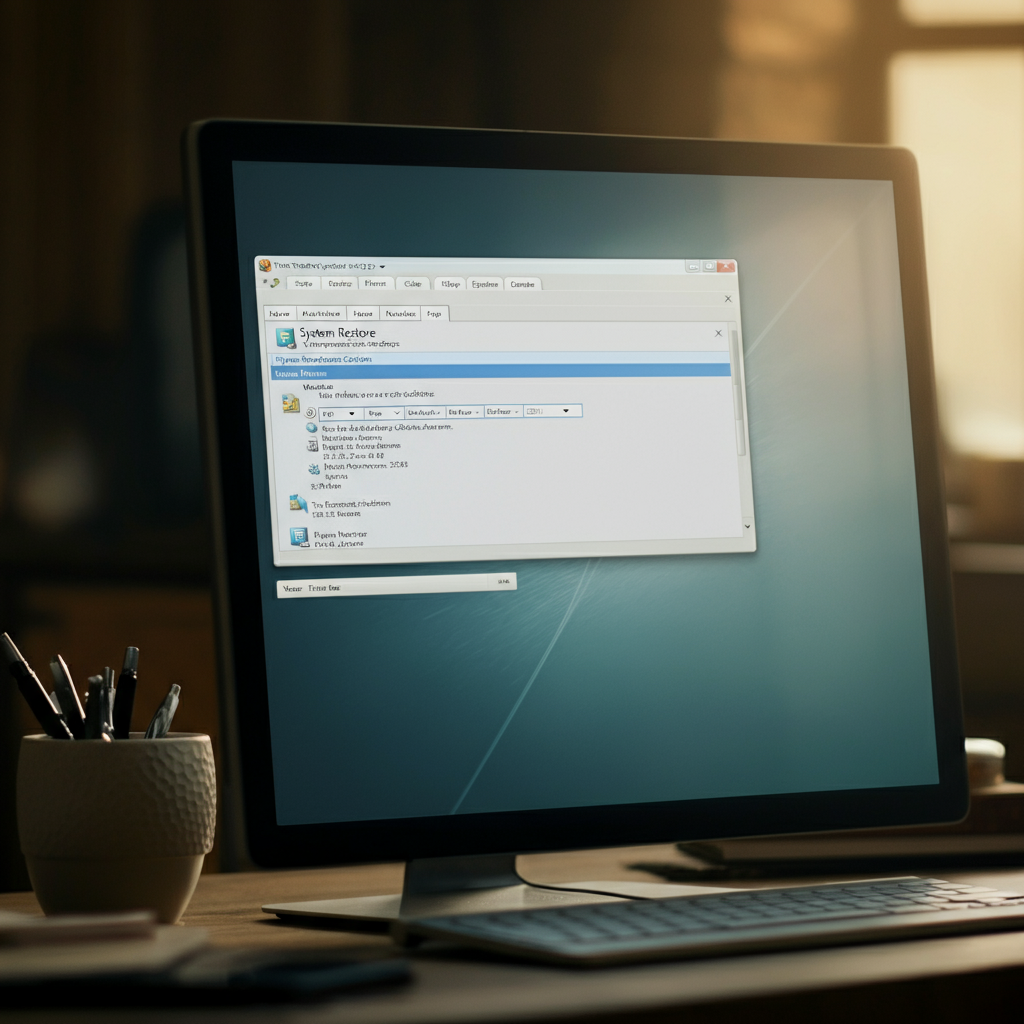
Step 7: System Restore (Windows) / Time Machine (macOS)
If you've recently made changes to your system and suspect that they're causing the problem, you can try restoring your system to a previous state. Windows has System Restore, and macOS has Time Machine. These tools allow you to revert your system to a point in time before the problem occurred. It's essential to have System Restore or Time Machine enabled to use these features. Note that restoring your system will undo any changes made after the restore point, so back up any important data first.
Common Mistakes to Avoid
- Ignoring error messages: Error messages often provide valuable clues about the nature of the problem. Read them carefully!
- Trying too many solutions at once: Stick to one potential solution at a time. This makes it easier to identify the cause of the problem.
- Panicking: Take a deep breath and approach the problem calmly. Panic can lead to rash decisions and make the problem worse.
- Forgetting to document: keep track of what you have tried and the results you got, this will make troubleshooting much easier.
Pro Tips
- Create a bootable USB drive with troubleshooting tools.
- Learn basic command-line skills for your operating system.
- Join online communities for tech support.
Conclusion
Troubleshooting your tech doesn't have to be a daunting task. By following these steps and adopting a methodical approach, you can solve many common tech problems yourself. Remember to clearly define the problem, try simple solutions first, and use the resources available to you. With a little patience and persistence, you can become a tech troubleshooting pro!