Is your trusty old PC feeling a little sluggish? Don't resign it to the landfill just yet! With a few strategic upgrades, you can significantly boost its performance and extend its lifespan. This guide will walk you through the most effective ways to revitalize your aging machine, making it feel almost new again. We'll cover everything from software tweaks to hardware enhancements, providing clear, step-by-step instructions to help you achieve optimal results.
Many older PCs have perfectly capable components that are simply being held back by outdated software or bottlenecks in specific areas. By identifying these problem areas and addressing them with targeted upgrades, you can dramatically improve your PC's speed, responsiveness, and overall usability. Even small changes can make a big difference, allowing you to enjoy your favorite programs and games without frustrating slowdowns.
Before you begin, it's important to back up all your important data. Upgrading your PC involves making changes to its software and hardware, and while the risk is minimal, it's always better to be safe than sorry. You can use an external hard drive or cloud storage to create a backup of your files.
Step 1: Declutter Your Hard Drive
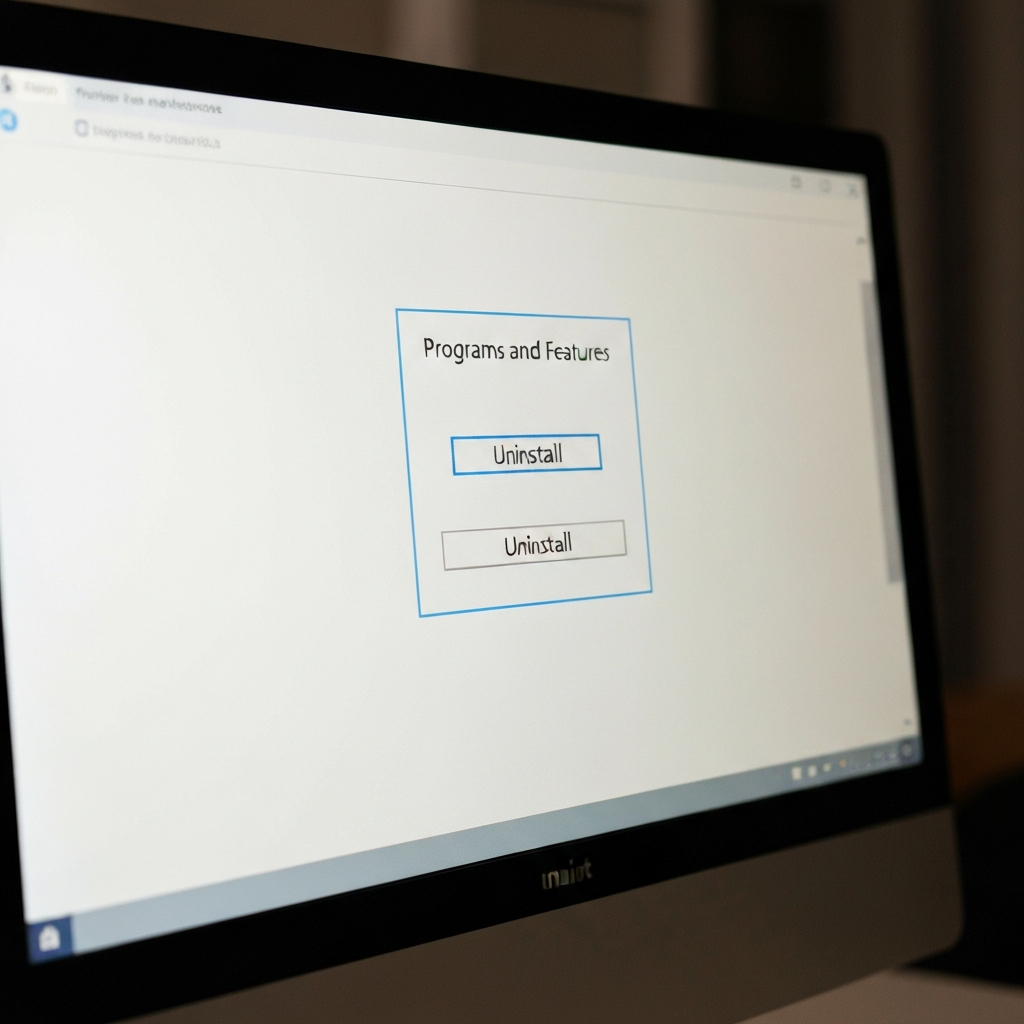
Step 1.1: Uninstall Unnecessary Programs
Over time, PCs tend to accumulate a lot of unnecessary software. Programs you installed once and never used again, trial versions that have expired, and bloatware pre-installed by the manufacturer can all take up valuable space and resources. Go through your list of installed programs and uninstall anything you don't need. In Windows, you can find this list in the "Programs and Features" section of the Control Panel or in the "Apps" section of the Settings app.
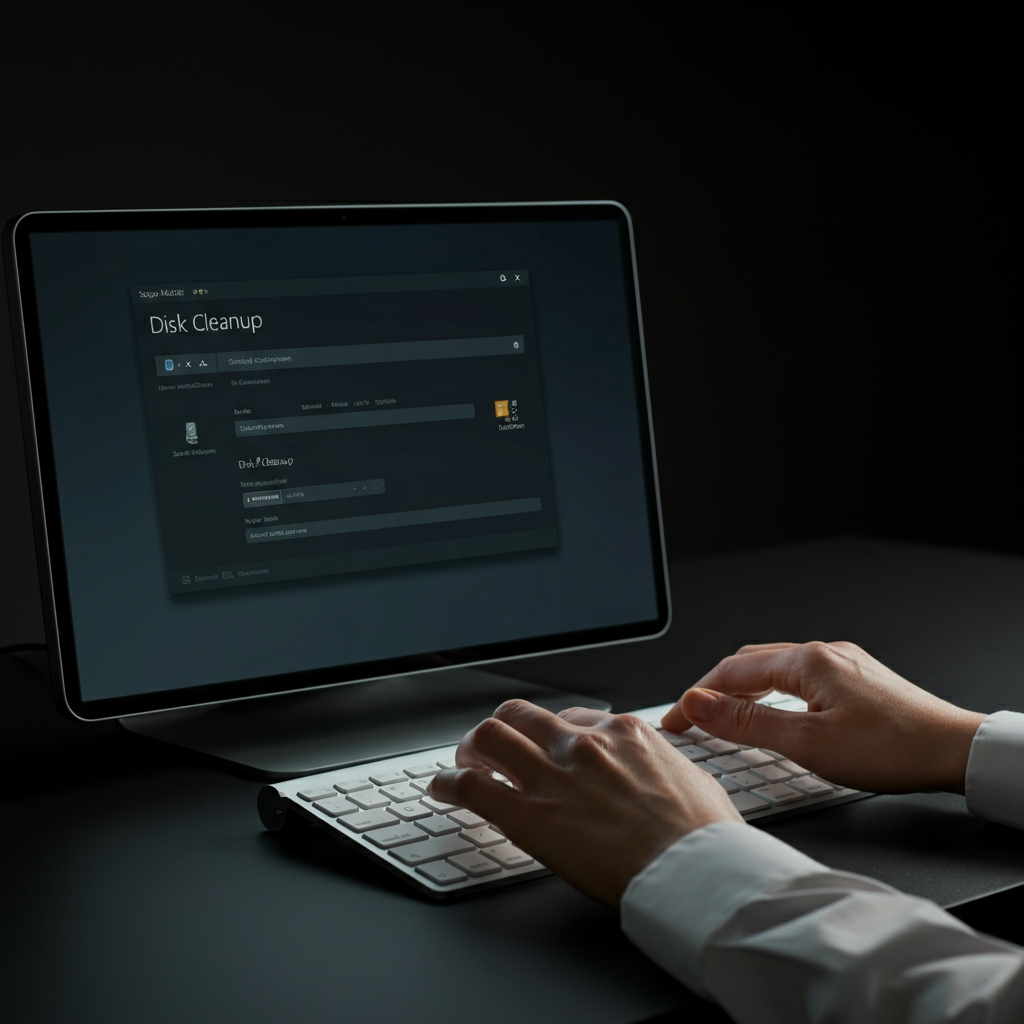
Step 1.2: Remove Temporary Files
Temporary files are created by Windows and other programs to store data temporarily. Over time, these files can accumulate and take up a significant amount of disk space. Windows has a built-in Disk Cleanup tool that can help you remove these files. Run Disk Cleanup regularly to keep your hard drive free of clutter. You can find Disk Cleanup by searching for it in the Start menu.
Step 1.3: Defragment Your Hard Drive (HDD Only!)
If you have a traditional hard disk drive (HDD), defragmenting it can improve performance. Over time, files on an HDD can become fragmented, meaning that the different parts of a file are stored in different locations on the disk. This can slow down access times. Defragmenting rearranges the files so that they are stored in contiguous blocks, which can speed up access times. Do NOT defragment an SSD (Solid State Drive) as it can shorten its lifespan. Windows has a built-in defragmentation tool that you can find by searching for "defragment" in the Start menu. If you have an SSD, this tool will optimize it instead of defragmenting.
Step 2: Upgrade Your RAM
Step 2.1: Determine Your Current RAM
Random Access Memory (RAM) is a type of memory that your computer uses to store data that is actively being used. More RAM can allow your computer to run more programs at the same time without slowing down. To determine how much RAM you have, open Task Manager (Ctrl+Shift+Esc) and look at the "Memory" section on the "Performance" tab. You should also note the type of RAM (DDR3, DDR4, etc.) as you'll need to purchase compatible RAM.

Step 2.2: Determine Your Motherboard's Maximum RAM Capacity
Your motherboard has a maximum amount of RAM that it can support. To find this information, you can consult your motherboard's manual or the manufacturer's website. Knowing the maximum RAM capacity will prevent you from buying RAM that your computer cannot use. You'll also want to check how many RAM slots your motherboard has and how many are currently occupied.
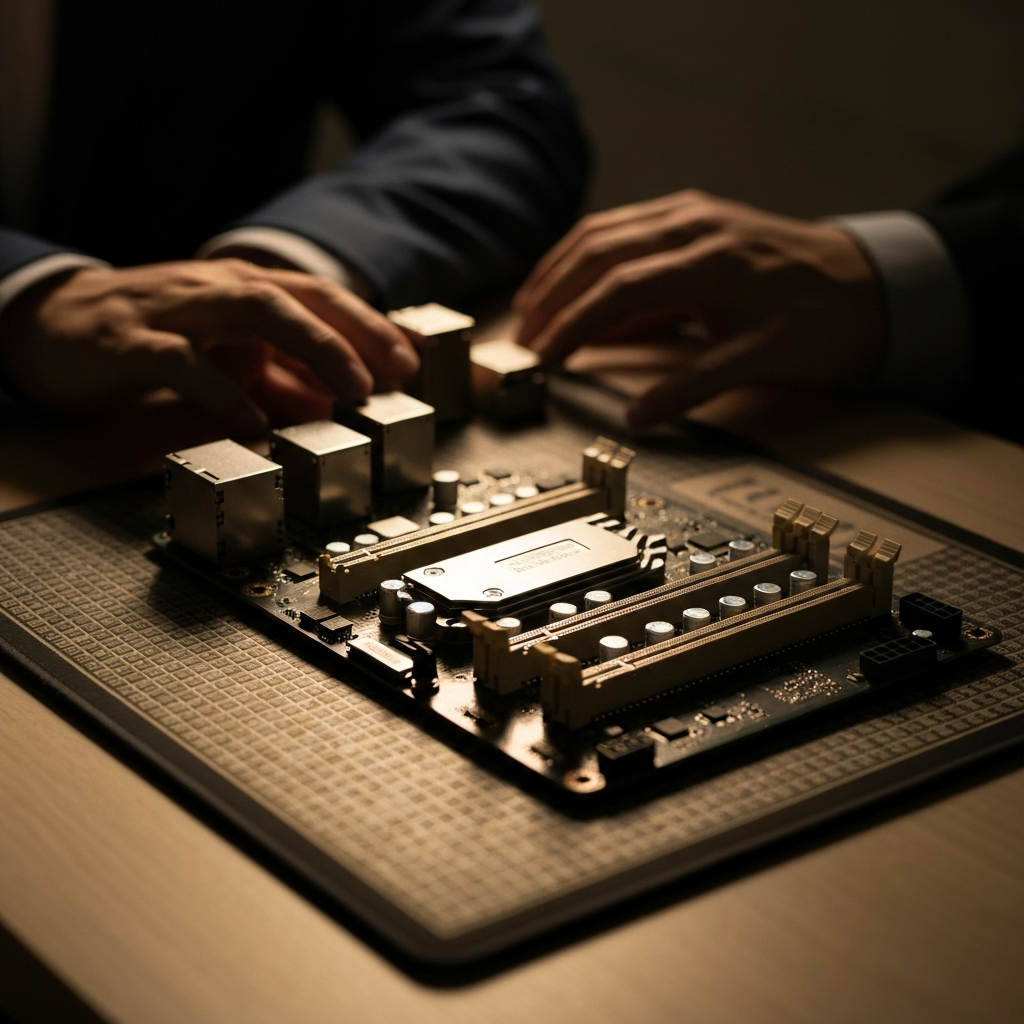
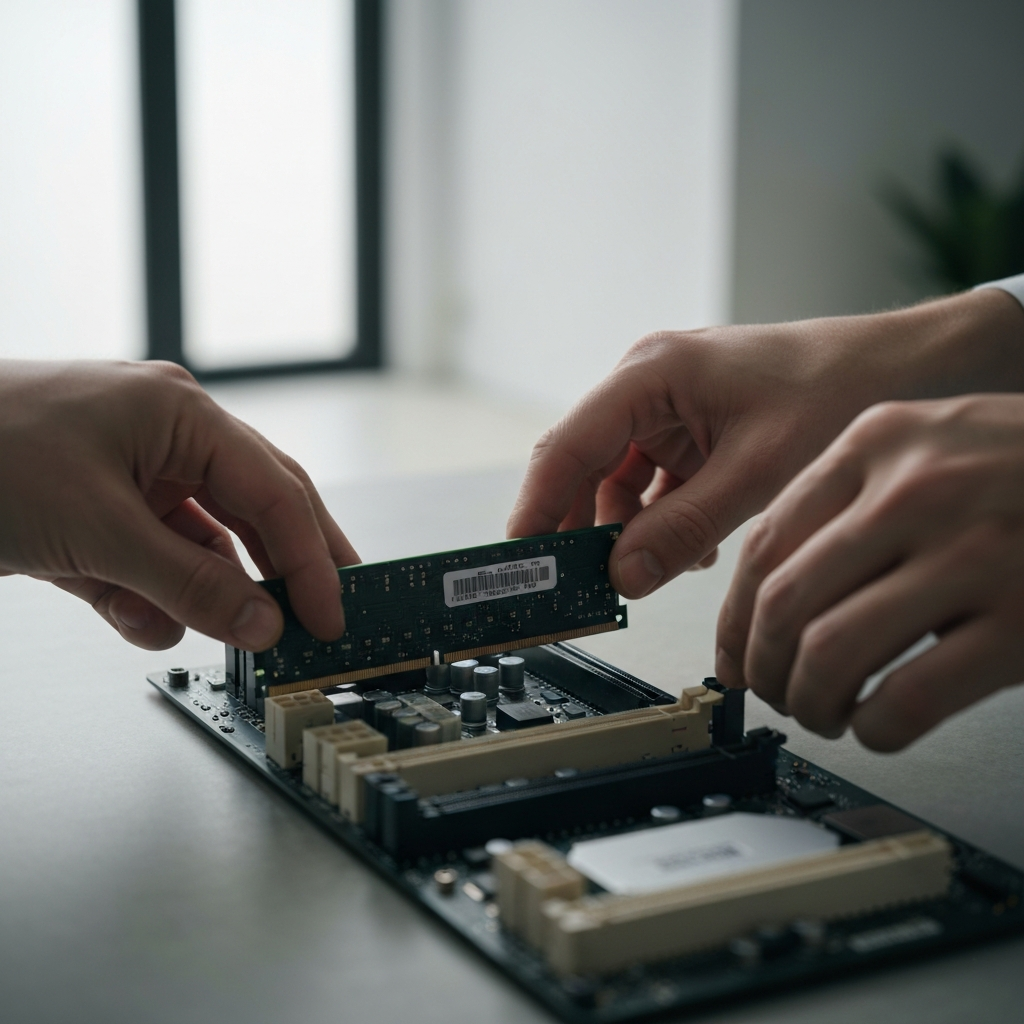
Step 2.3: Purchase and Install New RAM
Once you know how much RAM you need and what type of RAM is compatible with your motherboard, you can purchase new RAM. Be sure to buy RAM from a reputable vendor to ensure quality and reliability. When installing the RAM, make sure to align the notch on the RAM module with the notch on the RAM slot. Press down firmly on both ends of the module until it clicks into place. Make sure that you have the correct voltage ram too.
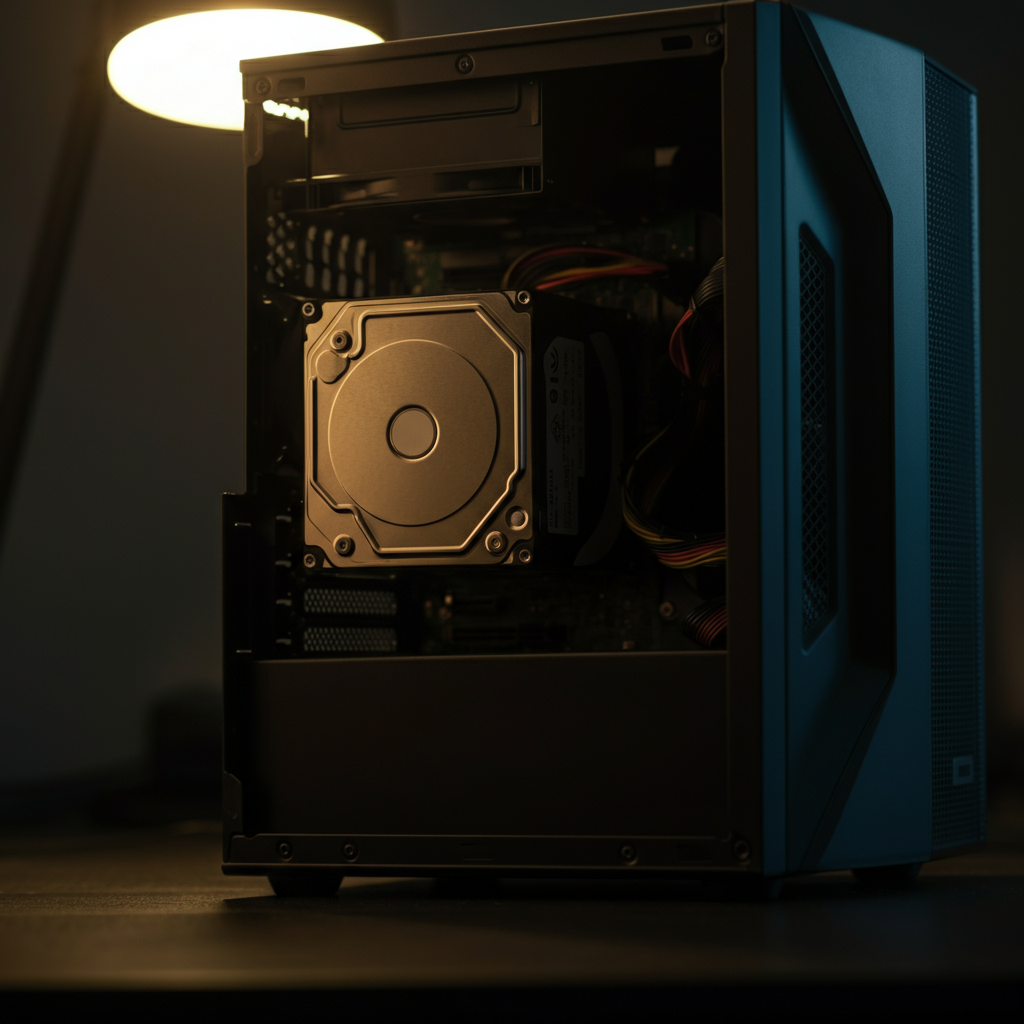
Step 3: Upgrade to an SSD
Step 3.1: Choose the Right SSD
Solid State Drives (SSDs) are much faster than traditional hard disk drives (HDDs). Upgrading to an SSD can significantly improve your computer's boot time, application loading times, and overall responsiveness. Consider purchasing an SSD with at least 256GB of storage for your operating system and frequently used programs. NVMe SSDs offer even faster speeds than SATA SSDs, but they require a motherboard that supports NVMe.
Step 3.2: Clone Your Hard Drive or Perform a Clean Install
You have two options for migrating your data to the new SSD: cloning your existing hard drive or performing a clean install of your operating system. Cloning is easier, as it copies all of your data and settings to the new SSD. However, a clean install can often result in better performance, as it eliminates any unnecessary files or programs that may be slowing down your computer. If you choose to clone, use a reputable cloning tool to ensure a successful transfer. If you opt for a clean install, make sure you have your Windows product key handy.
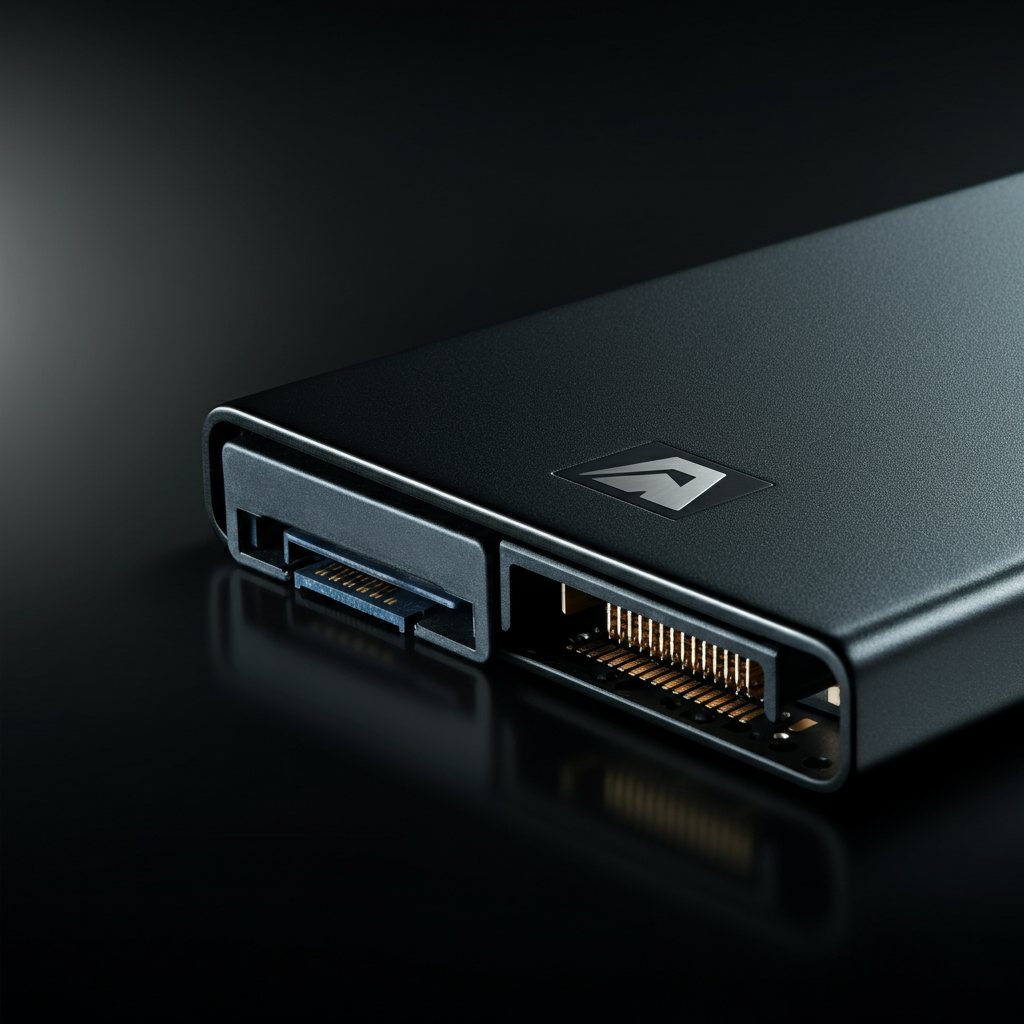
Step 3.3: Install the SSD
Installing the SSD is similar to installing a hard drive. Connect the SSD to a SATA port on your motherboard and connect a SATA power cable from your power supply. If you are installing an NVMe SSD, it will plug directly into an M.2 slot on your motherboard. Consult your motherboard's manual for the location of the SATA ports and M.2 slot. After installing the SSD, you may need to change the boot order in your BIOS settings to boot from the SSD.
Step 4: Update Your Graphics Card (If Applicable)
Step 4.1: Determine Your Current Graphics Card
If you're a gamer or use graphics-intensive applications, upgrading your graphics card can significantly improve performance. To determine what graphics card you currently have, open Task Manager (Ctrl+Shift+Esc) and look at the "GPU" section on the "Performance" tab, or go to the Device Manager. Note the manufacturer and model number of your graphics card. This information will be needed to research compatible upgrades.
Step 4.2: Research Compatible Graphics Cards
Not all graphics cards are compatible with all motherboards and power supplies. Before purchasing a new graphics card, research compatible models. Make sure your power supply has enough wattage to support the new graphics card. Also, check that your motherboard has a PCI Express slot and that the graphics card will fit inside your computer case.
Step 4.3: Install the New Graphics Card
To install the new graphics card, first disconnect the power cable from your computer and open the computer case. Remove the old graphics card (if you have one) by releasing the retaining clip on the PCI Express slot. Then, insert the new graphics card into the PCI Express slot and press down firmly until it clicks into place. Connect the necessary power cables to the graphics card. Once the graphics card is installed, install the latest drivers from the manufacturer's website.
Step 5: Keep Your Drivers Up to Date
Outdated drivers can cause a variety of problems, including performance issues, crashes, and compatibility problems. Keeping your drivers up to date can help improve your PC's stability and performance. Regularly check for driver updates for your graphics card, network adapter, sound card, and other hardware components. You can download the latest drivers from the manufacturer's website or use a driver update utility.
Tools or Materials Required
- Screwdrivers (Phillips head and flathead)
- Anti-static wrist strap
- Compressed air
- RAM modules
- SSD
- SATA cable (if needed)
- Graphics card (if upgrading)
- Driver installation media (USB drive)
Common Mistakes to Avoid
- Forgetting to back up your data
- Installing incompatible RAM
- Defragmenting an SSD
- Not checking the power supply wattage before upgrading the graphics card
- Installing drivers from untrusted sources
Safety Considerations
- Always disconnect the power cable from your computer before working on the hardware.
- Use an anti-static wrist strap to prevent electrostatic discharge, which can damage sensitive electronic components.
- Handle components with care to avoid bending pins or damaging circuits.
Pro Tips
- Monitor your PC's temperature using software like HWMonitor to ensure that the components are not overheating.
- Use a registry cleaner to remove invalid registry entries that can slow down your computer.
- Consider using a lightweight operating system like Linux if your PC is very old or has limited resources.
FAQ Section
- Q: How much RAM do I need?
- A: For basic tasks like web browsing and email, 4GB of RAM may be sufficient. For more demanding tasks like gaming and video editing, 8GB or more is recommended. 16GB+ is preferable for modern workloads.
- Q: Should I upgrade my CPU?
- A: Upgrading your CPU can improve performance, but it's often more expensive and requires replacing your motherboard as well. Evaluate other upgrades first.
- Q: How often should I defragment my hard drive?
- A: You should defragment your hard drive about once a month, or more often if you use your computer heavily.
In conclusion, breathing new life into your old PC doesn't have to be a daunting task. By following the steps outlined in this guide, you can significantly improve your PC's performance and extend its lifespan. Remember to prioritize data backup, research compatibility carefully, and handle components with care. With a little effort and investment, you can enjoy a faster, more responsive, and more enjoyable computing experience on your revitalized PC.