Imagine stepping into your backyard and harvesting fresh ingredients for a delicious, homemade pizza. A pizza garden makes this dream a reality! By cultivating key ingredients like tomatoes, basil, peppers, onions, and oregano, you can significantly elevate your pizza-making game. Beyond the incredible taste, growing your own food is a rewarding experience that connects you with nature and ensures the freshest possible ingredients.
This guide will walk you through the process of planning, planting, and maintaining your very own pizza garden. From selecting the right seeds and preparing the soil to harvesting your bounty and transforming it into a mouthwatering pizza, we'll cover everything you need to know. Whether you're a seasoned gardener or a complete beginner, this step-by-step approach will empower you to create a vibrant and productive garden that yields the perfect pizza ingredients.
Get ready to embark on a flavorful journey from seed to slice! We'll explore the best practices, common challenges, and expert tips to ensure your pizza garden thrives. Let's get started!
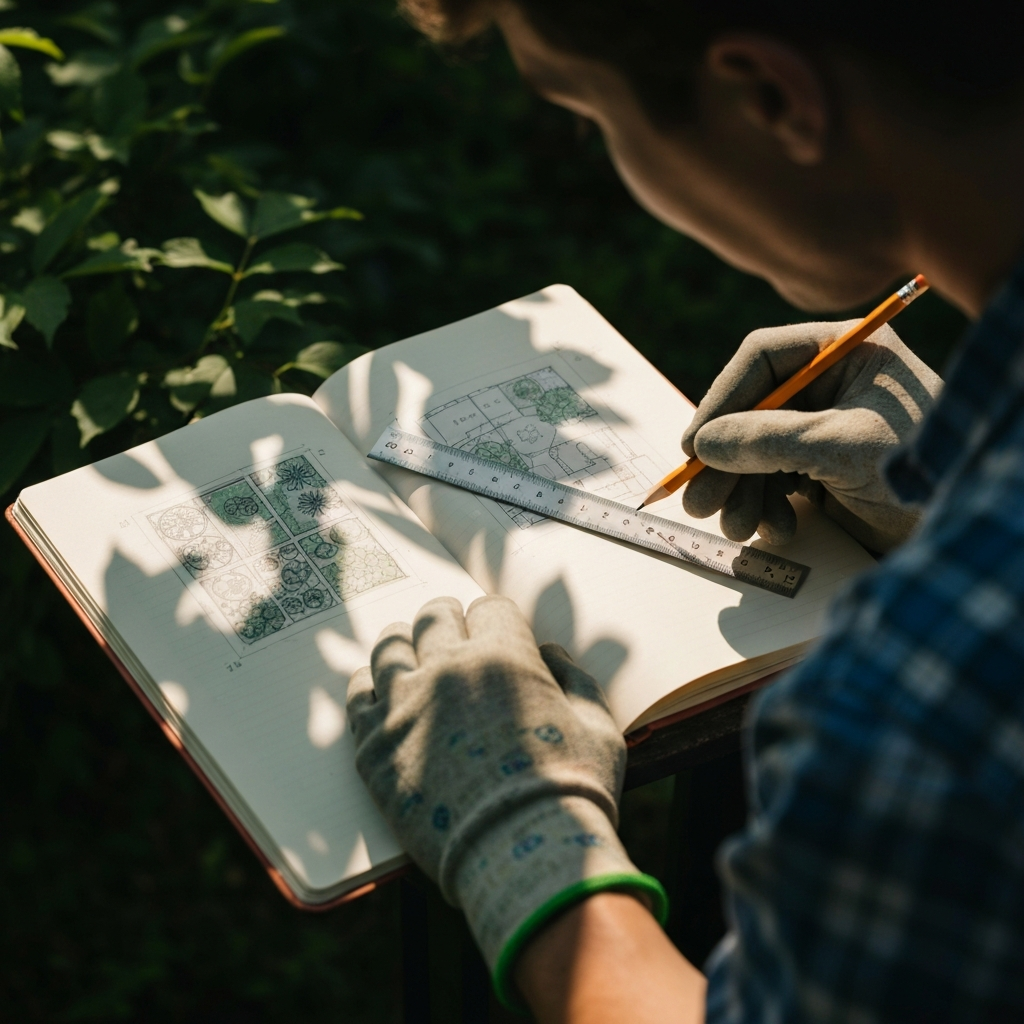
Step 1: Planning Your Pizza Garden
Careful planning is the foundation of a successful pizza garden. Start by assessing your available space and sunlight. Most pizza garden ingredients, such as tomatoes and peppers, require at least six to eight hours of direct sunlight per day. Consider the size of your garden and how much space each plant will need. Tomatoes, for example, can grow quite large and may require staking or caging. Also, think about the layout of your garden; companion planting, where certain plants benefit each other, can improve overall growth and pest control. For example, basil is known to deter pests from tomatoes.
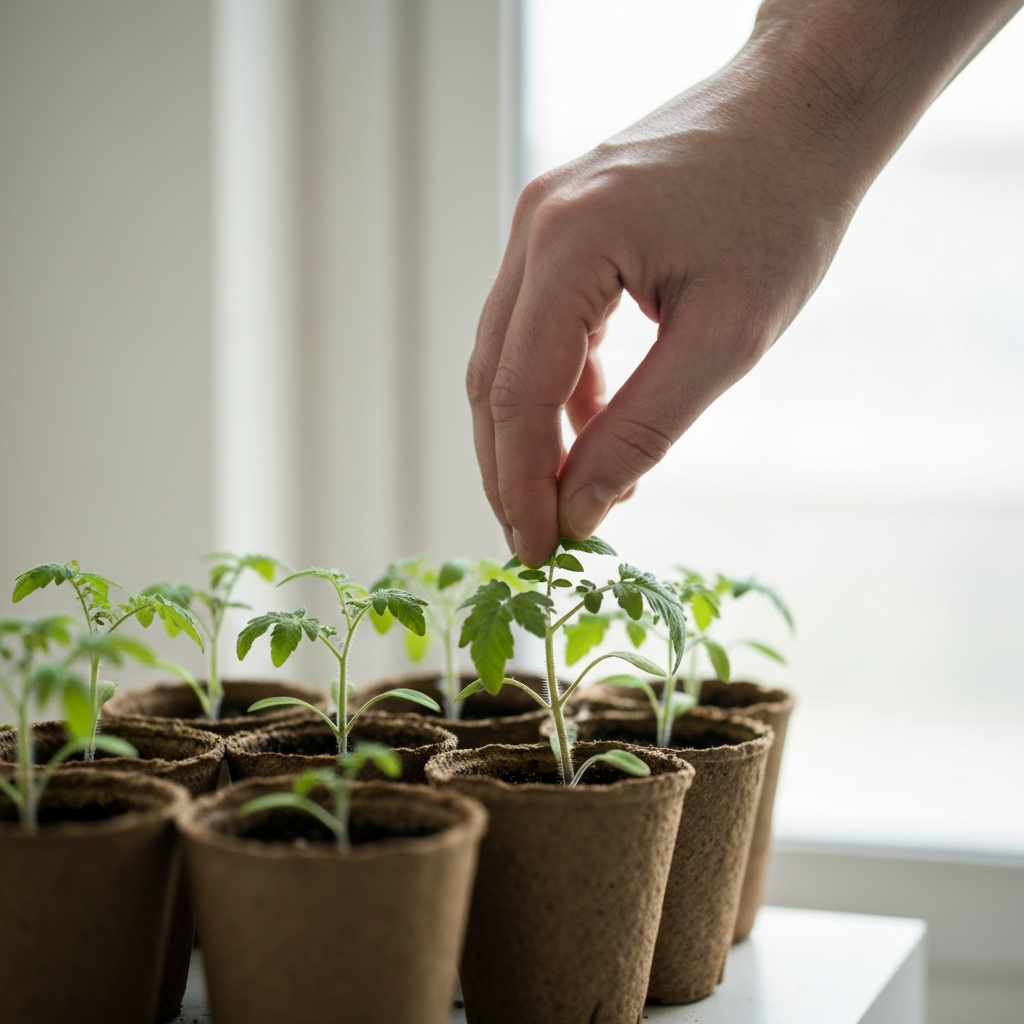
Step 2: Selecting the Right Seeds and Seedlings
Choosing the right varieties of plants is crucial for achieving the desired flavor profile for your pizzas. For tomatoes, consider Roma or San Marzano varieties, known for their meaty texture and rich flavor, ideal for pizza sauce. Bell peppers, jalapenos, or banana peppers can add a touch of sweetness or heat. Genovese basil is a classic choice for its aromatic leaves. When selecting seeds or seedlings, opt for disease-resistant varieties to minimize potential problems. Purchase your seeds from a reputable supplier to ensure viability. If starting from seedlings, choose plants that are healthy, with vibrant green leaves and strong stems.
Step 3: Preparing the Soil
Proper soil preparation is essential for healthy plant growth. Pizza garden plants thrive in well-drained soil that is rich in organic matter. Before planting, amend the soil with compost or well-rotted manure to improve its fertility and structure. A soil pH of 6.0 to 7.0 is ideal for most pizza garden vegetables and herbs. You can test your soil pH using a soil testing kit and adjust it accordingly with lime (to raise pH) or sulfur (to lower pH). Remove any rocks, weeds, or debris from the planting area.

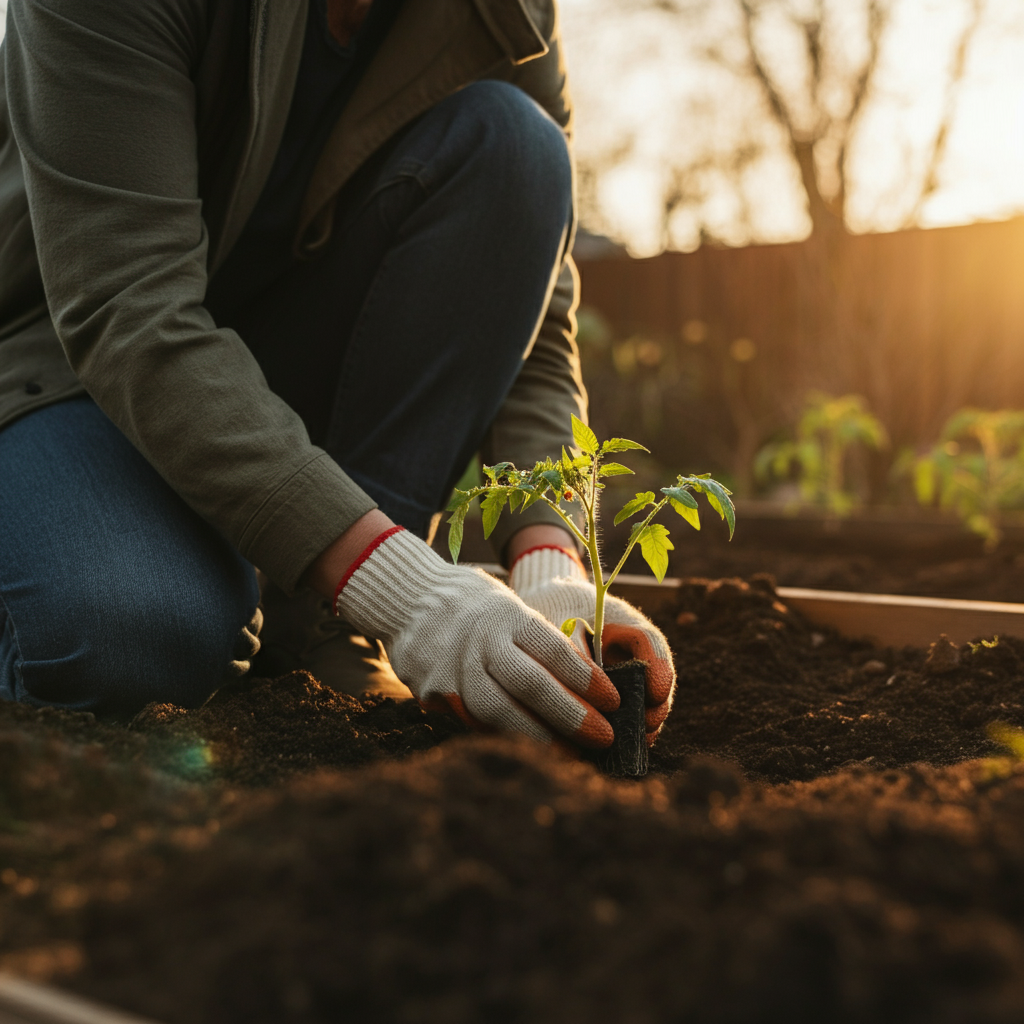
Step 4: Planting Your Pizza Garden
Once the soil is prepared, it's time to plant your seeds or seedlings. Follow the spacing recommendations on the seed packets or plant labels. For tomatoes, space plants about 2-3 feet apart, while peppers can be planted closer together, about 18 inches apart. Basil can be planted 12 inches apart. Dig holes that are large enough to accommodate the root balls of the seedlings. Gently remove the seedlings from their containers and place them in the holes. Water thoroughly after planting to help the plants establish their roots. Mulch around the plants with straw or wood chips to help retain moisture and suppress weeds.
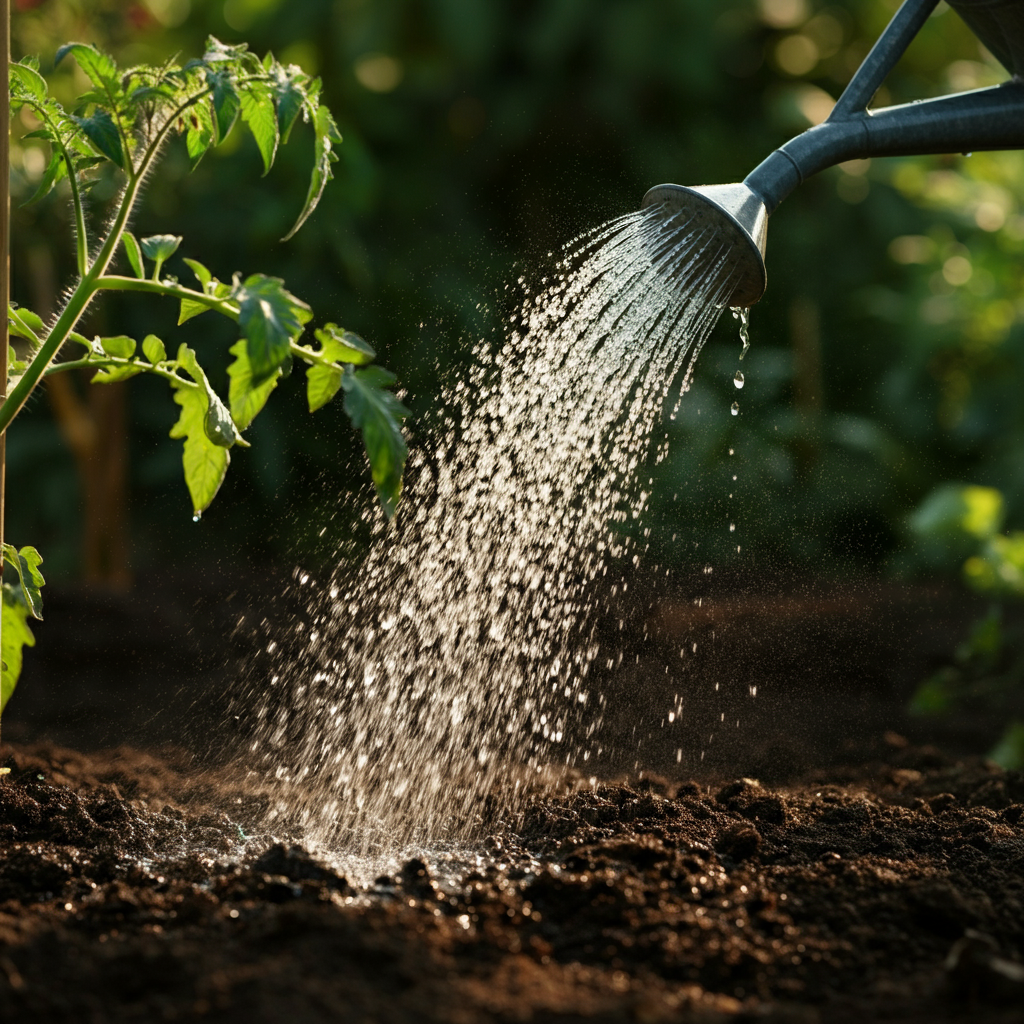
Step 5: Watering and Fertilizing
Consistent watering is crucial, especially during hot, dry weather. Water deeply and regularly, ensuring that the soil is consistently moist but not waterlogged. Water in the morning to allow the foliage to dry before nightfall, reducing the risk of fungal diseases. Fertilize your plants regularly with a balanced organic fertilizer. Follow the instructions on the fertilizer label for application rates. Side-dress the plants with compost or manure throughout the growing season to provide them with additional nutrients.
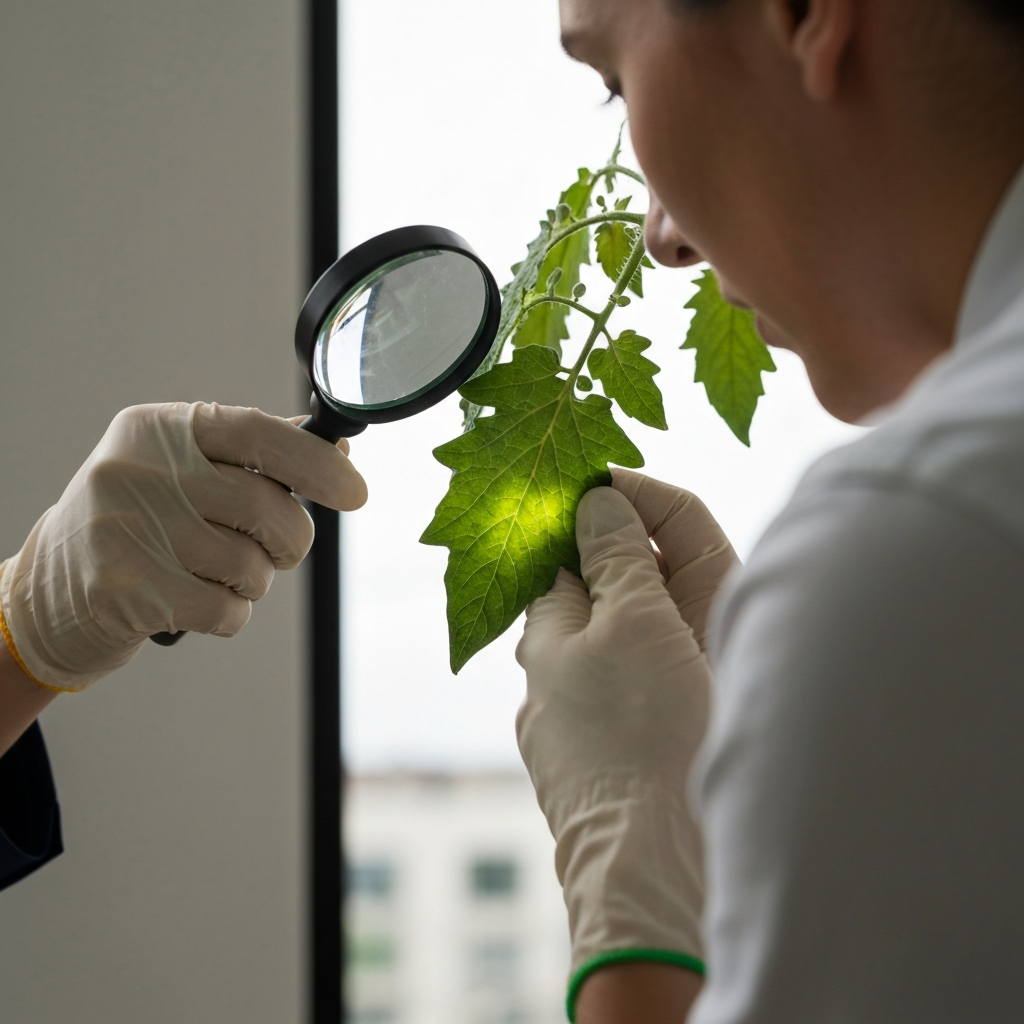
Step 6: Pest and Disease Control
Keep a close eye on your plants for signs of pests or diseases. Common pests that may affect pizza garden plants include aphids, tomato hornworms, and squash bugs. Use organic pest control methods, such as insecticidal soap or neem oil, to manage these pests. Remove any diseased leaves or plants promptly to prevent the spread of disease. Ensure good air circulation around your plants to reduce the risk of fungal diseases. Companion planting can also help deter pests and diseases.
Step 7: Harvesting Your Bounty
Harvest your vegetables and herbs when they are ripe and at their peak flavor. Tomatoes should be fully colored and slightly soft to the touch. Peppers can be harvested when they are green or when they have turned their mature color (red, yellow, or orange). Basil can be harvested throughout the growing season by pinching off the leaves. Regular harvesting encourages plants to produce more fruits and vegetables. Use clean, sharp scissors or pruners to harvest your crops.
Step 8: Making Your Pizza!
Now comes the best part – using your homegrown ingredients to create a delicious pizza! Harvest your tomatoes and turn them into a flavorful homemade sauce. Dice your peppers and onions and sprinkle them over the pizza. Top with fresh basil leaves and your favorite cheese. Bake in a preheated oven until the crust is golden brown and the cheese is melted and bubbly. Enjoy the satisfaction of eating a pizza made with ingredients from your own garden!

Tools or Materials Required
- Seeds or seedlings (tomatoes, peppers, basil, onions, oregano)
- Compost or well-rotted manure
- Balanced organic fertilizer
- Watering can or hose
- Gardening gloves
- Trowel or spade
- Mulch (straw or wood chips)
- Insecticidal soap or neem oil (for pest control)
- Scissors or pruners (for harvesting)
- Soil testing kit (optional)
Common Mistakes to Avoid
- Not providing enough sunlight
- Overwatering or underwatering
- Planting too closely together
- Neglecting to fertilize
- Ignoring pest and disease problems
Pro Tips
- Start seeds indoors 6-8 weeks before the last expected frost.
- Choose determinate tomato varieties for a more compact growth habit.
- Pinch off the flower buds of basil to encourage leaf production.
- Rotate your crops each year to prevent soilborne diseases.
- Consider growing herbs in containers for easy access and portability.
FAQ Section
Q: How often should I water my pizza garden?
A: Water deeply whenever the top inch of soil feels dry to the touch. Frequency will depend on weather conditions and soil type.
Q: What is the best fertilizer for my pizza garden?
A: A balanced organic fertilizer with an N-P-K ratio of 5-5-5 or similar is a good choice. Look for fertilizers specifically formulated for vegetables.
Q: How can I prevent pests from attacking my plants?
A: Regularly inspect your plants for pests and remove them by hand or use organic pest control methods like insecticidal soap or neem oil. Companion planting and attracting beneficial insects can also help.
Q: When is the best time to harvest my tomatoes?
A: Harvest tomatoes when they are fully colored and slightly soft to the touch. They should easily detach from the vine.
Safety Considerations
- Always wear gloves when gardening to protect your hands from dirt and potential irritants.
- Use caution when using sharp tools, such as scissors or pruners.
- Store fertilizers and pest control products out of reach of children and pets.
- Be aware of potential allergens, such as bee stings or plant sap.
Conclusion
Creating a pizza garden is a rewarding experience that brings the joy of fresh, homegrown ingredients to your kitchen. By following these steps and paying attention to the needs of your plants, you can cultivate a thriving garden that yields the perfect components for a delicious homemade pizza. From selecting the right seeds to harvesting your bounty, every step of the process connects you with nature and allows you to create a truly unique and flavorful culinary experience. So, get your hands dirty, embrace the challenge, and savor the taste of success – one slice at a time!