So, you've killed a succulent. Join the club. Those little guys are notoriously finicky, and their demise doesn't disqualify you from ever enjoying the joys of gardening. In fact, it’s often the first step! Gardening, at its core, is a learning process filled with trial and error. It's about understanding the delicate dance between sunlight, water, soil, and the specific needs of each plant.
This guide is designed to take you from a self-proclaimed plant murderer to a confident gardener, one step at a time. We'll cover the basics, from choosing the right plants for your environment to understanding soil composition and pest control. We'll also address some common pitfalls and offer practical tips to help you avoid repeating past mistakes.
Don't be discouraged by past failures. Gardening should be enjoyable, a way to connect with nature and cultivate beauty. With a little knowledge and patience, you can create a thriving garden that brings you joy for years to come. Let's get started!
Remember, every expert was once a beginner. Even those with the greenest of thumbs have faced plant fatalities. The key is to learn from your mistakes and keep growing!
Step 1: Assess Your Environment
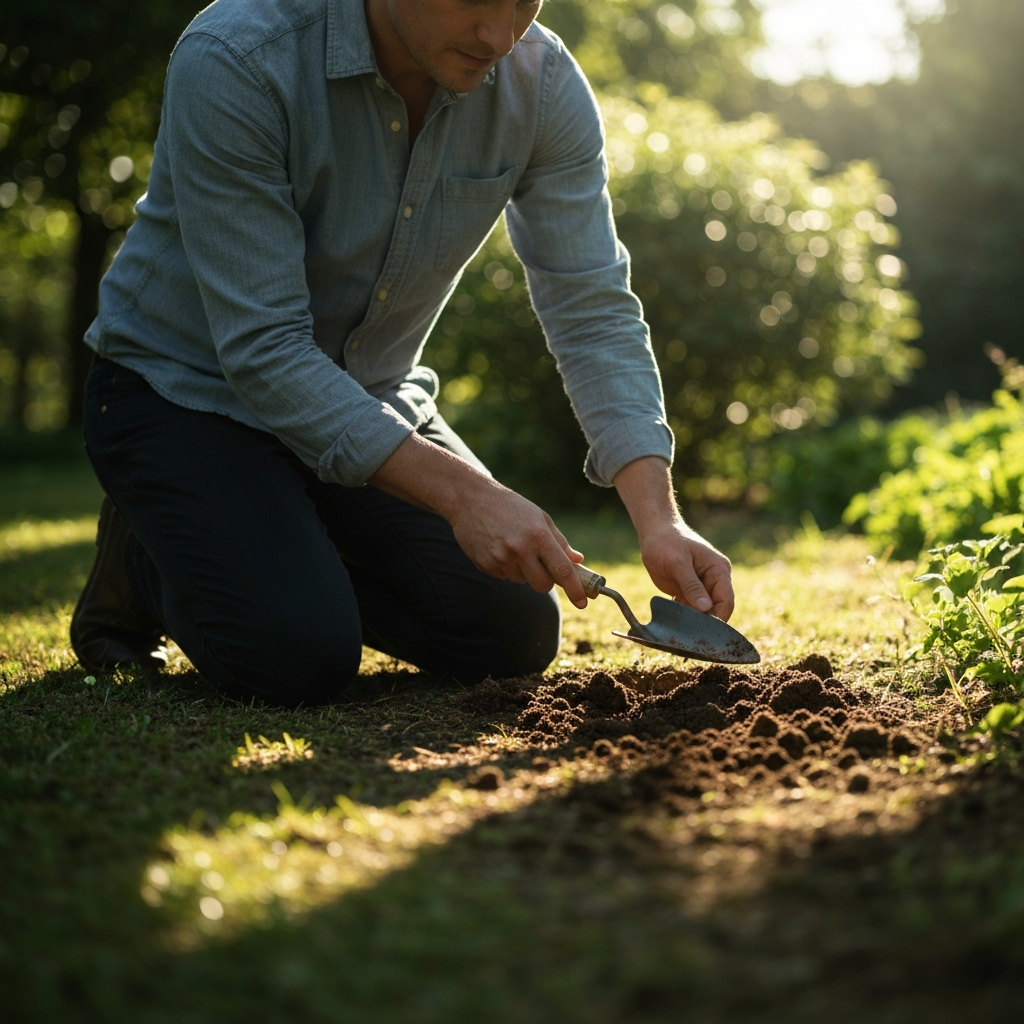
Before you even think about buying plants, take a good look at your available space and its characteristics. Sunlight is the most crucial factor. Observe how much sun your garden (or balcony, or windowsill) receives throughout the day. Is it full sun (6+ hours), partial sun (4-6 hours), or shade (less than 4 hours)? This will dramatically limit your plant choices. Next, consider your climate. What are the average temperatures and rainfall patterns in your area? Knowing your USDA hardiness zone can help you select plants that are likely to thrive in your region. Finally, assess your soil. Is it sandy, clay-like, or loamy? Does it drain well? A simple soil test can provide valuable information.
Step 2: Choose the Right Plants
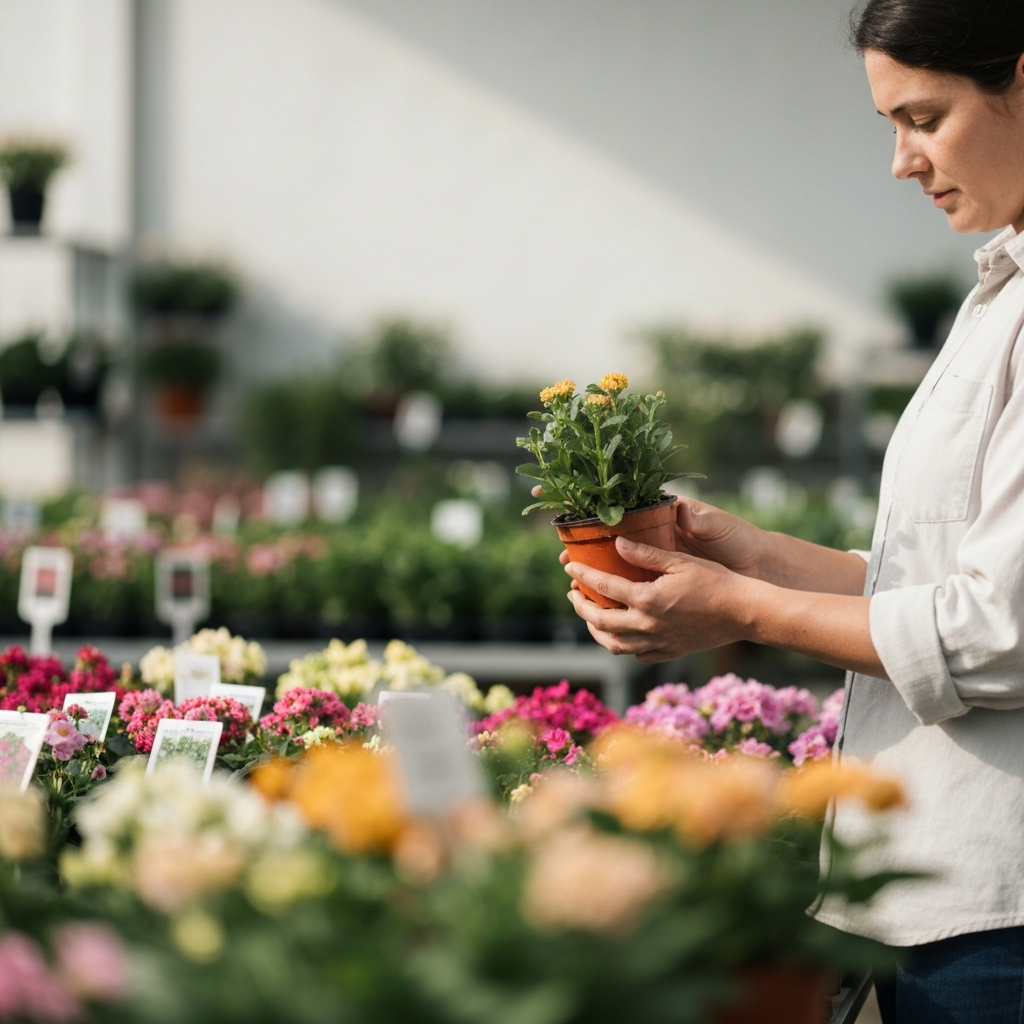
Now that you understand your environment, you can start selecting plants that are well-suited to it. For beginners, it's best to start with easy-to-grow varieties. Consider native plants, which are adapted to your local climate and soil conditions and often require less maintenance. Look for plants that are labeled as "low-maintenance" or "beginner-friendly." Read the plant tags carefully to understand their specific needs, including sunlight, watering, and soil requirements. Don't be afraid to ask for advice at your local nursery; the staff can offer valuable insights and recommendations.
Step 3: Prepare Your Soil
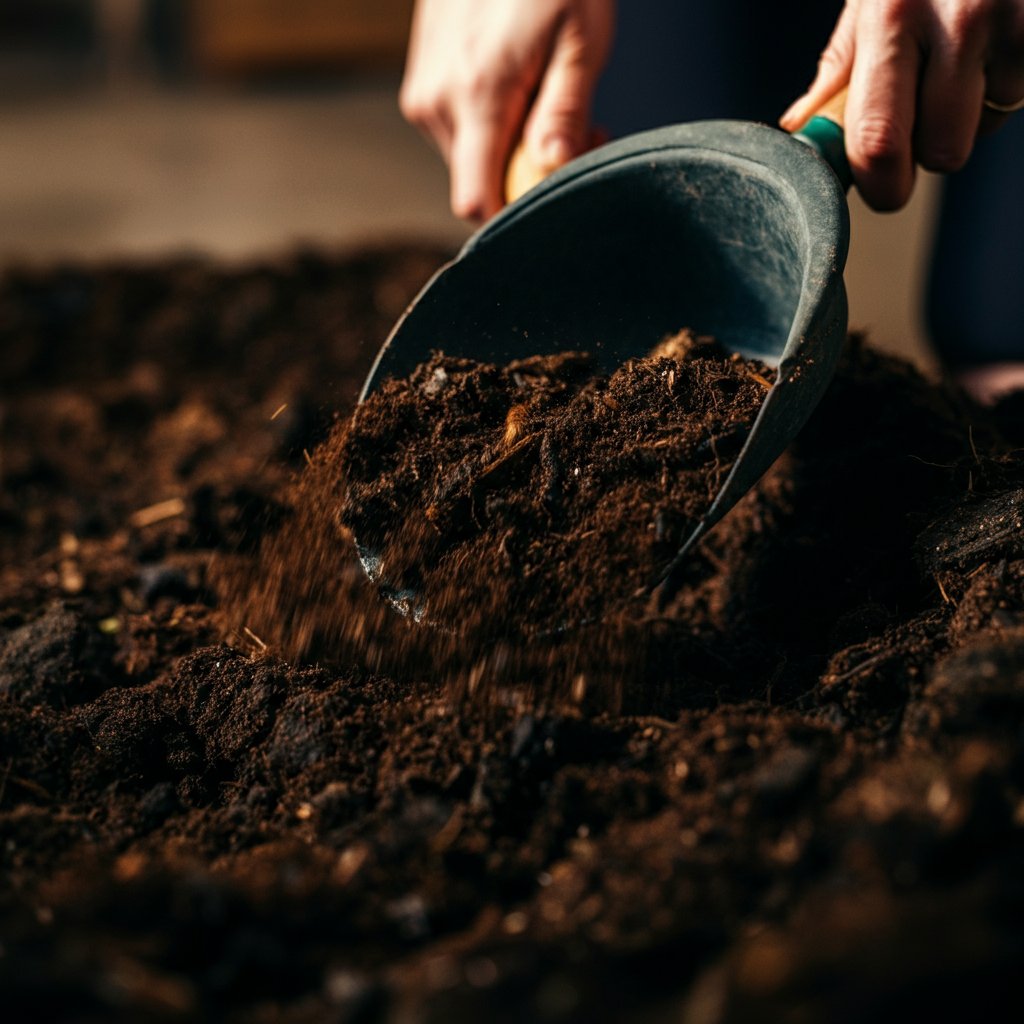
Healthy soil is the foundation of a thriving garden. If your soil is poor, you'll need to amend it before planting. Adding organic matter, such as compost, aged manure, or peat moss, can improve soil drainage, aeration, and nutrient content. Dig the organic matter into the soil to a depth of at least 6-12 inches. If you're gardening in containers, use a high-quality potting mix that is specifically formulated for container gardening. Avoid using garden soil in containers, as it can become compacted and poorly drained.
Step 4: Planting Techniques
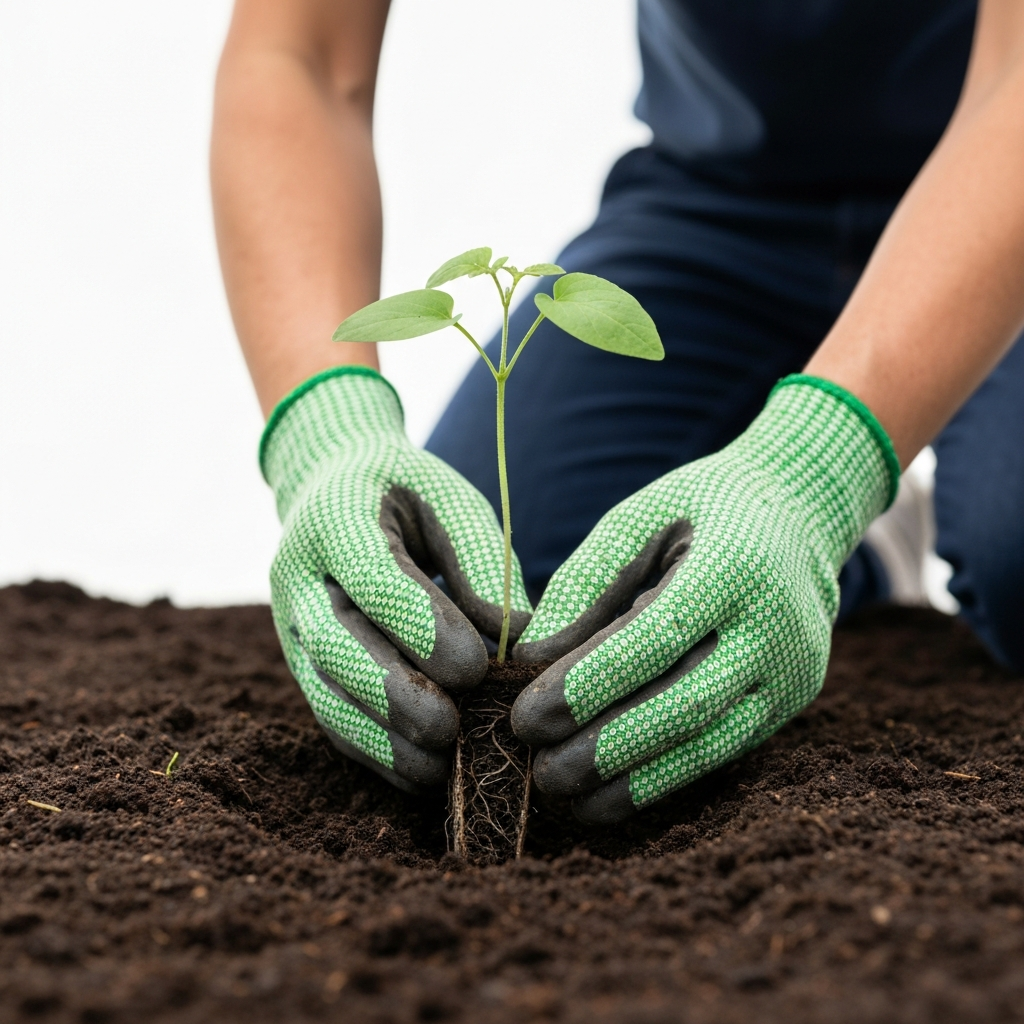
When planting, dig a hole that is slightly larger than the root ball of the plant. Gently loosen the roots before placing the plant in the hole. Make sure the top of the root ball is level with the surrounding soil. Backfill the hole with soil, gently firming it around the base of the plant. Water thoroughly after planting. For seeds, follow the instructions on the seed packet regarding planting depth and spacing. Overcrowding can lead to disease and stunted growth.
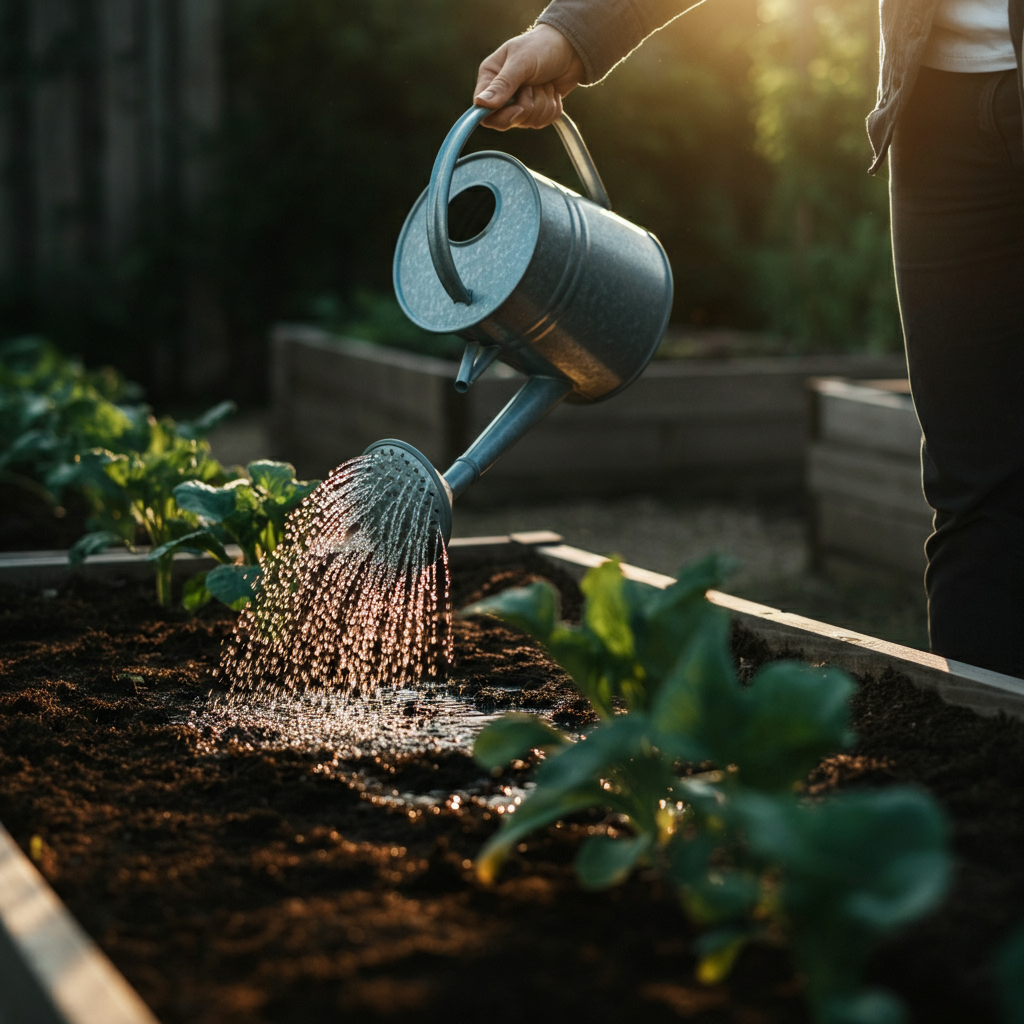
Step 5: Watering Wisely
Watering is crucial for plant survival, but overwatering is a common mistake. The key is to water deeply and infrequently, allowing the soil to dry out slightly between waterings. Check the soil moisture by sticking your finger into the soil. If the top inch or two feels dry, it's time to water. Water at the base of the plant to avoid wetting the foliage, which can promote fungal diseases. Early morning is the best time to water, as it allows the foliage to dry out before nightfall.
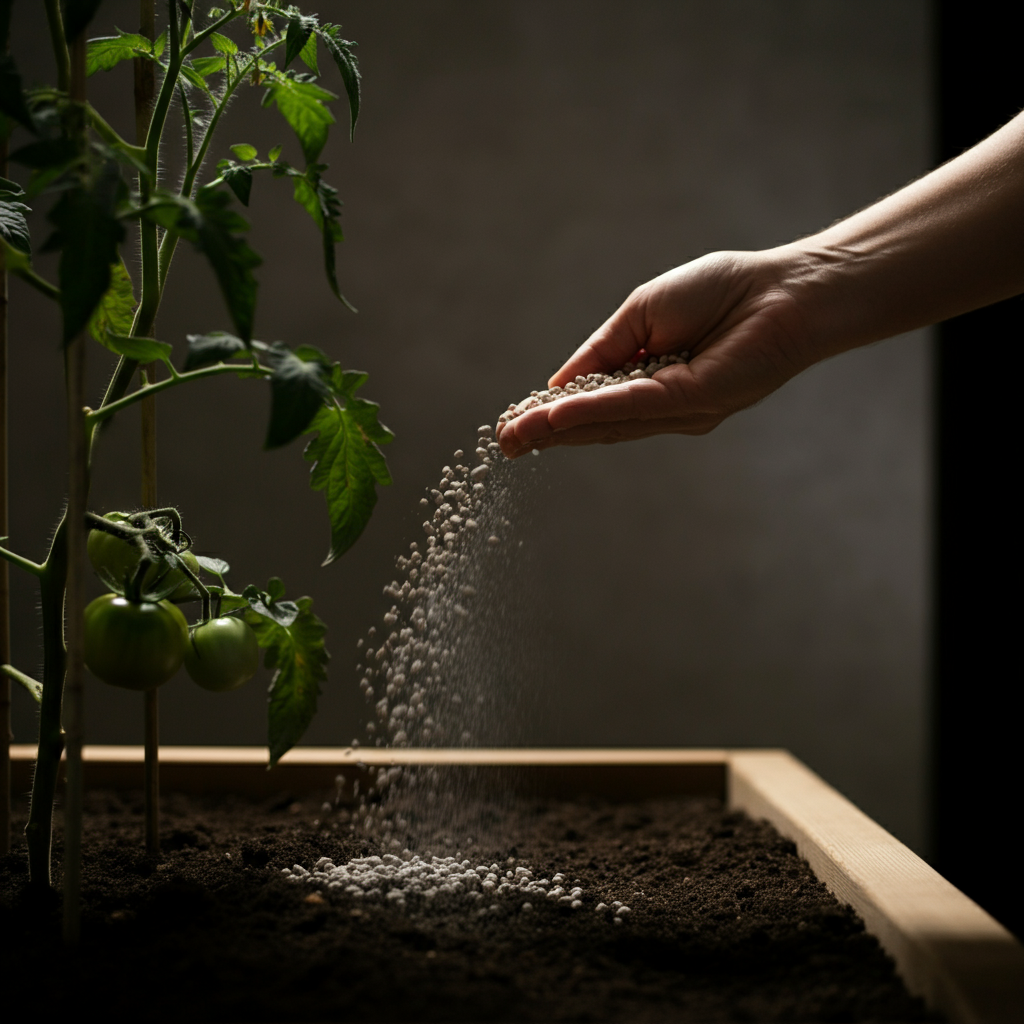
Step 6: Fertilizing Your Plants
Plants need nutrients to thrive, but too much fertilizer can be harmful. Use a balanced fertilizer that is specifically formulated for your type of plants. Follow the instructions on the fertilizer label carefully. Avoid over-fertilizing, as this can burn the roots and damage the plants. Organic fertilizers, such as compost tea or fish emulsion, are a gentle and sustainable option. Apply fertilizer during the growing season, typically in the spring and summer.
Step 7: Pest and Disease Control
Pests and diseases can wreak havoc on your garden. Regularly inspect your plants for signs of trouble, such as chewed leaves, spots, or discoloration. Early detection is key. For minor infestations, try hand-picking pests or spraying plants with a strong stream of water. For more serious problems, consider using organic pest control methods, such as insecticidal soap or neem oil. Avoid using broad-spectrum pesticides, as they can harm beneficial insects. Good air circulation and proper watering can help prevent many fungal diseases.

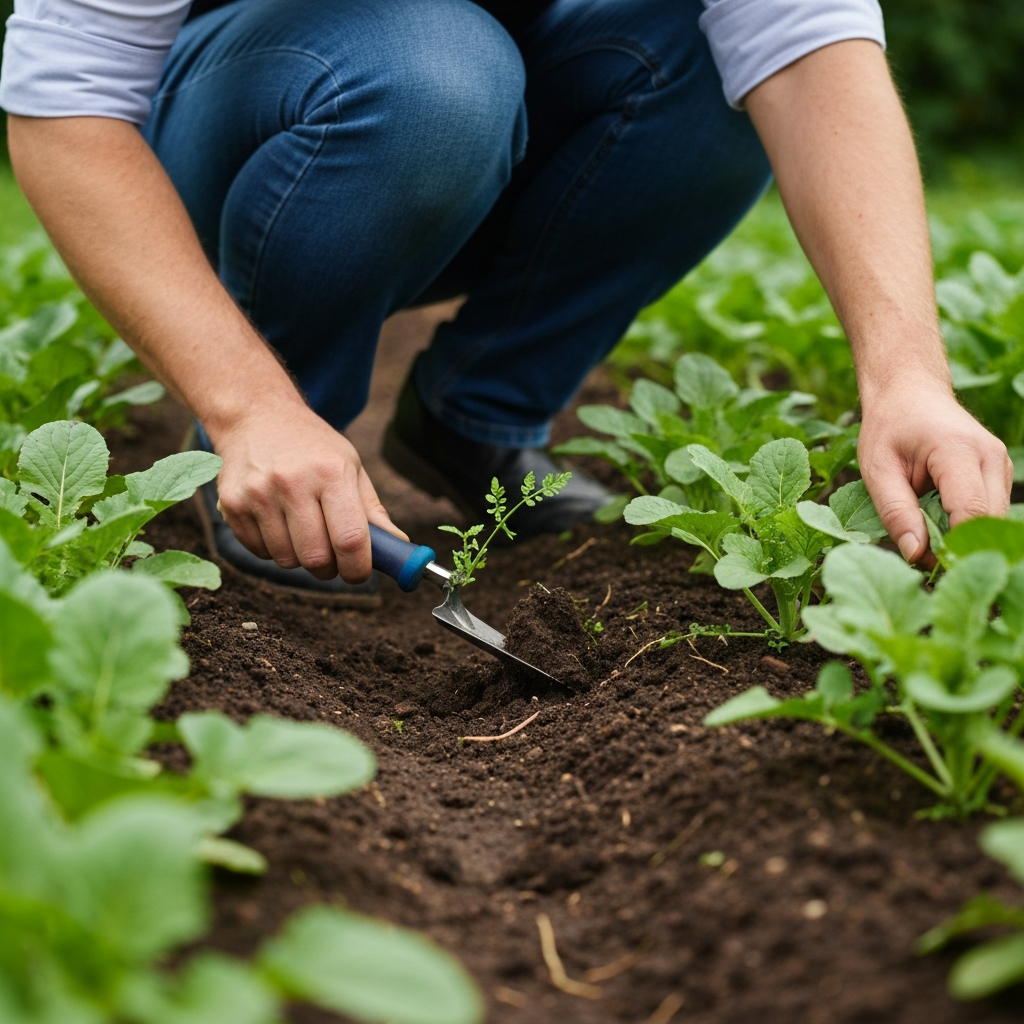
Step 8: Weeding Regularly
Weeds compete with your plants for water, nutrients, and sunlight. Regularly weeding your garden is essential for maintaining healthy plants. Hand-pull weeds, making sure to remove the entire root system. Mulching can help prevent weed growth by blocking sunlight from reaching the soil. Use organic mulches, such as wood chips, straw, or shredded leaves. Consistent weeding is much easier than dealing with a garden overrun with weeds.
Tools or Materials Required
- Gardening gloves
- Trowel
- Hand rake
- Watering can or hose
- Fertilizer
- Pest control products (organic options preferred)
- Mulch
- Compost or other soil amendments
Common Mistakes to Avoid
- Overwatering: More plants die from overwatering than underwatering.
- Planting in the wrong location: Pay attention to sunlight requirements.
- Ignoring soil conditions: Amend poor soil before planting.
- Over-fertilizing: Follow the instructions on the fertilizer label.
- Neglecting pest and disease control: Regularly inspect your plants.
Pro Tips
- Start small: Don't overwhelm yourself with a large garden in your first year.
- Keep a gardening journal: Track what you plant, when you plant it, and how it grows.
- Learn from your mistakes: Every plant failure is a learning opportunity.
- Connect with other gardeners: Share tips and advice.
- Enjoy the process: Gardening should be a relaxing and rewarding experience.
FAQ Section
- What's the best way to improve clay soil?
- Add plenty of organic matter, such as compost or aged manure, to improve drainage and aeration. Gypsum can also help break up clay particles.
- How often should I water my plants?
- Water deeply and infrequently, allowing the soil to dry out slightly between waterings. Check the soil moisture before watering.
- What are some easy-to-grow vegetables for beginners?
- Lettuce, radishes, beans, and zucchini are all relatively easy to grow.
- How can I attract pollinators to my garden?
- Plant a variety of flowering plants that provide nectar and pollen, such as lavender, sunflowers, and bee balm.
Conclusion
Gardening is a journey, not a destination. Don't be afraid to experiment, learn from your mistakes, and enjoy the process. By understanding your environment, choosing the right plants, and providing proper care, you can create a thriving garden that brings you joy and satisfaction. Remember, even if you've killed a succulent or two, you're still capable of cultivating a green thumb. So get out there, get your hands dirty, and watch your garden grow! Success in gardening comes from persistence and observation. Now go forth and garden!