So, you've always admired those lush, vibrant gardens, but your own attempts have resulted in more compost than crops? Don't despair! Gardening isn't an innate talent, it's a learned skill. Even the most seasoned gardeners started somewhere, and with the right knowledge and approach, you can transform your brown thumb into a green one.
This guide is designed to demystify the gardening process, providing you with practical, step-by-step instructions that will help you create a thriving garden, regardless of your past experiences. We'll cover everything from understanding your soil to choosing the right plants and managing common problems. Forget the complicated jargon and overwhelming advice; we're here to provide a simple, effective path to gardening success.
Get ready to roll up your sleeves and dig in – your dream garden is closer than you think!
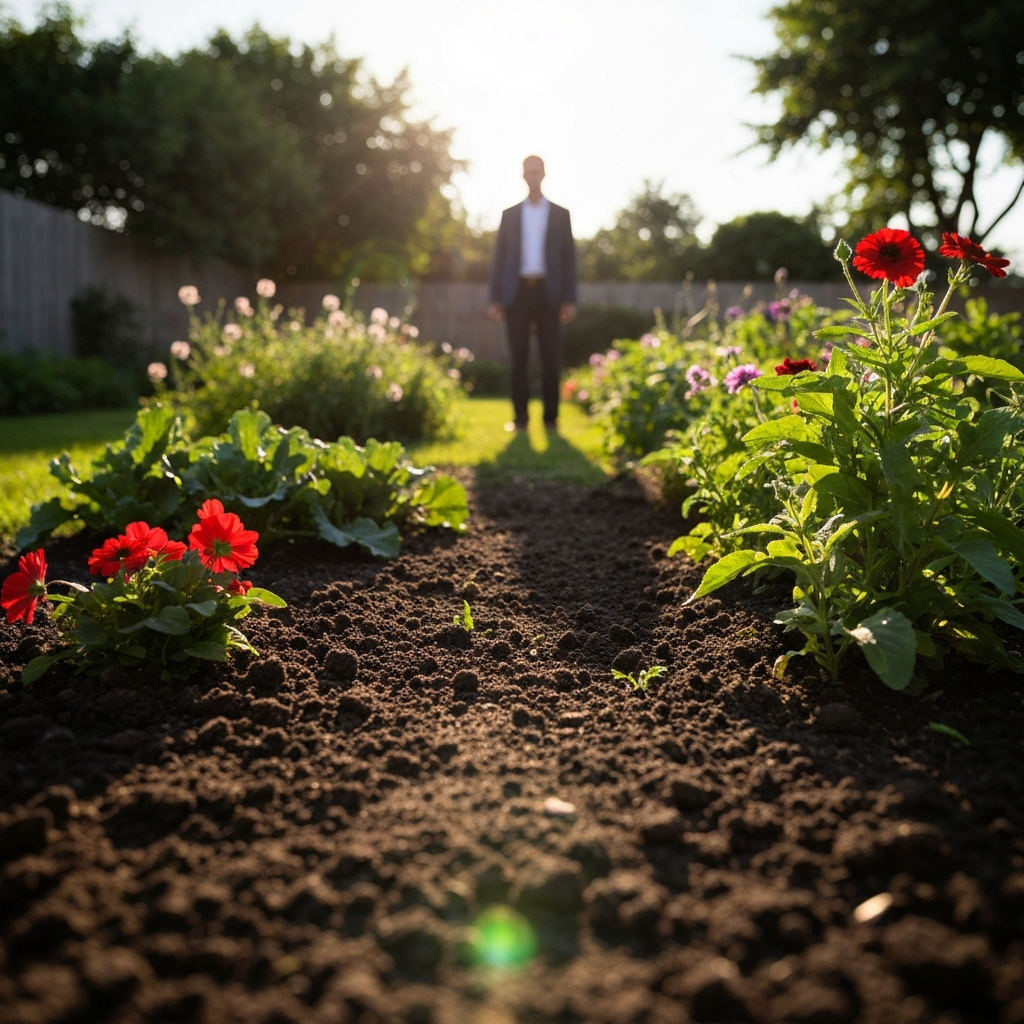
Step 1: Assess Your Space and Sunlight
Before you even think about planting, take the time to carefully evaluate your available space and sunlight. Different plants have different light requirements; some thrive in full sun (at least 6 hours of direct sunlight per day), while others prefer partial shade (4-6 hours) or full shade (less than 4 hours). Understanding your garden's light conditions is crucial for selecting plants that will flourish. Observe your yard throughout the day to track how the sunlight moves. Also, consider the size of your growing area. Are you working with a small balcony, a raised bed, or a sprawling backyard? This will influence the types and quantities of plants you can realistically grow.
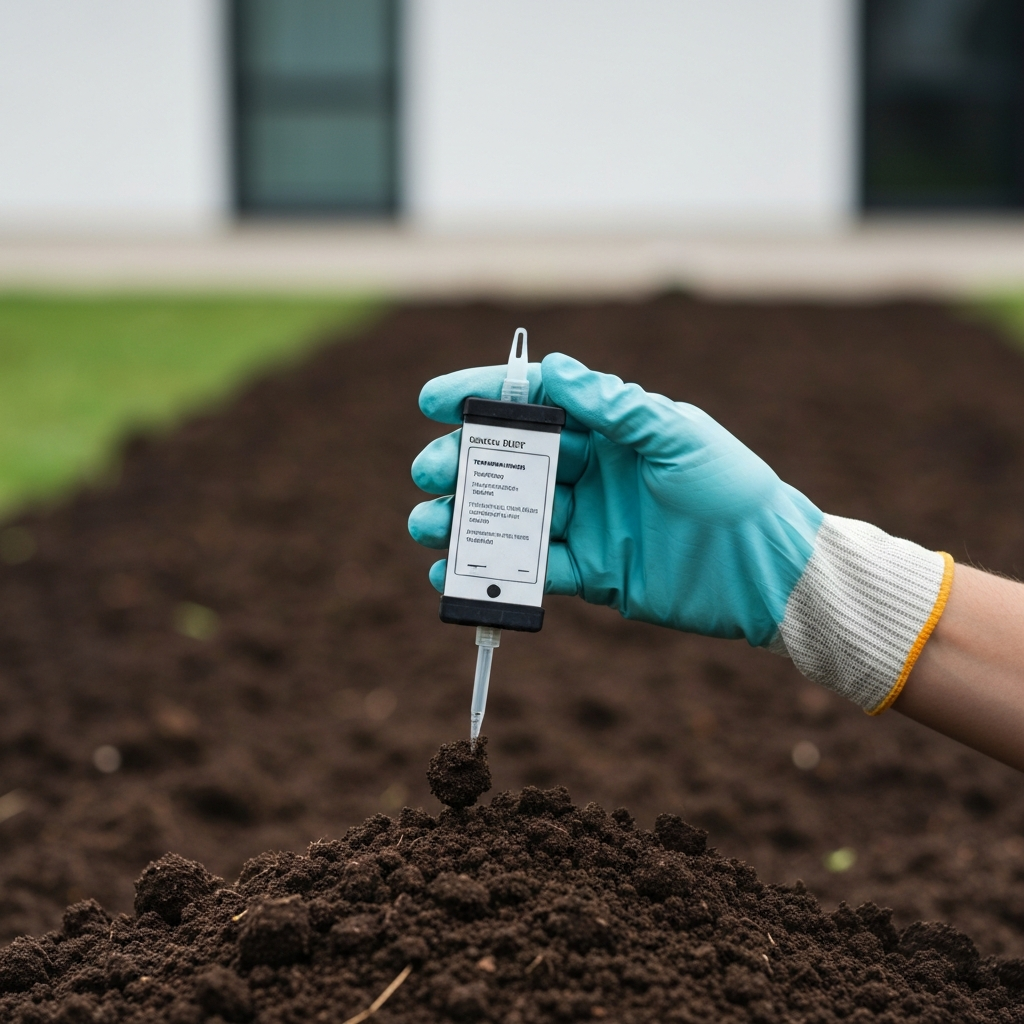
Step 2: Test Your Soil
Soil is the foundation of any successful garden. Understanding your soil's composition, pH level, and nutrient content is essential for healthy plant growth. You can purchase a soil testing kit from your local garden center or send a sample to a professional lab for analysis. A basic soil test will tell you whether your soil is acidic, alkaline, or neutral. Most plants prefer a slightly acidic to neutral pH (around 6.0 to 7.0). The test will also reveal whether your soil is lacking in essential nutrients like nitrogen, phosphorus, and potassium. Based on the results, you can amend your soil with compost, fertilizer, or other organic matter to create the ideal growing environment for your chosen plants.
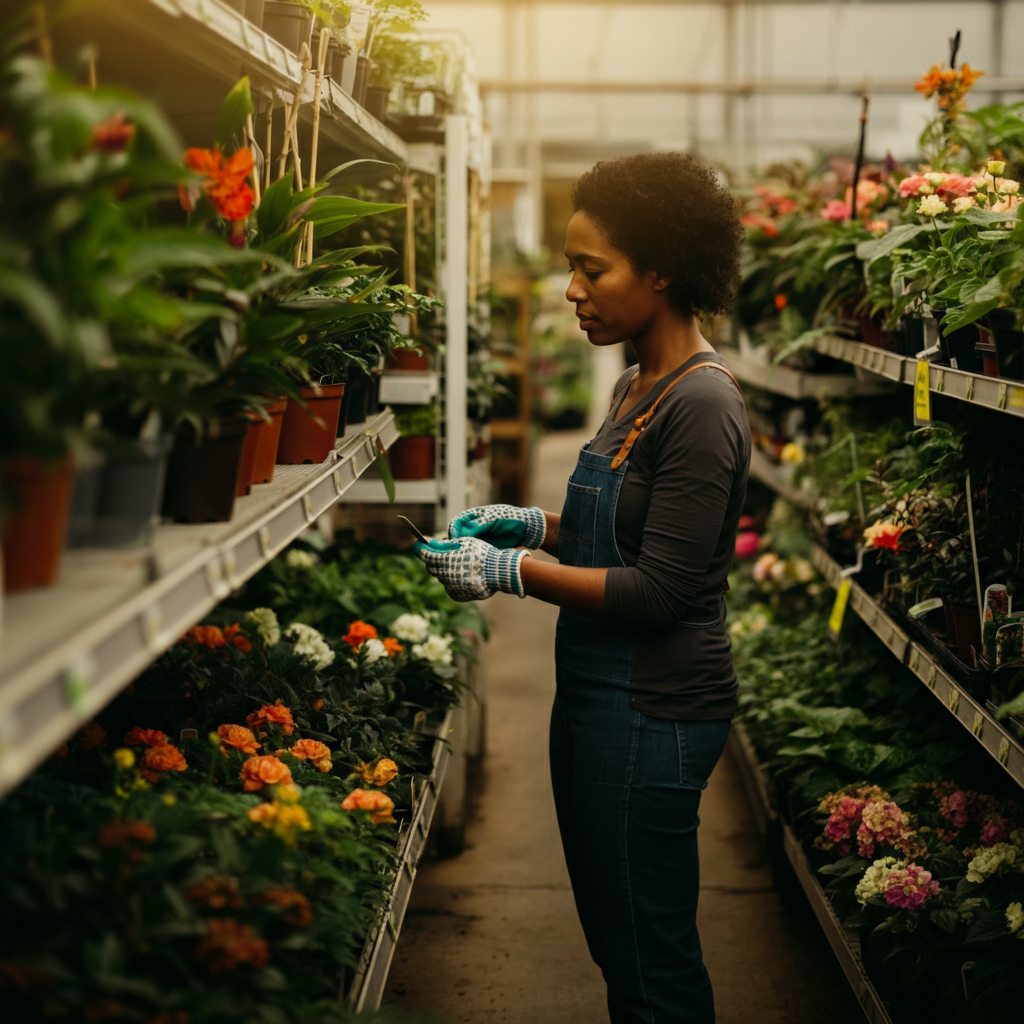
Step 3: Choose the Right Plants
Now comes the fun part: selecting the plants you want to grow! But don't get carried away by beautiful blooms or tempting fruits. Consider your local climate, the amount of sunlight your garden receives, and your soil conditions. Opt for plants that are well-suited to your specific environment to minimize the risk of failure. Start with easy-to-grow varieties like herbs (basil, mint, chives), leafy greens (lettuce, spinach, kale), and vegetables (tomatoes, zucchini, peppers). Read plant labels carefully to understand their mature size, spacing requirements, and watering needs. Don’t be afraid to ask for advice from your local nursery or garden center staff—they are a wealth of information!
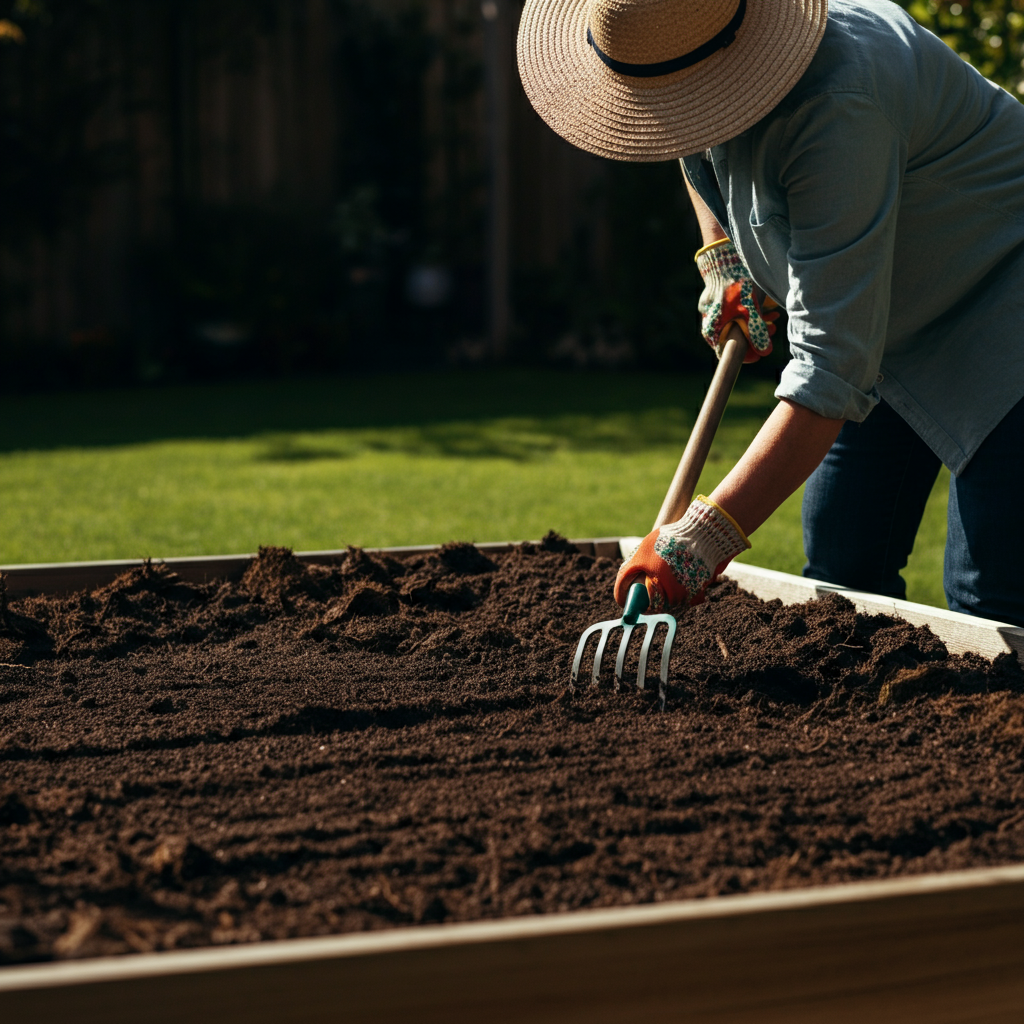
Step 4: Prepare Your Garden Beds
Proper bed preparation is key for establishing a healthy garden. Begin by clearing your chosen area of any weeds, grass, rocks, or debris. If your soil is compacted or clay-heavy, amend it with plenty of organic matter, such as compost, aged manure, or peat moss. This will improve drainage, aeration, and nutrient retention. Consider creating raised beds if you have poor soil or drainage issues. Raised beds also make gardening easier on your back and knees. Till the soil to a depth of at least 12 inches to loosen it and incorporate the amendments. Rake the surface smooth and even.
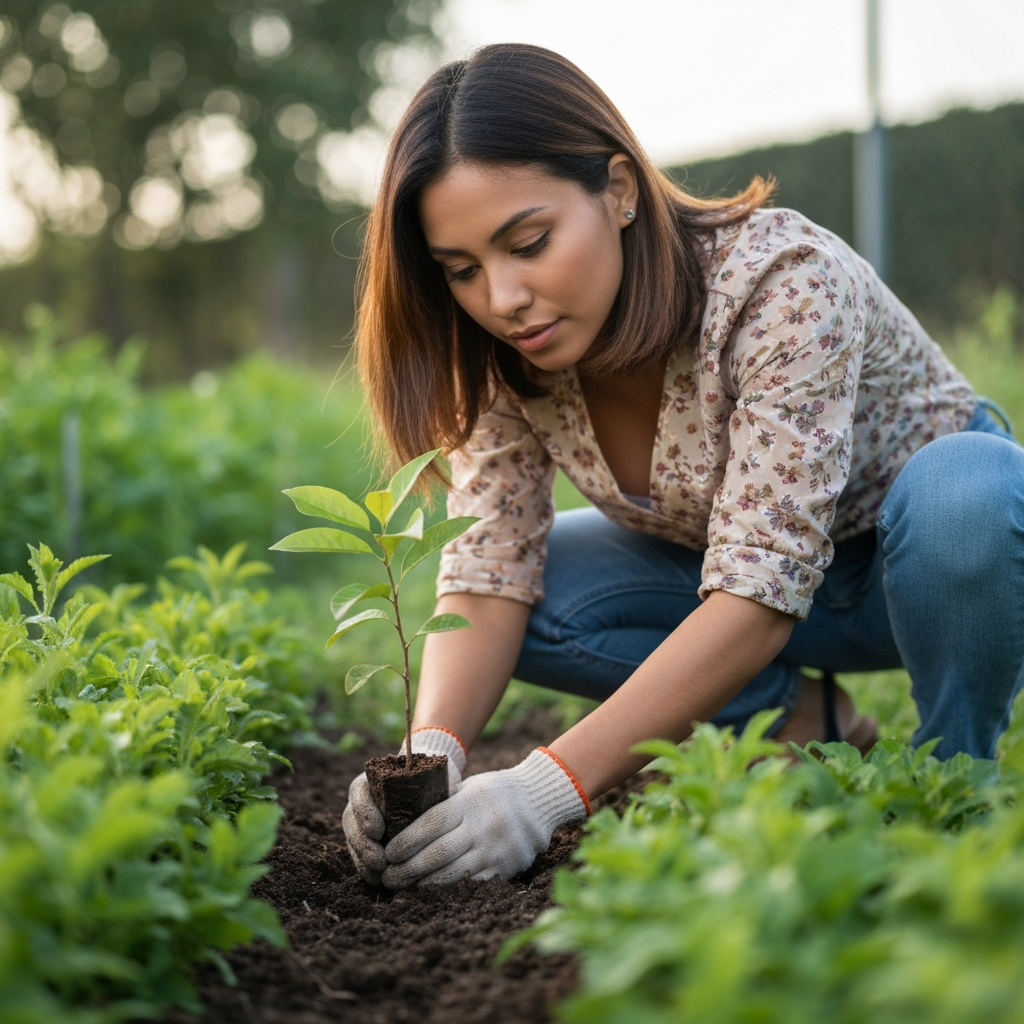
Step 5: Planting Your Seeds or Seedlings
Once your beds are prepared, it's time to plant! If you're starting from seeds, follow the instructions on the seed packet for planting depth and spacing. Consider starting seeds indoors a few weeks before the last expected frost to get a head start on the growing season. When transplanting seedlings, gently remove them from their containers and loosen the roots slightly. Dig a hole slightly larger than the root ball and place the seedling in the hole. Backfill with soil and gently firm the soil around the base of the plant. Water thoroughly after planting to help the roots establish.
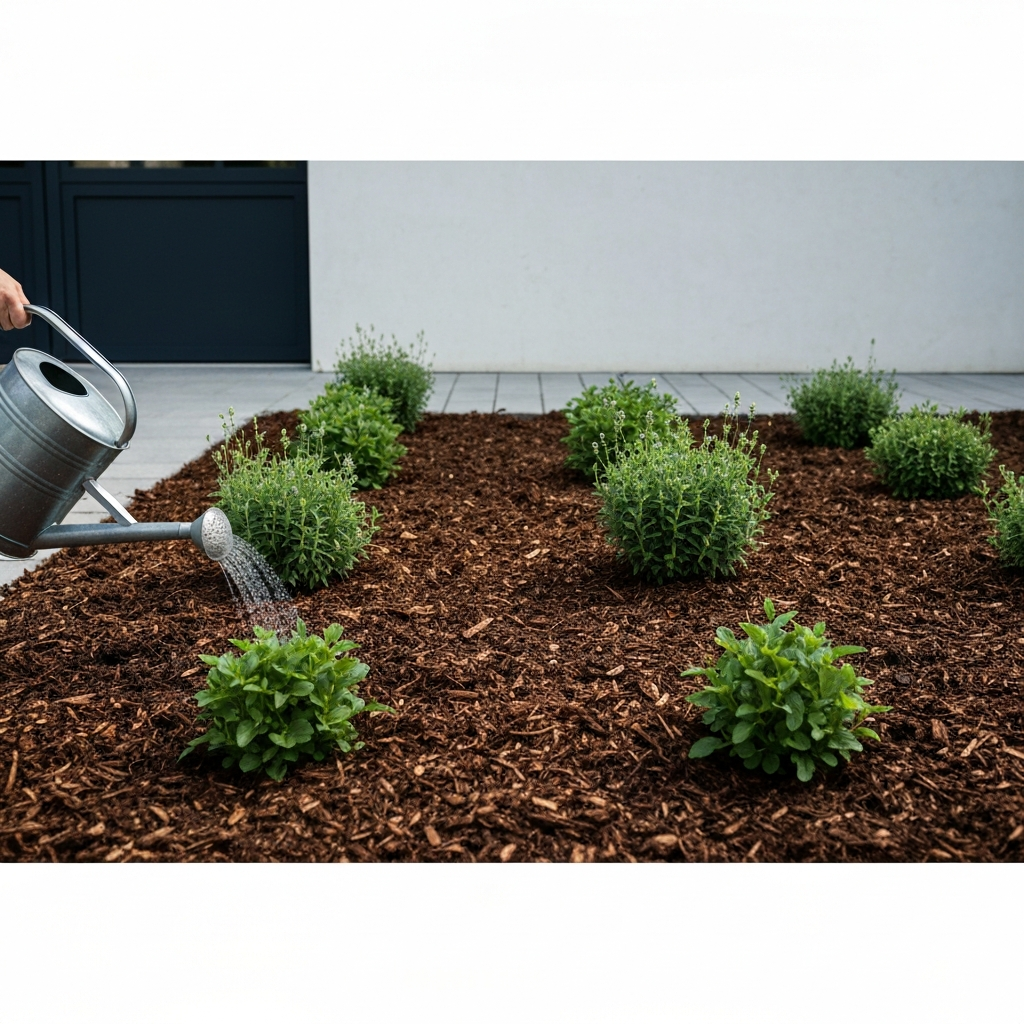
Step 6: Watering and Mulching
Watering is crucial for plant survival, especially during the first few weeks after planting. Water deeply and regularly, especially during hot, dry weather. Avoid overwatering, which can lead to root rot. A good rule of thumb is to water when the top inch of soil feels dry to the touch. Mulching is another essential practice that helps retain moisture, suppress weeds, and regulate soil temperature. Apply a 2-3 inch layer of organic mulch, such as straw, wood chips, or shredded bark, around your plants. Keep the mulch away from the base of the stems to prevent rot.
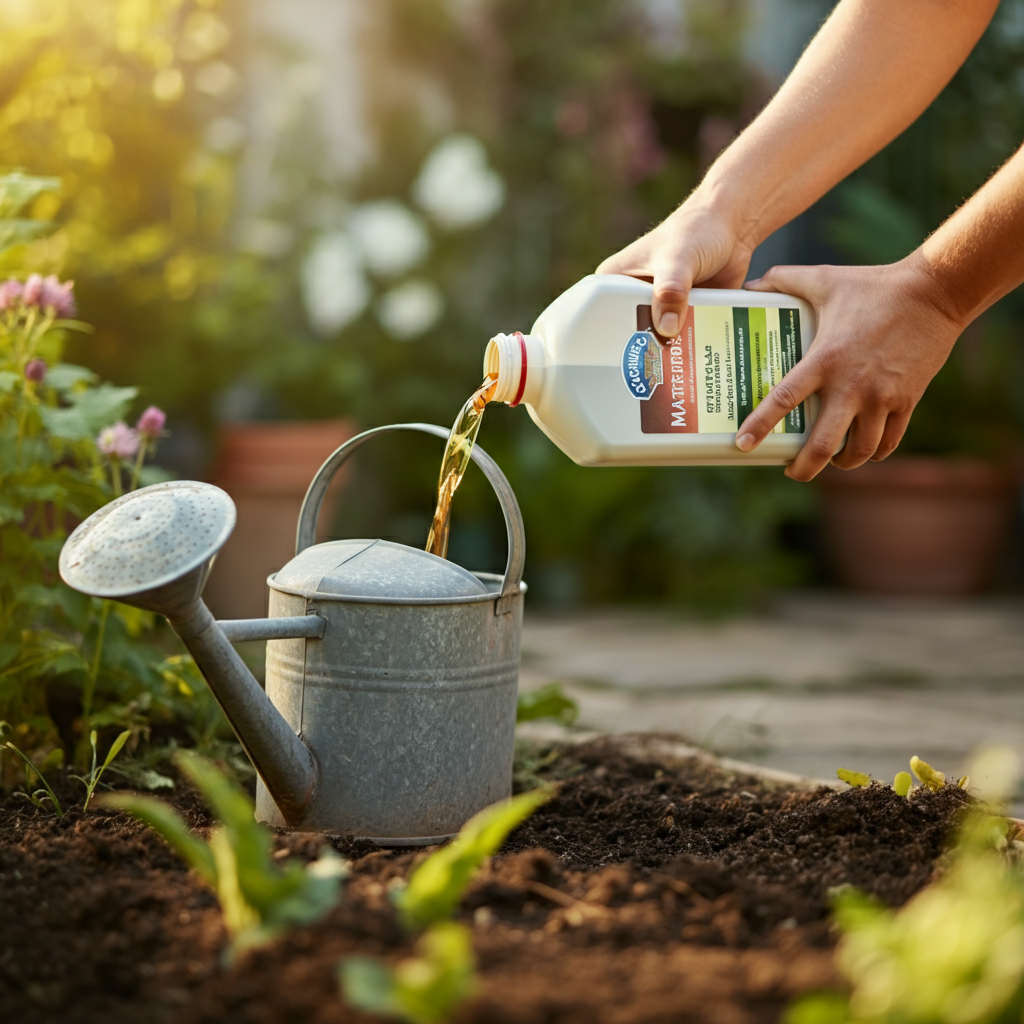
Step 7: Fertilizing Your Plants
Even with healthy soil, your plants may benefit from supplemental feeding. Fertilizers provide essential nutrients that support growth, flowering, and fruiting. Choose a fertilizer that is formulated for the specific type of plants you are growing. Follow the instructions on the fertilizer label carefully to avoid over-fertilizing, which can damage your plants. Organic fertilizers, such as compost tea or fish emulsion, are a great way to provide slow-release nutrients and improve soil health. Apply fertilizer according to the recommended schedule, usually every few weeks during the growing season.
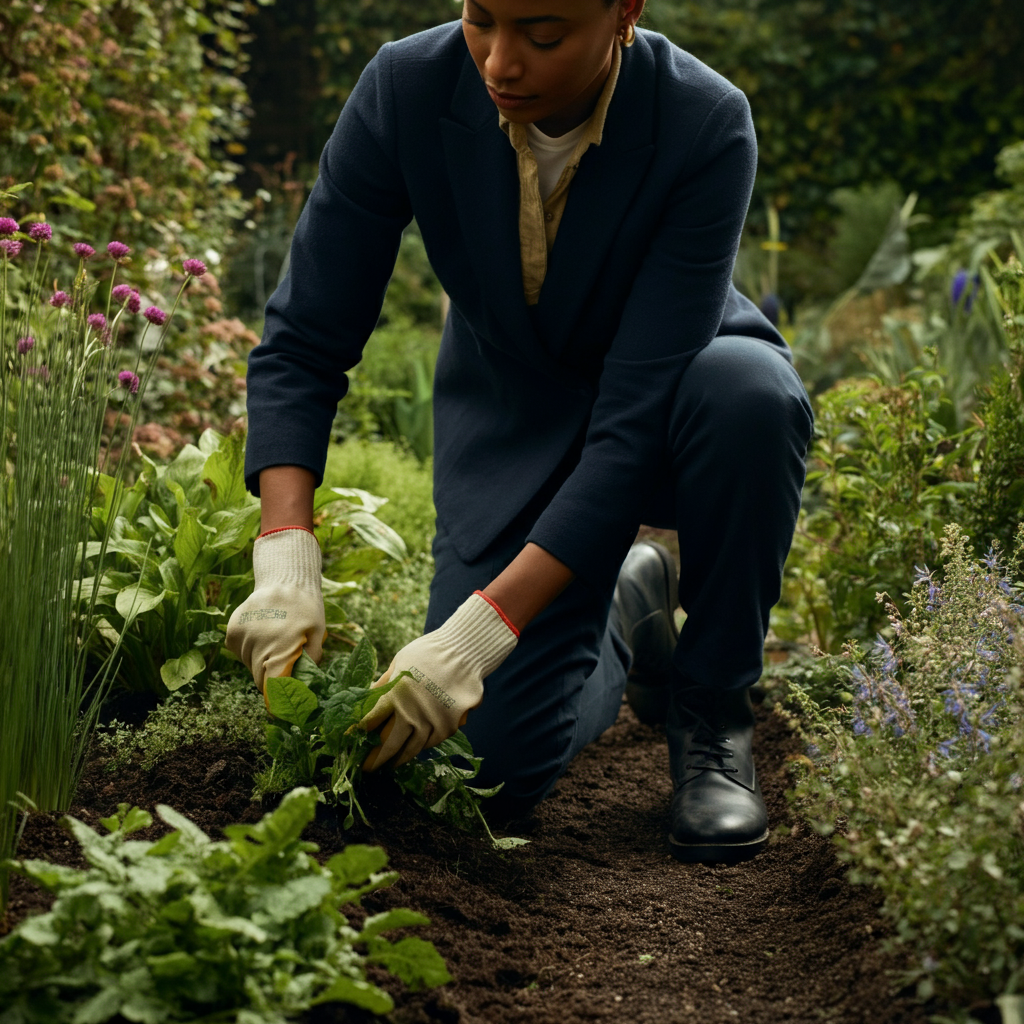
Step 8: Weed Control
Weeds compete with your plants for water, nutrients, and sunlight. Regular weeding is essential for maintaining a healthy garden. The best time to weed is after a rain or watering, when the soil is moist and the weeds are easier to pull. Hand-pull weeds carefully, making sure to remove the entire root system. You can also use a hoe or other weeding tool to cultivate the soil and remove weeds. Mulching helps suppress weed growth, but you may still need to do some manual weeding.
Step 9: Pest and Disease Management
Pests and diseases can wreak havoc on your garden. Regularly inspect your plants for signs of problems, such as chewed leaves, spots, or discoloration. Early detection is key for effective pest and disease management. Use organic pest control methods whenever possible, such as insecticidal soap, neem oil, or diatomaceous earth. Encourage beneficial insects, such as ladybugs and lacewings, to prey on pests. Choose disease-resistant plant varieties to minimize the risk of disease. If you suspect a disease, remove and destroy affected plant parts to prevent it from spreading.
Step 10: Harvesting and Enjoying Your Bounty
The most rewarding part of gardening is harvesting your own fresh produce! Harvest your vegetables and herbs when they are ripe and ready to eat. Regular harvesting encourages continued production. Cut flowers in the early morning, when they are most hydrated. Share your bounty with friends, family, and neighbors. Enjoy the fruits (and vegetables) of your labor!
Tools or Materials Required
- Gardening Gloves
- Hand Trowel
- Garden Fork or Shovel
- Watering Can or Hose
- Mulch (Straw, Wood Chips, Shredded Bark)
- Fertilizer
- Weeding Tool or Hoe
- Soil Testing Kit (Optional)
Common Mistakes to Avoid
- Planting in the wrong location (too much or too little sunlight)
- Overwatering or underwatering
- Using the wrong type of fertilizer
- Neglecting to weed regularly
- Ignoring signs of pests or diseases
Pro Tips
- Succession planting: Plant seeds or seedlings every few weeks to ensure a continuous harvest.
- Companion planting: Plant different species together that benefit each other (e.g., basil and tomatoes).
- Save seeds from your favorite plants to grow again next year.
Conclusion
Gardening, even with a "brown thumb," is an achievable and rewarding endeavor. By understanding your space, preparing your soil, choosing the right plants, and following these simple steps, you can create a thriving garden that provides you with fresh produce, beautiful flowers, and a sense of accomplishment. Don't be afraid to experiment, learn from your mistakes, and enjoy the process. Happy gardening!