Dreaming of a magazine-worthy yard but your budget is more budget-friendly? You don't need to spend a fortune to create a beautiful outdoor space. With a little creativity, some elbow grease, and a healthy dose of "garden hacking," you can transform your yard into a showstopper without breaking the bank. This guide will show you how to maximize your resources, repurpose materials, and cultivate a thriving garden that’s the envy of the neighborhood.
The key to successful budget gardening is planning and resourcefulness. Resist the urge to impulse buy at the garden center. Instead, assess your existing space, identify your needs and wants, and then explore cost-effective alternatives. We'll be covering everything from seed starting to creative container gardening to smart landscaping choices – all designed to save you money and maximize visual impact.
Get ready to roll up your sleeves and unleash your inner garden hacker! This isn't about shortcuts; it's about smart cuts. We'll focus on sustainable practices and clever strategies to help you achieve your dream yard without emptying your wallet. Let's dive in!
Step 1: Assess Your Space and Plan
Before you even think about buying plants or tools, take a good look at your yard. Evaluate the sunlight exposure in different areas: full sun (6+ hours), partial sun (4-6 hours), or full shade (less than 4 hours). Understanding your yard's microclimates is crucial for choosing the right plants that will thrive. Also, consider your soil type – is it sandy, clayey, or loamy? A simple soil test kit from your local garden center can provide valuable information. Finally, think about your overall aesthetic goals. Do you want a vibrant flower garden, a productive vegetable patch, a serene zen garden, or something else entirely? Draw a rough sketch of your yard and note areas for improvement, plant locations, and hardscaping elements.

Step 2: Start from Seed (or Cuttings!)
One of the most significant cost-saving measures you can take is starting your own plants from seed. Seed packets are significantly cheaper than buying established seedlings. Invest in a basic seed starting kit, including seed trays, a humidity dome, and a grow light. You can also repurpose materials like egg cartons or yogurt containers as starter pots. Another budget-friendly option is propagation from cuttings. Ask friends or neighbors for cuttings from their favorite plants like rosemary, lavender, or succulents. With a little rooting hormone and some patience, you can easily create new plants for free.

Step 3: Repurpose and Recycle
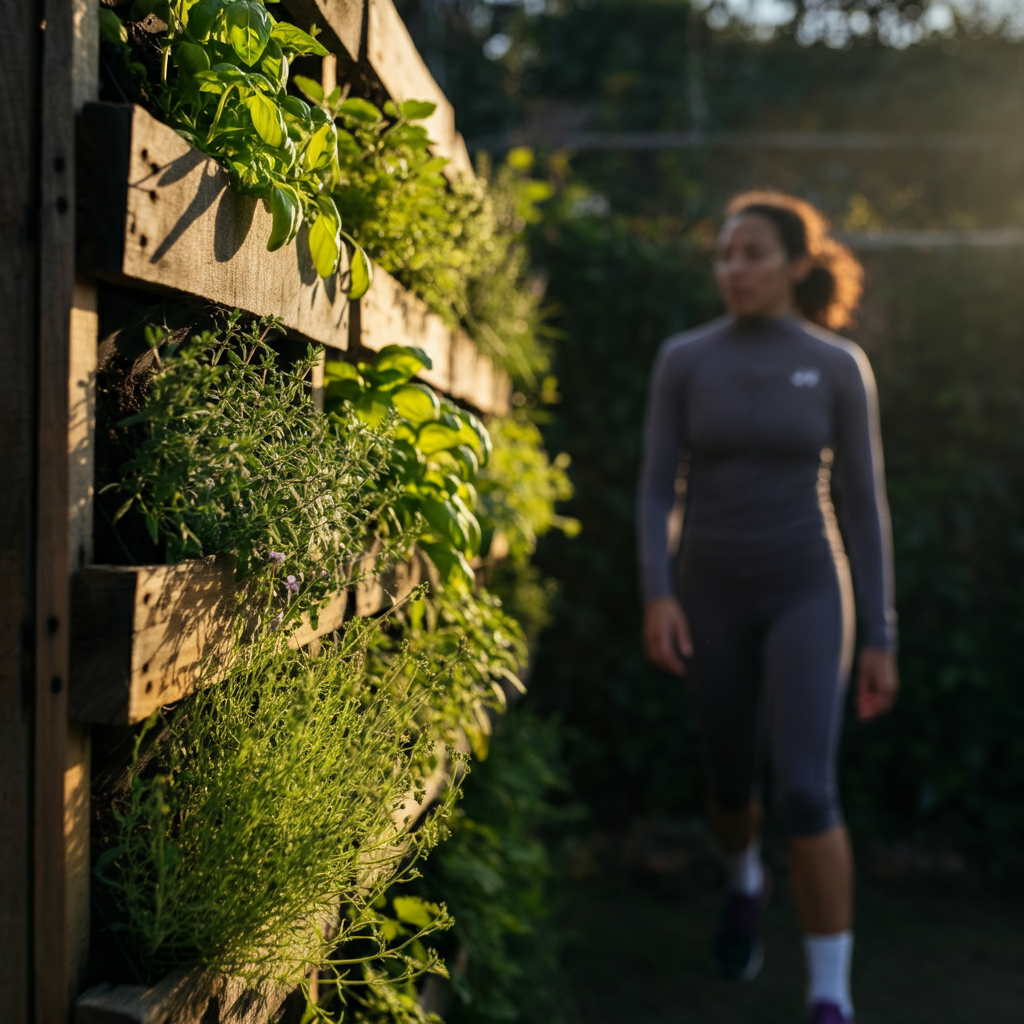
Get creative with repurposing materials for your garden. Old tires can be painted and used as planters. Pallets can be transformed into vertical gardens or compost bins. Bricks or stones can be used to create pathways or edging. Even old shoes or boots can be turned into quirky planters! Check your local thrift stores, flea markets, and online marketplaces for inexpensive or free materials that can be given a new life in your garden. Don't be afraid to think outside the box and embrace the rustic charm of repurposed items.
Step 4: Embrace Free Mulch and Compost
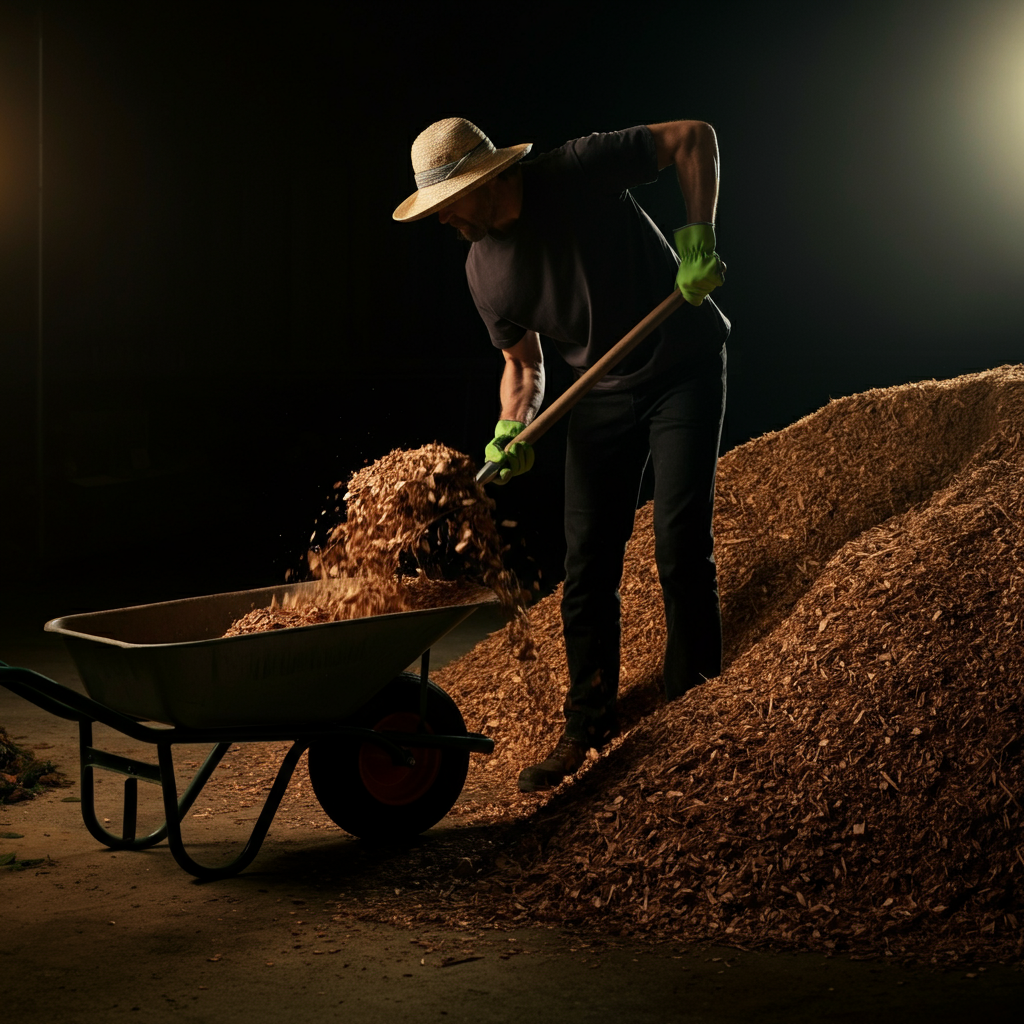
Mulch is essential for suppressing weeds, retaining moisture, and improving soil health. Instead of buying expensive mulch, look for free alternatives. Many municipalities offer free wood chips from tree trimming services. Contact your local parks department or utility companies to inquire about availability. You can also create your own compost using kitchen scraps, yard waste, and shredded paper. Compost is a fantastic soil amendment that provides nutrients and improves soil structure. A simple compost bin can be built from pallets or repurposed containers.
Step 5: Choose Perennials Wisely
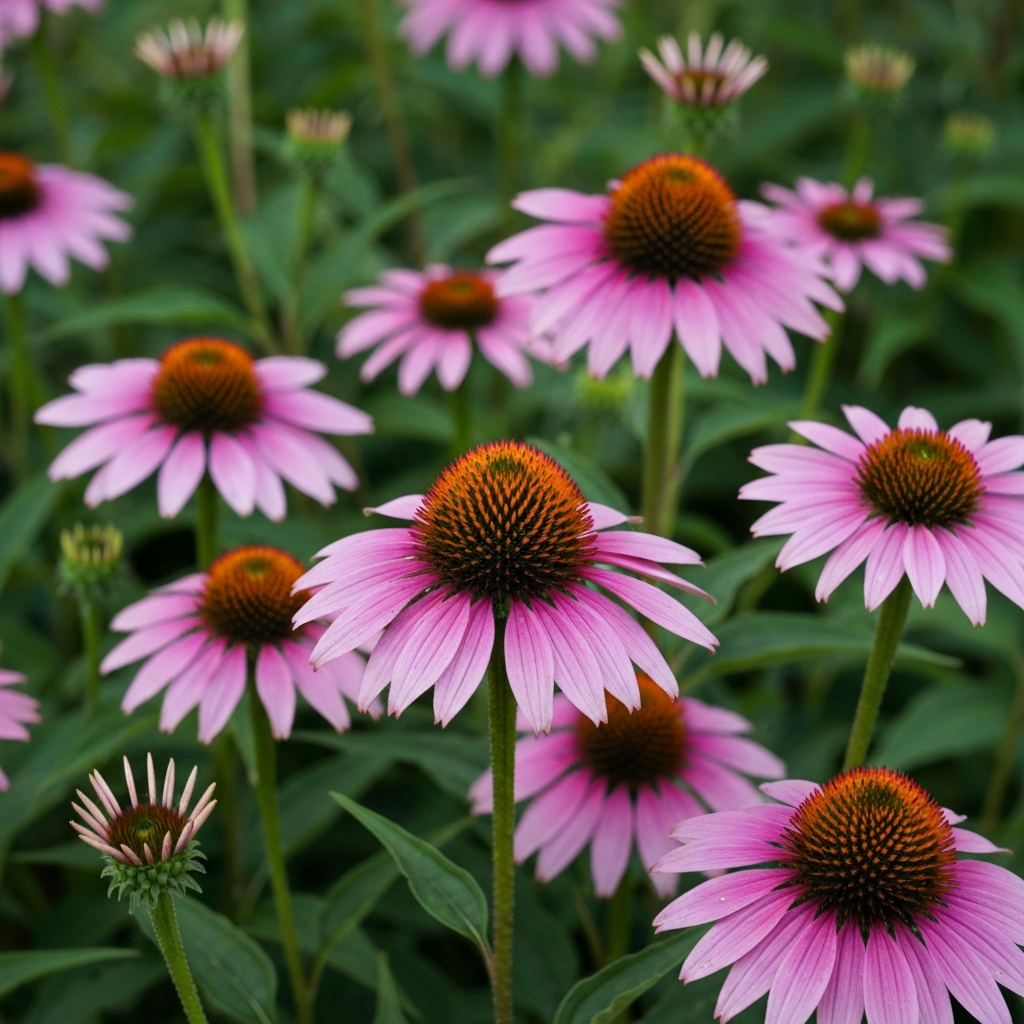
While annuals provide instant color, perennials offer long-term value. Perennials come back year after year, saving you money on replacing plants annually. Research perennials that are well-suited to your climate and growing conditions. Consider plants that can be divided every few years, allowing you to expand your garden without additional expense. Hostas, daylilies, and coneflowers are all relatively easy to divide. Also consider native plants as they are more adapted to your local environment.
Step 6: Shop Smart at the End of Season
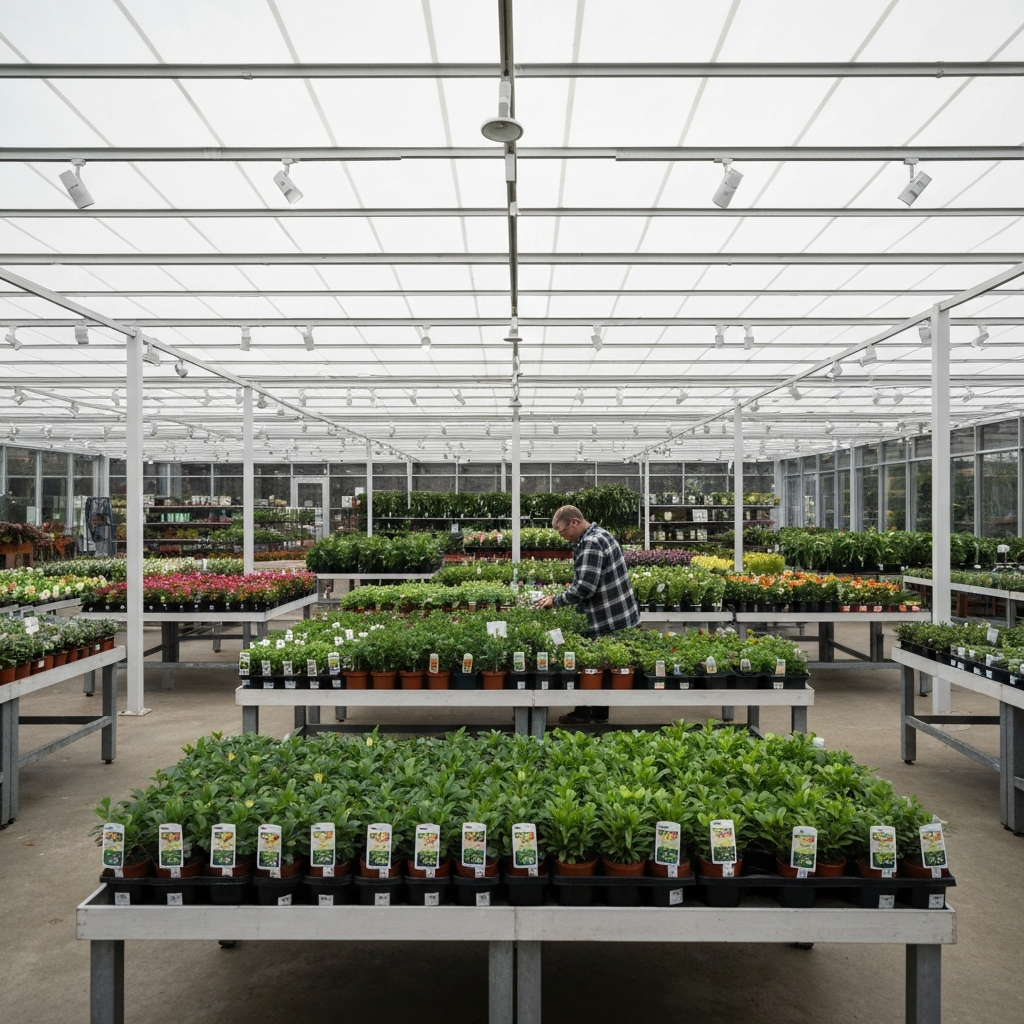
Garden centers often offer significant discounts on plants and gardening supplies at the end of the growing season. This is a great opportunity to stock up on perennials, shrubs, and even trees at a fraction of the regular price. Look for plants that are slightly past their prime but still healthy. With a little TLC, they can quickly recover and thrive in your garden next year. You can also find discounted potting soil, fertilizers, and tools.
Step 7: DIY Garden Art and Decor
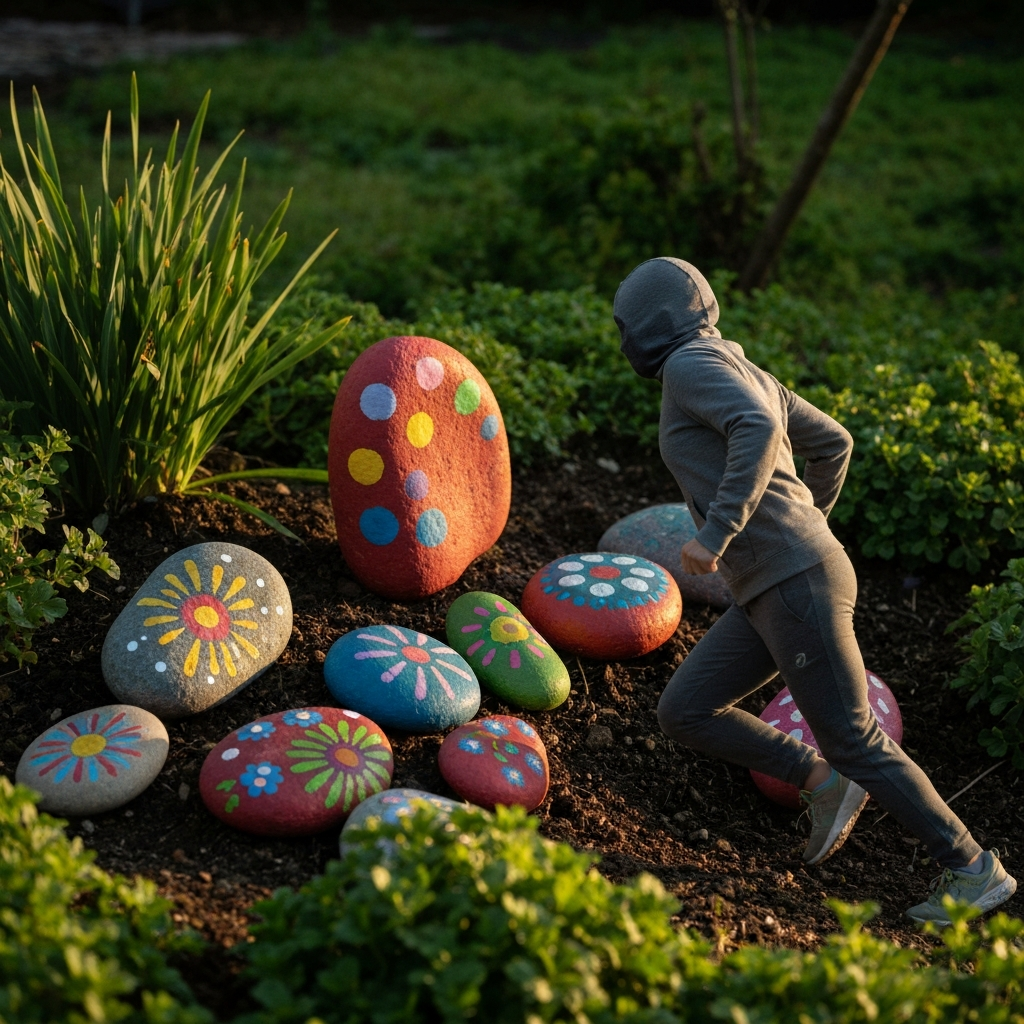
Add personality to your garden with DIY garden art and decor. Use found objects like shells, stones, or glass to create mosaics or sculptures. Paint rocks and use them as plant markers or garden accents. Turn old mason jars into solar-powered lanterns or bird feeders. Search online for inspiration and tutorials for DIY garden projects that suit your style and budget. The possibilities are endless!
Tools or Materials Required
- Seed starting kit (seed trays, humidity dome, grow light)
- Potting soil or seed starting mix
- Gardening gloves
- Shovel and trowel
- Watering can or hose
- Compost bin (optional)
Common Mistakes to Avoid
- Planting in the wrong location (sunlight requirements)
- Overwatering or underwatering
- Neglecting to amend the soil
- Failing to weed regularly
- Ignoring pest and disease problems
Safety Considerations
- Always wear gloves when handling soil or plants to protect your hands from irritants or sharp objects.
- Use caution when operating power tools or machinery.
- Be aware of potential hazards such as uneven surfaces, tripping hazards, and stinging insects.
- Wear sunscreen and a hat to protect yourself from the sun.
- Stay hydrated by drinking plenty of water.
Pro Tips
- Join a local gardening club or community garden to share tips and resources with other gardeners.
- Take advantage of free educational workshops and seminars offered by garden centers and nurseries.
- Start small and gradually expand your garden as you gain experience and confidence.
- Don't be afraid to experiment and try new things.
FAQ Section
- Q: How often should I water my plants?
- A: Watering frequency depends on several factors, including the type of plant, the weather, and the soil type. Generally, it's best to water deeply and less frequently, rather than shallowly and more often. Check the soil moisture level before watering and avoid overwatering.
- Q: How do I get rid of weeds without using harmful chemicals?
- A: There are several natural weed control methods you can try, including hand-pulling, mulching, and using vinegar or boiling water. You can also try solarizing the soil by covering it with clear plastic for several weeks to kill weed seeds.
- Q: What is the best time of day to water my plants?
- A: The best time to water your plants is early in the morning, when temperatures are cooler and there is less evaporation. Avoid watering in the evening, as this can create a moist environment that promotes fungal diseases.
By following these garden hacking tips, you can create a showstopping yard on a shoestring budget. Remember to start with a plan, be resourceful, embrace DIY projects, and take advantage of free resources. With a little effort and creativity, you can transform your outdoor space into a beautiful and inviting oasis that you can enjoy for years to come. Happy gardening!