A slow computer can be one of the most frustrating tech issues to deal with. It feels like time is being stolen from you with every agonizingly slow application launch or webpage load. Before you throw your computer out the window, take a deep breath. Diagnosing and fixing a slow computer doesn't require a computer science degree, just a systematic approach and a little patience.
This guide provides a comprehensive, step-by-step walkthrough to help you identify the root causes of your computer's sluggish performance and implement effective solutions. We'll cover everything from basic troubleshooting to more advanced techniques, empowering you to reclaim your computer's speed and your sanity. Remember to back up your important data before making any major changes.
We'll guide you through practical solutions and help you understand why these steps work. Let's get started and breathe new life into your aging machine.
Step 1: Check the Obvious - Mouse and Peripherals
Sometimes the simplest solution is the correct one. Before diving into complex diagnostics, make sure your mouse is properly connected and functioning. A loose USB connection or dead wireless mouse can mimic a system-wide freeze. Try a different USB port or replace the batteries in your wireless mouse. If you're using a laptop, ensure the touchpad isn't accidentally disabled by a function key or a dedicated lock button. Double-check these basics before proceeding to more involved troubleshooting.

Step 2: Close Unnecessary Programs and Browser Tabs
One of the most common causes of a slow computer is running too many programs or having too many browser tabs open simultaneously. Each application and tab consumes system resources, including RAM and CPU power. Closing unused programs and unnecessary browser tabs can free up significant resources and dramatically improve performance. Many programs run in the background without you even realizing it, so it's crucial to identify and close these resource hogs.

Step 3: Use Task Manager to Identify Resource-Intensive Processes
The Task Manager (Windows) or Activity Monitor (macOS) is your best friend when it comes to identifying resource-hogging processes. Open the Task Manager by pressing Ctrl+Shift+Esc on Windows or the Activity Monitor via Spotlight Search on macOS. Sort processes by CPU or Memory usage to pinpoint which applications are consuming the most resources. If you find programs consuming a significant amount of resources that you're not actively using, close them. Be cautious about ending processes you don't recognize, as they may be essential system processes.
Step 4: Scan for Malware and Viruses
Malware and viruses can wreak havoc on your computer's performance. These malicious programs often run in the background, consuming system resources and slowing everything down. Run a full system scan with a reputable antivirus program to detect and remove any threats. Keep your antivirus software up-to-date to ensure it can identify the latest threats. Consider using a second opinion scanner for a more comprehensive check.
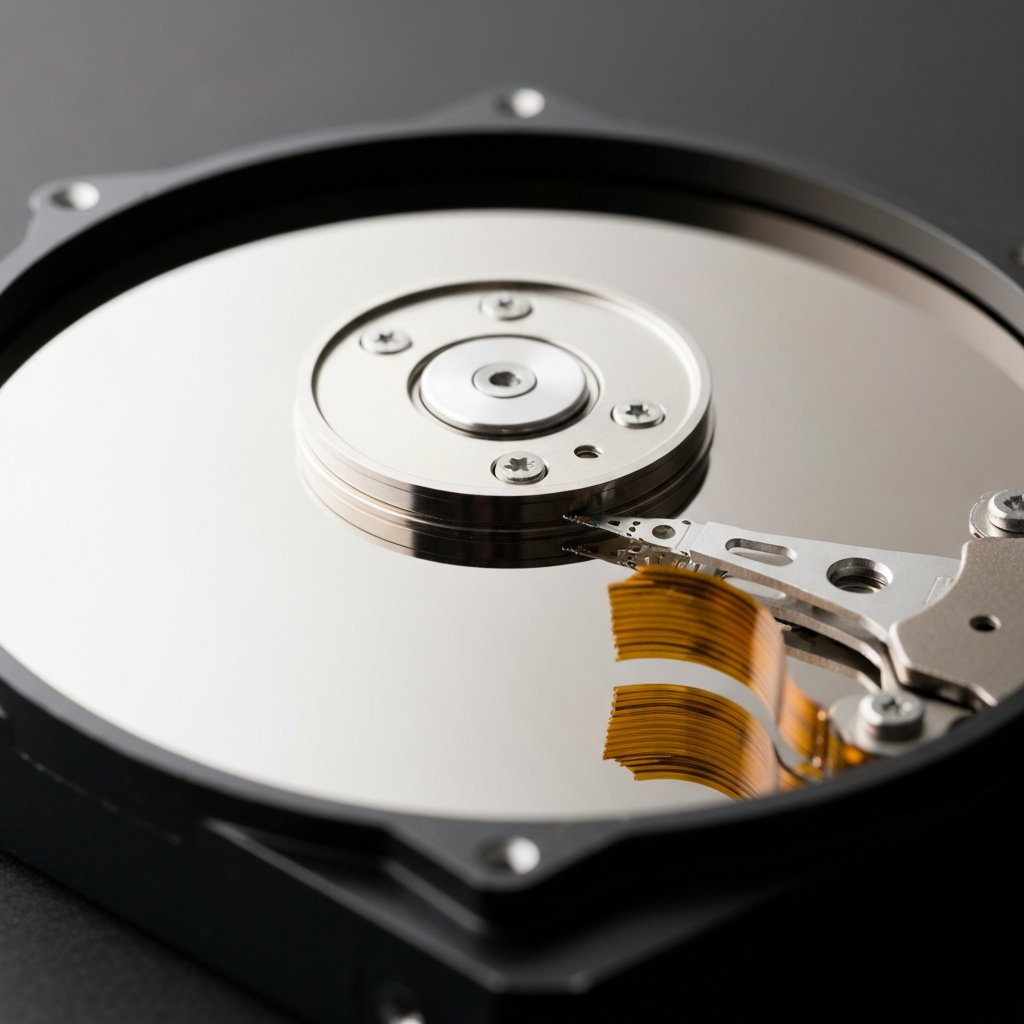
Step 5: Check Hard Drive Health and Fragmentation
A failing hard drive or a heavily fragmented drive can significantly impact your computer's speed. Run a disk check utility to identify any errors on your hard drive. On Windows, you can use the built-in "Error Checking" tool. Right-click on the drive in File Explorer, select "Properties," go to the "Tools" tab, and click "Check." Defragmenting your hard drive (if you're not using an SSD) can also improve performance by reorganizing files and making them easier to access. Windows automatically defragments on a schedule, but you can also manually run the defragmentation tool. For SSDs, do not defragment; instead, ensure TRIM is enabled.
Step 6: Update Drivers
Outdated or corrupted drivers can cause a variety of problems, including slow performance. Drivers are software that allow your operating system to communicate with your hardware. Updating your drivers to the latest versions can often resolve compatibility issues and improve performance. You can update drivers through Device Manager on Windows or by downloading them from the manufacturer's website. Pay special attention to graphics card drivers, as they can significantly impact gaming and video performance.
Step 7: Clean Up Disk Space
When your hard drive or SSD is nearly full, your computer's performance can suffer. Freeing up disk space can significantly improve speed. Uninstall unnecessary programs, delete temporary files, and move large files (like photos and videos) to an external drive. Use the Disk Cleanup tool in Windows to remove temporary files and other unnecessary data. Consider using a storage analyzer tool to identify the largest files on your system.
Step 8: Run System File Checker
Corrupted system files can cause a range of problems, including slow performance and system instability. The System File Checker (SFC) is a built-in Windows tool that can scan for and repair corrupted system files. Open the Command Prompt as an administrator and type `sfc /scannow` and press Enter. This process may take some time, but it can often resolve underlying system issues that are contributing to slow performance. Follow the on-screen instructions after the scan is complete.
Step 9: Check Memory (RAM) Usage and Consider Upgrading
Insufficient RAM can lead to slow performance, especially when running multiple programs or working with large files. Monitor your RAM usage in Task Manager (Windows) or Activity Monitor (macOS). If your RAM usage is consistently high (above 80-90%), consider upgrading your RAM. Adding more RAM can significantly improve performance, especially if you frequently run memory-intensive applications. You can also run the Windows Memory Diagnostic Tool to check for faulty RAM.
Step 10: Adjust Visual Effects
Windows includes a variety of visual effects that can enhance the user experience, but these effects can also consume system resources. Disabling some of these effects can improve performance, especially on older computers. Search for "Adjust the appearance and performance of Windows" in the Start menu. On the "Visual Effects" tab, select "Adjust for best performance" to disable all visual effects, or manually select the effects you want to disable.
Step 11: Reset or Reinstall the Operating System (Last Resort)
If you've tried all the previous steps and your computer is still slow, a reset or reinstall of the operating system may be necessary. This will erase all data on your hard drive, so be sure to back up your important files before proceeding. A reset or reinstall will restore your computer to its original factory state, removing any software conflicts or corrupted files that may be causing the problem. This is a drastic measure, but it can often be the most effective solution for persistent performance issues. Consult your operating system's documentation for instructions on how to reset or reinstall.
Common Mistakes to Avoid
- Skipping the backup: Always back up your data before making any major changes to your system.
- Downloading software from untrusted sources: Only download software from reputable websites to avoid malware.
- Ignoring error messages: Pay attention to error messages, as they can provide valuable clues about the cause of the problem.
- Overlooking physical issues: Make sure your computer is clean and well-ventilated to prevent overheating.
FAQ Section
- Q: How often should I scan my computer for malware? A: Ideally, you should run a full system scan at least once a week.
- Q: How much RAM do I need? A: 8GB is generally sufficient for basic tasks, but 16GB or more is recommended for gaming and demanding applications.
- Q: Is it safe to defragment an SSD? A: No, defragmenting an SSD is not recommended and can actually reduce its lifespan. Ensure TRIM is enabled instead.
By following these steps, you can effectively diagnose and fix a slow computer without losing your mind. Remember to be patient, methodical, and to back up your data before making any significant changes. With a little effort, you can breathe new life into your aging machine and enjoy a faster, more responsive computing experience.