Is your old laptop gathering dust, struggling to keep up with modern demands? Don't resign it to the landfill just yet! With a few strategic tweaks and upgrades, you can revitalize its performance and extend its lifespan. The key is to identify the bottlenecks that are slowing it down and address them effectively.
This guide provides a comprehensive, step-by-step approach to breathe new life into your aging laptop. We'll cover everything from software optimizations and hardware upgrades to exploring alternative operating systems. Follow these instructions carefully, and you'll be surprised at how much performance you can squeeze out of your trusty old machine.
Remember that every laptop is different, so some steps might be more relevant than others depending on your specific model and usage. Before starting any upgrades, always back up your important data to an external hard drive or cloud storage service. This is crucial in case anything goes wrong during the process.
Step 1: Declutter Your Hard Drive
A cluttered hard drive is a major performance killer. Over time, temporary files, unnecessary programs, and duplicate documents accumulate, consuming valuable storage space and slowing down your system. The first step is to identify and remove these unnecessary files.
Start by running Disk Cleanup (Windows) or using a similar utility (macOS) to remove temporary files, cached data, and other junk. Next, uninstall programs you no longer use. Be cautious when uninstalling programs; make sure you know what they do before removing them. Finally, manually go through your documents, pictures, and videos folders and delete any duplicate or unneeded files. Consider moving large files you don't access frequently to an external hard drive.

Step 2: Optimize Startup Programs
Many programs are configured to launch automatically when your laptop starts up. This can significantly slow down the boot process and consume system resources in the background. Disabling unnecessary startup programs can dramatically improve your laptop's startup time and overall responsiveness.
On Windows, you can manage startup programs through the Task Manager (Ctrl+Shift+Esc) under the "Startup" tab. On macOS, go to System Preferences > Users & Groups > Login Items. Disable any programs you don't need running automatically. Be selective; disabling essential programs can cause problems. If you're unsure, do some research before disabling a program.

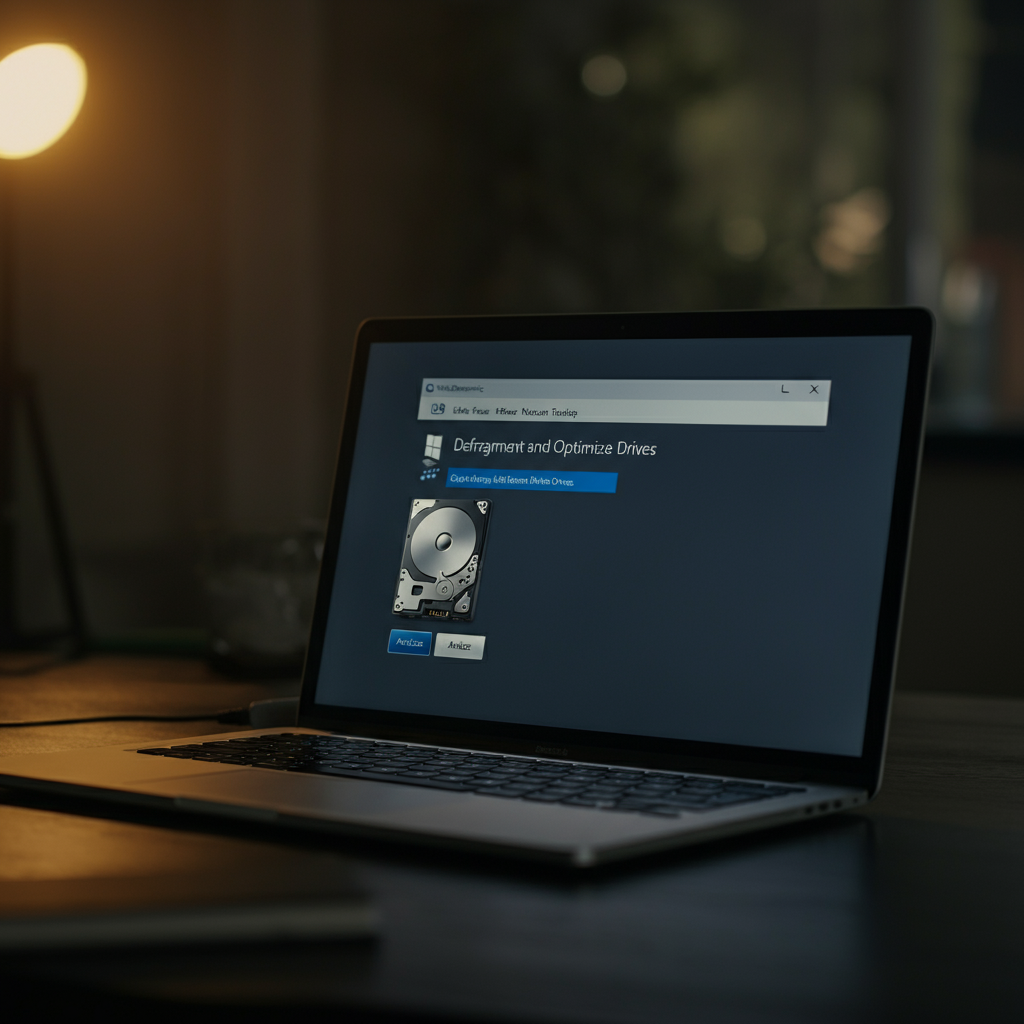
Step 3: Defragment Your Hard Drive (Windows Only)
Over time, files on your hard drive become fragmented, meaning they are stored in non-contiguous locations. This slows down access times as the system has to search multiple locations to retrieve a single file. Defragmenting your hard drive reorganizes these files, improving performance.
Windows includes a built-in defragmentation tool. Search for "defragment" in the Start menu and run the "Defragment and Optimize Drives" utility. Select your hard drive and click "Optimize." Note: This step only applies to traditional hard drives (HDDs). Do not defragment solid-state drives (SSDs), as it can actually reduce their lifespan. SSDs handle fragmentation differently, and Windows automatically optimizes them through a process called TRIM.
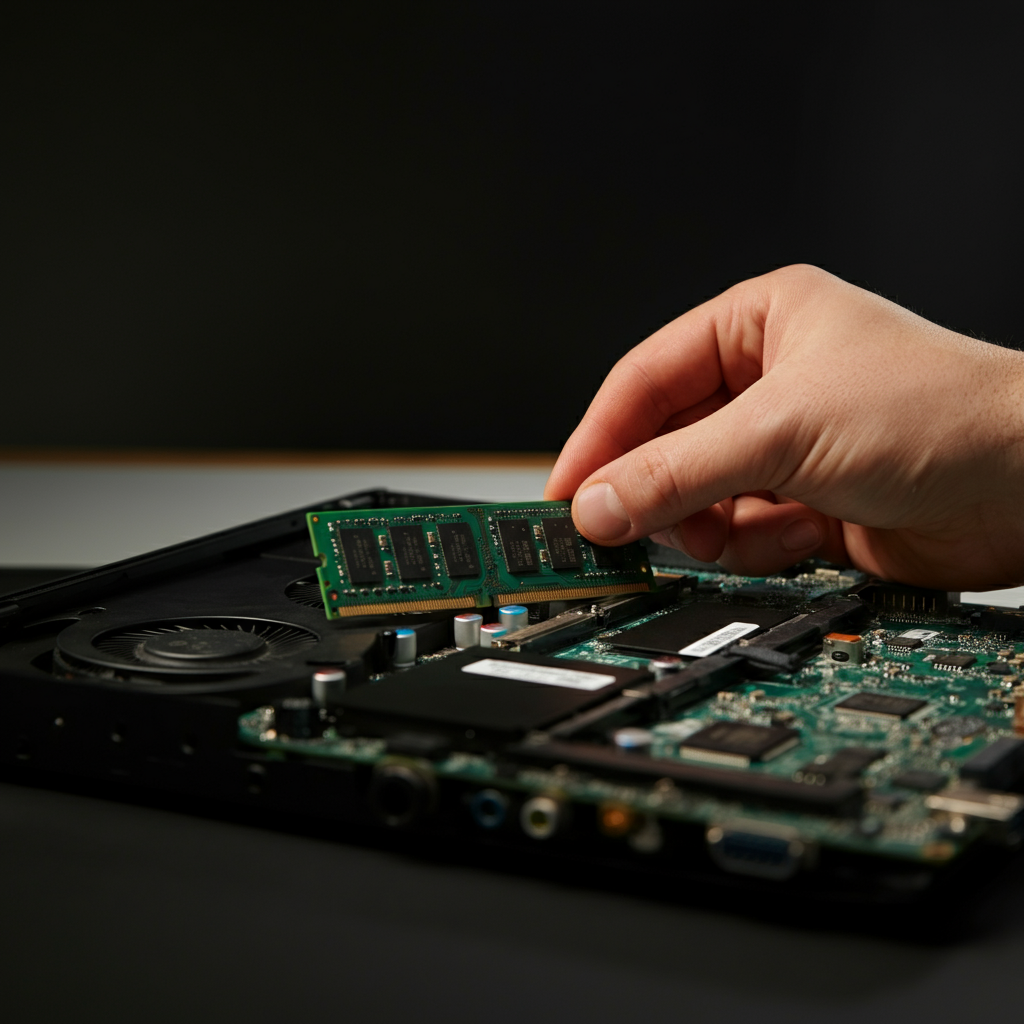
Step 4: Upgrade Your RAM
Random Access Memory (RAM) is essential for running applications and multitasking. If your laptop has limited RAM (4GB or less), upgrading it can significantly improve performance, especially when running multiple programs or working with large files.
Check your laptop's specifications to determine the type and maximum amount of RAM it supports. You can find this information in the laptop's manual or on the manufacturer's website. Purchase compatible RAM modules and install them according to the manufacturer's instructions. Be careful when handling RAM modules; they are sensitive to static electricity. Ground yourself before touching them.
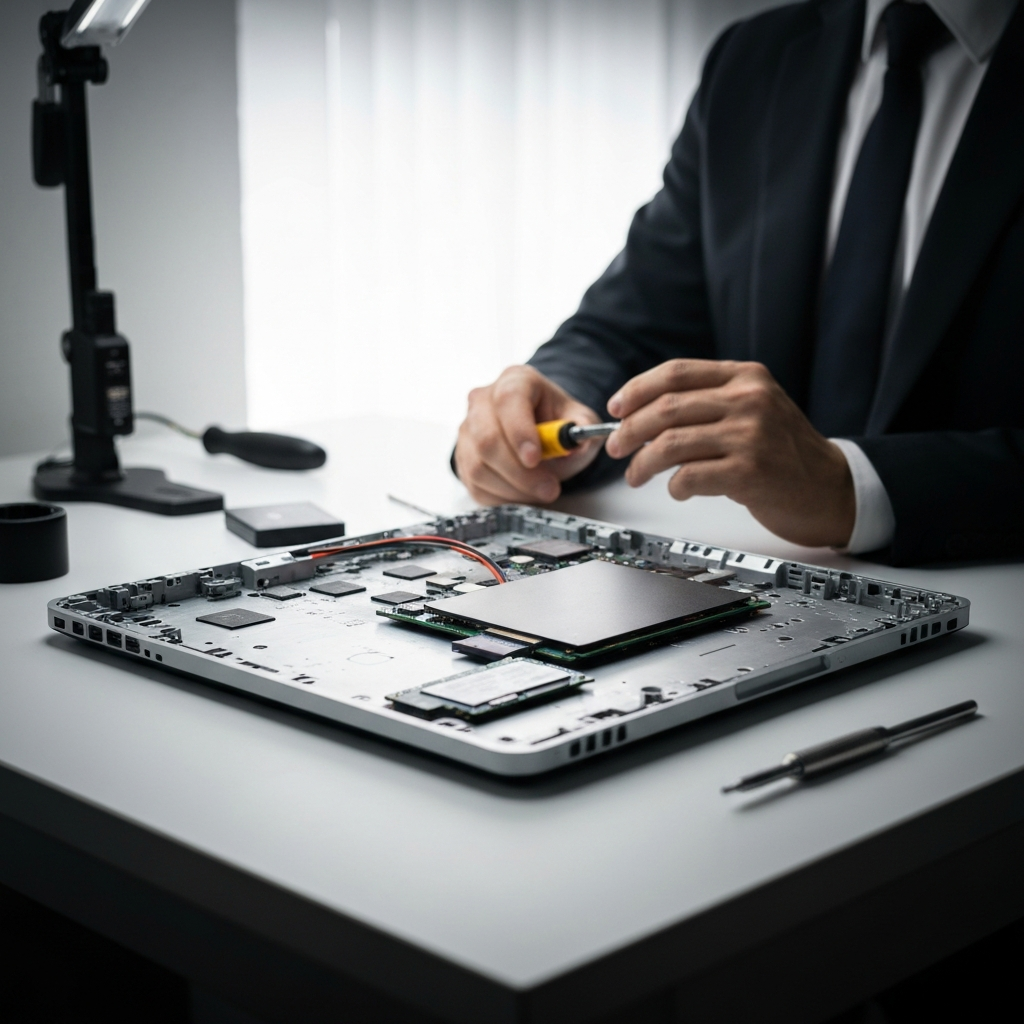
Step 5: Switch to an SSD (Solid State Drive)
Replacing a traditional hard drive (HDD) with a solid-state drive (SSD) is one of the most impactful upgrades you can make. SSDs offer significantly faster read and write speeds, resulting in quicker boot times, faster application loading, and improved overall responsiveness. This upgrade provides the most noticeable performance boost.
Purchase an SSD that is compatible with your laptop's storage interface (SATA or NVMe). Clone your existing hard drive to the SSD using a disk cloning utility, or perform a clean installation of your operating system on the SSD. Replace the old hard drive with the new SSD, following the laptop's disassembly instructions.
Step 6: Consider a Lightweight Operating System
If your laptop is still struggling to perform adequately after the previous steps, consider installing a lightweight operating system like Chrome OS Flex. Chrome OS Flex is designed to run efficiently on older hardware, providing a fast and responsive experience for web browsing, document editing, and other basic tasks.
Chrome OS Flex can breathe new life into older hardware. First, check if your computer is certified by Google for Chrome OS Flex, and check the specifications to make sure it meets the minimum requirements such as the correct processor. You will need a USB drive with at least 8 GB of storage to install Chrome OS Flex.
Creating a Bootable USB Drive
To install Chrome OS Flex, you'll first need to create a bootable USB drive. You will need to open Google Chrome. Then install the Chromebook Recovery Utility extension. Once installed, insert your USB drive. Open the Chromebook Recovery Utility extension and click "Get Started". Then select "Google Chrome OS Flex" and click continue. After that, select your USB drive and click continue, then finally, click "Create Now". This writes Chrome OS Flex to the USB drive.

Booting from the USB Recovery Media and Installing Chrome OS Flex
Boot into the BIOS and make sure that your boot order is set to boot from the USB drive first. Power off your computer, insert your USB drive and power on your computer. Your computer should boot from the USB drive, which will allow you to try or install Chrome OS Flex. Click "Get Started". Click "Install Chrome OS Flex." This will begin installing Chrome OS Flex, and when the installation is complete, your computer will shut down automatically. Remove your USB drive and power on your computer.
Before installing, remember that this will completely erase your current operating system. To try it first, click "Try it first" instead of "Install Chrome OS Flex".
Tools or Materials Required
- Screwdrivers (Phillips and flathead)
- Anti-static wrist strap
- USB drive (at least 8GB)
- RAM modules (compatible with your laptop)
- SSD (compatible with your laptop)
- Disk cloning software (optional)
- Operating system installation media (optional)
Common Mistakes to Avoid
- Forgetting to back up your data before making changes.
- Installing incompatible RAM or SSD modules.
- Disabling essential startup programs.
- Defragmenting an SSD.
- Not grounding yourself before handling sensitive components.
Safety Considerations
- Disconnect the laptop from the power adapter before opening it.
- Ground yourself to prevent static electricity damage.
- Handle components carefully to avoid damaging them.
- Refer to the laptop's service manual for detailed disassembly instructions.
FAQ Section
- Q: How much RAM do I need?
- A: 8GB is generally sufficient for most tasks, but 16GB or more is recommended for demanding applications like video editing or gaming.
- Q: Will an SSD make a big difference?
- A: Yes, switching to an SSD is one of the most significant performance upgrades you can make.
- Q: Is it safe to open my laptop?
- A: Opening your laptop may void your warranty. If you're not comfortable doing it yourself, consider taking it to a professional.
Conclusion
By following these steps, you can breathe new life into your old laptop and significantly improve its performance. Start by decluttering your hard drive and optimizing startup programs. Consider upgrading your RAM and switching to an SSD for a more substantial performance boost. If all else fails, explore lightweight operating systems like Chrome OS Flex. With a little effort, you can extend the lifespan of your trusty laptop and avoid the expense of buying a new one.