Is your garden looking a little lackluster? Does it lack the vibrant energy it once had? Don't despair! Reviving a tired garden is easier than you might think. With a little effort and these simple DIY steps, you can transform your outdoor space into a thriving oasis once again.
This guide provides a comprehensive, step-by-step approach to rejuvenate your garden, focusing on practical techniques and readily available resources. We'll cover everything from soil preparation to plant selection, ensuring you have the knowledge and confidence to create a garden you'll love for years to come.
Forget costly landscaping projects; this guide focuses on affordable and manageable DIY solutions. We’ll empower you to bring your garden back to life using your own two hands! Get ready to roll up your sleeves and breathe new life into your outdoor haven.
Step 1: Assess the Situation
Before you start ripping things out and planting new flowers, it's crucial to take stock of your garden's current condition. Walk around and carefully observe what's working, what's not, and what specific problems you're facing. Are there areas with poor drainage? Is the soil compacted? Are there signs of pests or diseases? Identifying these issues is the first step towards creating a revitalization plan.

Step 2: Clear Out Debris and Weeds
A clean slate is essential for a successful garden revival. Remove all dead leaves, branches, and other debris that may be cluttering your garden beds. Weeds are notorious nutrient thieves, so diligently remove them, making sure to get the roots to prevent them from returning. You can use a weeding tool or simply pull them out by hand. Consider applying a layer of mulch to help suppress future weed growth.
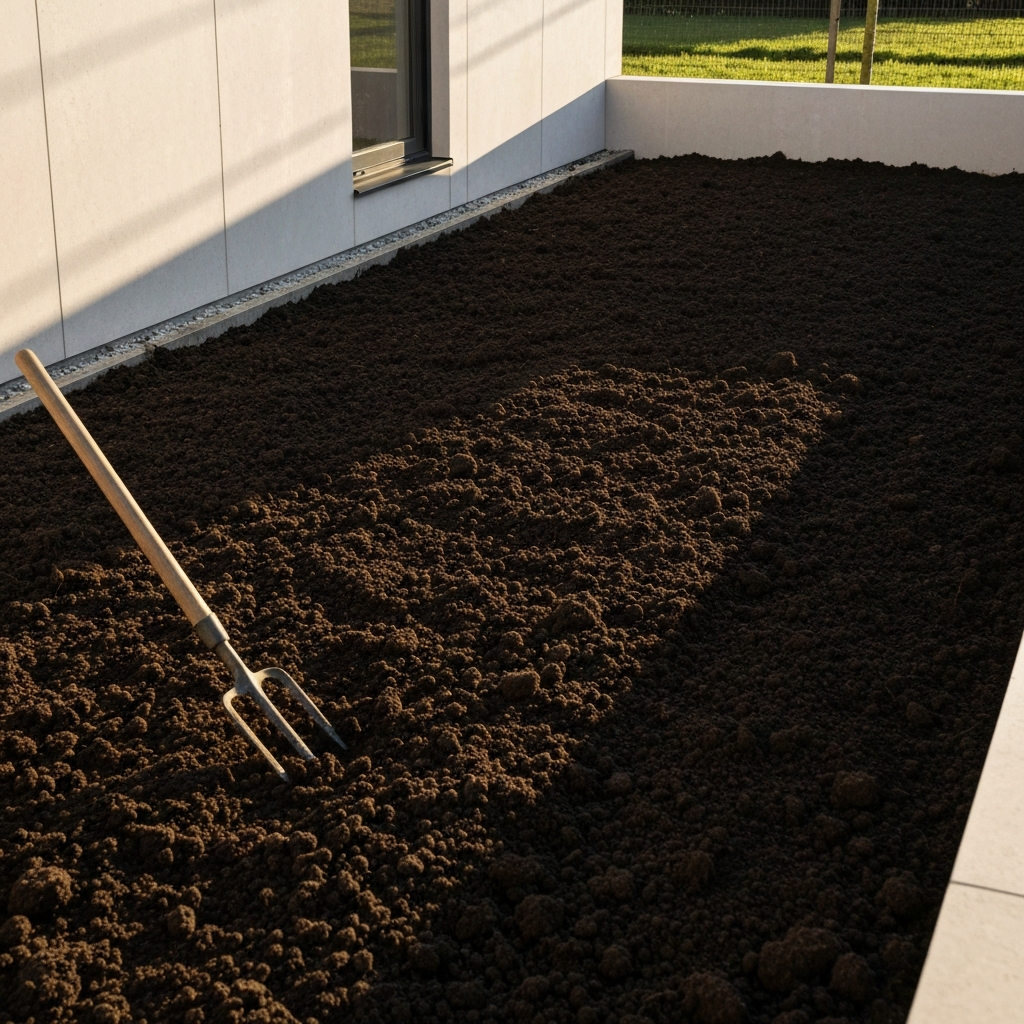
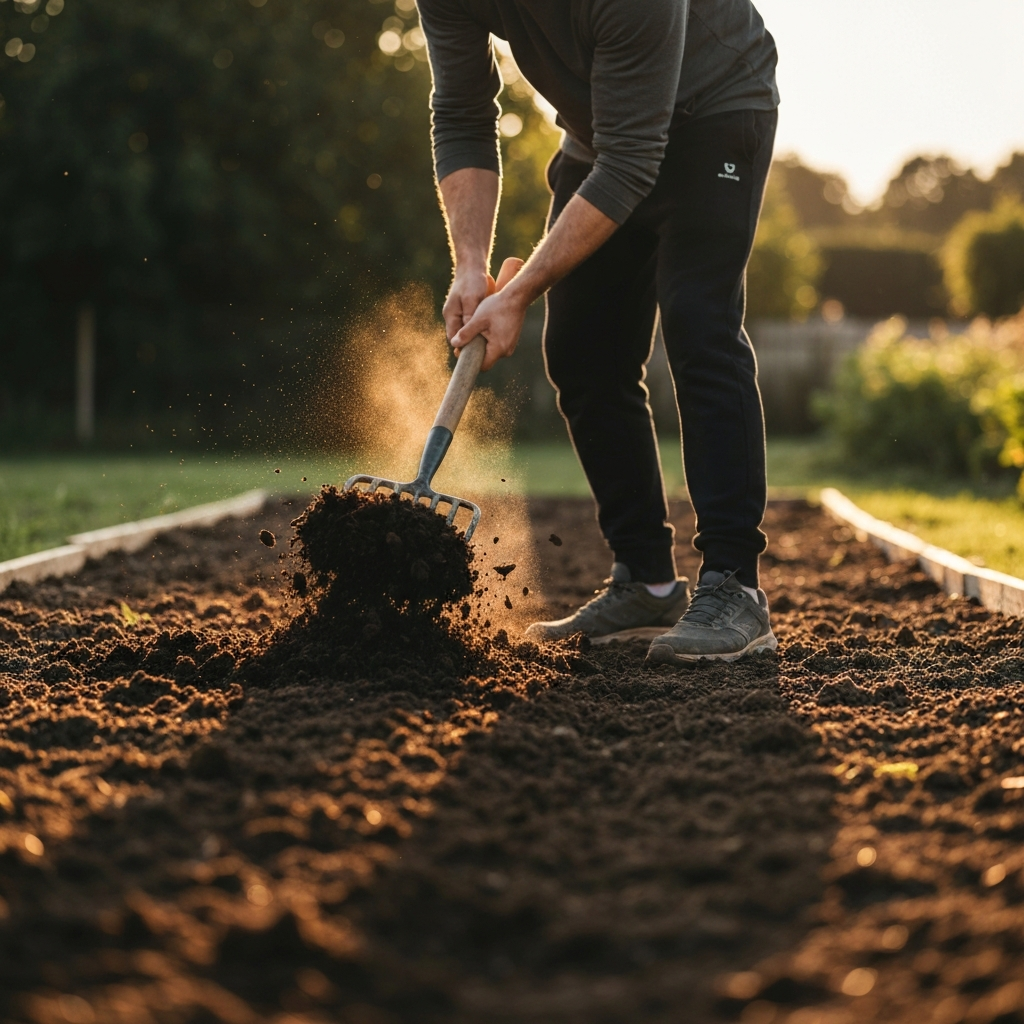
Step 3: Improve Soil Quality
Healthy soil is the foundation of a thriving garden. If your soil is compacted or lacking in nutrients, it's time to amend it. Add organic matter such as compost, well-rotted manure, or peat moss to improve drainage, aeration, and fertility. A soil test kit can provide valuable insights into your soil's pH and nutrient levels. Depending on the results, you may need to add lime to raise the pH or sulfur to lower it.
Tools or Materials Required:
- Compost or well-rotted manure
- Peat moss (optional)
- Soil test kit
- Gardening fork or tiller
- Lime or sulfur (if needed)
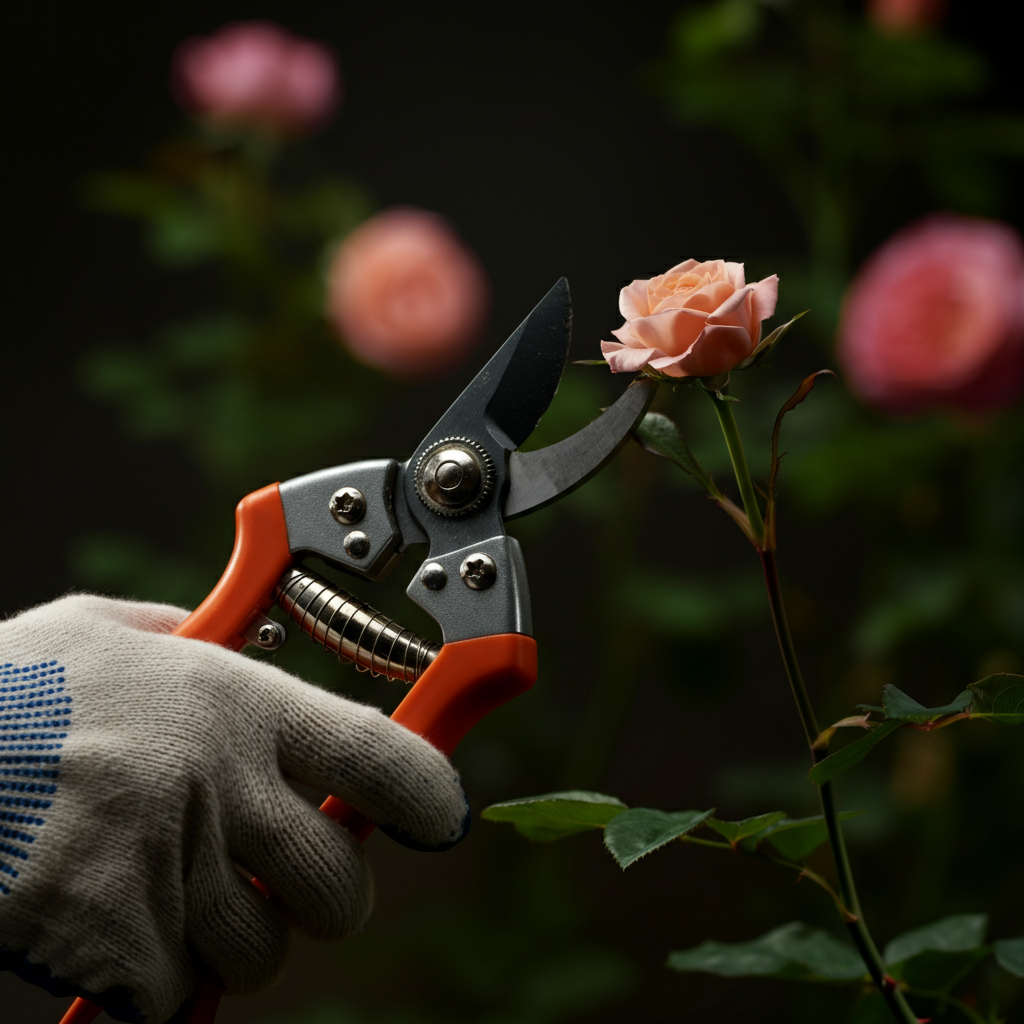
Step 4: Prune and Trim Existing Plants
Pruning and trimming can significantly improve the appearance and health of your existing plants. Remove any dead, damaged, or diseased branches. Shape your plants to encourage new growth and improve airflow. Be sure to research the specific pruning requirements for each type of plant in your garden, as improper pruning can be detrimental. Use clean, sharp pruning shears to avoid spreading diseases.
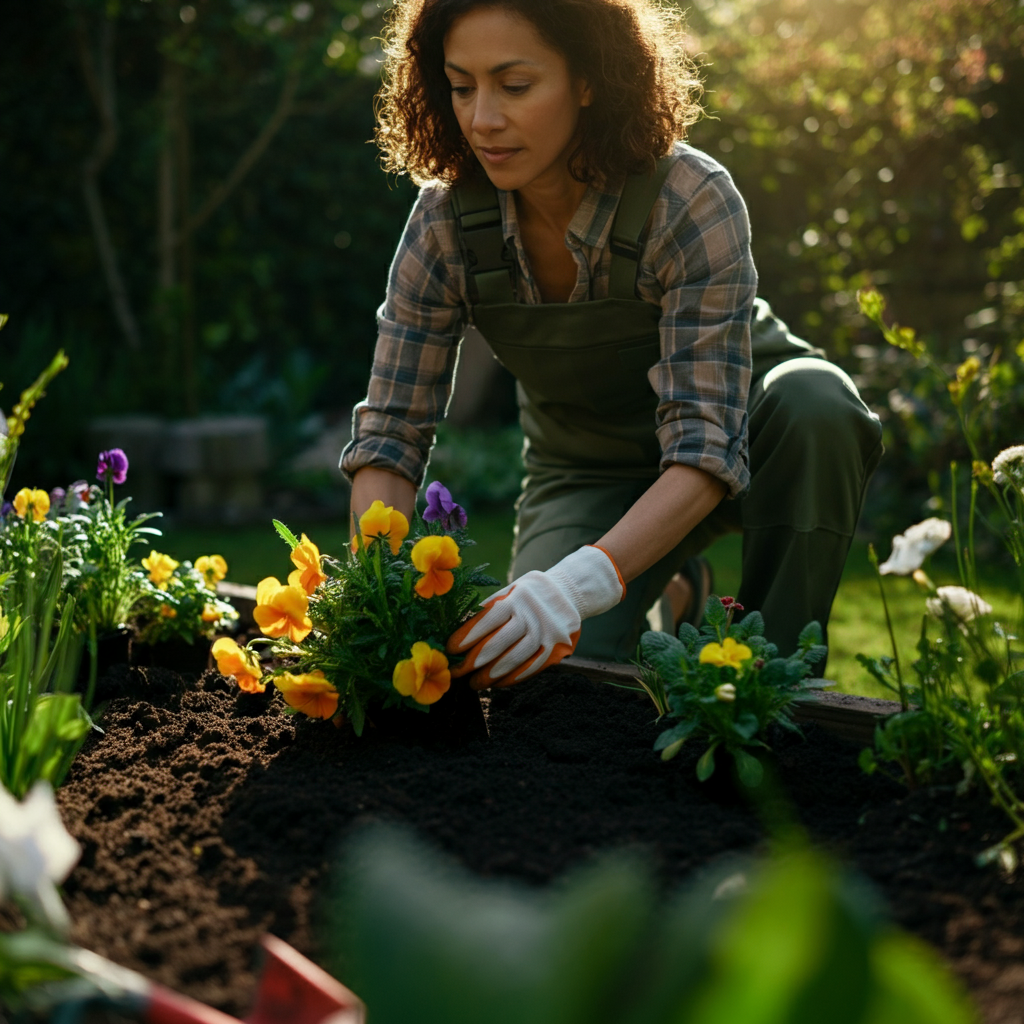
Step 5: Add New Plants Strategically
Filling in gaps and adding new plants can instantly revitalize your garden. Choose plants that are well-suited to your climate, soil conditions, and sunlight exposure. Consider incorporating a variety of colors, textures, and heights to create visual interest. Native plants are often a great choice, as they are well-adapted to the local environment and require less maintenance. Don't overcrowd your plants; give them enough space to grow and thrive.
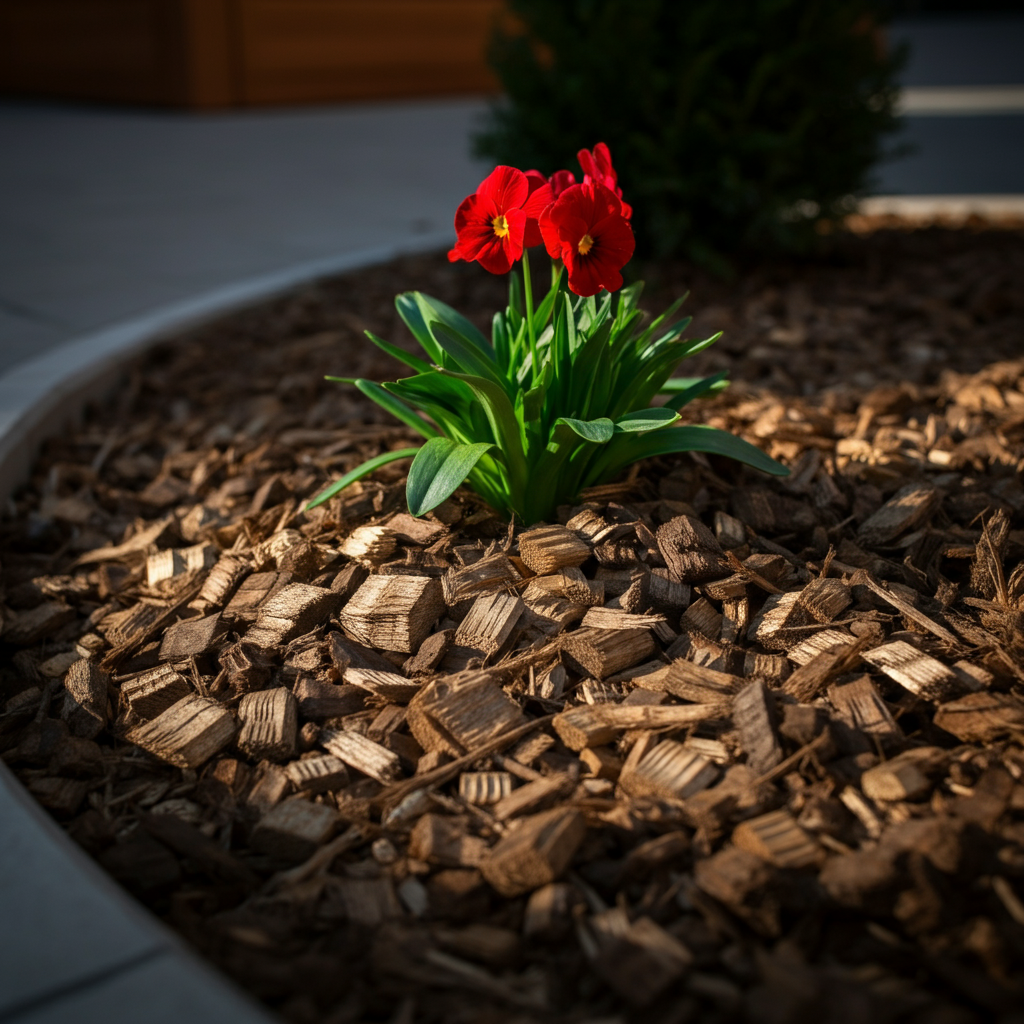
Step 6: Mulch for Moisture and Weed Control
Applying a layer of mulch is one of the most effective ways to improve your garden's appearance and health. Mulch helps to retain moisture in the soil, suppress weed growth, regulate soil temperature, and add organic matter as it decomposes. Choose a mulch that is appropriate for your plants and your aesthetic preferences. Avoid piling mulch directly against the stems of plants, as this can lead to rot. Options include wood chips, shredded bark, straw, or pine needles.
Step 7: Water Deeply and Regularly
Proper watering is crucial for plant survival and growth. Water deeply and less frequently, rather than shallowly and often. This encourages roots to grow deeper, making plants more resilient to drought. Water in the morning to allow foliage to dry before nightfall, which can help prevent fungal diseases. Consider using a soaker hose or drip irrigation system to deliver water directly to the roots.
Common Mistakes to Avoid:
- Overwatering: Can lead to root rot.
- Underwatering: Can cause plants to wilt and die.
- Watering at the wrong time of day: Can promote fungal diseases.

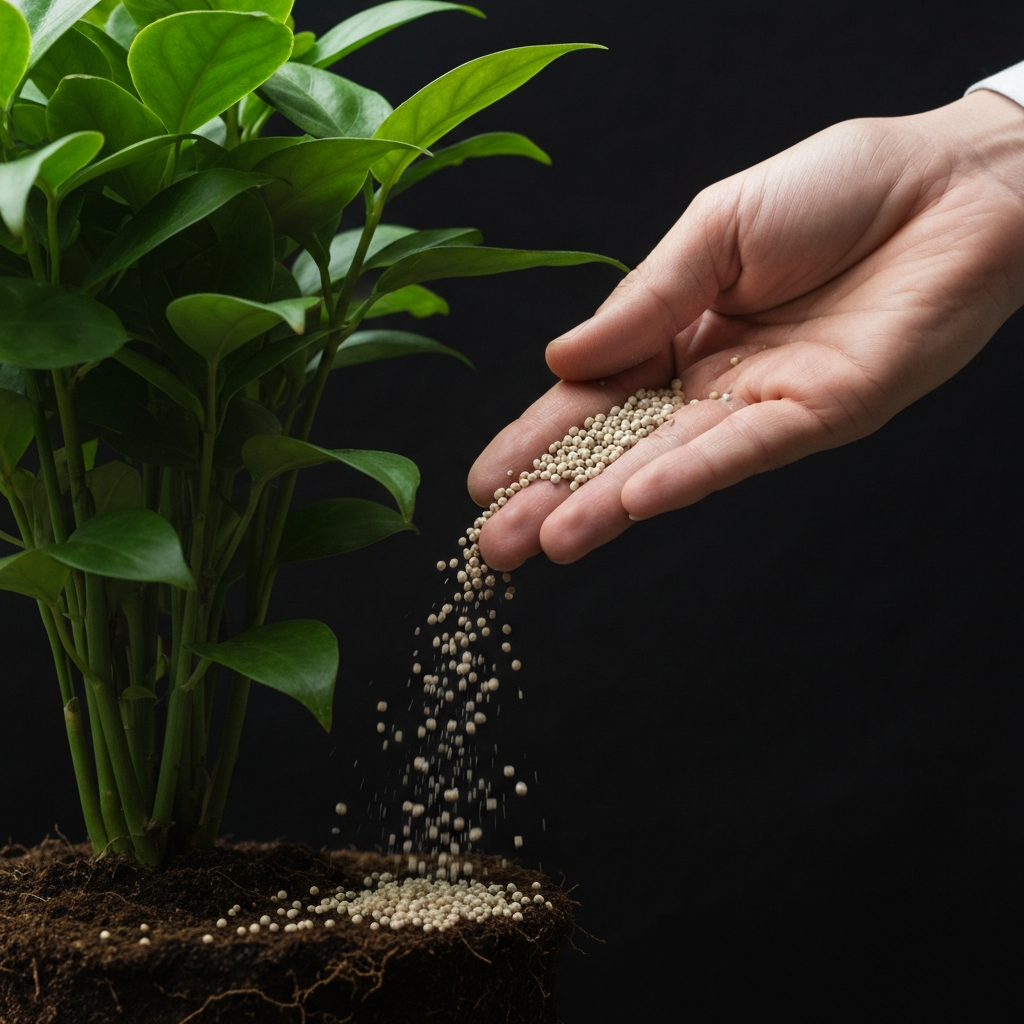
Step 8: Fertilize Sparingly
While healthy soil is the foundation of a thriving garden, occasional fertilization can provide a boost. Use a balanced fertilizer that contains the essential nutrients nitrogen, phosphorus, and potassium. Follow the instructions on the fertilizer label carefully to avoid over-fertilizing, which can damage plants. Consider using a slow-release fertilizer to provide a steady supply of nutrients over time. Alternatively, compost tea can be an excellent organic fertilizer option.
Step 9: Monitor for Pests and Diseases
Regularly inspect your plants for signs of pests or diseases. Early detection is key to preventing serious problems. If you spot any issues, take action promptly. There are many organic pest control methods available, such as insecticidal soap, neem oil, and diatomaceous earth. Avoid using broad-spectrum pesticides, as they can harm beneficial insects. Remove any diseased leaves or plants to prevent the spread of infection.
Safety Considerations:
- Wear gloves and eye protection when handling pesticides.
- Follow the instructions on the pesticide label carefully.
- Store pesticides out of reach of children and pets.
Step 10: Enjoy Your Revitalized Garden!
Now that you've put in the effort to revive your garden, take the time to enjoy it. Spend time outdoors, admire your handiwork, and relax in your beautiful space. Remember that gardening is an ongoing process, so continue to monitor your plants, water them regularly, and address any issues that arise. With a little care and attention, your garden will continue to thrive for years to come.
FAQ Section
Q: How often should I water my garden?
A: The frequency of watering depends on factors such as climate, soil type, and plant species. Generally, water deeply and less frequently, allowing the soil to dry out slightly between waterings.
Q: What is the best time of day to water my garden?
A: Water in the morning to allow foliage to dry before nightfall, which can help prevent fungal diseases.
Q: How do I know if my soil is healthy?
A: Healthy soil is dark, crumbly, and well-drained. It should also be rich in organic matter. A soil test can provide valuable insights into your soil's pH and nutrient levels.
Q: What are some common garden pests?
A: Some common garden pests include aphids, caterpillars, slugs, and snails.
Conclusion
Reviving a tired garden is a rewarding experience that can bring joy and beauty to your life. By following these simple DIY steps, you can transform your outdoor space into a thriving oasis. Remember to assess the situation, clear out debris, improve soil quality, prune existing plants, add new plants strategically, mulch for moisture and weed control, water deeply and regularly, fertilize sparingly, and monitor for pests and diseases. With a little effort and care, your garden will thrive for years to come.