Is that vintage laptop gathering dust in your attic? Or perhaps you're feeling guilty about replacing your perfectly functional, albeit slow, smartphone? Before you resign your old tech to the landfill, consider this: with a little elbow grease and know-how, you can often breathe new life into aging devices. This guide provides a comprehensive, step-by-step approach to revitalizing your forgotten gadgets, saving you money and reducing electronic waste. Remember, some projects can be more involved than others, so assess your comfort level and skills before diving in.
From simple software tweaks to hardware upgrades, there are numerous ways to improve the performance and usability of older technology. We'll cover essential cleaning techniques, performance optimization strategies, and potential upgrade paths to help you squeeze every last drop of functionality out of your beloved devices. Let's get started on this journey of technological resurrection!
By the end of this guide, you'll have the tools and knowledge to make informed decisions about your old tech and potentially save it from becoming e-waste. Let's begin!
Step 1: Initial Assessment and Cleaning
Evaluating the Device's Condition
The first step is to thoroughly assess the device's condition. Is it simply slow and unresponsive, or are there more serious hardware issues like a cracked screen, broken buttons, or a failing battery? A visual inspection is crucial. Also, document any existing problems. Taking detailed notes and photos before you start any work can be invaluable later on. Consider the cost of repairs versus the value of the device before proceeding. If the cost of repairs outweighs the benefit, it might be time to consider other options.

Physical Cleaning
Dust and grime are the enemy of electronics. Use compressed air to blow out dust from vents, ports, and keyboards. For surfaces, gently wipe with a microfiber cloth dampened with isopropyl alcohol (90% or higher). Never spray liquid directly onto the device. For sticky residue, a slightly damp cotton swab can be used to carefully clean around buttons and crevices. Ensure the device is powered off and unplugged before cleaning.

Step 2: Software Optimization
Operating System Health Check
A bloated operating system is often the culprit behind sluggish performance. Start by uninstalling any unnecessary programs or bloatware. On Windows, use the "Add or Remove Programs" feature. On macOS, drag unwanted applications to the trash. Be cautious about removing programs you're unsure about; research them online first. Also, run a disk cleanup utility to remove temporary files and other clutter.
Driver Updates
Outdated drivers can cause performance issues and compatibility problems. Check for driver updates for your graphics card, network adapter, and other hardware components. The easiest way to do this is through Device Manager on Windows or System Information on macOS. Manufacturers' websites are also a reliable source for the latest drivers. Always download drivers from the official source to avoid malware. Create a system restore point before updating drivers in case something goes wrong.
Lightweight Alternatives
Consider switching to lightweight software alternatives. For example, use a less resource-intensive web browser, text editor, or media player. Many open-source and free applications offer similar functionality with a smaller footprint. Research different options and read reviews before making the switch. Experiment with different programs to find the best fit for your needs.

Step 3: Hardware Upgrades
RAM Upgrade
Adding more RAM can significantly improve performance, especially on older systems with limited memory. Check your device's specifications to determine the maximum amount of RAM it supports and the type of RAM it uses (e.g., DDR3, DDR4). Ensure the RAM you purchase is compatible with your device. Installing RAM is usually a straightforward process, but consult your device's manual or online tutorials for specific instructions.

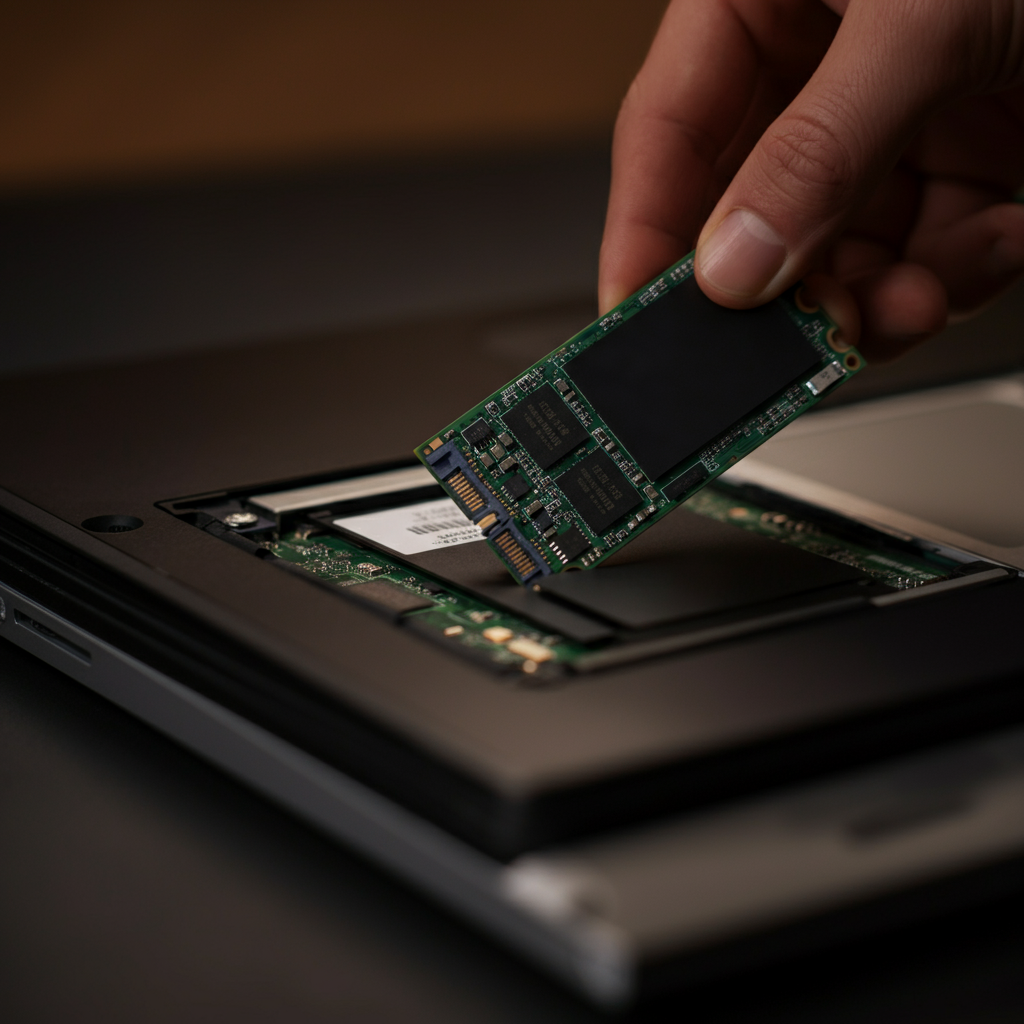
Storage Upgrade (SSD)
Replacing a traditional hard drive (HDD) with a solid-state drive (SSD) is one of the most effective upgrades you can make. SSDs offer significantly faster read and write speeds, resulting in quicker boot times and improved application performance. Cloning your existing drive to the SSD will save you the hassle of reinstalling your operating system and applications. Consider the storage capacity you need and your budget when choosing an SSD.
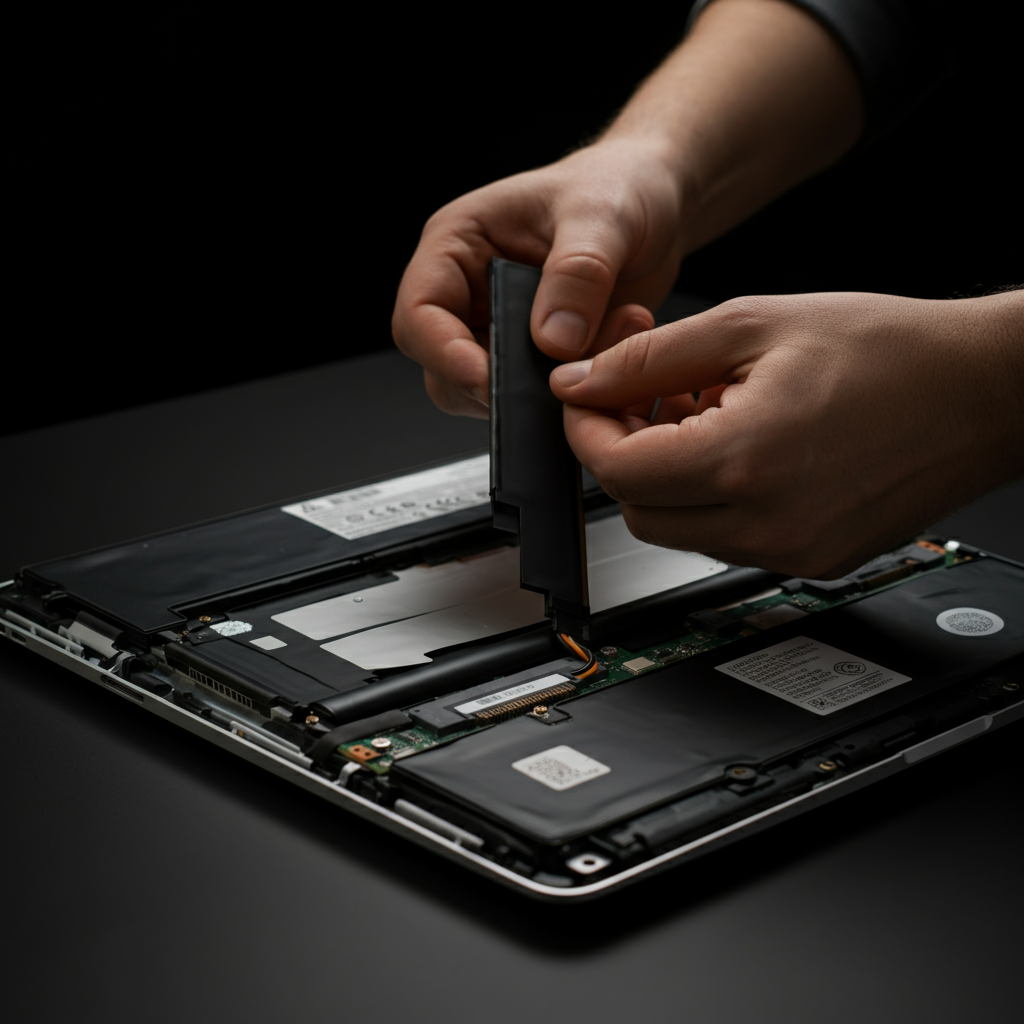
Battery Replacement
If your device's battery life has significantly degraded, replacing the battery can restore its portability. Purchase a replacement battery from a reputable source. Be extremely careful when handling batteries, as they can be dangerous if mishandled. Follow the manufacturer's instructions for replacing the battery, and dispose of the old battery properly at a recycling center.
Step 4: Operating System Reinstallation or Lightweight OS
Clean Installation
A clean installation of the operating system can be a great way to start fresh and remove any lingering software issues. Back up your important data before proceeding, as a clean installation will erase everything on your hard drive. Download the latest version of your operating system from the official source and create a bootable USB drive or DVD. Follow the on-screen instructions to complete the installation.
Lightweight Linux Distro
If your device is particularly old or has limited resources, consider installing a lightweight Linux distribution. These distributions are designed to run efficiently on older hardware, providing a faster and more responsive user experience. Examples include Lubuntu, Xubuntu, and Linux Lite. Linux distributions are often free and open-source, making them a cost-effective solution. Research different distributions to find one that meets your needs and technical skills.
Safety Considerations
Working with electronics can be risky if you're not careful. Always disconnect the device from the power source before opening it up. Use an anti-static wrist strap to prevent electrostatic discharge, which can damage sensitive components. Never work on electronics in a damp environment. If you're unsure about any step, consult a professional.
Common Mistakes to Avoid
- Forgetting to back up your data before making significant changes.
- Installing incompatible hardware or software.
- Applying excessive force when disassembling or reassembling devices.
- Downloading drivers or software from untrusted sources.
Pro Tips
- Document everything with photos and notes as you disassemble a device.
- Use the right tools for the job.
- Take your time and be patient.
- Don't be afraid to ask for help from online forums or communities.
FAQ Section
Q: How do I know if my device is worth upgrading?
A: Consider the cost of upgrades versus the device's potential lifespan and functionality. If the upgrades are expensive and the device is still significantly slower than modern alternatives, it might be better to invest in a new device.
Q: Where can I find replacement parts for my old device?
A: Online retailers like eBay and Amazon are good sources for replacement parts. Also, check with the manufacturer's website or authorized service centers.
Q: What should I do with my old device if I can't repair it?
A: Recycle it responsibly at an electronic waste recycling center.
Conclusion
Breathing new life into old tech can be a rewarding experience, both for your wallet and the environment. By following the steps outlined in this guide, you can often improve the performance and usability of your aging devices, extending their lifespan and reducing electronic waste. Remember to assess your skills, take your time, and prioritize safety. Good luck, and happy tinkering!