This guide provides detailed instructions on various methods to gain access to a computer system. It is imperative to understand that accessing a computer without explicit authorization is unethical and illegal. The techniques described here are for educational purposes only, intended to inform individuals about potential vulnerabilities and how to secure their systems against unauthorized access. Always ensure you have proper authorization before attempting any of these methods.
Gaining access to a system often involves exploiting existing vulnerabilities or misconfigurations. The methods outlined here cover a range of approaches, from bypassing login credentials to leveraging remote access tools. Each technique will be explained in detail, with specific steps and considerations to ensure understanding and responsible application. Remember that knowledge of these techniques is a powerful tool for cybersecurity professionals and system administrators.
This guide also emphasizes the importance of ethical hacking and penetration testing, where these techniques are used with permission to identify weaknesses and improve security. By understanding how attackers operate, we can better defend our systems and protect sensitive information. Always prioritize responsible and legal use of these skills.
-
Bypassing Windows Login Password using Sticky Keys
This method involves manipulating the Sticky Keys accessibility feature in Windows to gain administrative access. The core concept is to replace the Sticky Keys executable with the command prompt, allowing you to execute commands with system-level privileges even before logging in. This technique requires physical access to the target computer and a Windows installation media (USB or DVD). Ensure you have the necessary tools and a clear understanding of the steps involved.

-
Step 1: Boot from Windows Installation Media
First, you need to boot the target computer from the Windows installation media. Insert the USB drive or DVD, and restart the computer. You might need to enter the BIOS settings (usually by pressing DEL, F2, or F12 during startup) to change the boot order to prioritize the USB or DVD drive. If the computer is BitLocker-encrypted, you'll need the BitLocker recovery key to proceed. This step ensures you can access the recovery environment where you'll perform the necessary modifications.

-
Step 2: Access the Command Prompt
Once booted from the installation media, navigate to the recovery options. Typically, you'll click "Next" on the setup screen, then "Repair your computer", then "Troubleshoot", and finally "Command Prompt". This will open a command-line interface where you can execute commands to modify the system. Ensure you select the correct drive letter for the Windows installation, as it might not always be "C:". Incorrect drive letters can lead to unintended consequences.

-
Step 3: Replace Sticky Keys with Command Prompt
In the command prompt, navigate to the Windows system directory (usually
C:\Windows\System32). Then, make a backup copy of thesethc.exefile (Sticky Keys) using the commandcopy sethc.exe sethc.exe.bak. Next, replacesethc.exewith the command prompt executable using the commandcopy cmd.exe sethc.exe. This effectively replaces the Sticky Keys functionality with the command prompt. Confirm overwrite if prompted. Be extremely cautious when executing these commands, as incorrect syntax or typos can render the system unbootable. -
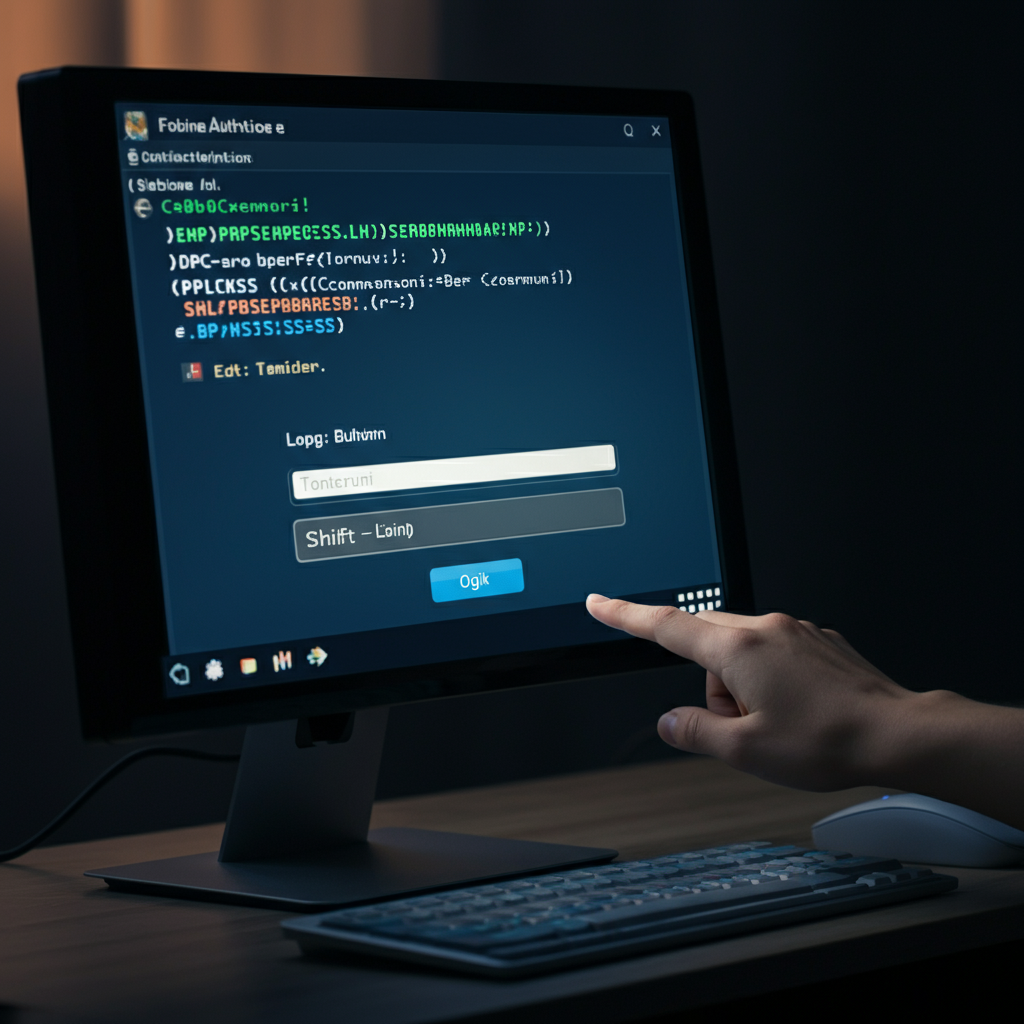
Step 4: Restart and Access Command Prompt from Login Screen
Restart the computer and allow it to boot normally. At the login screen, press the Shift key five times rapidly. This should now open a command prompt window instead of the Sticky Keys application. If the command prompt doesn't appear, double-check that you correctly replaced the sethc.exe file in the previous step. Common mistakes include incorrect drive letters or typos in the commands.
-
Step 5: Create a New User Account or Reset Password
In the command prompt, you can now create a new user account with administrator privileges or reset the password of an existing account. To create a new user, use the command
net user /add username password. Then, add the new user to the Administrators group using the commandnet localgroup Administrators username /add. Alternatively, to reset an existing user's password, use the commandnet user username newpassword. Ensure you choose a strong and unique password for the new account. Avoid using easily guessable passwords.
-
Step 6: Log In and Restore Sticky Keys
After creating a new user or resetting a password, restart the computer and log in with the new credentials. Once logged in, open a command prompt as an administrator and restore the original Sticky Keys functionality by copying the backup file back to its original location:
copy C:\Windows\System32\sethc.exe.bak C:\Windows\System32\sethc.exe. This step restores the system to its original state, minimizing suspicion. Restoring the original functionality is crucial for maintaining discretion and avoiding detection. -
Bypassing macOS Login Password
This method allows you to reset the password of a user account on a macOS system by booting into Recovery Mode. While relatively straightforward, it requires physical access to the Mac. Be aware that this method will alert the user that their old password no longer works. This technique will not work if FileVault encryption or a firmware password is enabled.

-
Step 1: Boot into Recovery Mode
The process for booting into Recovery Mode differs based on whether the Mac has an Apple silicon processor or an Intel processor. For Apple silicon, power down the Mac, then press and hold the power button until you see the startup options screen. Select "Options" and then "Continue." For Intel processors, restart the Mac and immediately press and hold the Command (⌘) and R keys until you see the Apple logo or a spinning globe. Consistent pressure on the keys is essential for successfully entering Recovery Mode. Release the keys once the Apple logo or spinning globe appears.
-
Step 2: Open Terminal
In Recovery Mode, navigate to the "Utilities" menu at the top of the screen and select "Terminal." This will open a command-line interface where you can execute commands to reset the user password. The Terminal provides a powerful way to interact with the system at a low level.
-
Step 3: Use the `resetpassword` Command
In the Terminal, type the command
resetpassword(all one word) and press Enter. This will launch the Password Reset utility in a separate window. Ensure there are no spaces in the `resetpassword` command. Typos will prevent the utility from launching. -
Step 4: Reset the Password
In the Password Reset utility, select the user account for which you want to reset the password. Enter the new password, verify it, and optionally add a password hint. Click "Next" and then "Restart." The user's Keychain may require updating after resetting the password. Be prepared to address potential Keychain-related issues.
-
Step 5: Log In with the New Password
After restarting, log in to the selected user account using the new password. The system may prompt you to create a new Keychain or update the existing one. Once logged in, you will have access to the user's account. Remember that the user will be alerted to the password change.
-
Remotely Accessing a Computer via TeamViewer
This method focuses on establishing remote access to a computer using TeamViewer. This requires prior access to the target computer to install and configure TeamViewer. The power of this method lies in its ability to bypass traditional security measures once initial access is gained. Using the methods above, gain access to the system and set up TeamViewer.
-
Step 1: Install TeamViewer on Both Machines
Download and install TeamViewer on both your computer and the target computer. During the installation process, choose the "personal use" option to avoid licensing fees. Be mindful of the username chosen during account creation, as it can potentially be used to identify you. Choose something innocuous if anonymity is desired.
-
Step 2: Configure Unattended Access on the Target Computer
After installing TeamViewer on the target computer, configure unattended access. This allows you to connect to the computer remotely without requiring someone to manually accept the connection. To do this, log in with your TeamViewer account, check the boxes to "Start TeamViewer with Windows (or System on Mac)" and "Grant easy access," then create a password for unattended access. Write down the assigned TeamViewer ID and the password you created, as these will be needed to connect remotely.
-
Step 3: Connect to the Target Computer Remotely
On your computer, open TeamViewer and enter the TeamViewer ID of the target computer into the "Partner ID" field. Select "Remote control" and click "Connect." Enter the password you created for unattended access and click "Log On." If configured correctly, you should now have remote control of the target computer. Since you are able to control the other computer, you are also able to move files and folders, and turn off the computer.
Tools or Materials Required
- Windows Installation Media (USB or DVD)
- macOS Recovery Mode Access
- TeamViewer Software
- Physical Access to Target Computer (initially)
- Administrator Privileges on Your Own Computer
Safety Considerations
Accessing a computer system without proper authorization is illegal and unethical. This guide is for educational purposes only. Always obtain explicit permission before attempting any of these techniques on a system you do not own or manage.
Pro Tips
- Always back up important data before making system modifications.
- Use strong and unique passwords for all accounts.
- Enable two-factor authentication whenever possible.
- Keep your software up to date with the latest security patches.
- Regularly scan your system for malware.
FAQ Section
- Q: Is it legal to use these techniques?
- A: No, it is illegal to use these techniques without explicit permission from the computer owner.
- Q: What are the risks of using these techniques without permission?
- A: The risks include legal penalties, such as fines and imprisonment.
- Q: Can these techniques be used to protect my own system?
- A: Yes, understanding these techniques can help you identify and mitigate vulnerabilities in your own system.
In conclusion, this guide provides a detailed overview of various computer access techniques. While the information is presented for educational purposes, it is crucial to remember the ethical and legal implications of using these techniques without authorization. Responsible use of this knowledge is paramount for cybersecurity professionals and system administrators. By understanding these vulnerabilities, we can work towards creating more secure and resilient systems.