Splinters are an unfortunate fact of life, especially for those who enjoy outdoor activities or work with wood. These tiny intruders can cause significant discomfort and, if left untreated, potentially lead to infection. While sometimes a splinter will work its way out naturally, more often than not, a little intervention is required. This guide provides expert-backed methods for safely and effectively removing splinters from the skin.
The key to successful splinter removal is patience and cleanliness. Rushing the process or using unsterilized tools can increase the risk of infection and further embed the splinter. We'll walk you through several proven techniques, providing practical advice and essential safety precautions along the way. Remember, if you are unable to remove the splinter yourself or notice signs of infection (redness, swelling, pus), it's always best to seek medical attention.
Let's dive into the best methods for getting those pesky splinters out!
Step 1: Preparation is Key
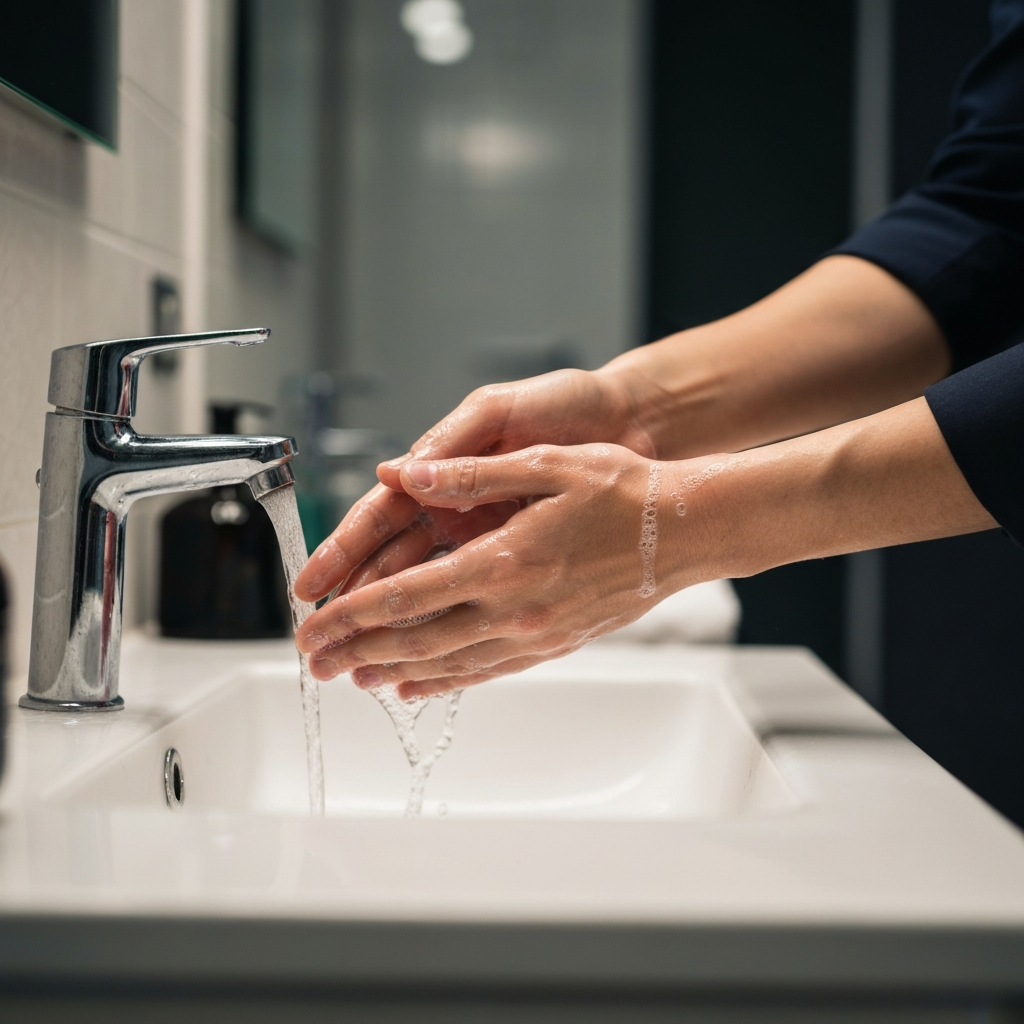
Gather Your Supplies and Prepare the Area
Before you even think about touching that splinter, it's crucial to gather all the necessary supplies and prepare the affected area. This includes washing your hands thoroughly with soap and water to minimize the risk of introducing bacteria. Next, clean the area around the splinter with an antiseptic wipe or soap and water. A magnifying glass can be incredibly helpful for visualizing the splinter, especially if it's small or deeply embedded. Having good lighting is also essential.
Step 2: The Needle/Tweezers Technique
Sterilize and Carefully Extract
This is perhaps the most common and effective method for splinter removal. First, you'll need a fine-pointed needle or a pair of sharp, pointed tweezers. Sterilization is paramount: Hold the tip of the needle or tweezers over an open flame (like a lighter) until it glows red-hot. Allow it to cool completely before use. Gently use the needle to tease the skin around the splinter, creating a small opening if necessary. Then, using the tweezers, grasp the end of the splinter and carefully pull it out in the same direction it entered the skin. Avoid squeezing the area, as this can break the splinter or push it in further.

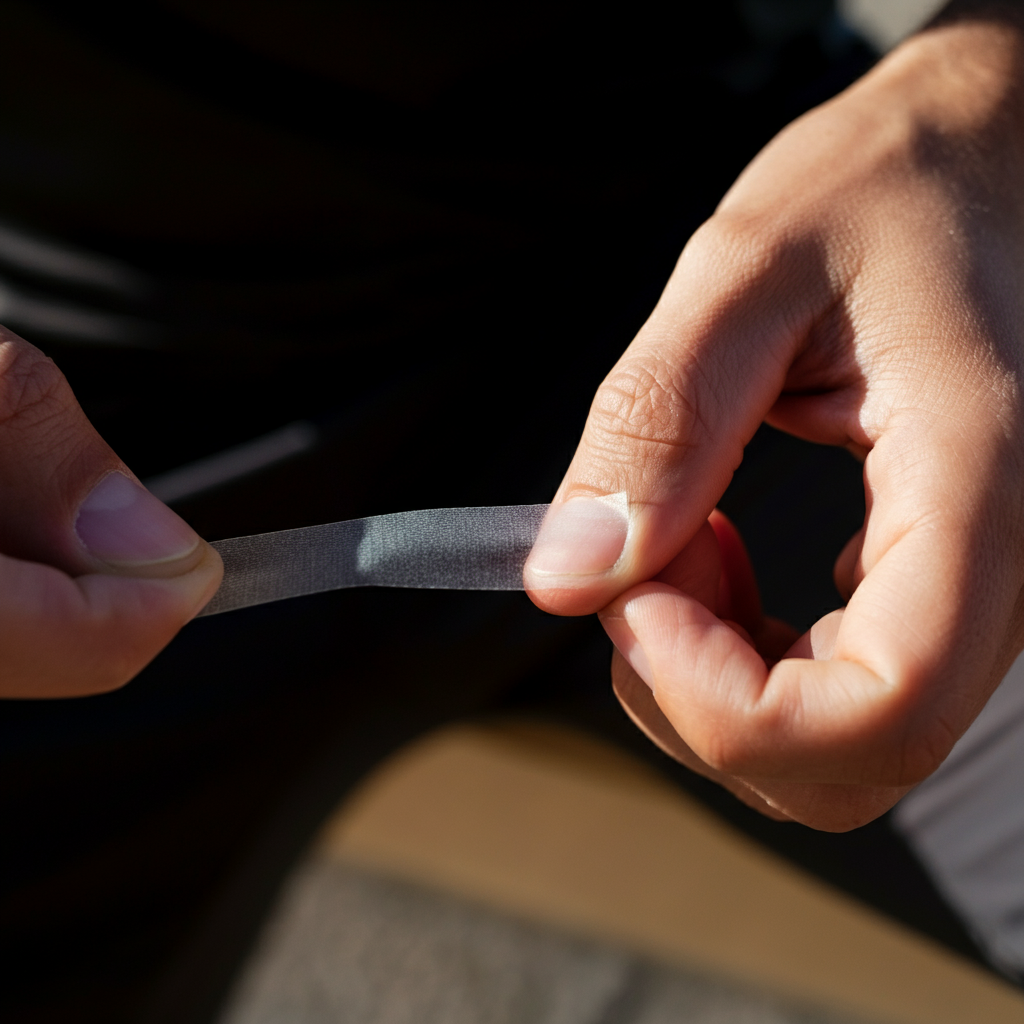
Step 3: The Tape Method
A Gentle Adhesive Approach
This method is best suited for splinters that are close to the surface of the skin. Take a piece of clear tape (such as Scotch tape) and firmly apply it directly over the splinter. Press down gently to ensure good contact between the tape and the splinter. Then, slowly and carefully peel the tape away from the skin in the opposite direction from which the splinter entered. The splinter should adhere to the tape and be removed. If the first attempt fails, try again with a fresh piece of tape. This technique is less invasive and ideal for children.
Step 4: The Credit Card/Scraping Method
Using a Flat Edge to Dislodge
For shallow splinters, a credit card or similar flat, rigid object can sometimes do the trick. Gently scrape the surface of the skin with the edge of the card, moving in the direction that might dislodge the splinter. Be extremely cautious not to apply too much pressure, as this could push the splinter deeper into the skin. This method works best if the splinter is already partially exposed. The key is to use a gentle, sweeping motion rather than a forceful push.

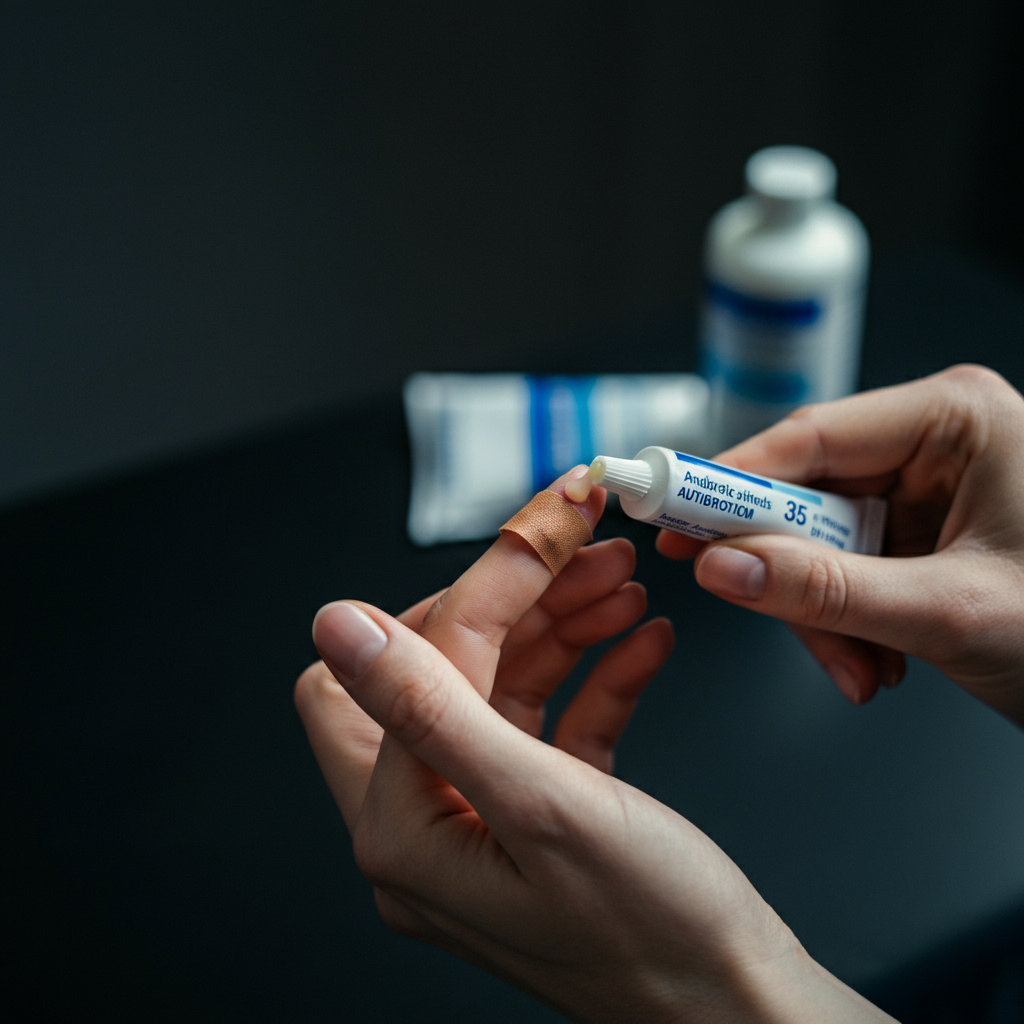
Step 5: Post-Removal Care
Clean and Protect
Once the splinter is successfully removed, it's essential to clean the area thoroughly again with soap and water or an antiseptic wipe. Apply a small amount of antibiotic ointment (such as Neosporin or Bacitracin) to help prevent infection. Finally, cover the area with a clean bandage. Monitor the area for any signs of infection, such as redness, swelling, pain, or pus. If you notice any of these symptoms, consult a doctor.
Tools or Materials Required
- Soap and water
- Antiseptic wipes
- Fine-pointed needle or tweezers
- Lighter or matches (for sterilization)
- Magnifying glass
- Clear tape
- Credit card or similar flat object
- Antibiotic ointment
- Bandages
Common Mistakes to Avoid
- Squeezing the area around the splinter, which can break it or push it in further.
- Using unsterilized tools, increasing the risk of infection.
- Digging aggressively, which can damage the skin and make the splinter harder to remove.
- Ignoring signs of infection after removal.
- Rushing the process.
Safety Considerations
- Always sterilize your tools before use.
- Be gentle and patient during the removal process.
- Monitor for signs of infection after removal.
- If you have difficulty removing the splinter or suspect an infection, seek medical advice.
FAQ Section
- What if the splinter is very deep?
- If the splinter is deeply embedded and you're unable to remove it using these methods, it's best to consult a doctor. They may use specialized tools or techniques to safely extract the splinter.
- Can I leave a splinter in place?
- While some very small splinters may eventually work their way out on their own, it's generally best to remove them to prevent infection and discomfort. If the splinter is causing significant pain or inflammation, it's important to remove it.
- How do I know if the area is infected?
- Signs of infection include redness, swelling, pain, warmth, and pus around the site of the splinter. If you notice any of these symptoms, seek medical attention.
Conclusion
Removing a splinter effectively requires patience, cleanliness, and the right technique. By following the steps outlined in this guide, you can safely extract splinters and minimize the risk of infection. Remember to sterilize your tools, be gentle during the removal process, and monitor for any signs of complications. If you encounter difficulties or suspect an infection, don't hesitate to seek professional medical advice. A little diligence can go a long way in keeping your skin healthy and splinter-free.