Folding laundry, often a mundane chore, can be revolutionized with the right techniques. Imagine effortlessly transforming a pile of T-shirts into neatly stacked garments in a fraction of the time. This guide unveils the secrets to achieving the coveted "two-second T-shirt fold," a method that blends efficiency with professional results. Prepare to streamline your laundry routine and impress yourself (and others!) with your newfound folding prowess.
While the initial learning curve might involve a few extra seconds, the long-term benefits are undeniable. This technique not only saves valuable time but also contributes to a more organized and visually appealing wardrobe. With practice, you'll develop the muscle memory necessary to execute the fold flawlessly, consistently, and at lightning speed. Say goodbye to haphazard piles and hello to perfectly folded T-shirts!
This isn't just about speed; it's about precision and efficiency. We'll break down the process into simple, manageable steps, providing clear instructions and visual cues to ensure success. Whether you're a seasoned laundry veteran or a complete novice, this guide will equip you with the knowledge and skills to conquer the two-second T-shirt fold.
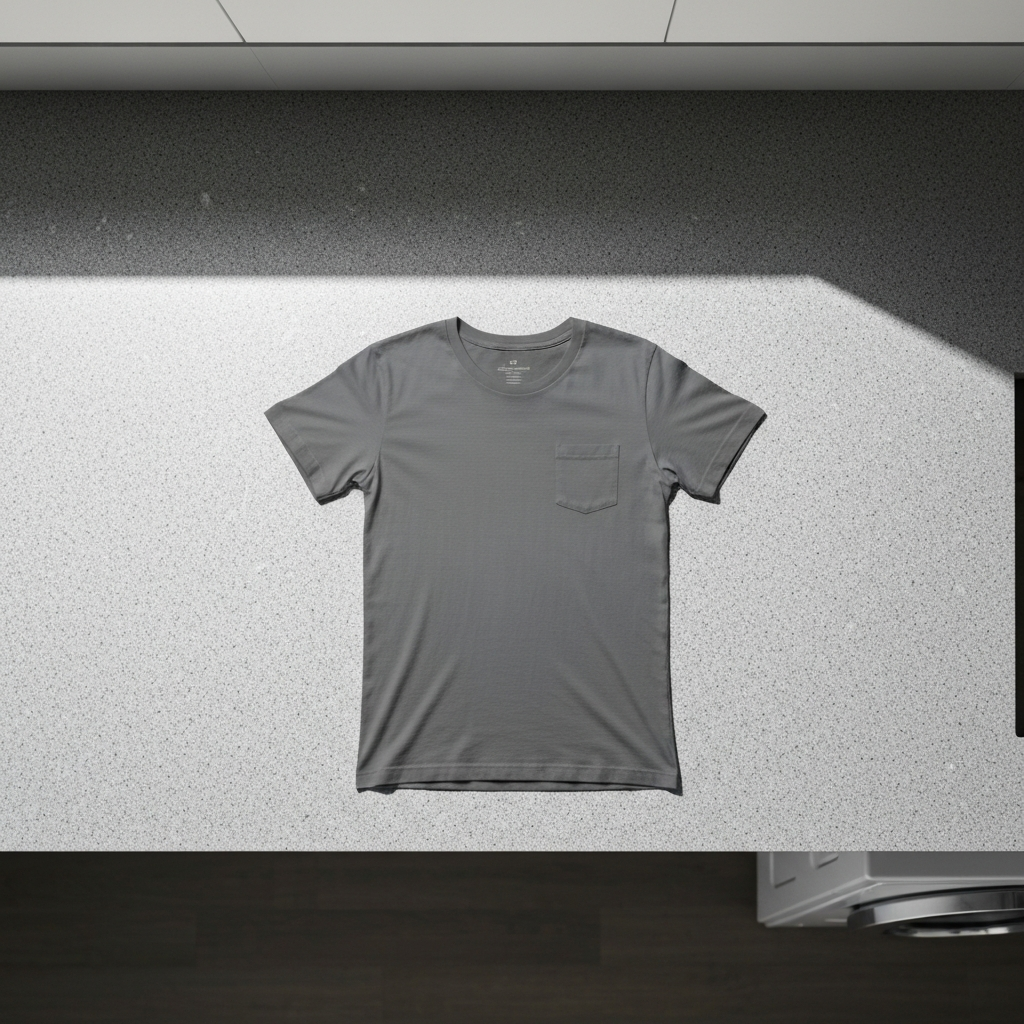
Step 1: Lay the T-Shirt Flat
Begin by placing the T-shirt face-up on a smooth, flat surface. A table, countertop, or even a clean section of the floor will suffice. Ensure the shirt is free of any major wrinkles or creases to achieve a crisp, clean fold. Smooth out any imperfections with your hands before proceeding. The goal is to create a foundation for a symmetrical and well-defined final product. Make sure the sleeves are spread out to the sides.
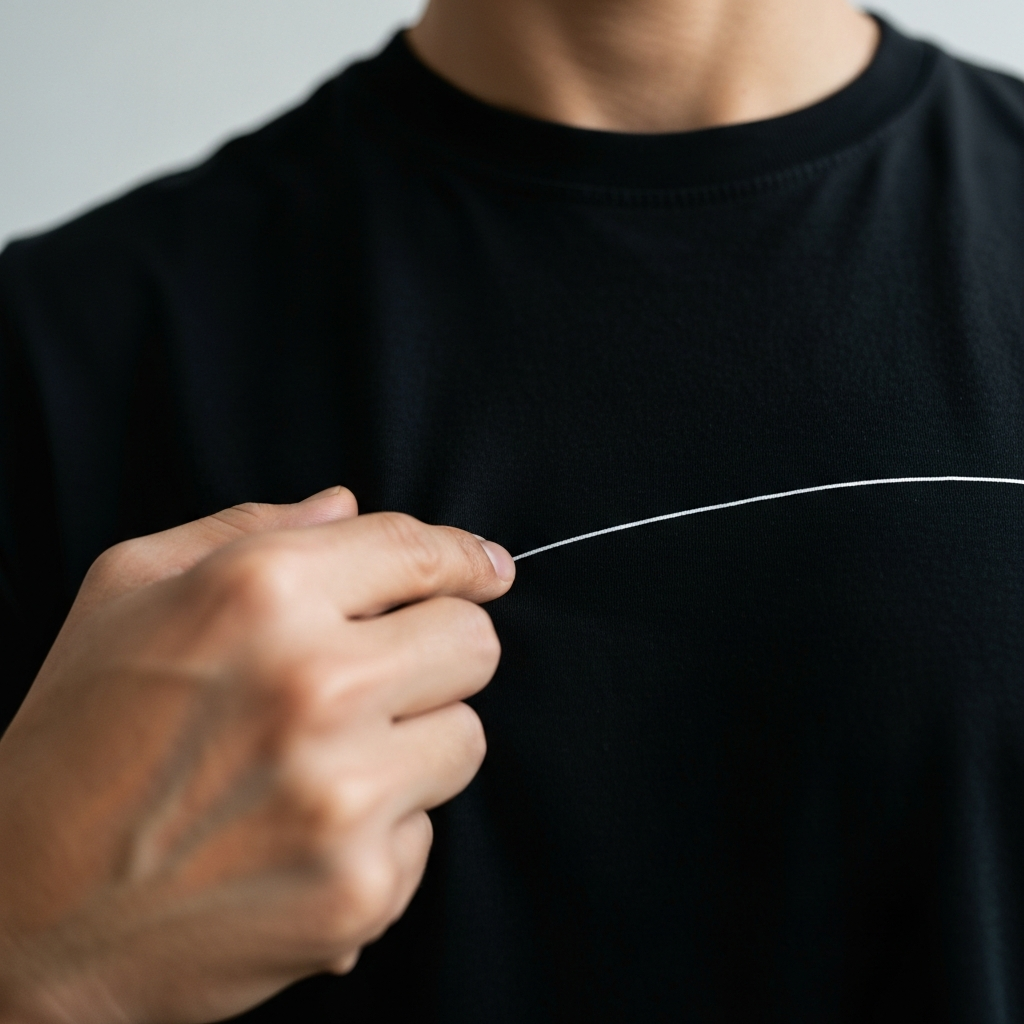
Step 2: Visualize the Folding Line
Imagine a straight line extending from the midpoint of the shoulder (where the sleeve meets the body) to the bottom hem of the shirt. This imaginary line will serve as your guide for the primary folds. Accuracy in visualizing this line is crucial for achieving the desired outcome. Don't worry about being perfectly precise; a close approximation will work just fine. With practice, this visualization will become second nature.
Step 3: The First Pinch: Shoulder and Midpoint
Using your left hand, pinch the fabric at the midpoint of the imaginary line you just visualized. Simultaneously, with your right hand, pinch the fabric at the point where the imaginary line intersects the shoulder seam. Ensure you're grabbing both the front and back layers of the T-shirt to create a secure hold. The distance between your hands is key to the success of the fold, so take a moment to ensure accurate placement.

Step 4: The Second Pinch: Bottom Hem
Maintaining the pinch with your left hand, move your right hand (still pinching the shoulder) down to the bottom hem of the T-shirt along the imaginary line. Without releasing the shoulder pinch, pinch the bottom hem of the shirt as well. You now have three points secured: the shoulder, the midpoint, and the bottom hem. Your arms will naturally cross at this point.

Step 5: The Uncrossing and Shake
This is the most crucial and potentially confusing step. Carefully uncross your arms while simultaneously lifting the shirt off the surface. As you uncross, let the shirt naturally fold upon itself. Give the shirt a gentle shake to help align the fabric. This smooths the fold and removes any remaining wrinkles. The T-shirt should now be hanging nearly folded.

Step 6: Final Fold and Placement
Place the partially folded T-shirt back down on the flat surface, aligning the edges. One sleeve will likely be hanging loose. Fold the T-shirt in half, bringing the bottom hem up to meet the shoulders. Smooth out the final fold for a clean, professional finish. The result should be a neatly folded T-shirt, ready for stacking or storage.

Common Mistakes to Avoid
- Not Smoothing the Shirt: Wrinkles create uneven folds. Always smooth the shirt before starting.
- Incorrect Pinch Points: Precision is key. Take your time to visualize and accurately pinch the fabric.
- Rushing the Uncrossing: This step requires finesse. Uncross your arms slowly and deliberately to allow the shirt to fold naturally.
- Folding on an Unsuitable Surface: Use a flat, stable surface to ensure consistent results.
Pro Tips
- Practice Makes Perfect: The more you practice, the faster and more efficient you'll become.
- Use a Folding Board: For even more consistent folds, consider using a folding board as a template.
- Fold Directly from the Dryer: This minimizes wrinkles and makes the folding process easier.
- Stack Strategically: When stacking your folded T-shirts, consider organizing them by color or style for easy access.
FAQ Section
- Q: What if I can't get the uncrossing motion right?
- A: Practice makes perfect! Try slowing down the motion and focusing on keeping the fabric aligned as you uncross your arms.
- Q: Does this work for all types of T-shirts?
- A: Yes, this technique works for most standard T-shirts. However, it may require slight adjustments for oversized or unusually shaped shirts.
- Q: Can I use this method for other types of clothing?
- A: While primarily designed for T-shirts, this technique can be adapted for similar garments like tank tops or lightweight sweaters.