Painting a room is a transformative project, but knowing where to begin can feel overwhelming. Many people jump right into applying paint, only to realize they've skipped crucial preparatory steps. This guide provides a structured, expert-driven approach to ensure your painting project is successful, efficient, and yields professional-looking results. We'll walk you through each stage, from initial planning to final cleanup, offering insider tips along the way.
A well-painted room enhances your living space and adds value to your home. However, a poorly executed paint job can be frustrating and costly to correct. Proper preparation is the key to a smooth, durable, and visually appealing finish. This means more than just choosing a color; it involves assessing the room's condition, gathering the right tools, and protecting your belongings.
This comprehensive guide will eliminate the guesswork and empower you to approach your painting project with confidence. By following these steps, you'll not only achieve a beautiful result but also save time and avoid common painting pitfalls.
Step 1: Planning and Preparation
Choosing Your Paint and Sheen
Selecting the right paint color is, of course, a personal choice, but also consider the room's purpose and lighting. Lighter colors can make a small room feel larger, while darker colors can create a cozy atmosphere. Always obtain sample pots and test them on a small, inconspicuous area of the wall before committing to a full can. The sheen of the paint also matters significantly. Flat or matte paint is ideal for hiding imperfections but is less durable and harder to clean. Eggshell or satin finishes offer a good balance of durability and washability, making them suitable for most living areas. Semi-gloss and gloss paints are best for kitchens and bathrooms due to their moisture resistance and ease of cleaning, but they also highlight imperfections, so surface preparation is even more critical. Finally, determine how much paint you need. Measure the length and height of each wall, add them together, and multiply by the height of the room. Divide the total by the square footage a gallon of paint covers (usually around 400 sq ft). Always buy a bit extra to account for second coats and touch-ups.

Step 2: Protecting Your Space
Room Protection and Surface Prep
Before you even think about opening a can of paint, protect everything in the room. Remove furniture if possible. If not, move it to the center and cover it with drop cloths (canvas drop cloths are preferable to plastic because they are more durable and less slippery). Cover the floor with drop cloths, overlapping them at the seams. Use painter's tape to mask off trim, windows, doors, and any other surfaces you don't want to paint. Press the tape firmly to ensure a good seal and prevent paint bleed. Next, prepare the walls. Fill any holes or cracks with spackle, let it dry completely, and sand it smooth. Wash the walls with a mild detergent solution to remove dirt, dust, and grease. Rinse with clean water and let the walls dry thoroughly. For glossy surfaces, lightly sand them to create a better surface for the paint to adhere to.
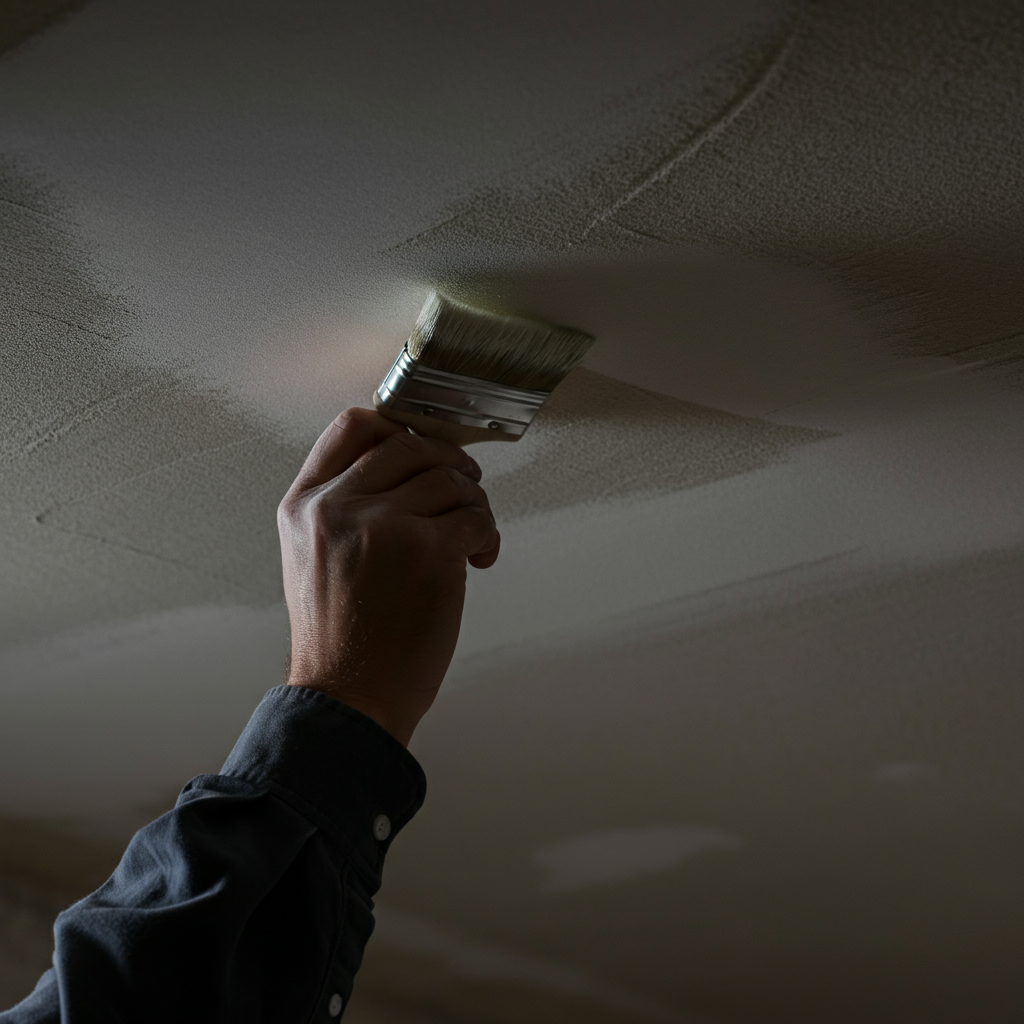
Step 3: Priming the Walls
Applying Primer for Optimal Results
Priming is often skipped, but it's a crucial step for achieving a professional finish, especially if you're painting over a dark color, repairing patches, or painting a porous surface. Primer seals the surface, providing a uniform base for the paint and improving adhesion. Use a high-quality primer that is compatible with your paint. Apply the primer with a roller and brush, using the same techniques you'll use for painting. Allow the primer to dry completely according to the manufacturer's instructions before applying the paint. This may take several hours or even overnight. A tinted primer can also help improve the coverage of your topcoat, particularly with vibrant colors.

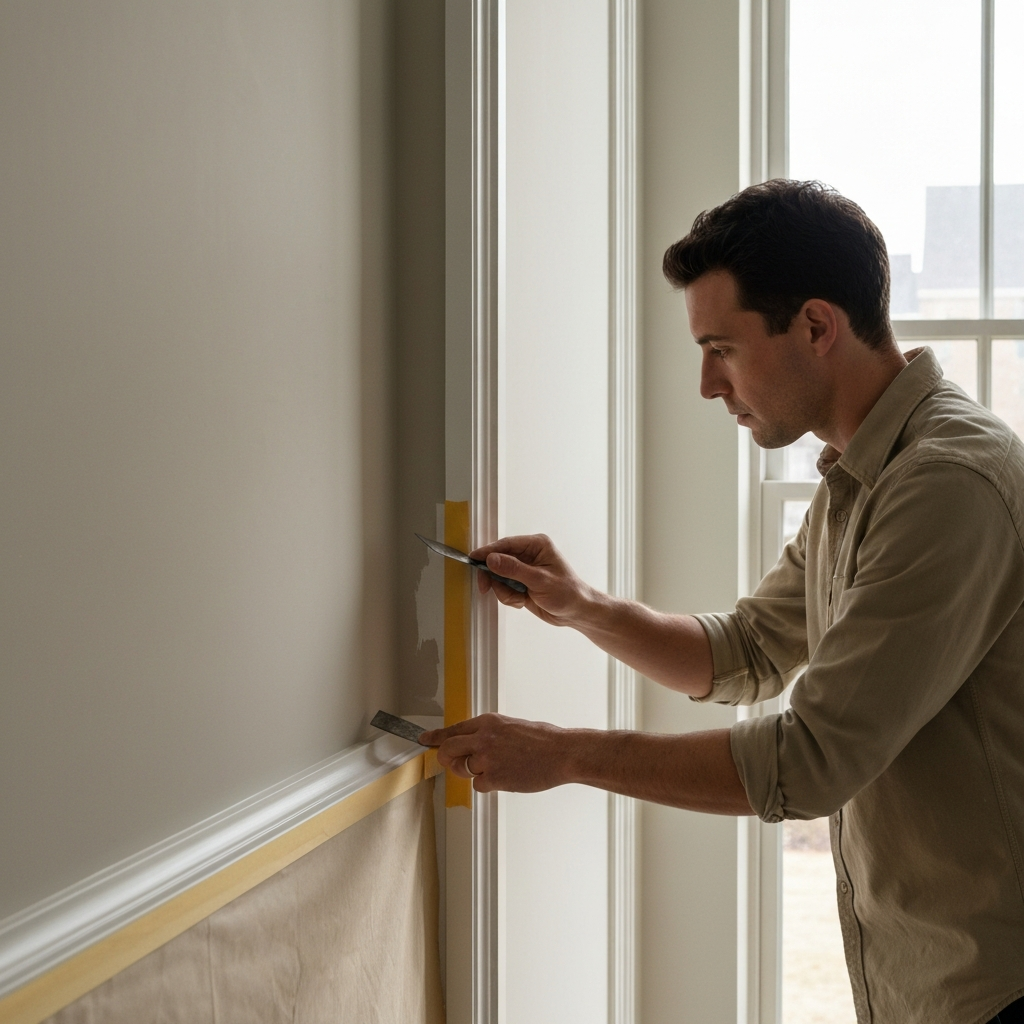
Step 4: Cutting In
Mastering the Art of Cutting In
“Cutting in” refers to painting the edges of the wall where it meets the trim, ceiling, or other surfaces. This requires a steady hand and a good-quality angled brush. Dip the brush into the paint, wiping off any excess. Hold the brush at a slight angle and apply the paint in a smooth, even stroke, keeping a wet edge to avoid lap marks. Work in small sections, overlapping each stroke slightly. If you're painting a light color over a dark color, you may need to apply two or three coats of paint when cutting in to achieve full coverage. For crisp, clean lines, consider using an edging tool, but practice on a piece of cardboard first to get the hang of it.
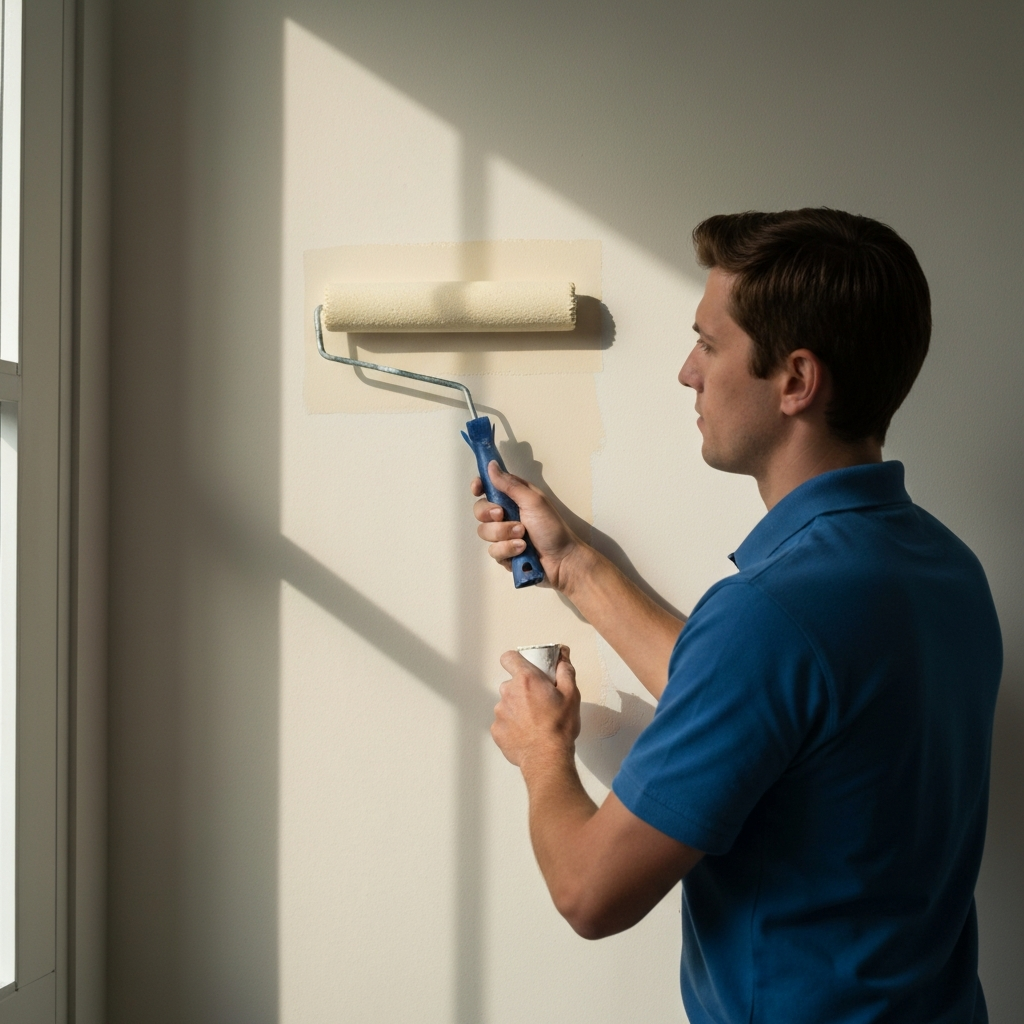
Step 5: Rolling the Walls
Achieving a Smooth and Even Finish
Once you've finished cutting in, it's time to roll the walls. Use a high-quality roller cover with the appropriate nap length for your wall texture (smooth walls require a shorter nap, while textured walls require a longer nap). Dip the roller into the paint tray, making sure to load it evenly. Roll off any excess paint onto the ribbed section of the tray. Apply the paint to the wall in a "W" or "M" pattern, overlapping each stroke slightly. Work in small sections, keeping a wet edge to avoid lap marks. Don't press too hard on the roller, as this can cause the paint to drip or splatter. Apply two coats of paint, allowing each coat to dry completely before applying the next.
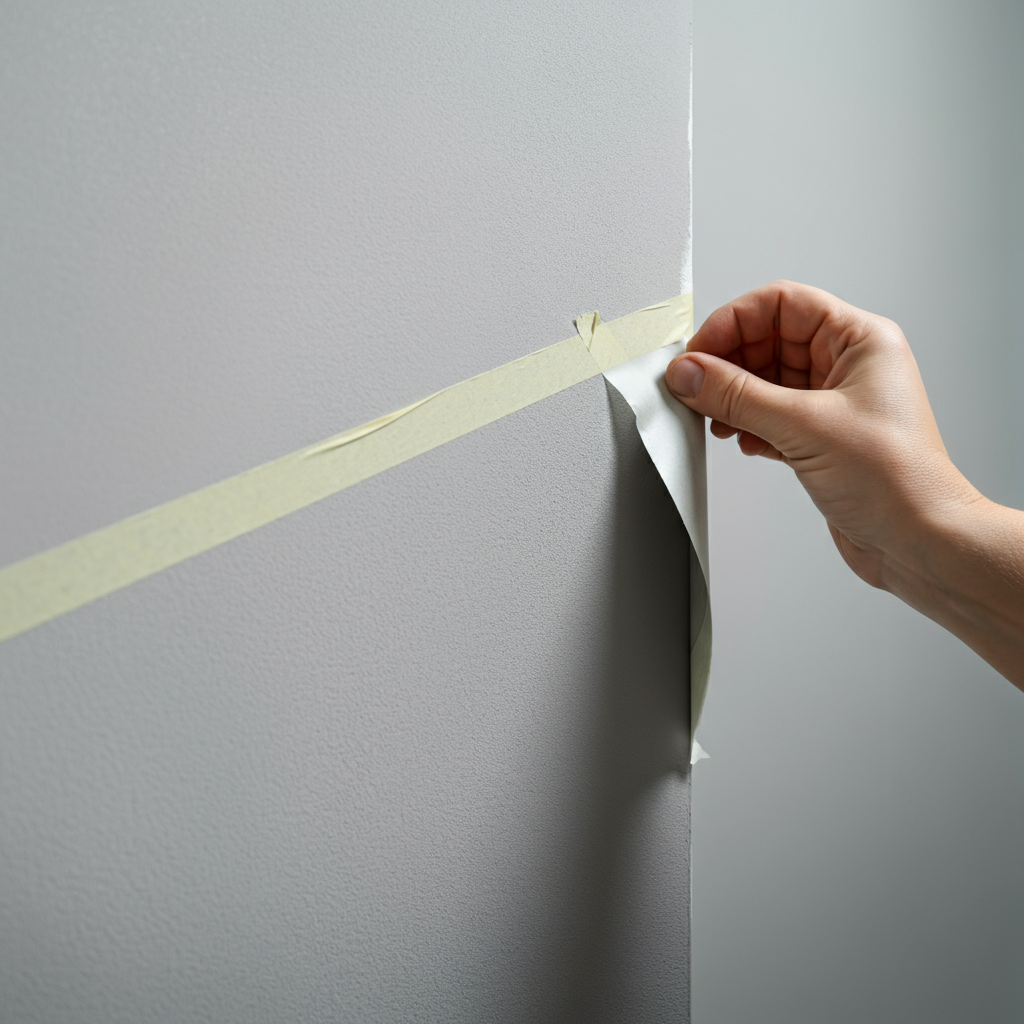
Step 6: Clean Up and Finishing Touches
Removing Tape and Final Inspection
Once the paint is completely dry, carefully remove the painter's tape. Pull the tape away from the wall at a 45-degree angle to avoid chipping the paint. Inspect the walls for any imperfections or missed spots and touch them up as needed. Clean your brushes and rollers thoroughly with soap and water (or mineral spirits for oil-based paints). Store them properly to prolong their life. Dispose of paint cans and other materials according to local regulations. Finally, replace furniture and accessories, and enjoy your freshly painted room!
Tools or Materials Required
- Paint (primer and topcoat)
- Paintbrushes (angled brush for cutting in)
- Paint roller and roller covers
- Paint tray
- Painter's tape
- Drop cloths (canvas or plastic)
- Spackle and putty knife
- Sandpaper
- Cleaning supplies (mild detergent, water)
- Ladder or step stool
- Stir sticks
Common Mistakes to Avoid
- Skipping surface preparation
- Using low-quality paint or tools
- Applying paint too thickly or thinly
- Not allowing paint to dry completely between coats
- Forgetting to protect furniture and floors
- Not using enough ventilation
Safety Considerations
- Wear safety glasses to protect your eyes from paint splatters.
- Use a dust mask when sanding to avoid inhaling dust particles.
- Ensure adequate ventilation when painting to avoid inhaling fumes.
- Keep paint and supplies out of reach of children and pets.
- Follow the manufacturer's instructions for safe use and disposal of all materials.
Pro Tips
- Prime is your friend! It makes a huge difference in the final look.
- For a truly flawless finish, lightly sand the walls between coats of paint.
- Pour paint into a smaller container or cup for easier handling when cutting in.
- Wrap your brushes and rollers in plastic wrap between coats to prevent them from drying out.
- Don't rush the process. Take your time and pay attention to detail.
FAQ Section
Q: How long should I wait between coats of paint?
A: Follow the manufacturer's instructions on the paint can. Generally, it's recommended to wait at least 2-4 hours between coats.
Q: Can I paint over wallpaper?
A: It's generally not recommended, as the paint can react with the wallpaper adhesive and cause it to peel. However, if the wallpaper is firmly adhered and you prime it properly, you may be able to get away with it.
Q: How do I clean up paint spills?
A: Wipe up spills immediately with a damp cloth. For dried paint, try using a paint remover or scraper.
Conclusion
Painting a room is a rewarding project that can significantly enhance your home. By following these expert tips and taking the time to prepare properly, you can achieve a professional-looking finish that you'll be proud of. Remember that patience and attention to detail are key. With a little planning and effort, you can transform any room into a beautiful and inviting space. Don't be afraid to take your time and enjoy the process!